Space Hulk: Deathwing

Space Hulk: Deathwing

86 ratings
How to unlock multiplayer "capacity" achievements (Solo)
By Gamewiz
Conditions to unlock the capacity and some tips on how to do so solo.
   
Award
Favorite
Favorited
Unfavorite
Introduction/Explanation
** Updated: Patch 1.06 21/12/2016 - Inventory Fix.

*These achievements take usually atleast an hour each to complete.

The description isn't very clear on what "unlocking capacity" for a class means. You'd assume it means getting to level 4 and unlocking everything you can see on the loadout.

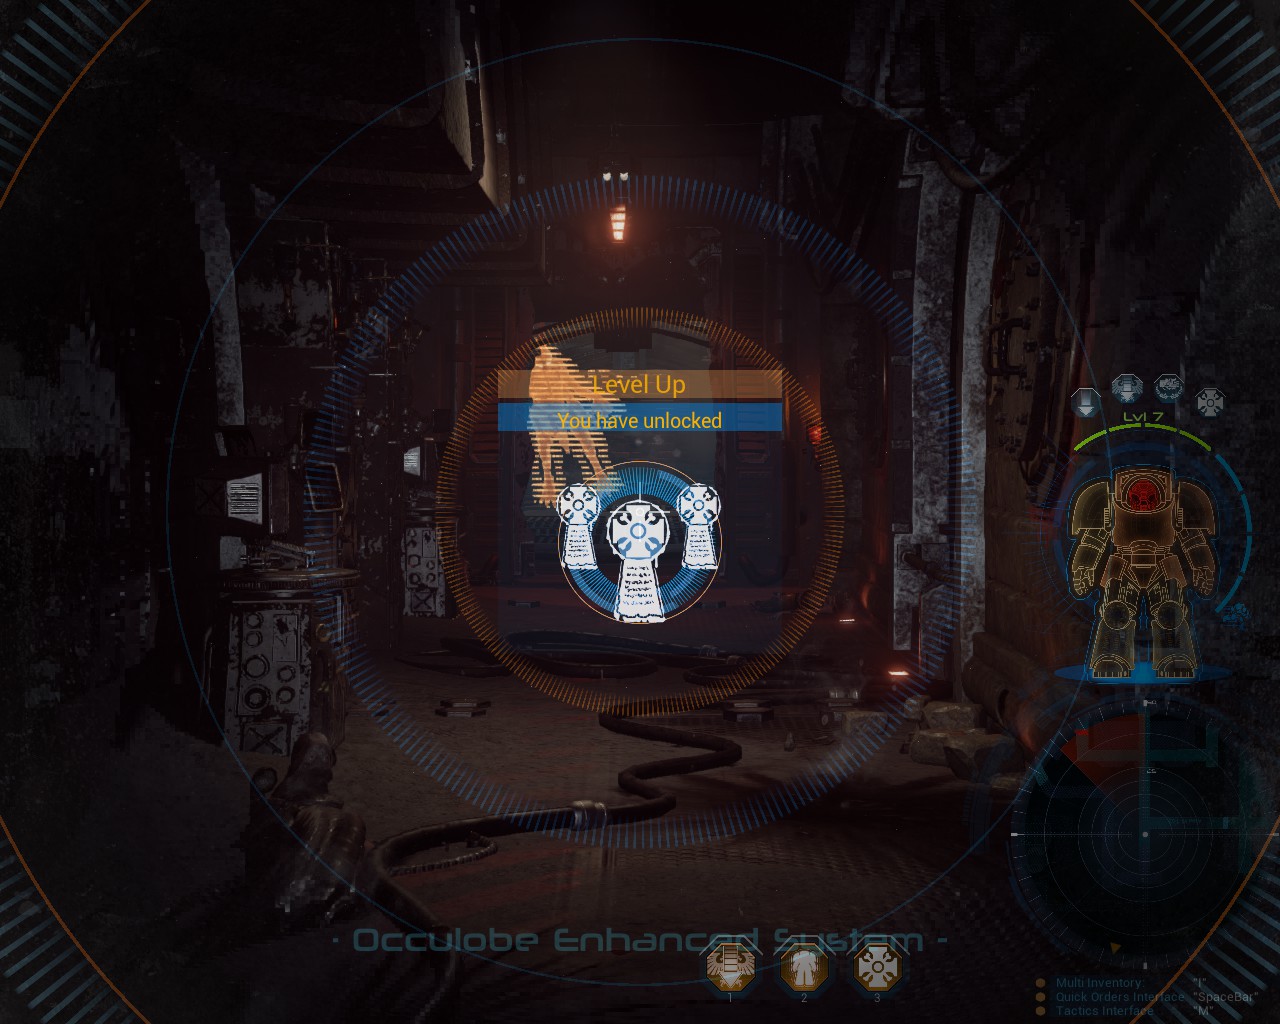
The truth is, you need to get to level 7. Maybe you've noticed if you've gotten to level 5 you'll have seen an unlock appear with a "purity seal" on it. They don't do anything gameplay-wise and are just there to mark your achievement in leveling. At level 6, you get an icon with 2 seals and level 7 has 3 seals along with the achievement.

Generally just wrote this guide to let people know, as most think they're bugged.
The Setup/Prep
Now, you're probably thinking "Most of the time when I finish a mission i'm usually only level 5".

Often missions don't go on long enough to get enough kills plus the extra experience need to get to levels 6 and 7. So here is how we do this:

  • Create a lobby with password and/or LAN mode. (Sometimes the password doesn't work and people join anyway.)

  • You'll want to play Chapter 1 on easy
    (As far as i'm aware, you get the same exp for kills no matter the difficulty, plus you get more without a team, as killing all the enemies in the first area always gets me to level 2.)

  • Start as Apothecary, get to level 2.
    Whatever class you pick, especially assault, if you're low on health, you can change to Apothecary to heal yourself.

    Most of this is just the way I did this, if you know a better location, feel free to use it.

  • The Start
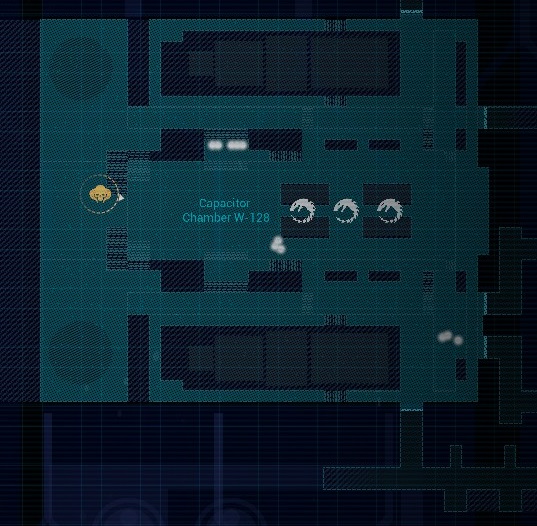
    From the start, you'll want to clear out the starting area as this will get you enough exp to get to level 2.

    From the drill, you can get a good view around the area. You can start with the groups on the left, then shooting enemies in the back will cause them to start running around and towards you, usually on the path below you, some on the catwalk infront and some of the far left catwalk.

    The genestealers shouldn't spawn until you enter and exit the next area.


  • The "arena"
    Once you enter "area w-101", genestealers will start spawning if you leave. (Although they have spawned sometimes before I could close all the doors.

    You want to close off all doors except the door that leads to the stairs going up and the opposite end, the stairs are where you want them to spawn from and so that they only come from one direction down the long hallway.

    The genestealers will periodically spawn on their own, sometimes just a few, sometimes large groups. You can also trigger a large wave by walking up the stairs about half way. (I feel like hitting the wall can help trigger a horde if it helps.)

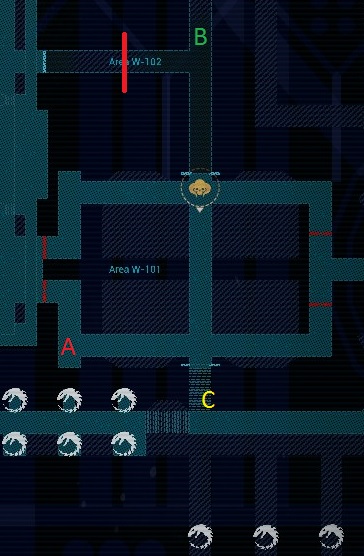
    This map is marked close to the stairs each class can perform, as some classes have better damage output/survival they can handle being closer and deal with waves faster. B is better for space and how far you can see/shoot but A allows you to see on the radar better.
    For example: Tactical needs the extra distance due his lesser damage or reload/recharge speed.
    A: Heavy, Apothecary.
    B: Tactical, Librarian.
    C: Assault.


The Classes
    Reminder: Health goes Blue>Yellow>Orange>Red>Red Flashing. Becareful of your head/torso health.
  • Location A: Heavy weapons/Apothecary

  • Heavy: The heavy weapons class probably performs the best without any need to run too far, due to the fact his weapon is high damage/capacity gatling gun focused down a small hallway. His assault cannon is good enough to carry you through with little effort and weapon jamming should be rare enough that it is non-issue.

  • Apothecary: Its down to preference whether you use the Storm Bolter or Redemption, you can still take out the majority of groups and those that do get close, you can finish them off with melee while sustaining yourself with heals.

    With 2 healing abilities (self heal and group heal), you can fight in the closer hallway while triggering waves, although watch your cooldowns, even on easy, you don't want to be too overwhelmed.

  • Location B: Tactical/Librarian
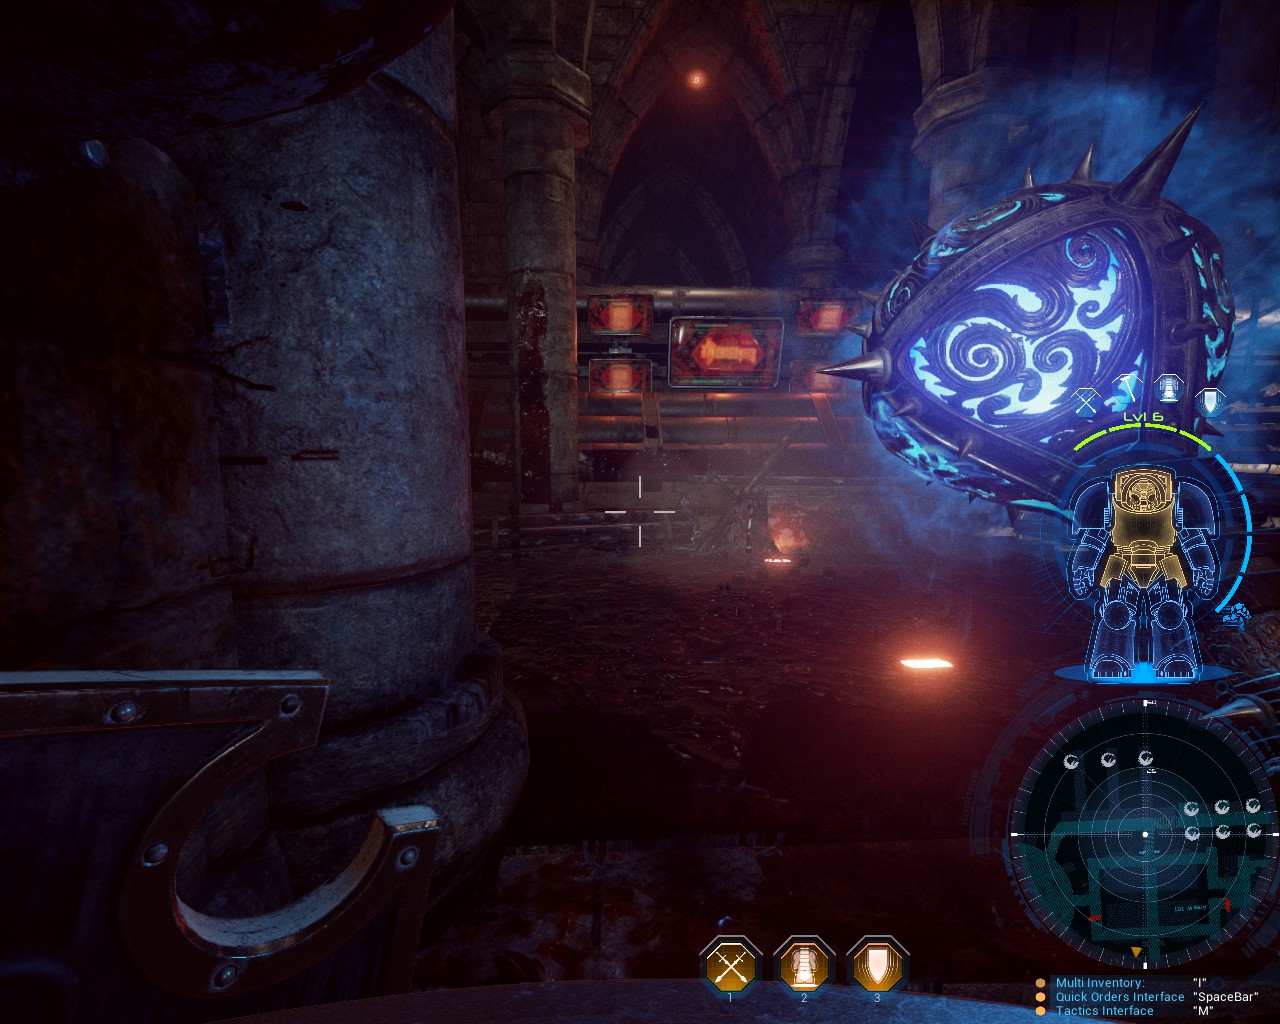
    This spot makes use of a longer hallway for classes that may only be using the storm bolter or the spear of caliban's recharge speed. Make sure to be careful of enemies spitting at you.

  • Tactical: The Tactical can have a little trouble due to having the storm bolter or the Spear of Caliban's reload/recharge speed if they spawn too many too quickly. Although it is still likely the better pick.
    His third ability to remove bullet spread and recoil for a few seconds is useful but it doesn't last long and still isn't that strong.

    Remember, against larger enemies, you can either aim for the head or shoot the legs, forcing them to crawl, though they can still lunge a fair distance.


  • Librarian: The librarian can fight at either locatation, although he can still have trouble if he needs to reload his storm bolter and his abilities are on cooldown against large continous groups.
    Remember, if you feel confident, trigger waves at the stairs and run, though don't get overwhelmed. You will still need to be careful of your health, especially against spitters.

  • Assault
    I personally used the Mace of Absolution due to its attack speed. You can fight mostly anywhere but where I feel it works best it at corners, so you can abuse the AOE damage of your weapon. Enemies can't lunge at you but you will likely still get hit occasionally.

    A useful spot (Location C) is at the top of the stairs, under the pipe. Just spam attack and the aoe will kill them on the corner. If any try to spit acid, it will get blocked by the pipe above you.
    If you get low on health, run down to the far end and make sure its clear before opening your inventory to heal. (***Heal will be on cooldown after changing class)

Extra
Once you hit level 7, the experience bar stays full and you can continue to level up fairly quickly (like the speed of level 1 to 2). I don't know how high you can get, I got to 12 before I stopped.
20 Comments
gatoconak 28 Sep, 2024 @ 4:51am 
Add me if anyone wants to complete this game 100%. To help eachother on the assist achievement at least, and maybe on the leveling part if needed. Thx for the guide btw
alpha_breaker 20 May, 2024 @ 11:42am 
Thank you, brother,:steamthis: It was very helpful. Praise the emperor.
uhryab 20 Jun, 2020 @ 9:23pm 
:like:
Vrakos Anthrakir 14 Apr, 2020 @ 2:35am 
solid but simple advice, took me about 290 minutes to do all of them
Arass91 27 Oct, 2019 @ 5:16am 
On picture you have level, I play i dont get iven one level its bugged achievements?
Legion 23 Sep, 2018 @ 11:42am 
They seem to have added a automatic cooldown when you change rolls now. No instant healing anymore, just wasted nearly a hour :(
morbid man 14 Feb, 2018 @ 2:38pm 
thanks :steamhappy:
Gamewiz  [author] 14 Feb, 2018 @ 2:24pm 
You can change classes by opening the inventory, which should be (i).
morbid man 13 Feb, 2018 @ 6:38pm 
"Start as Apothecary, get to level 2.
Whatever class you pick, especially assault, if you're low on health, you can change to Apothecary to heal yourself."

How can I switch between classes during mission?
CoV | Darken 6 Oct, 2017 @ 12:09pm 
They can be done solo.