Alchemy Mysteries: Prague Legends

Alchemy Mysteries: Prague Legends

290 ratings
[EN] Walkthrough
By Vic=HKC=
I realized that the game wasn't so easy compared to others of the same type. So, I did a walkthrough for it.
   
Award
Favorite
Favorited
Unfavorite
Introduction
I rarely play directly in the hardest difficulty but here, there is no real difference.

Before doing the remark, I know that two of the storyline achievements are inverted. But logically, given the description and the pictures, the way I put them is the logical step. Anyway, it was inverted in French, don't know about the rest.
Achievements
Arrow speed!

Find two objects in less than 5 seconds!
  • Before clicking on any item, just look for two on your list and then click on them quickly.

Lightning-fast!

Find five objects in less than 15 seconds!
  • Before clicking on any item, just look for five of them on your list and then click on them quickly.

Eagle-eyed!

You will not skip Hidden Object Scenes
  • Don't press the button Skip. You should unlock it at the lab.

Puzzle-guru!

Don't miss a single mini-game!
  • Don't press the button Skip. You should unlock it at the end of the game.

Expert!

Complete the game on advanced mode!
  • Well, play in the higher difficulty. It will be unlocked at the end of the game.

The rest of them are parts of the storyline.

There are no closed doors!
Bedroom (I)
Careful with antiques!
Bedroom (II)
The secret of magic shackles!
Antique Shop (II)
Tales of alchemists!
Living Room (VII)
Welcome to Carl's crypt!
Cemetery (II)
Secret Room!
Living Room (IX)
Return of the amulet!
Secret Room (III)
Victory over a golem!
Bedroom (VI)
Escape from a dungeon!
Jail (I)
An alchemist laboratory!
Café (V)
Bedroom (I)
First of all, enter the house by clicking on the door. After meeting Anna, you'll be in your room.

Click on the nightstand. Take the puzzle piece and the umbrella. Then open the drawer.


Take the map of Prague. Then take the hairpin which was under.


Go back in your room. Click on the right to meet a ghost. Take the page on the floor.


Turn to the right and click on the right side of the mirror. Take the brush.


Turn again to the right side and take the book on the chair. Then look to the second suitcase: enter 358 as the code.


Take the CD part.

Turn to the right and click on your suitcase to open a HO scene.


The item that goes in your inventory is the hairpin.


How to repair the CD? Take the CD part in your inventory and put it on the broken CD.


How to close the lipstick? The missing part is just behind the Sumo statue. Bring it over the lipstick in the upper left corner of the suitcase.

How to repair the butterfly? The missing part is outside the case, in the upper right corner of your screen. Bring it over the butterfly in your suitcase, near the fork.

Use then the hairpin on the door to open it.


There are no closed doors!
You collected two hairpins and used them to open an old lock
Living Room (I)
Take the tongs near the umbrella stand.


Turn to the left and take the book on the armchair. Then click on the table.


Unfold the paper then take the key.


Turn to the left. Click on the chimney.


Take the ladder part on the left side.


Turn to the left. Take the mask on the clock then move the pillows to retrieve another book. You can put the mask on the right side of the rhinoceros's head.


Turn to the left then put the book on the shelves to open a door. You'll find the second mask.


Put that mask on the left side of the rhinoceros's head. Its mouth will give a round piece.


Click then on the door with the minigame and put the round piece on it.


The goal here is to make disappear a line or a column of gems of the same color. I just looked over the numbers of each of them and make my lines or colors in function of the number of the places in the line or column.

Once it's solved, enter the office.
Office (I)
Take the book on the right bookcase then look at the desk.


Take the key and open the first drawer


How to make a ring with a rubis? Take the gem in the drawer and put in on the right next to the microscope.

How to load the pistol? Take the bullets at the bottom of the microscope and put them in the pistol in the drawer.

The item that you'll retrieve is a wheel on the desk.


Use the wheel on the moving cabinet and take the sword.


Go twice to the left and look the clock to see two missing clock hands. You can also see that a lightbulb is missing on the lamp and that you'll need special adhesive paper on the cut wires. Open the drawer on the right and take the hammer.


Exit the office and go back to your room.
Bedroom (II)
Use the sword on the panel just at the right of the door. Use the brush to remove spiderwebs. Then, it's time for another HO scene.


How to repair the geisha? Use the umbrella in your inventory on the geisha.


How to make a pink bunny? Use the pink polish behind the dog plush on the little rabbit.

How to make a Oujia board? Use the pointer behind the dragon (and next to the little rabbit) on the board.

The item that will be retrieved is the jewelry box.


Exit the bedroom.

Careful with antiques!
You found the jewelry box in your sister's secret hiding place
Living Room (II)
After the cutscene with Anna, exit the house.
Outside (I)
Just go forward to reach the shop. Click on the door to enter.
Antique Shop (I)
Turn to the left and take the mallet and the piece of a picture. Look at the bell too as you'll use it later.


Turn to the left then click on the chest on the left.


How to make a rapier in its container? Take the sword in your inventory and put it in the tube next to the table.


How to make a ring with a rubis? Take the rubis in the chest and bring it over the ring on the table on the left.

How to repair the necklace? Take the blue gem near the barrel and use it on the necklace in the chest.

The item you'll retrieve will be a clapper.


Turn left then take the bow on the right bookcase. Use the mallet on the gong.


Use the clapper on the bell.


Give the jewelry box to the shopkeeper and go outside.
Outside (II)
Before entering the house, explore the right area. Take the ladder part next to the trashcan. Click on the farther streetlight.


Take the wheel and the shovel on the left.


Then go back inside the house.
Living Room (III)
Turn to the right and use the ladder parts on it.


Click on it for a HO scene.

How to open the padlock? Take the key near the trumpet and open the padlock.

How to repair the boat? Take the boat part on the little commode and put it on the boat on the table.


How to make sure the violin has its bow? Take the bow in your inventory and put it on the violin.

You'll get a piece of a drawing.


Go to your room.
Bedroom (III)
Turn to the right and click on your suitcase.

How to repair the seal? Take the part of the seal in the mirror on the left and bring it over the drawing on your suitcase.

How to repair the necklace? Take the gem outside the suitcase and bring it to the necklace in it.


How to repair the picture? Take the part of a picture in your inventory and put it on the torn one in your suitcase.

The item you'll retrieve is the tweezers.


Then turn to the left twice and look at the small cabinet with the drawers. You have to turn the handles in a correct position. To know them, look in your journal to find the page that the ghost left at the beginning. Above the dragon, you'll see the solution!


Take the drawing.


Go back to the living room.
Living Room (IV)
Turn twice to the right and click on the portrait. Use the tweezers on the little paper.


Return to the antique shop.
Antique Shop (II)
Turn to the right and use the tweezers on the feather in the cage.


Turn to the left twice and use the feather on the furniture with the same symbol on it. Click on it.


Take the book.


Give the drawing to the shopkeeper. Then give the books and click on the shopkeeper for a minigame.


It's a matching game. It should be easy to do it.


After decyphering the books, look at the jewelry box. Remember the drawing? Look at it then translate them into the signs you've discovered. It's sun-time-fire-moon. Just enter that code.


The secret of magic shackles!
You decoded complex alchemical symbols and translated them into intelligible language.
Outside (III)
After Adam's departure, enter the house.
Living Room (V)
Turn to the left and read the open diary. Turn the page to discover a sewed picture. Take the thermometer on the wall.


Turn left and take the key under the right lamp.


Turn left twice and enter the office.
Office (II)
Take the crystal on the right. Then open the lamp and take another one. There is also one at the bottom of the chair.... and one in the left bookcase.


Turn left and take the crystal on the scales (that I took before the screenshot). One is on the globe.


Turn left and take the one in the right lamp.


Turn left and take the one on the book on the right. Use the key on the middle doors. Take the last crystal and the lighter.


Go to your room.
Bedroom (IV)
Click on the nightstand for an HO scene.


How to make a chandelier with a candle? Take the candle under the bed and put it on the candle holder.


How to light the lantern? Use the lighter on the lamp.

The item you'll retrieve will be a pair of scissors.


Turn to the left and cut the cord with the scissors.


Return to the living room.
Living Room (VI)
Use the scissors on the sewed pic to retrieve it.


Go to the office.
Office (III)
Use the piece of a picture on the drawing on the wall near the globe. Take the cup.


Turn to the right and use the cup on the strange box on the cabinet. Use the thermometer, the crystals and the rope on it. Light the magic lamp with the lighter. Smash the thermometer with the hammer then click on the lamp.


Go to the living room.
Living Room (VII)
Use the light on the wall above the masks. It's a matching game again. Click and hold the lamp to see the signs. Click on a sign then search for the same one.


Tales of alchemists!
You unraveled the mystery of the magic symbols
Outside (IV)
Go to the antique shop to discover that something happened during the night.

Take the special tape.


Return to the house and turn right. Now you can go in the left street.
Café (I)
Turn to the left and take the crowbar.


Turn left again and take the paper on the table. Press the lighter tile on the ground then click on the brick that got pushed out and well, you get the picture: press on everything getting out. Take the sword on the stairs.


Turn left then look at the cash register.


Take the glue then exit the view.


Click behind the counter for a HO scene. Open the drawer by taking the handle on the bar.


How to have three swords on the wall? Put the one in your inventory on the holder.


How to repair the puppet? Take the arm in the drawer and put it on the little doll under.

You'll retrieve the journal.


Go outside.
Outside (V)
Now, you can go forward.
Cemetery (I)
Take the handle on the ground.


Turn left and take the wood behind the bushes.


Turn twice to the left to find the crypt you're searching. Use the shovel on the dark area on the grave next to it. Take the disk fragment (that, guess what, I took before the screenshot).


Go back to the office in the house.
Office (IV)
Use the glue and the handle on the drawer missing one. Take the lightbulb.


Now you can repair the lamp thanks to the lightbulb and the special adhesive. Click on the switch to discover symbols on the wall.


Look also at the desk for another HO scene. Take the key on the books to open the second drawer.


How to obtain a piece of tape? Use the scissors on the tape roll.


How to repair the magnifying glass? Take the glass on the cards and put it on the handle at the bottom of the books.


How to obtain an as of heart? Take the heart on the cat and put it on the blank card in the drawer.

You'll retrieve a saw.


Go outside.
Outside (VI)
Click on the farthest streetlight to come back where you found the shovel and the wheel. Use the saw on the bars. Enter the house.... well the shop.
Antique Shop (III)
Use the crowbar on the plank that is lifted. Take the valve.


Turn to the right and light with the lighter the darker area, where two red eyes seem to look at you. Well, it's a rat and you don't have any food with you.


Turn to the right and click on the door to go back outside.
Outside (VII)
Return to the back of the shop and use the valve on the pipe next to the streetlight. Turn it to close the steam in the shop. Go back to the shop through the window.
Antique Shop (IV)
Take the flower shape on the counter now that there is no steam.


Go back to your room.
Bedroom (V)
Put the flower shape on the nightstand. You'll open another drawer. Take the tool for the clock.


Go back to the living room.
Living Room (VIII)
Use the tool on the clock to retrieve the clock hands.


Turn to the right and put the wood in the chimney. Use the lighter for a fire.


Turn to the right and click on the ladder for another HO scene.

How to obtain a crystal shard? Use the hammer from your inventory on the glass vase.


How to obtain a hat with a skull? Take the skull under the trumpet and put it on the hat.

You'll retrieve the bellows.


Use them on the fireplace.

Take the ball behind the armchair.


Turn to the right and use the ball on the stairs. Take the puzzle piece.


Go to the office.
Office (V)
Use the clock hands on the clock.


You have the replace the clock hands on their shadows using the buttons under the clock. There are many solutions to this and as this is the kind of puzzles that I do many trials and errors that I don't remember exactly what I did.


Anyway, once it's solved, you can take the disk fragment.


Go back to the cemetery.
Cemetery (II)
Use the magic lamp on the scene to find hidden symbols. There are scattered in the scene. Remember the drawings on the wall in the office? Read the sequence right to left. Once you've pressed the right one, take the disk fragment.


Use them on the door of the crypt for a minigame of turning circles and make a picture.


Enter the crypt.

Welcome to Carl's crypt!
You found your way into Carl Schwarzenberg's crypt

Look at the book. You'll get the mechanisms of the ritual. Look at the coffin on the left. Some pieces are missing.


Time to look after them! One is another coffin, one on the right column, one at the bottom of the statue on the right, another one on the bottom of the one missing the head, one near the bust on the right and the last one above the skeleton.


Put these fragments on the gravestone and well, it's time for a jigsaw puzzle! Use the brush on it for revealing the name on it.


Click on the coffin to reveal another puzzle: find the parts of the seal and put them in the right place.


Use the crowbar now to lift the lid. Take the sickle.


Go back to the café.
Café (II)
Take the vinegar bottle and the salt shaker on the counter.


Go back outside.
Outside (VIII)
Use the sickle on the bushes on the left.


Click on that new place for a HO scene.


How to repair the wheelbarrow? Use the wheel in your inventory on the vehicle.


How to make a flower in a pot? Take the green stuff on the statue and put it on the pot on the left side.

How to repair the gargoyle? Take the wing on the statue and put it on the gargoyle statue.

You'll get a moon piece.


Go back to the house.
Living Room (IX)
Put the moon piece on the puzzle on the chimney. Then put the trident piece on the missing place.


Now place each piece in the right place (look at the lines).


Click on the secret entrance.
Secret Hallway (I)
Turn to the left and look at the desk. Remove the higher box to discover a mask fragment.


Turn back to the right and enter the secret room.


Secret room!
You uncovered the entrance to a well-hidden secret room
Secret Room (I)
Turn to the right and take the jewelry box. Look at the shelf. Move the box and get a gear. Move the bottle and get another one with copper.


Turn to the right and take the ladle on the left. Look at the chest. You need a key to open it.


Turn back to the desk and read the diary.


Turn to the right and use the tongs on the fire to retrieve the amulet. Time to break the seal!


Click twice with the tongs on the amulet.

Go back to the secret hallway.
Secret Hallway (II)
Look at the spiderweb and use the brush on it to reveal a paper. Click on it for a kind of matching game.


You'll get the list for the symbols on each barrel. The first one, the triangle, is the one for water.


Go into the secret room.
Secret Room (II)
This is the barrel with water! However, you'll need a jhose for that... that was outside. Go back to the secret hallway because you can't get the hose without something to cut it.
Secret Hallway (III)
Turn to the desk and click on it for an HO scene.


How to repair the mask? Take the fragment in your inventory and put it on the broken mask.


How to repair the Queen of Clover? Take the card part behind the little statue and put it on the torn card above.

How to have a knife in its container? Bring the knife behind the basket on the container that is behind the sack.

You'll retrieve a knife.

Turn around and use the knife on the cracked wall. Use the gear on the mechanism. Wait until the big gear shows something on the wall and click on it. You have now the key for the chest. But let's take the hose first.


Go outside.
Outside (IX)
Use the knife on the hose at the bottom of the streetlight.


Go back to the secret room.
Secret Room (III)
Use the hose on the water barrel then use the ladle on the bucket at the bottom.


Bring the water on the amulet.... well... it doesn't go well.


Turn to the right and use the key on the chest. Open it and take the page. You can know use a formula for the water.


Go back to the bucket and pour the copper, the vinegar and the salt in it. Take again some water with the ladle.

Pour the water on the fire and take the amulet.


Return of the amulet!
You found a lost amulet

Go back to the living room and answer the phone.
Living Room (X)
Answer the phone.


Go to your room.

Bedroom (VI)
Click on the nightstand for another HO.

Use the screwdriver on the grate when you have to grab the key - which is your item to recover.

How to make a pen? Bring one part to another.


Take the pillow on the nightstand.


Turn to the left and take the two pillows, the hat ans the glove


Turn to the left and take the pillow and the glove. Move the stool to retrieve an head. Take the glasses on the desk.


Turn to the left and use the key on the dresser. Take the vest and use the knife on the gift. Open it to find some shoes.


Click on the bed and put each cloth at its place.


Turn around and hide behind the screen.


Victory over a golem!
You defeated a clay giant
Café (III)
Cut the cheese with the knife.


Go to the antique shot through the window outside.
Antique Shop (V)
Turn to the right and give the cheese to the rat. Grab the camera.


Go to your room.
Bedroom (VII)
Click on the cache for another HO.


How to complete the puzzle? Put the puzzle piece that you grabbed at the beginning of the game on the puzzle.


How to have six balls? Bring the green one on the head of the plush to the other five.

You'll get a film for your camera.


Now take a picture of the traces the golem left.


Go back to the antique shop.
Antique Shop (VI)
Turn to the left and use the pictures on the traces left by the golem. Click on them for another matching game.
Jail (I)
Click on the jewelry box and the rope.


Turn to the left and click on the curtain. Take the rock.


Open the chest and take the rope.


Turn twice to the left and take the ring on the crate. Take the horns on the helmet and the rope around the neck.


Put the jewelry box in the gold bowl and smash it with the rock.


Look at the skeleton for a HO.


How to make Pegasus? Bring the wings on the pelvis to the horse on the barrel.

How to repair the glasses? Bring the branch on the wall to the glasses on the barrel.


How to find the defunct's secret? Take the ring in your inventory and put it on the hand. The skill will open its jaw.

You'll get a bottle.


Turn to the right and use the bottle on the acid.

Turn to the right and use the rope on the bars above. Click on them for a seal puzzle.


Use the acid on it and escape.

Escape from a dungeon!
You escaped a dungeon sealed by magic
Outside (X)
Go to the antique shop window and take the matches.


As far as we are here, let's go to the antique shop.
Antique Shop (VII)
Click on the chest for an HO scene.


How to make a stack of cuillers? Take the cuiller and put it with the others.

How to put the knife in its container? Take the knife and put it in its container.


How to get the coin? Use the rock on the pig.

You'll retrieve the coin.

Go to the café now.
Café (IV)
Take the candles: one on the barrels and one on the shelf.


Turn to the left and take the candle on the table.


Turn to the left and take the candle on the shelf.


Look behind the counter for an HO scene.

How to repair the car? Use the wheel on the counter on the car near the billiard ball.

How to find the fan? Move the rug on the ground.

You'll retrieve a key.


Turn twice to the left and open the chest with the key.


Take the cutting shears. Use them on the bowl (turn twice to the left for them).


Turn back to the dark area and use the bowl. Put the candles and light them. Take the handle and look at the cash register.


Use the handle on it. Click to retrieve a puzzle piece.

Go back to the lit area and use the puzzle piece on the... puzzle. The goal is to make a path (look the left column for that). The puzzles are random though.


Take the coin that is revealed.

Go the cemetary.
Cemetery (III)
Look at the gate and use the cutting shears on the wire.


Turn to the left and take the flower.


Turn to the left and take the pickaxe. Enter the crypt for an HO scene.


How to make a dreamcatcher? Take the feathers on the door and put them on the dreamcatcher.

How to repair a statue? Bring the part on the circular saw on the statue on the rock.

You'll retrieve a flower.


Turn to the left and take the flower.


Go back to the café.
Café (V)
Use the pickaxe on the wall. The lab is revealed! Enter it.


An alchemist laboratory!
You found the Alchemist's laboratory
Lab (I)
Use the matches for lighting candles.

Open the cabinet and take the prism. Move the stone on the middle for another one.


Turn to the right and take the prism on the bookcase.


Turn to the right and remove the curtain. You'll have a puzzle behind but you need all the prisms. Take the razor on the left bookcase. Read also the book. Take the amulet.


Move the books on the left bookcase to take the prism.

Look at the case on the desk. Turn the disk to arrive at a picture. I'm putting the last move. Take the coin.


Turn to the left and look at the ground for an HO scene.


How to put a boat in the bottle? Take the boat and put it in the bottle.

How to repair the teapot? Take the handle on the socle and bring it on the teapot.


How to get the prism? Use the razor on the big pot.

If you didn't skip any HO scene, you should get the achievement here.

Go solve the prism puzzle now. This is one of the solutions: puzzles are random.


Look at the desk and examine it. Put the flower and the coins and just already place some objects to their places.


Go to the cemetery.
Cemetery (IV)
Use the amulet on the gate and remove the bars. Enter the crypt. Take your amulet.... well, first break the seal.


Return to the lab.
Lab (II)
Put the amulet on the desk.


If you didn't skip any minigame and is in the higher difficulty, the achievements should unlock.
Copyright
CC-BY-NC

Vinciane Amorini - May 2015
27 Comments
Luko 29 Feb, 2024 @ 4:15pm 
Amazing guide, what a work stands behind it. Thank you - awarded ! :)
Coolerbox(RUS) 10 Jun, 2020 @ 10:23am 
SO strange, i completed story exactly by this guide, but didn get Eagle-eyed! archievment. meybe because i suddenly pressed skip button once on one HO, but i declined to skip that, when i asked confirmation..
sirrobim 16 Aug, 2019 @ 6:38am 
Great work :Geralt::RogueMoneybags:
PunkSteve 13 Apr, 2019 @ 4:35am 
@ HIPPYCHICKLOVINLADY: Thanks for the reply. :ss13ok::cybereye:
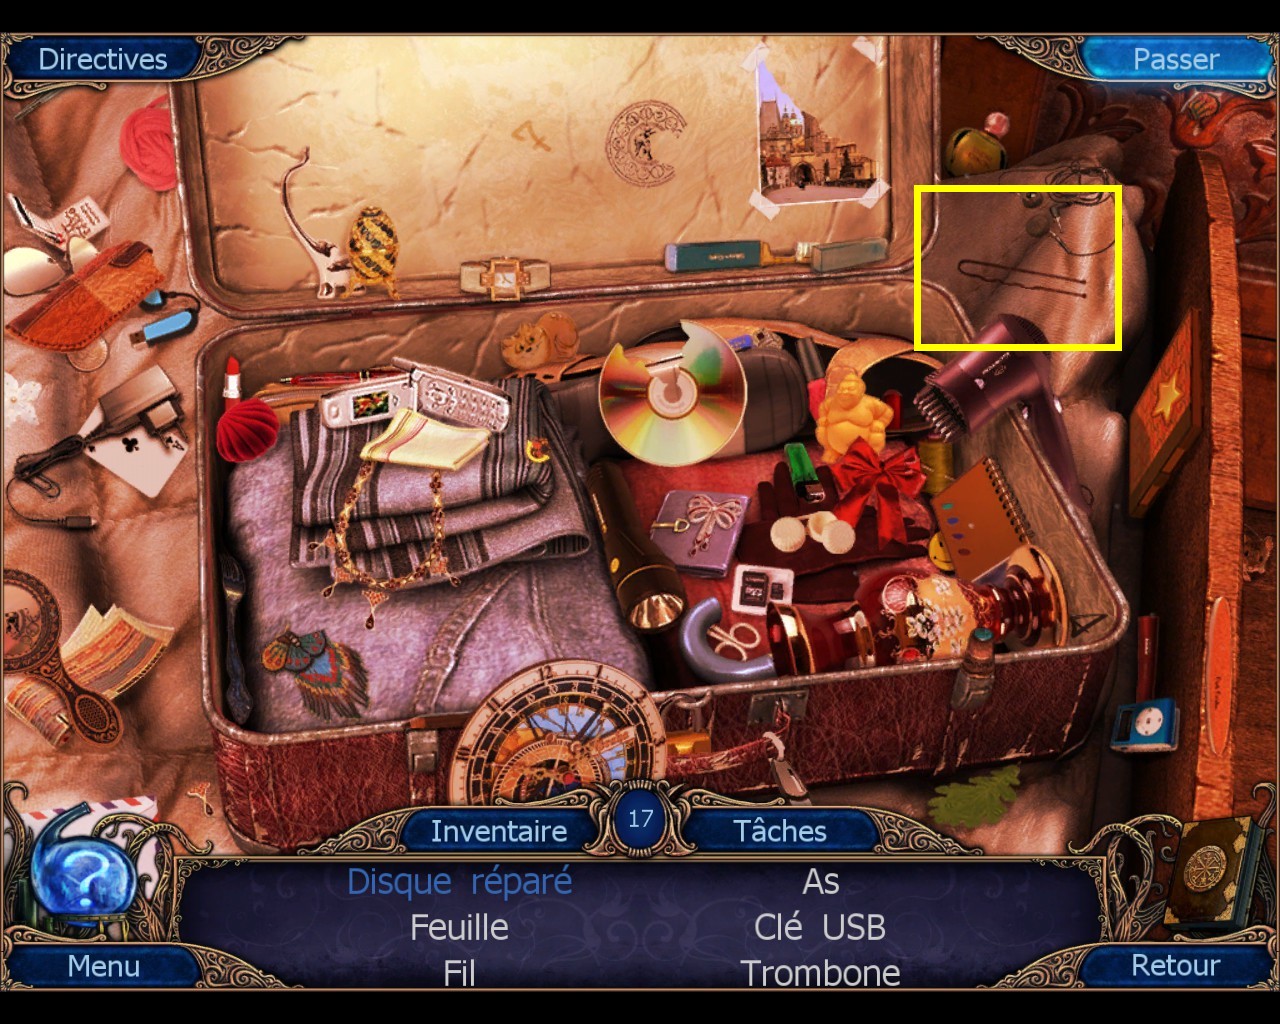
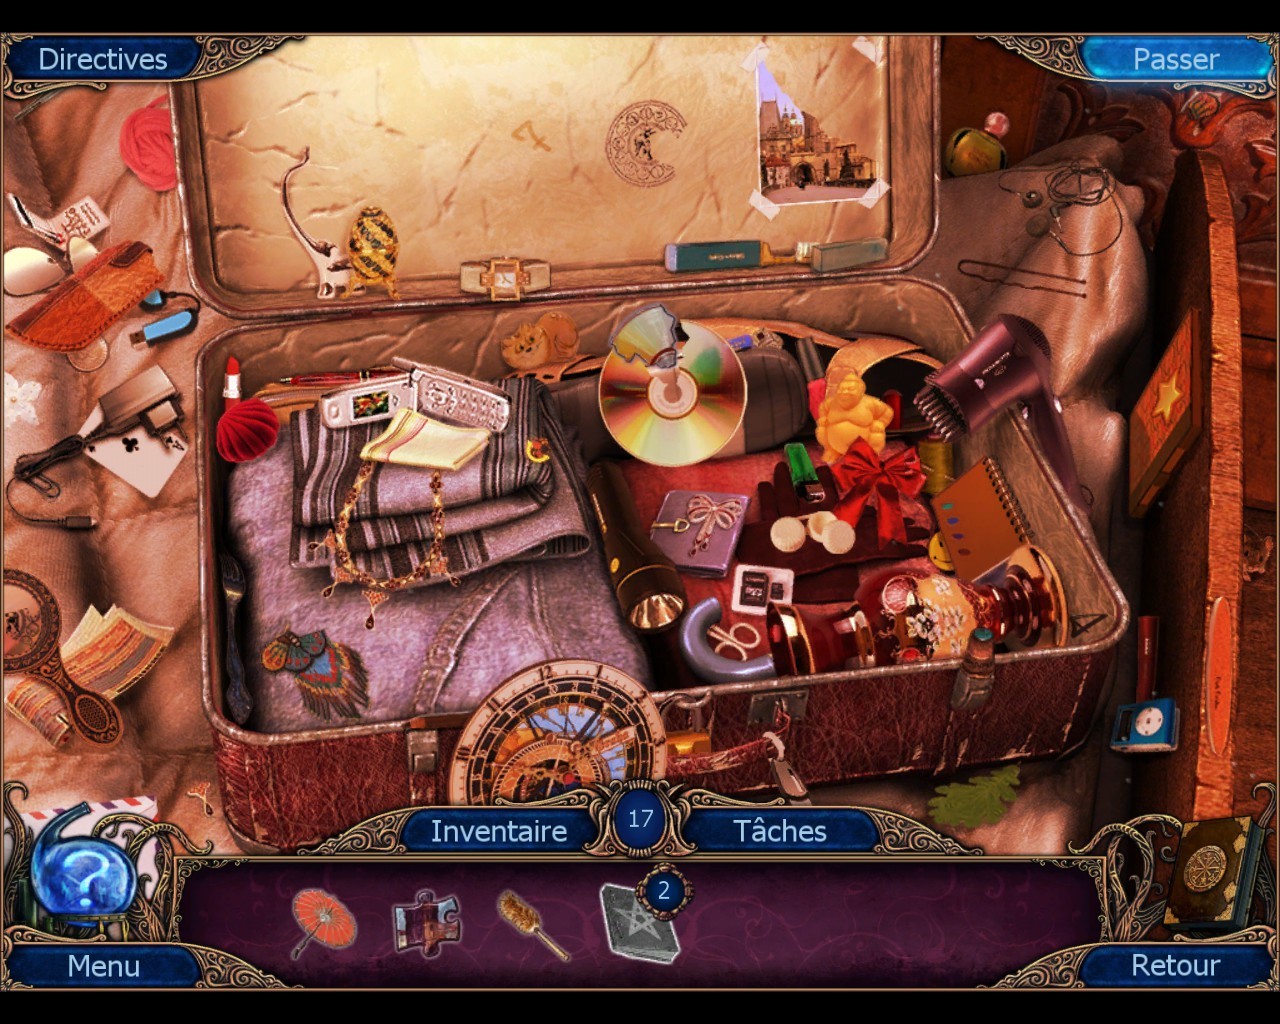
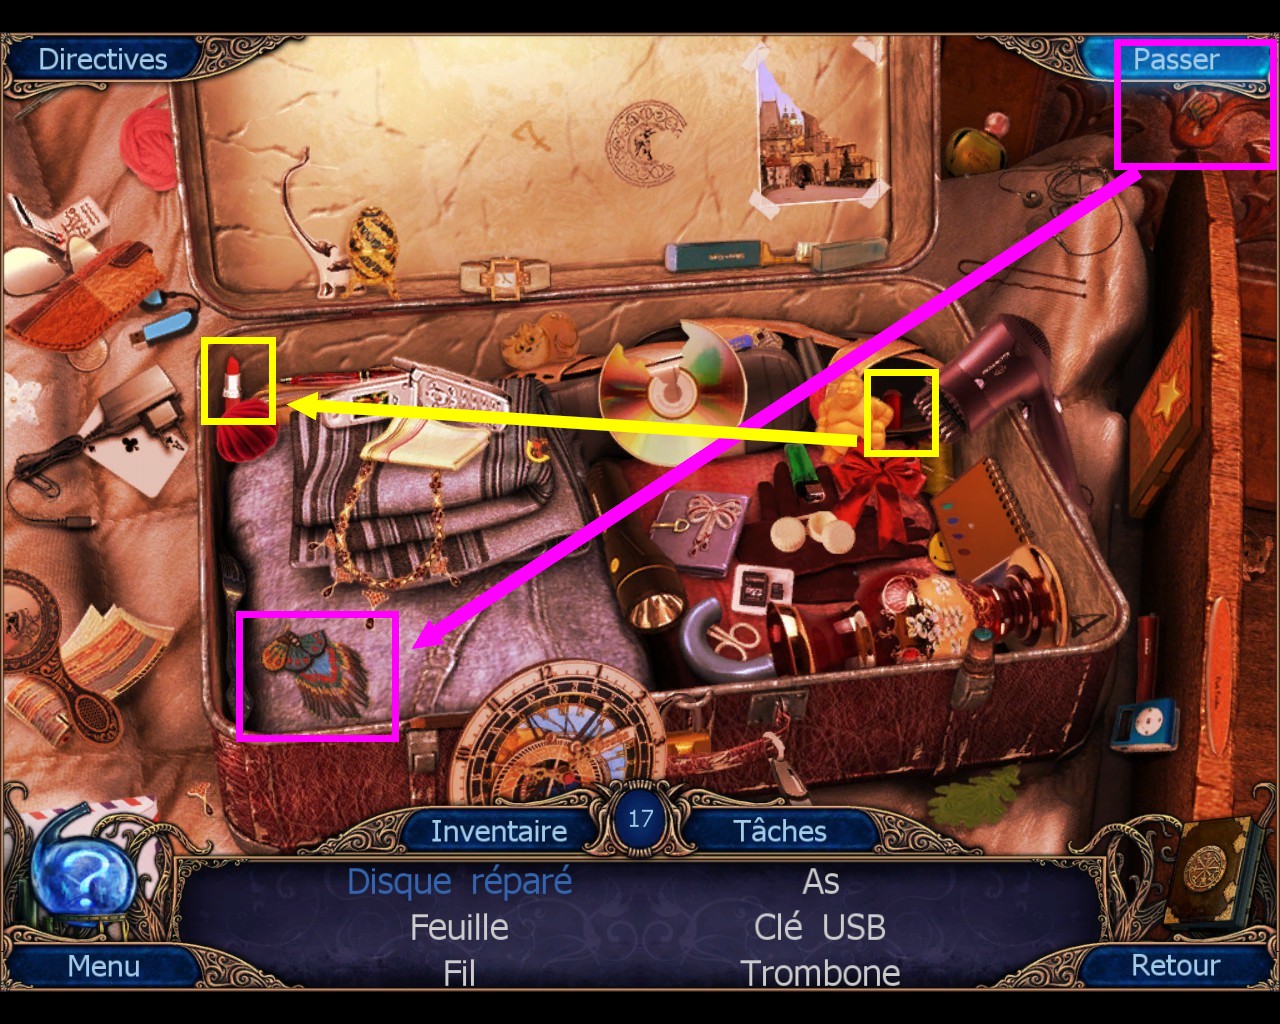
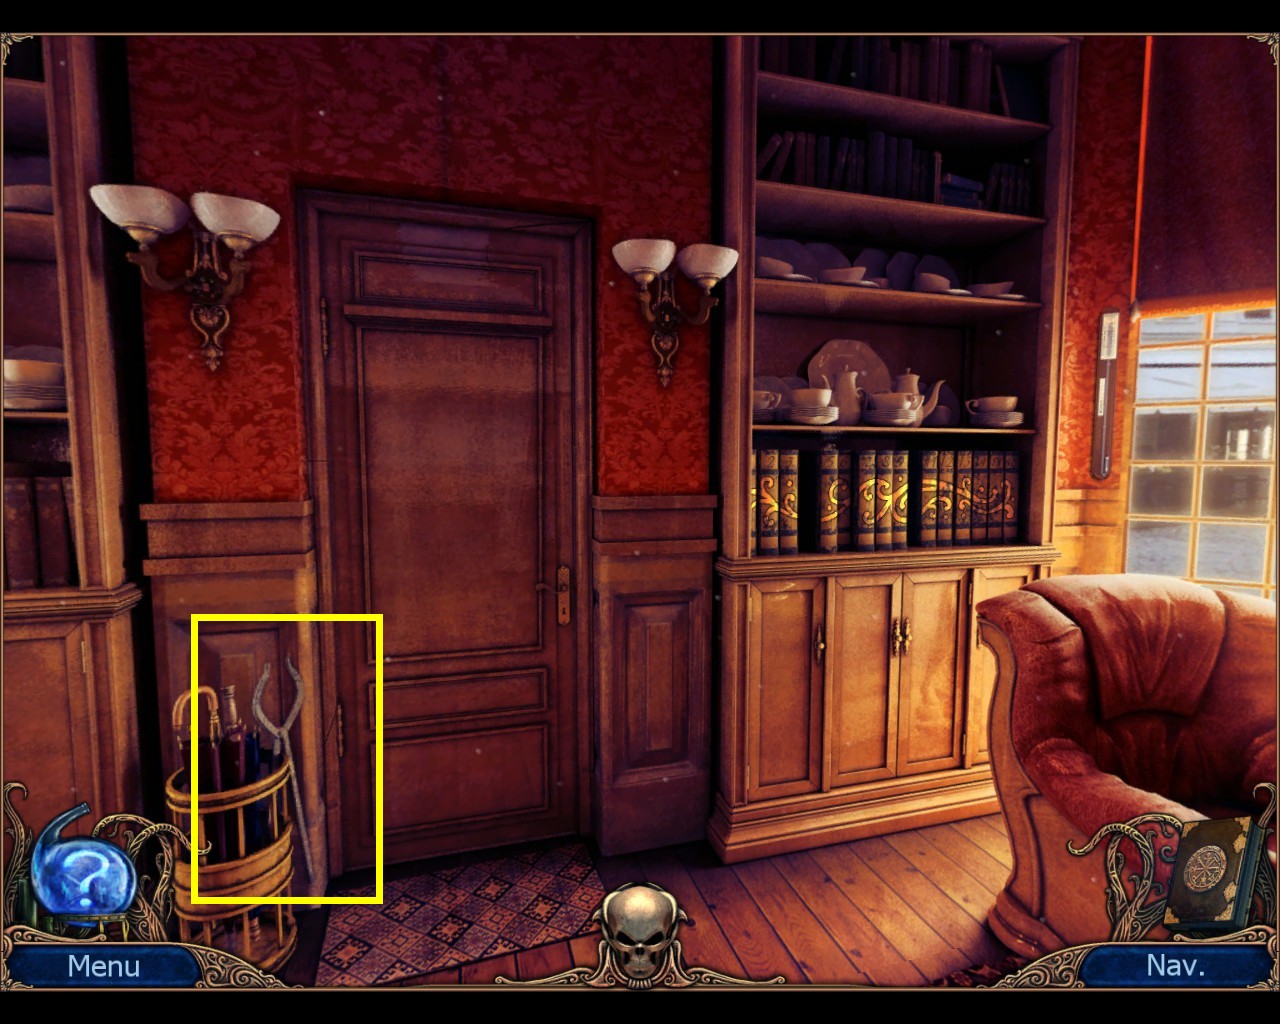
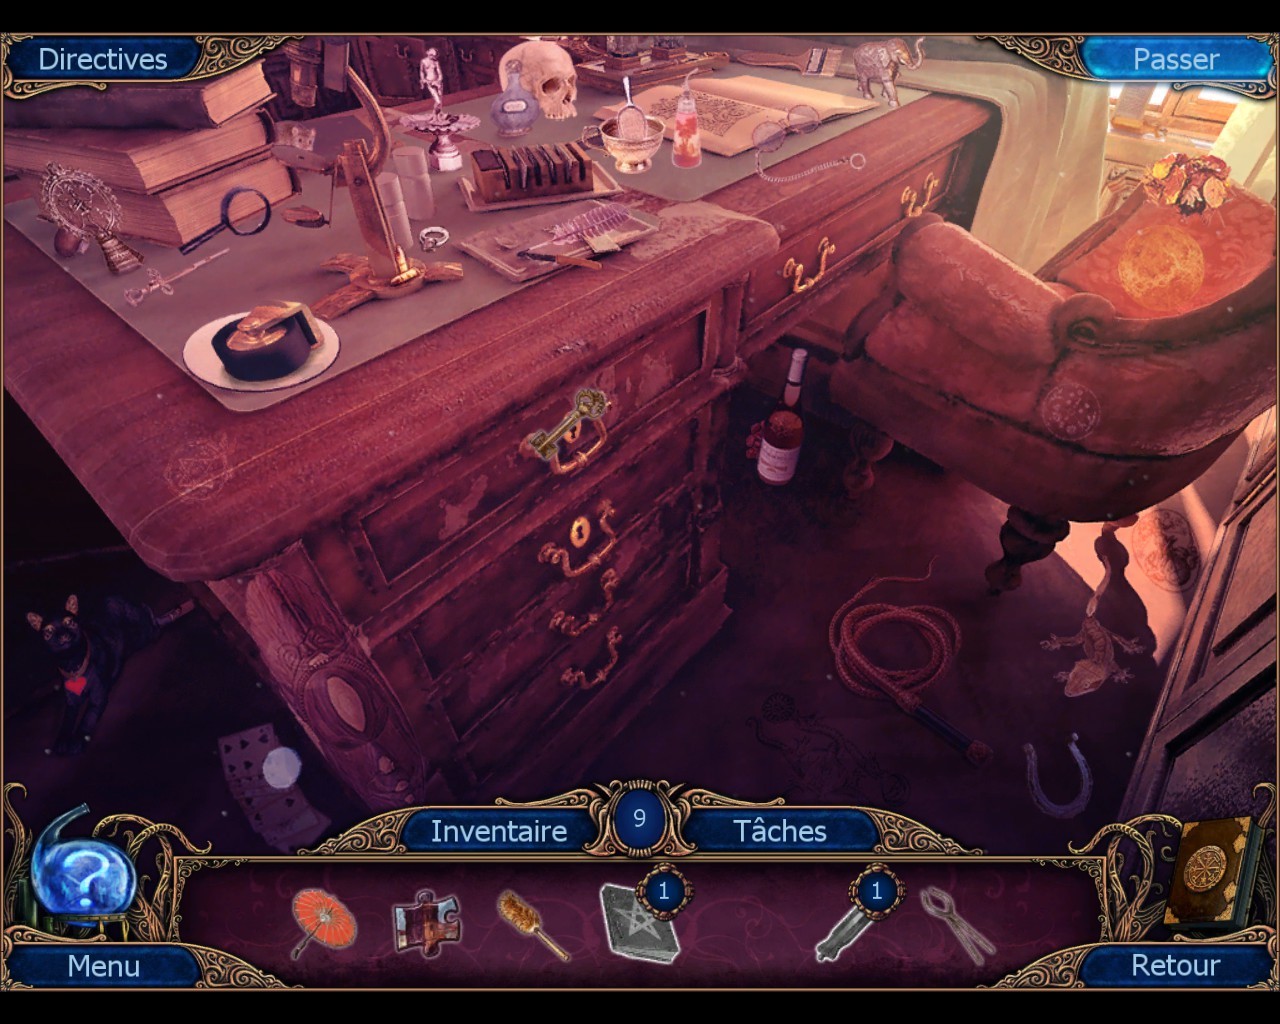
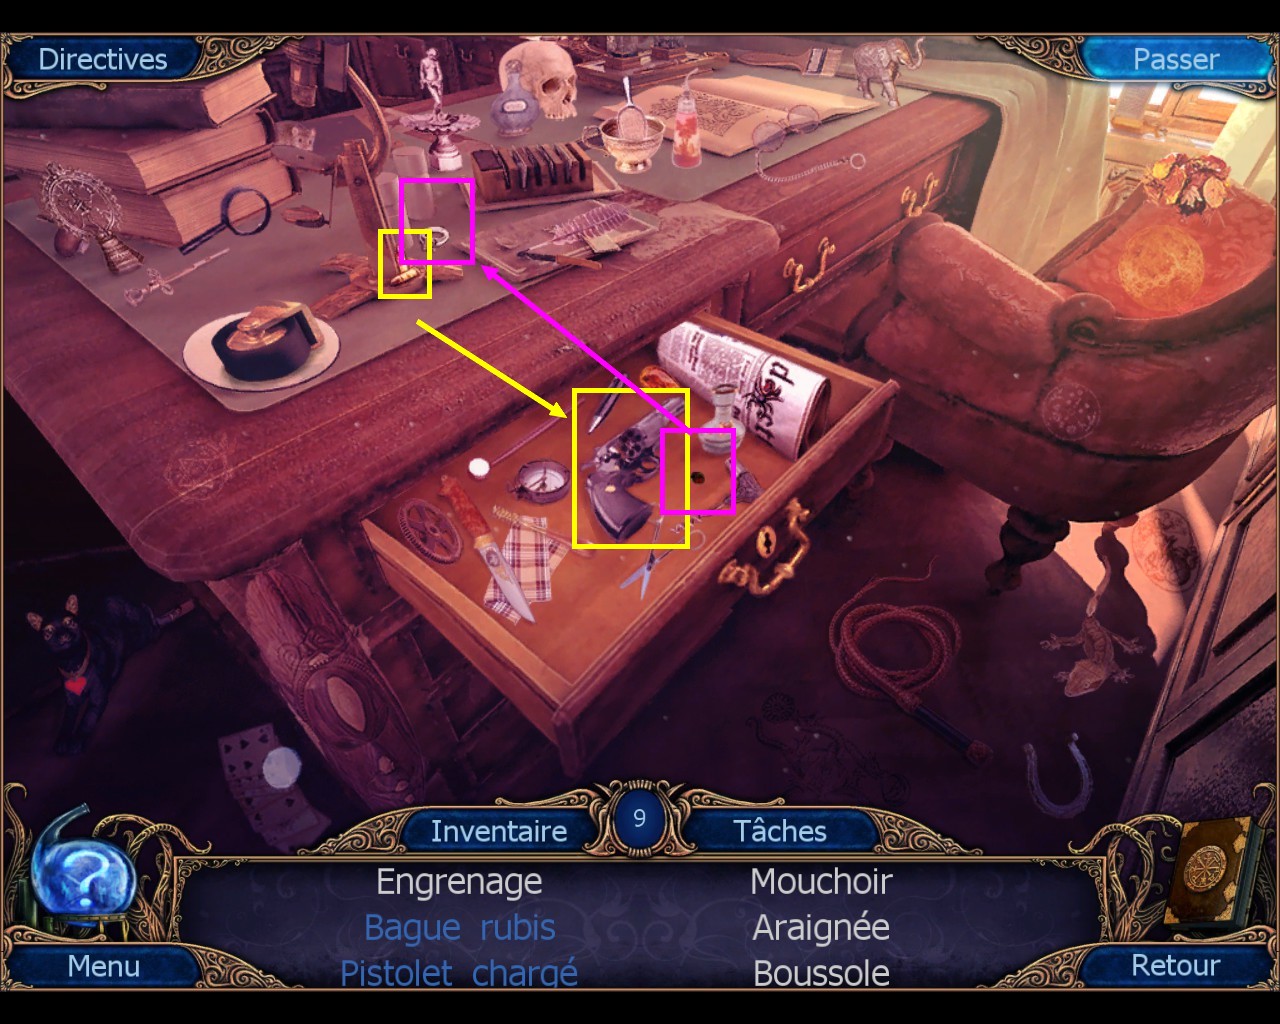
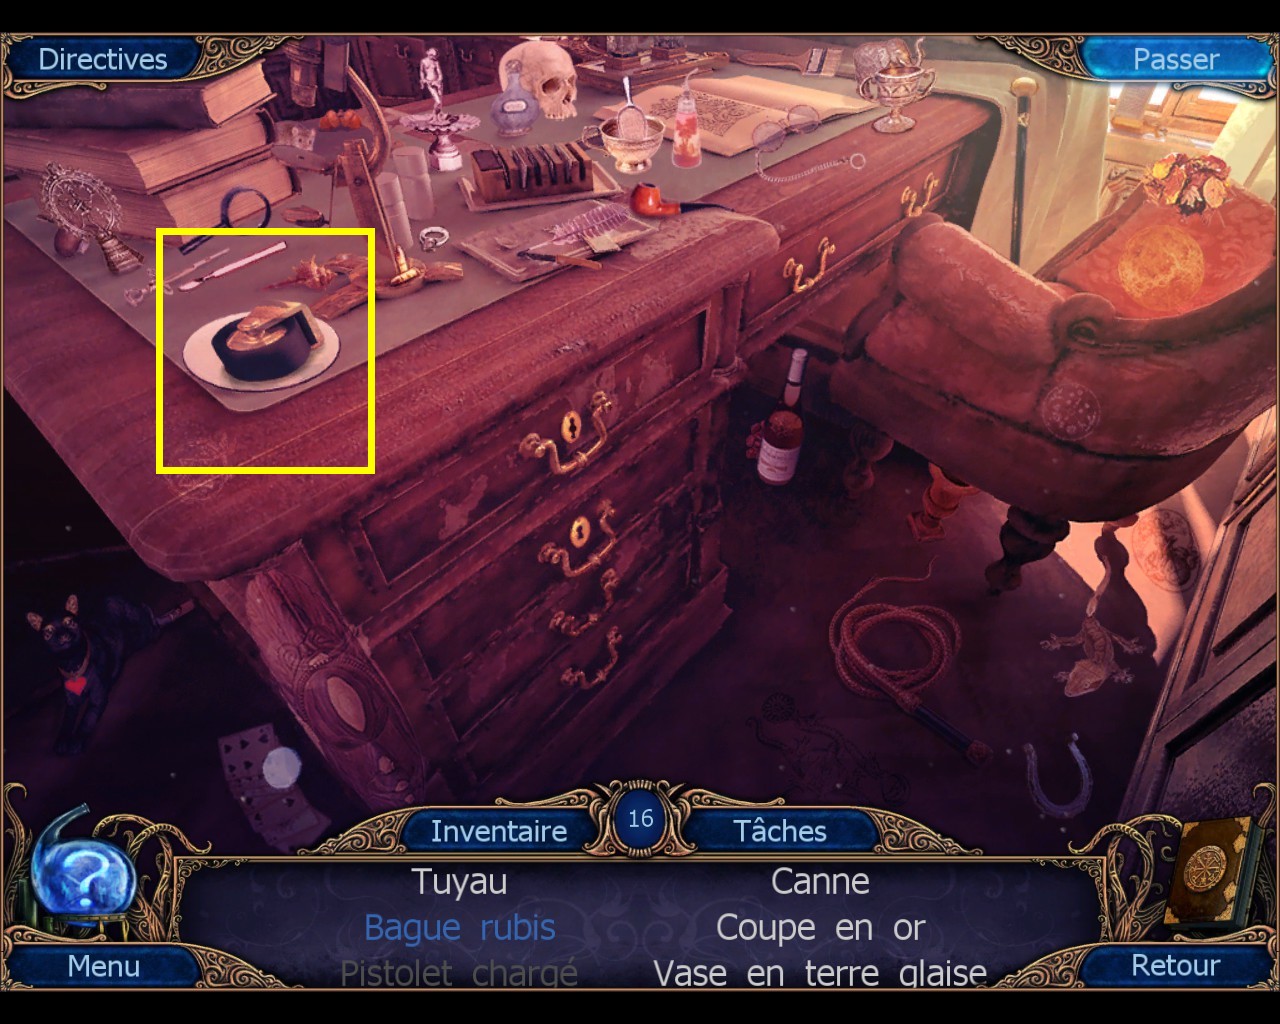
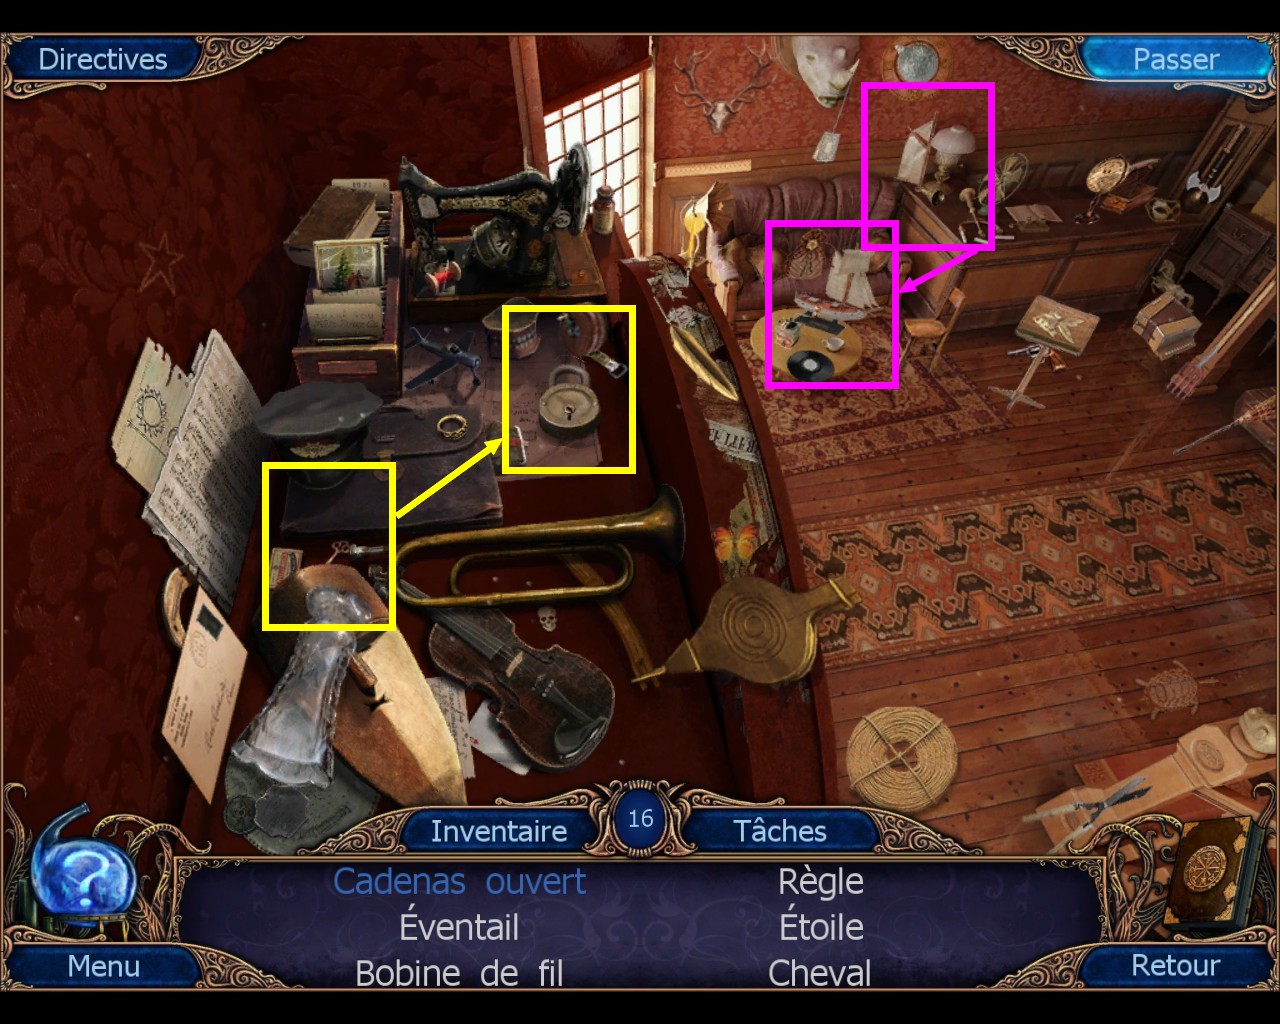
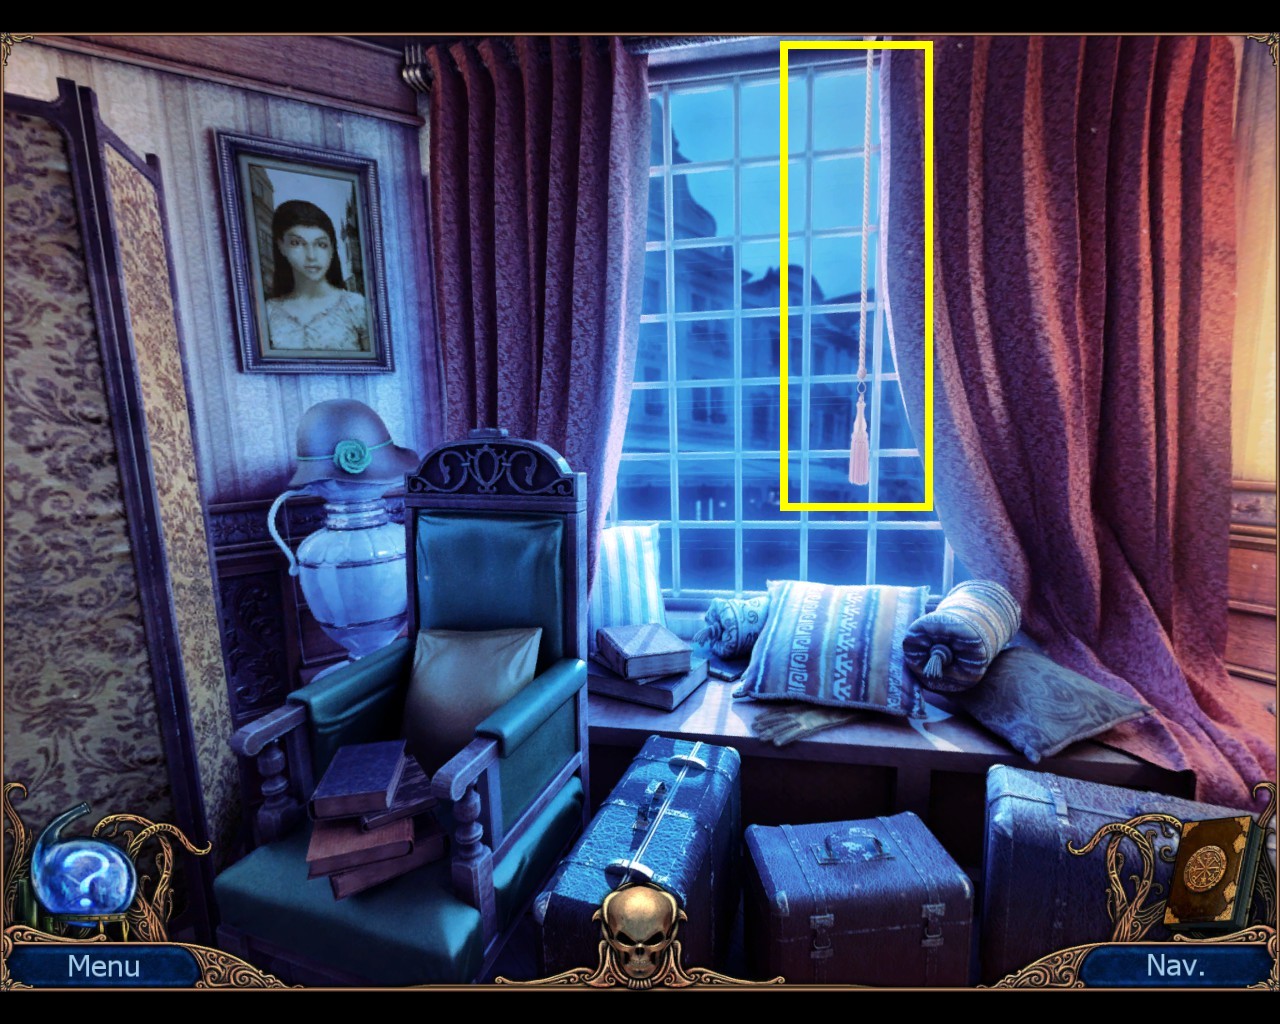
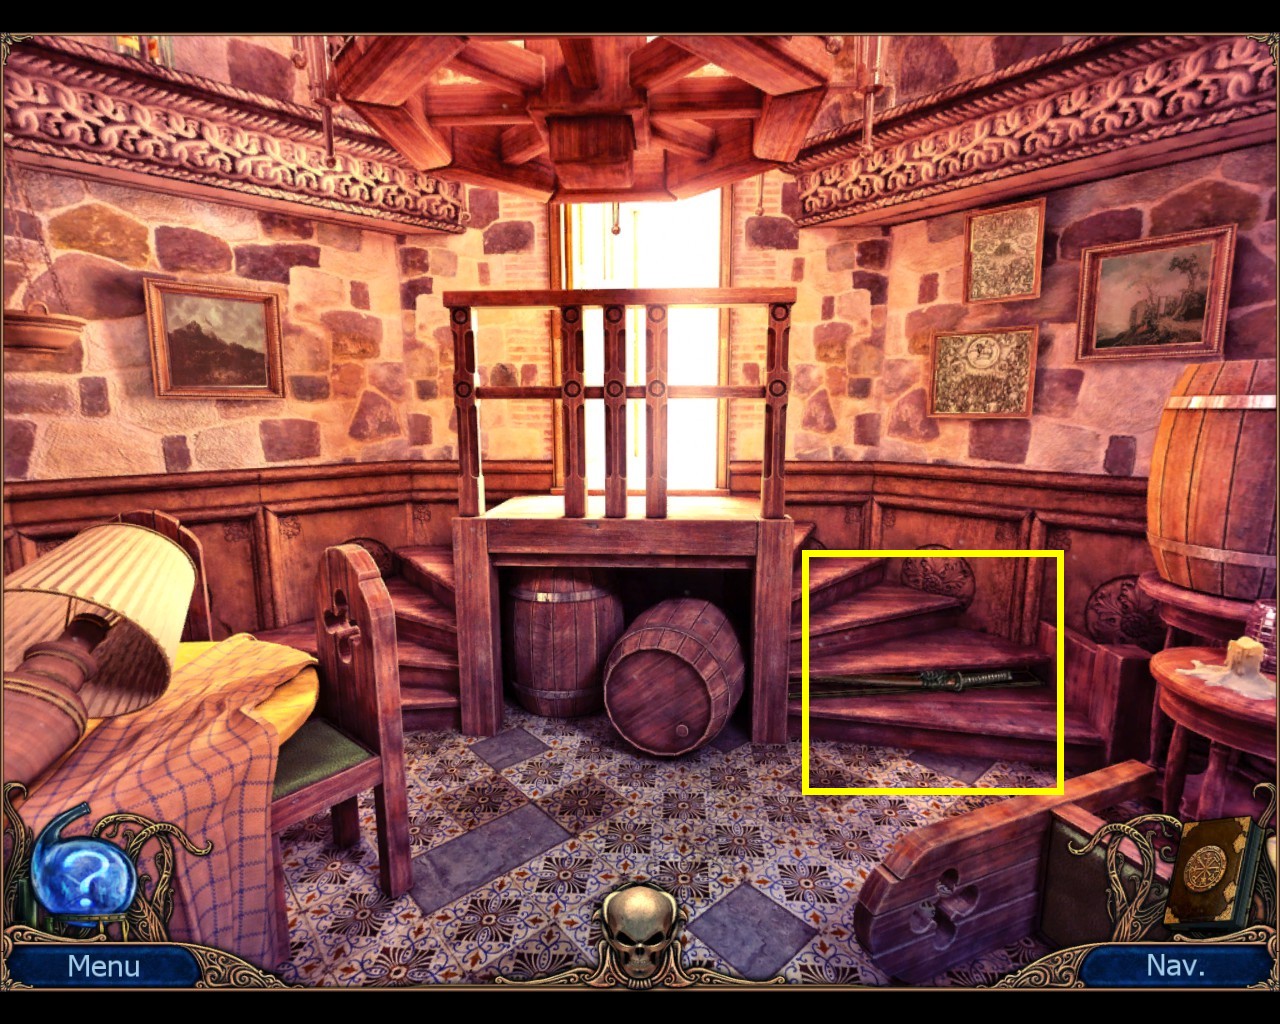
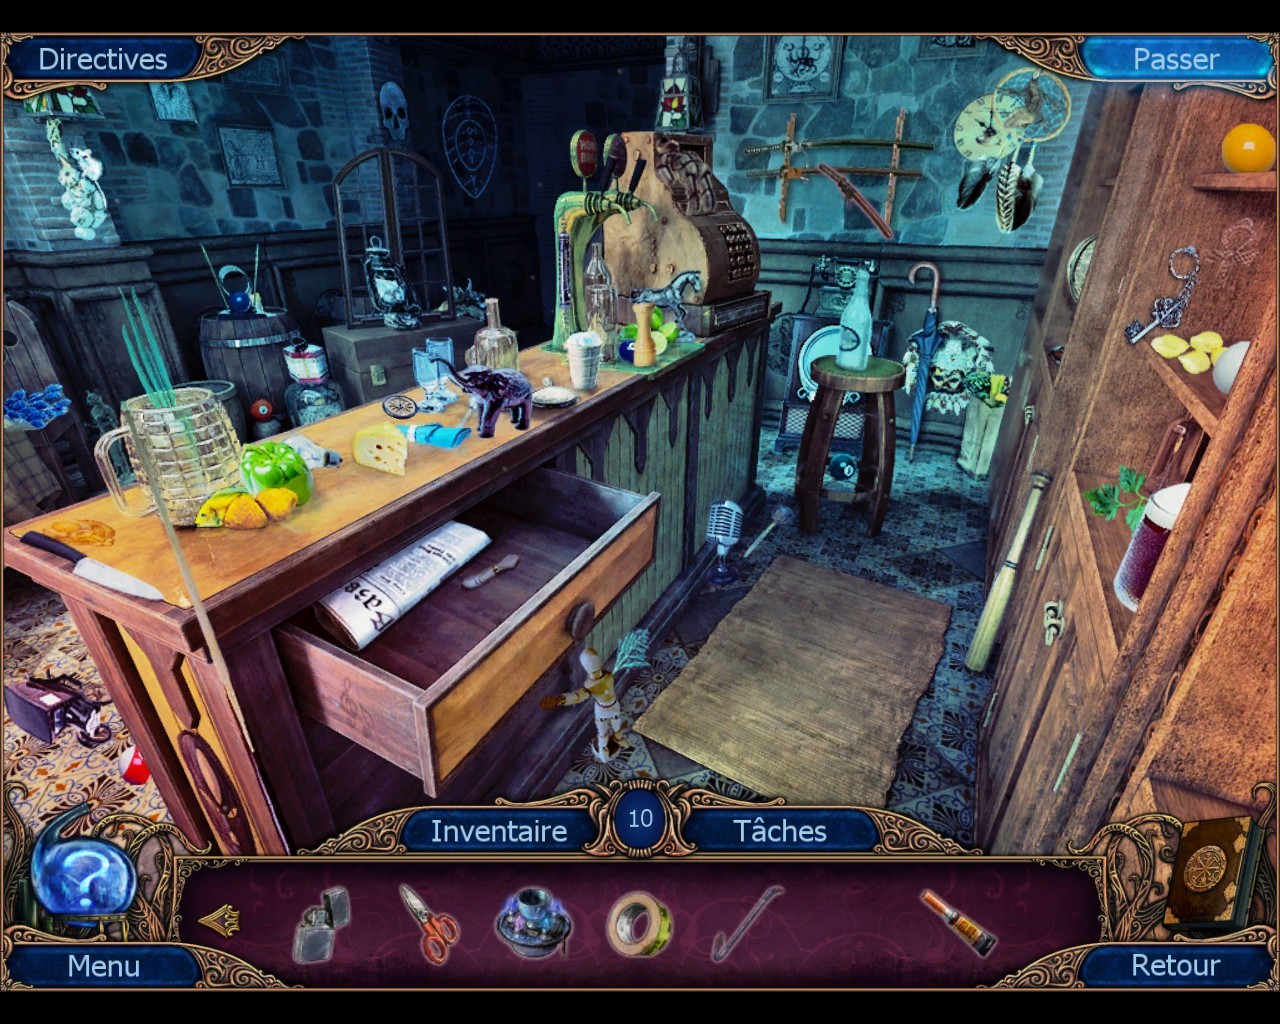
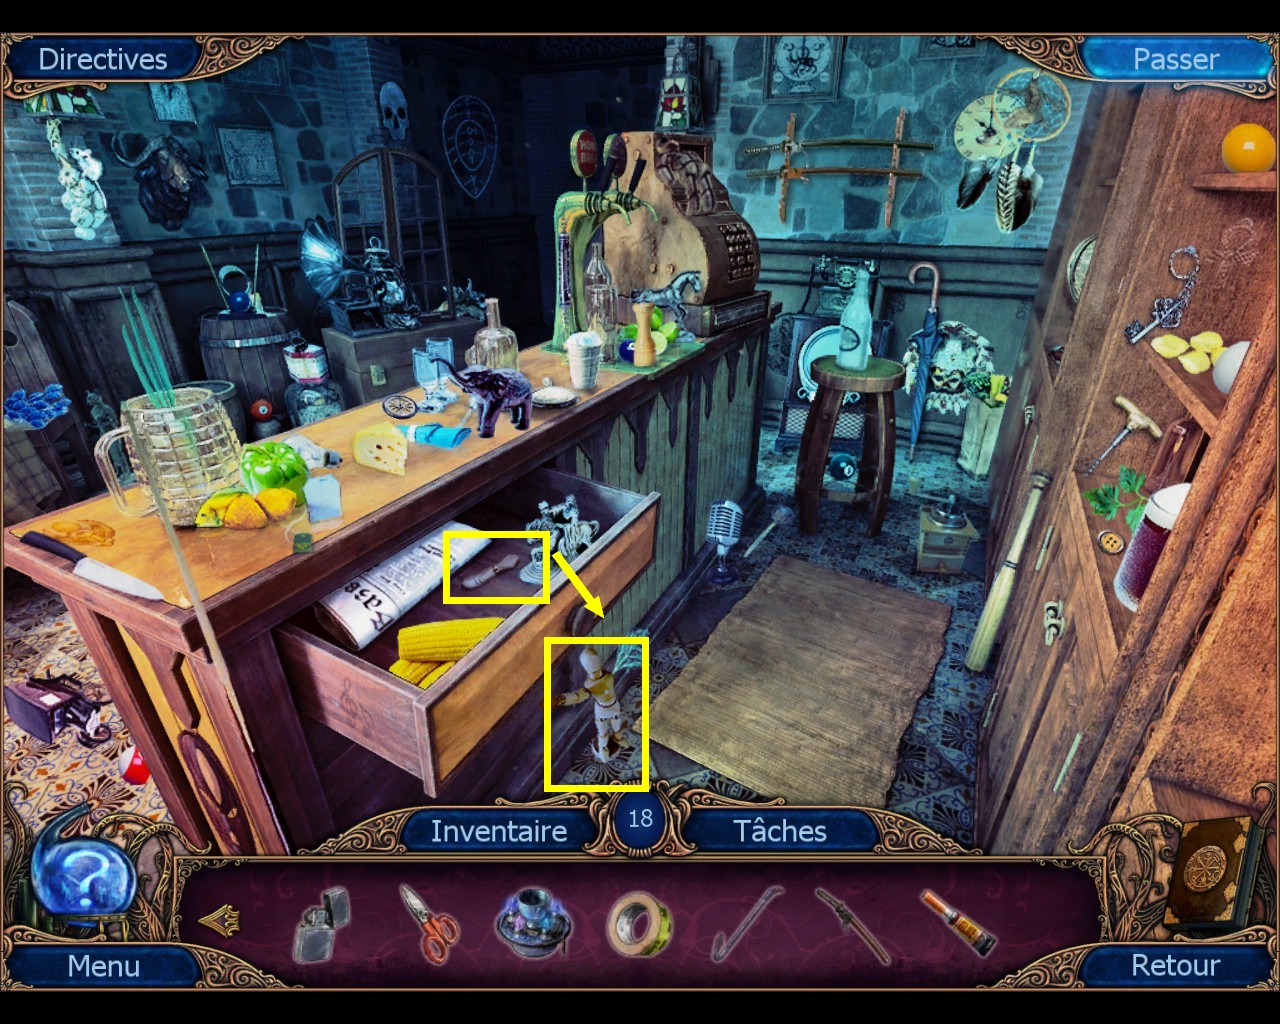
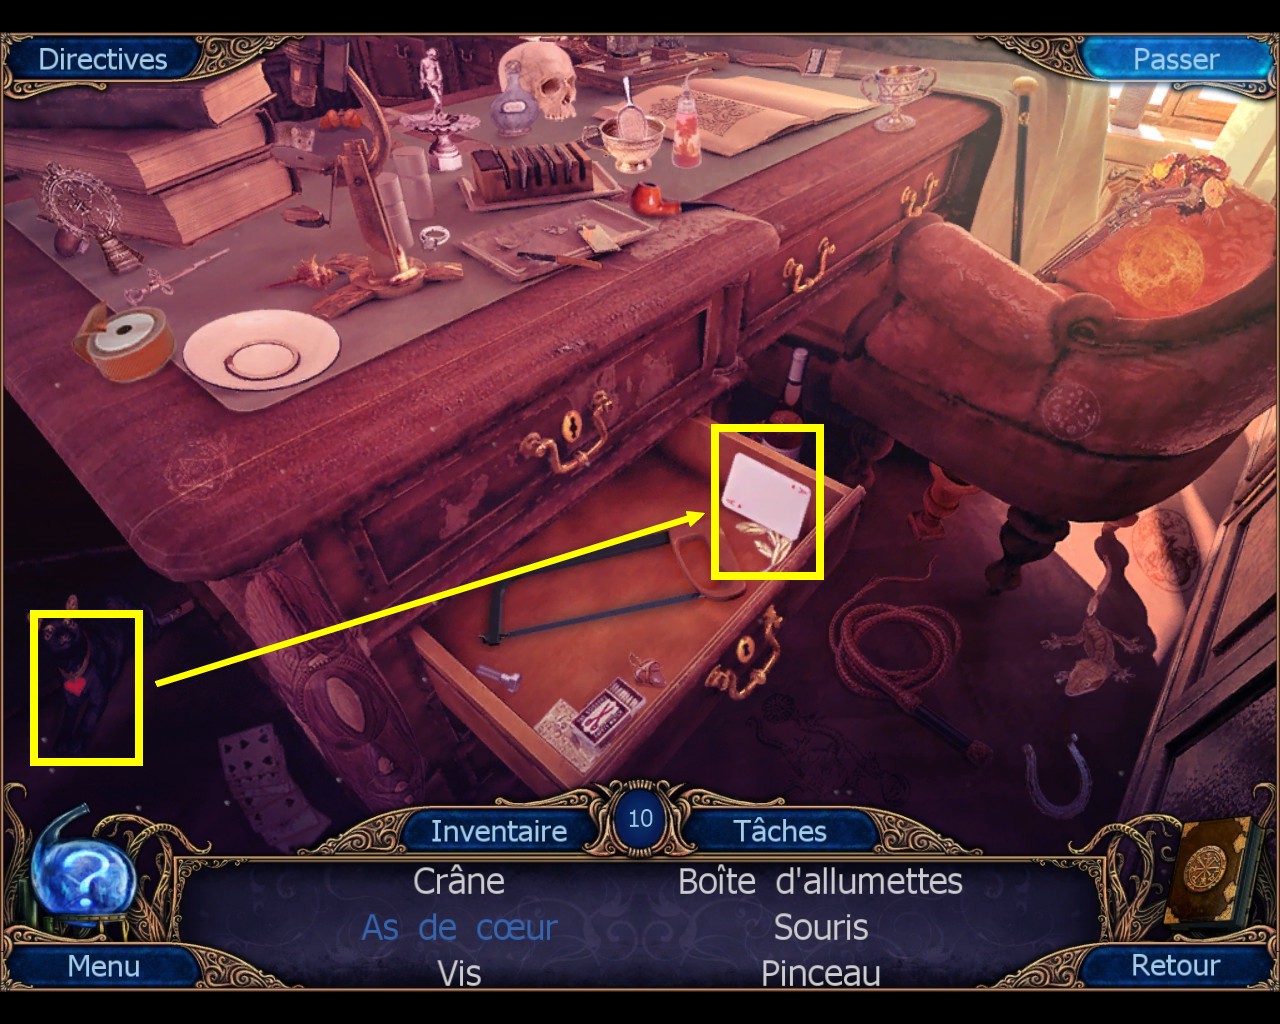
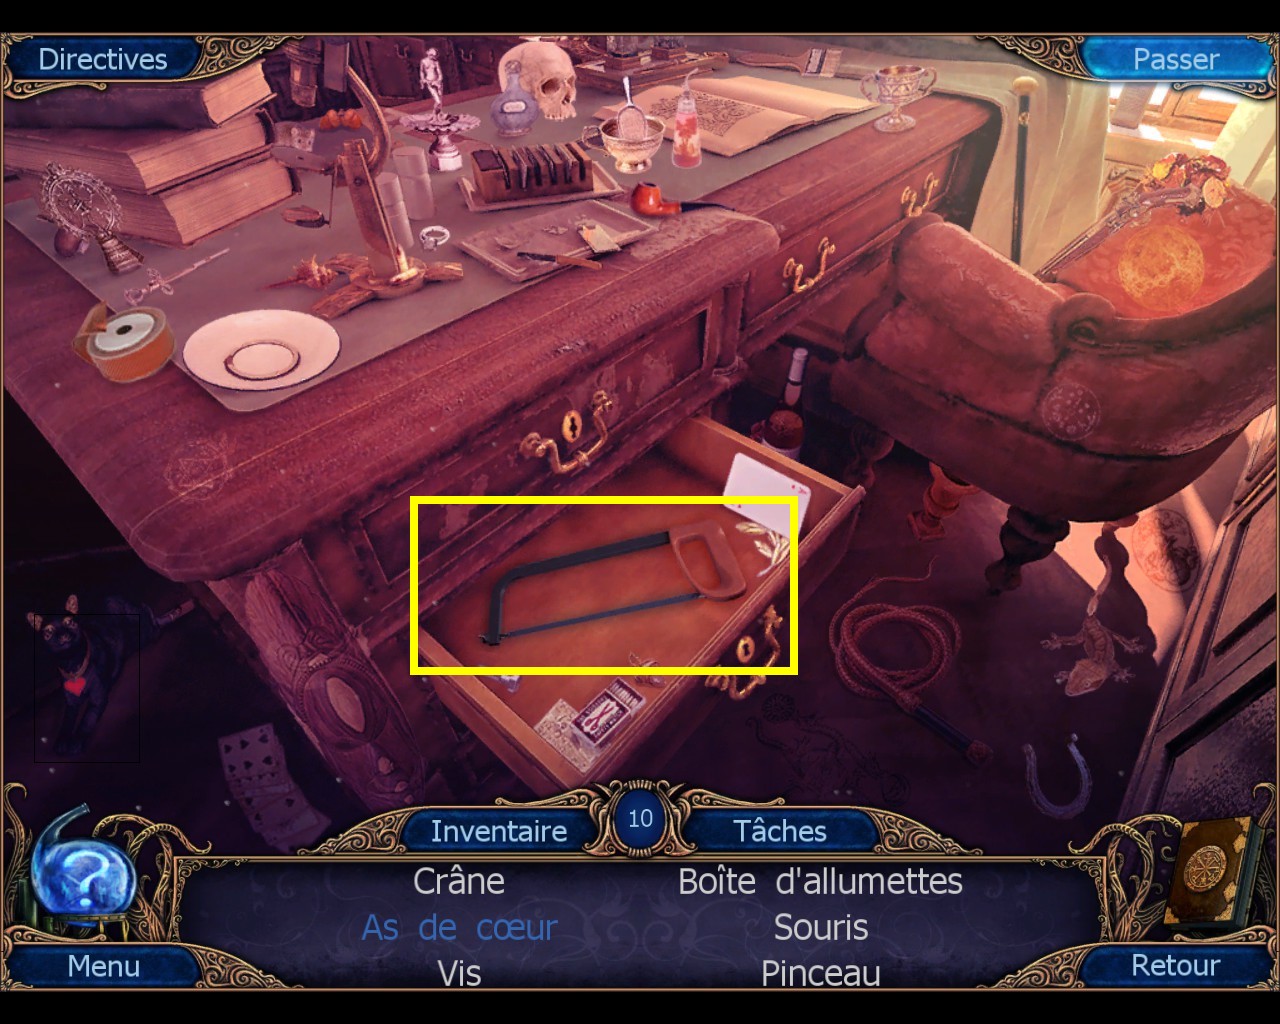
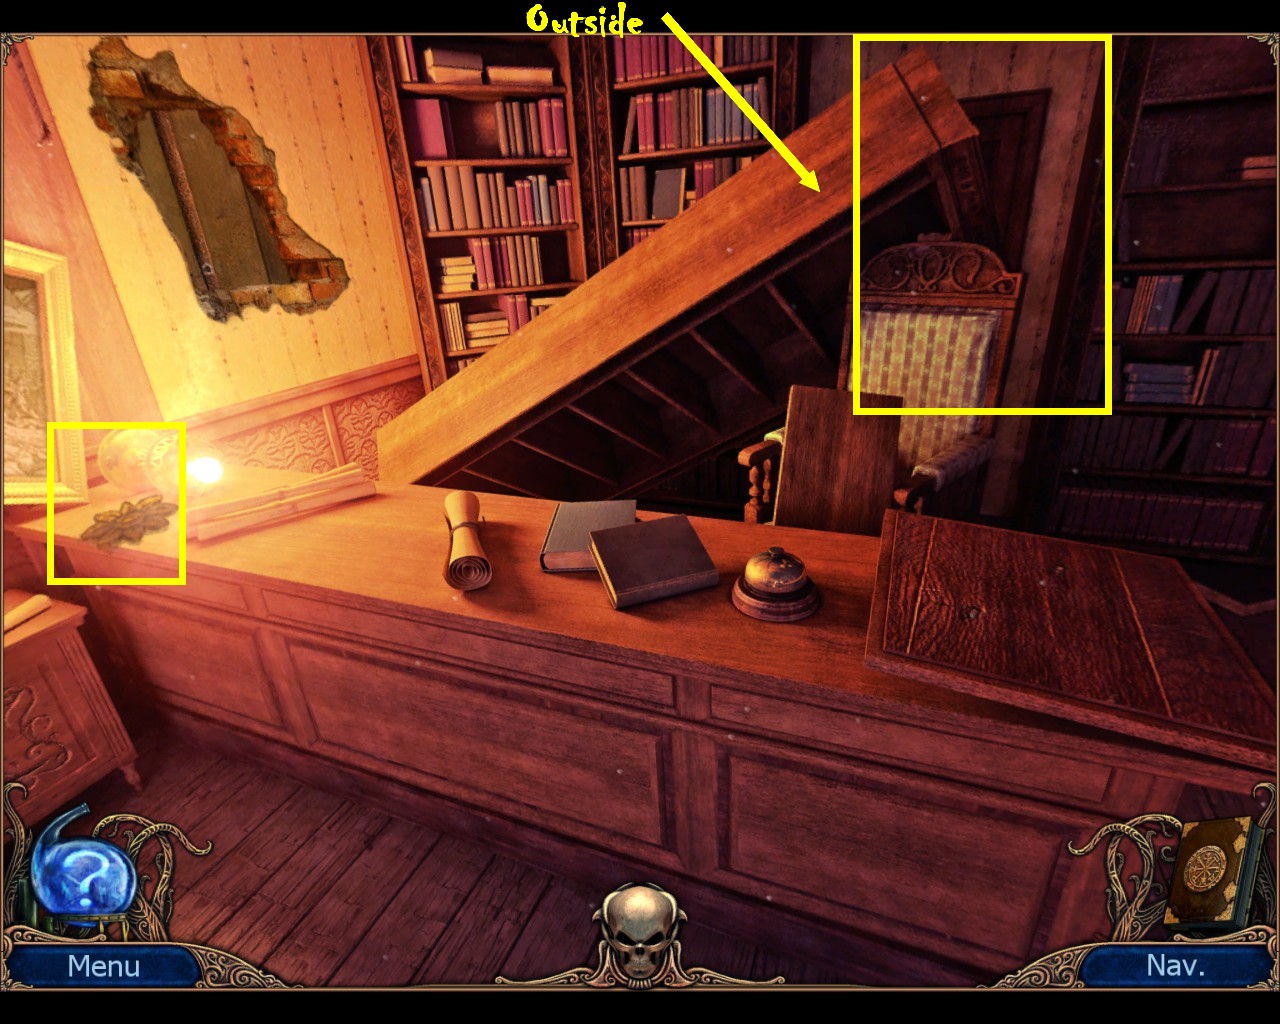
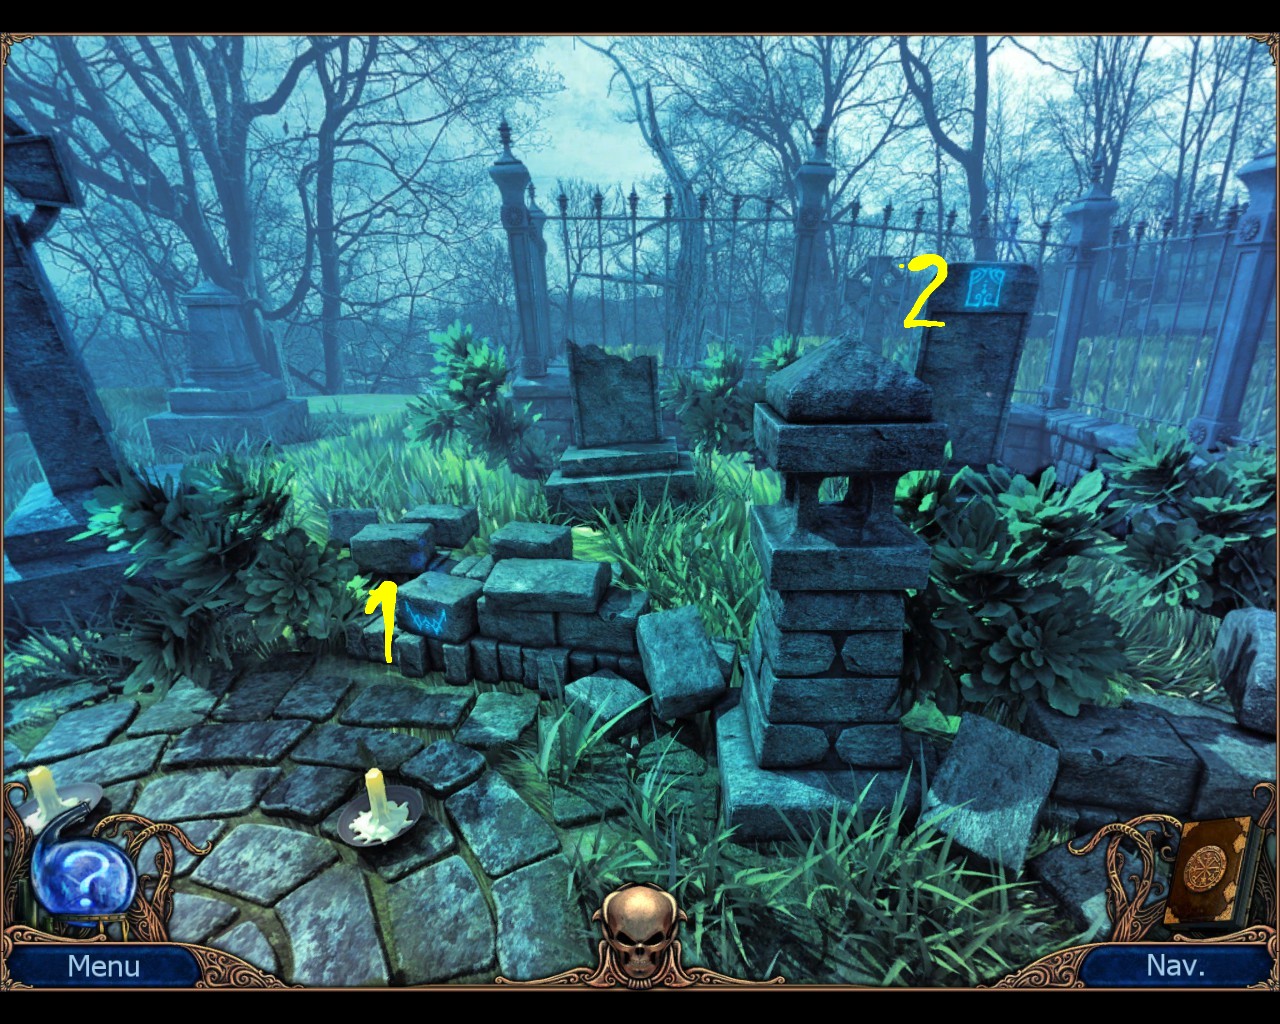
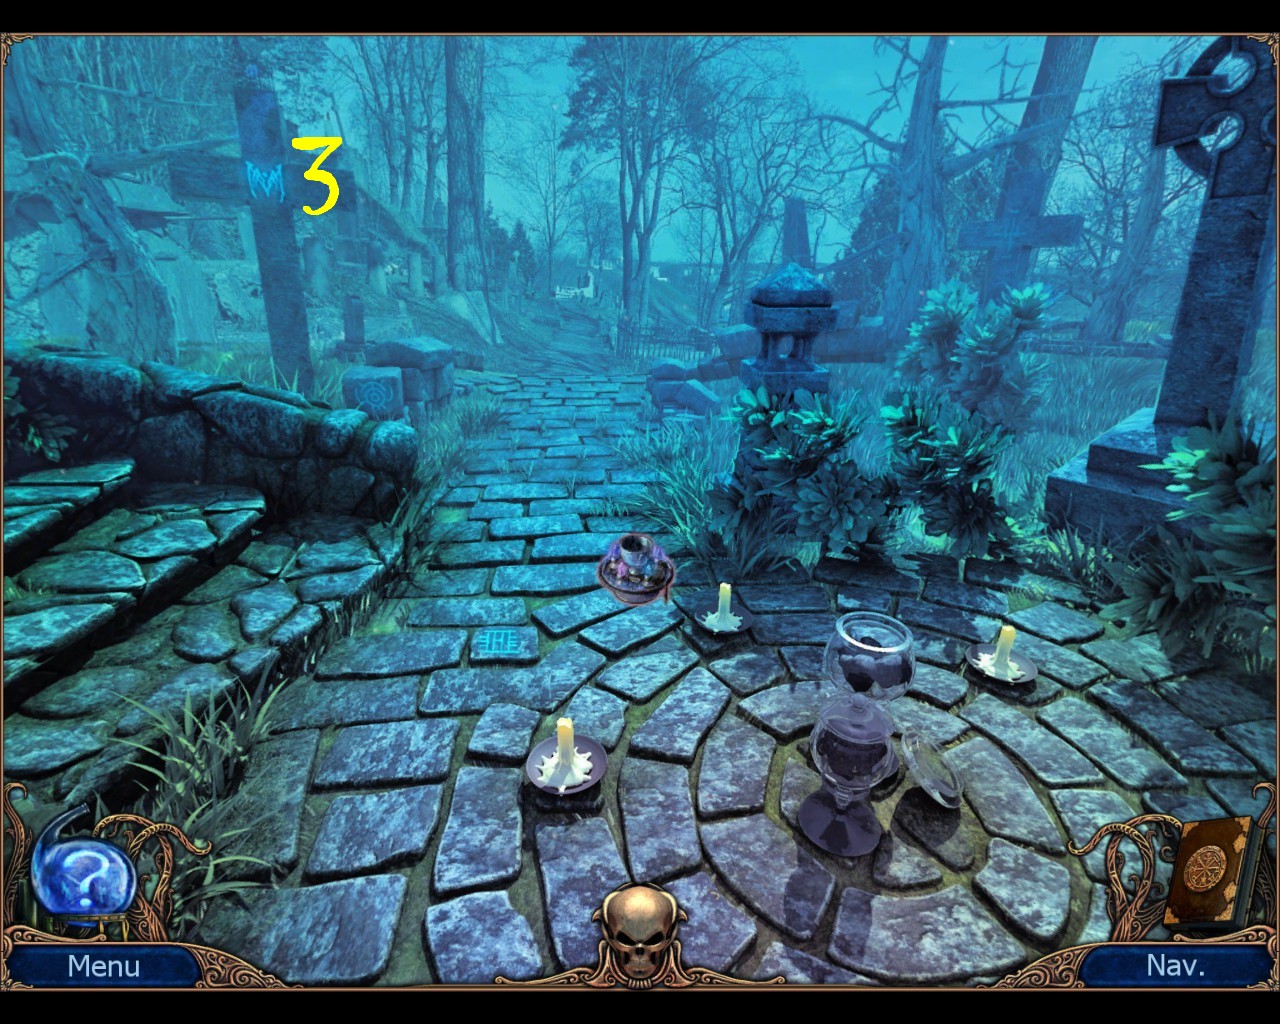
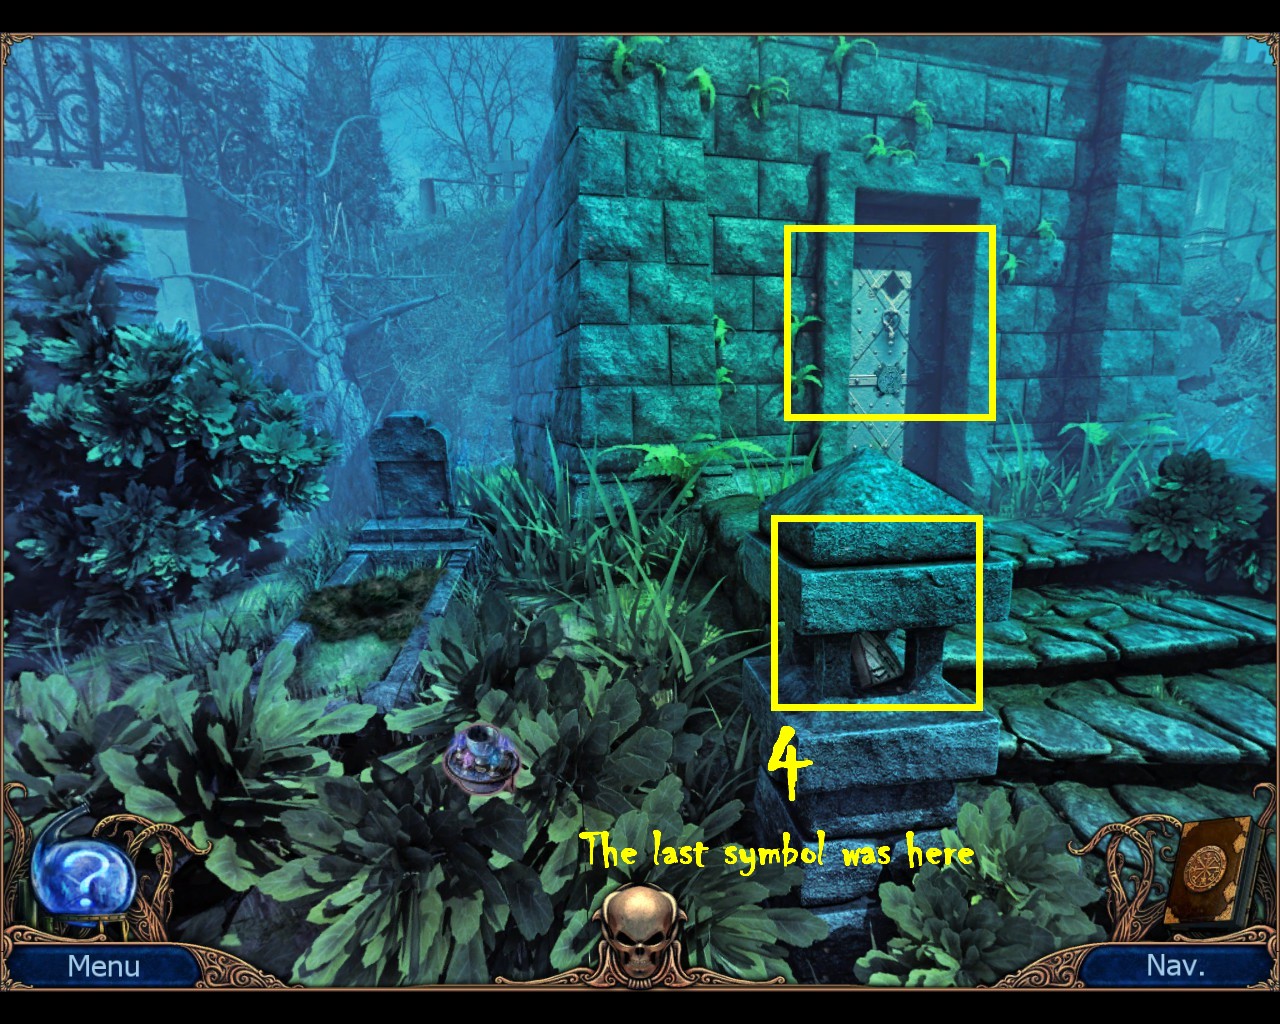
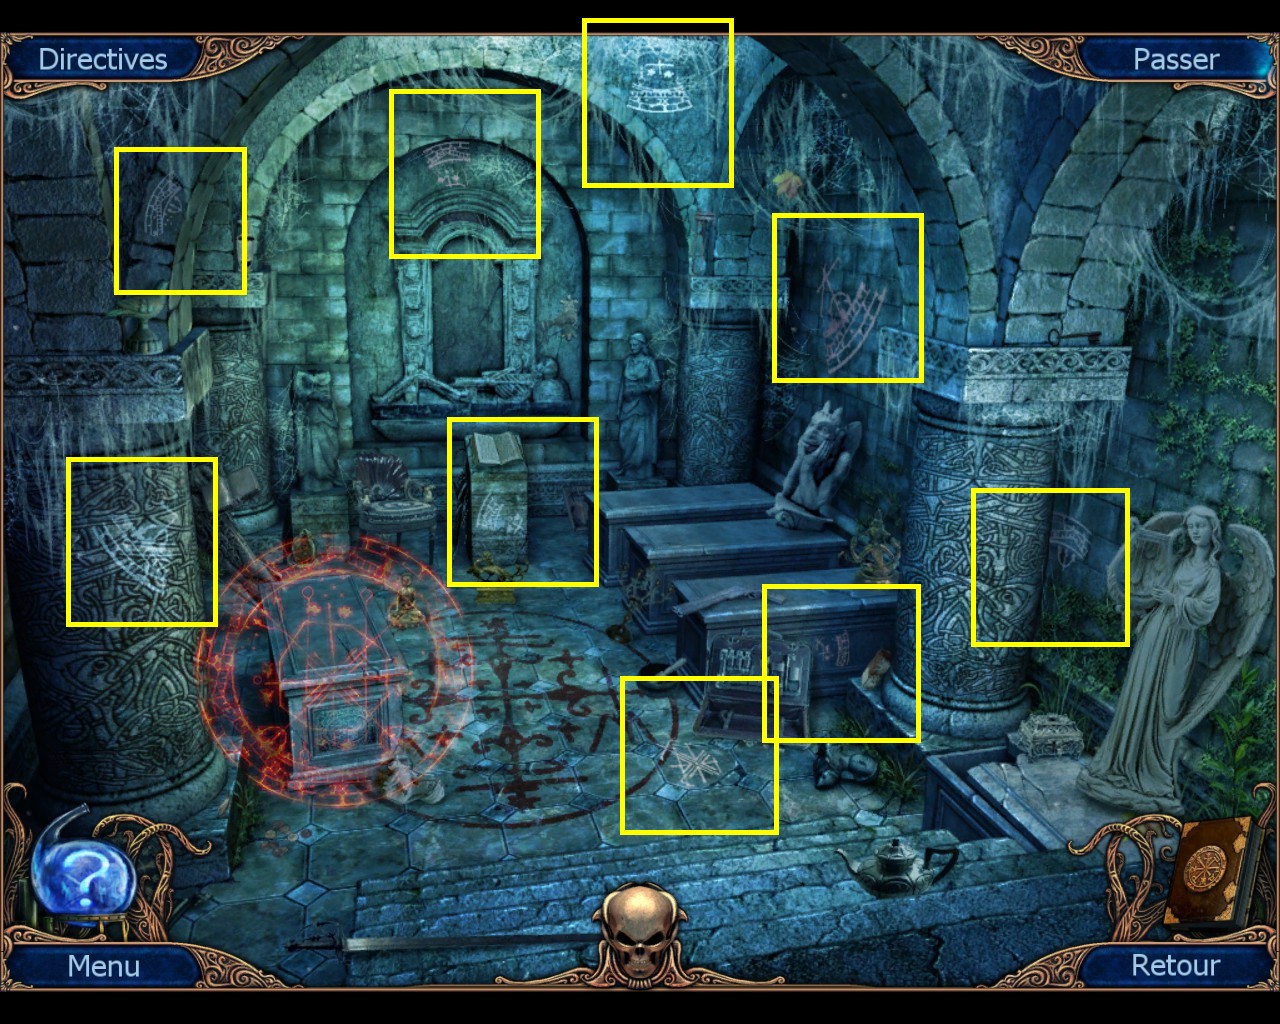
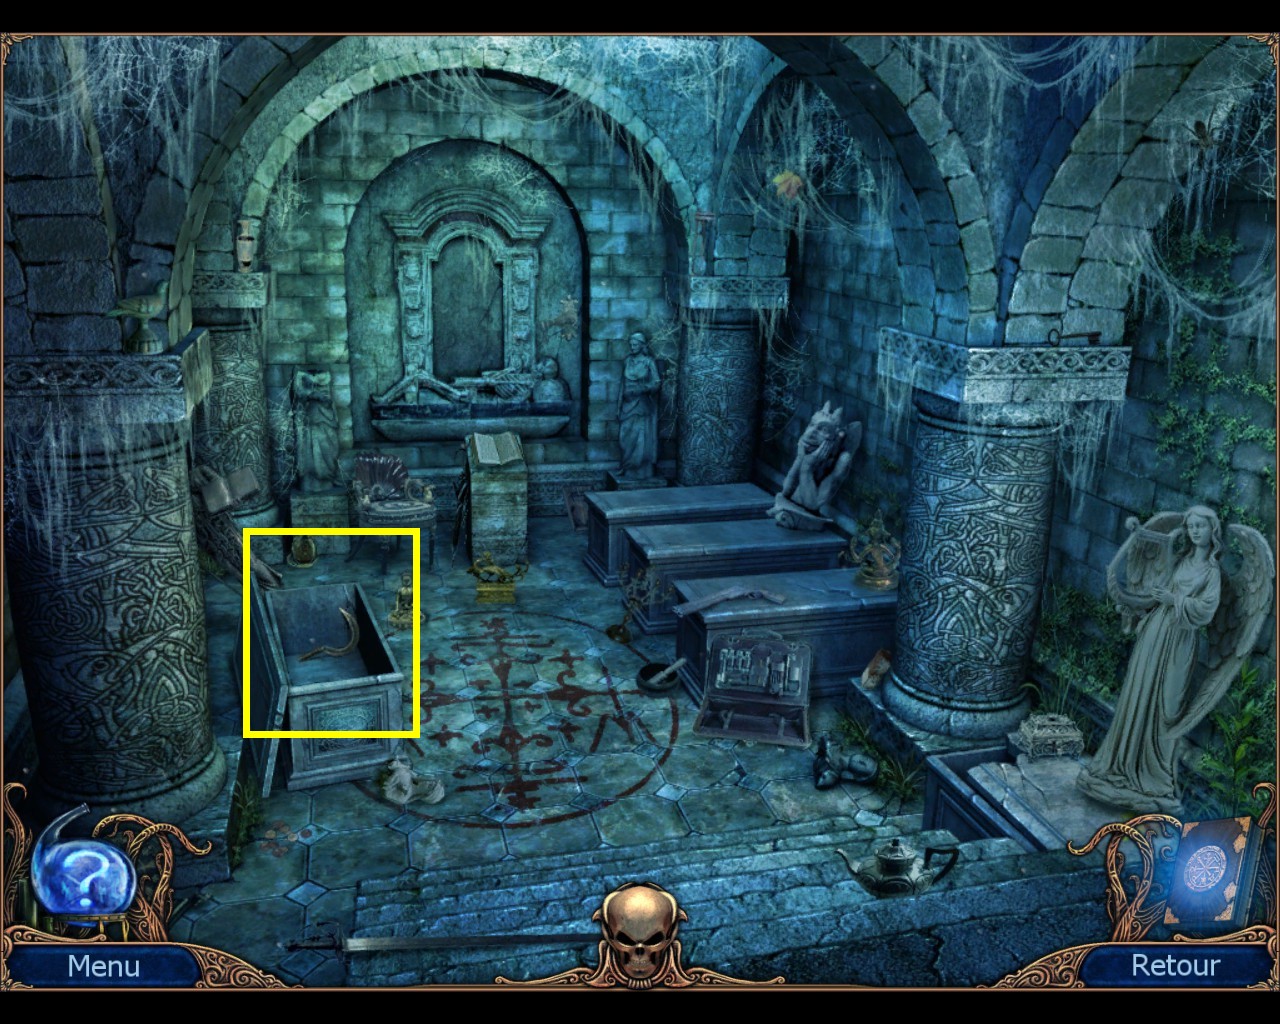
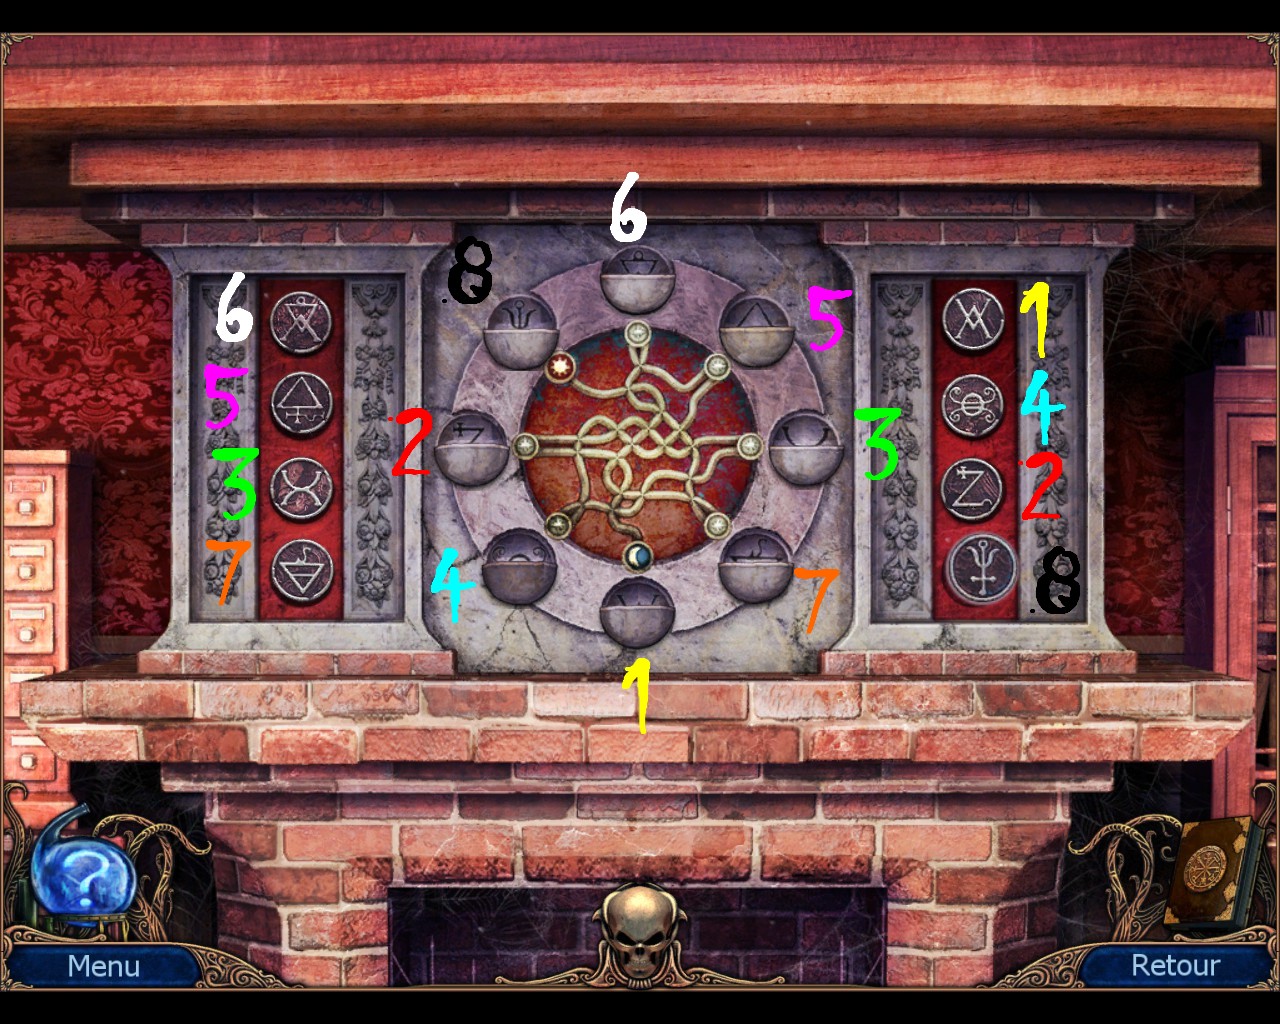
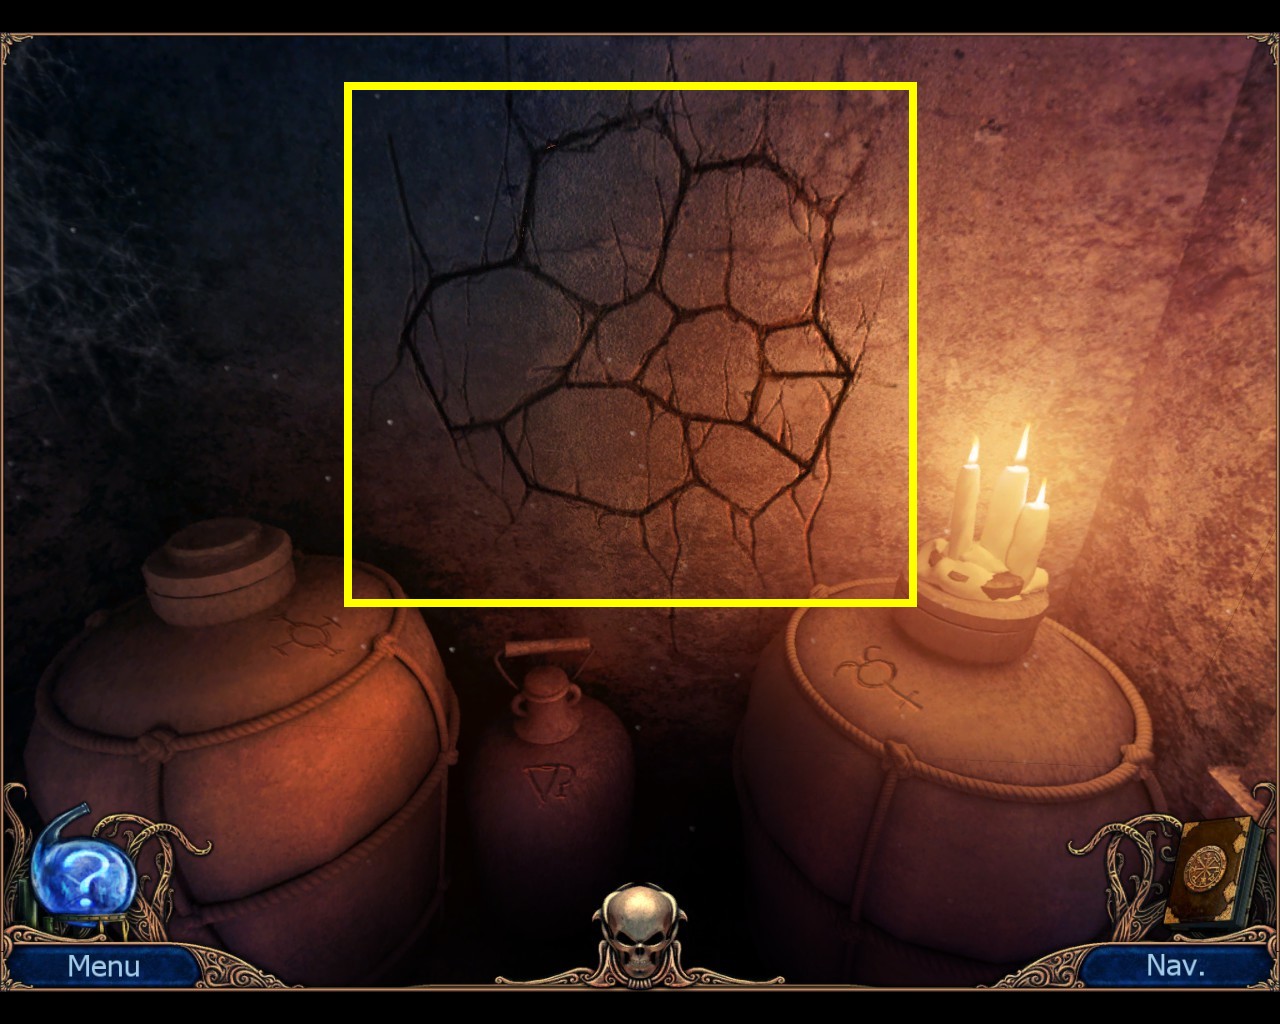
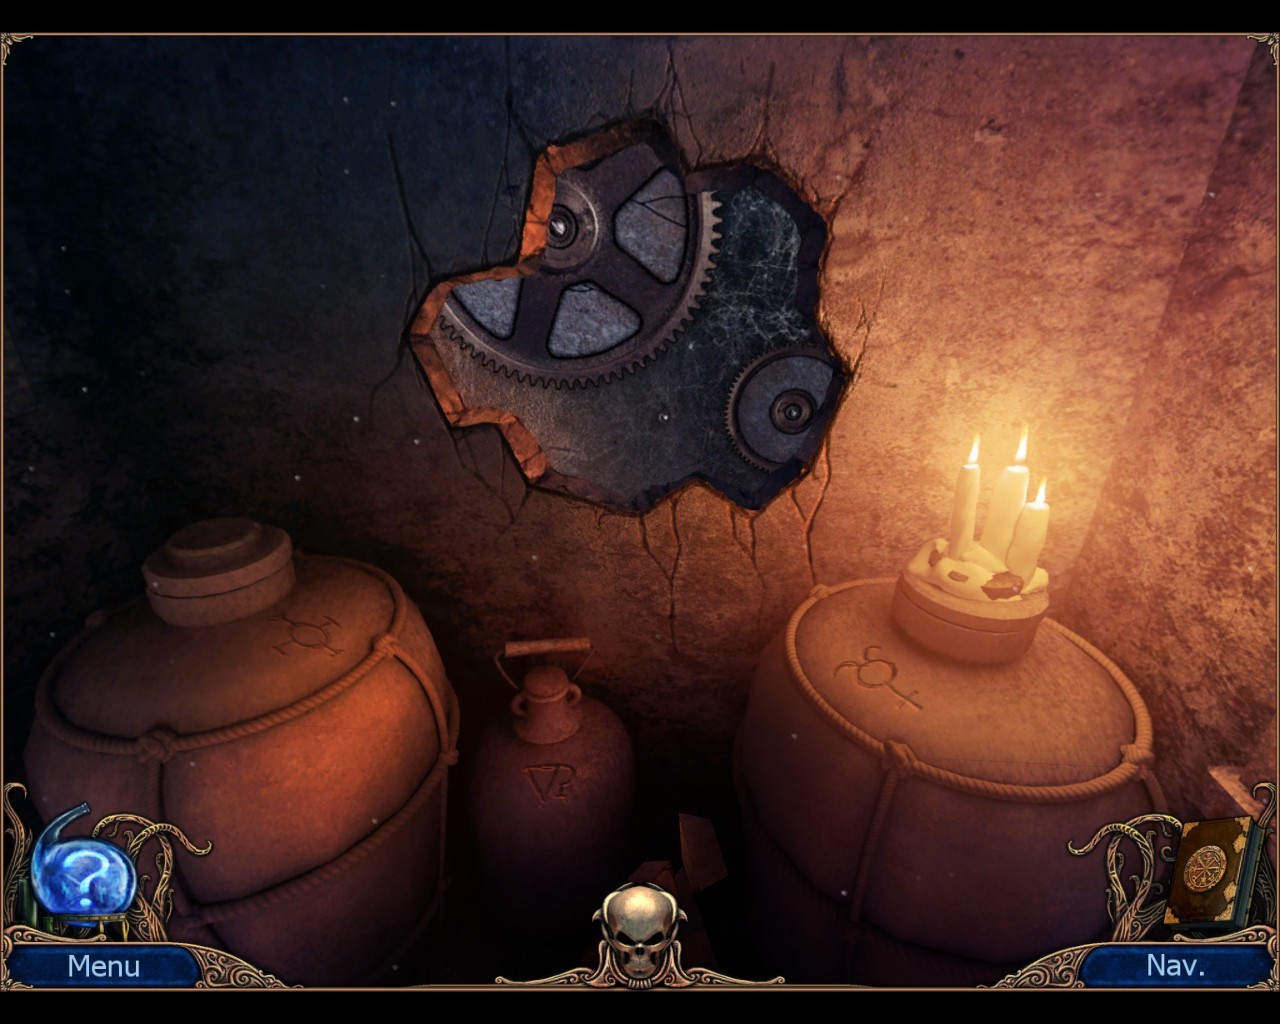
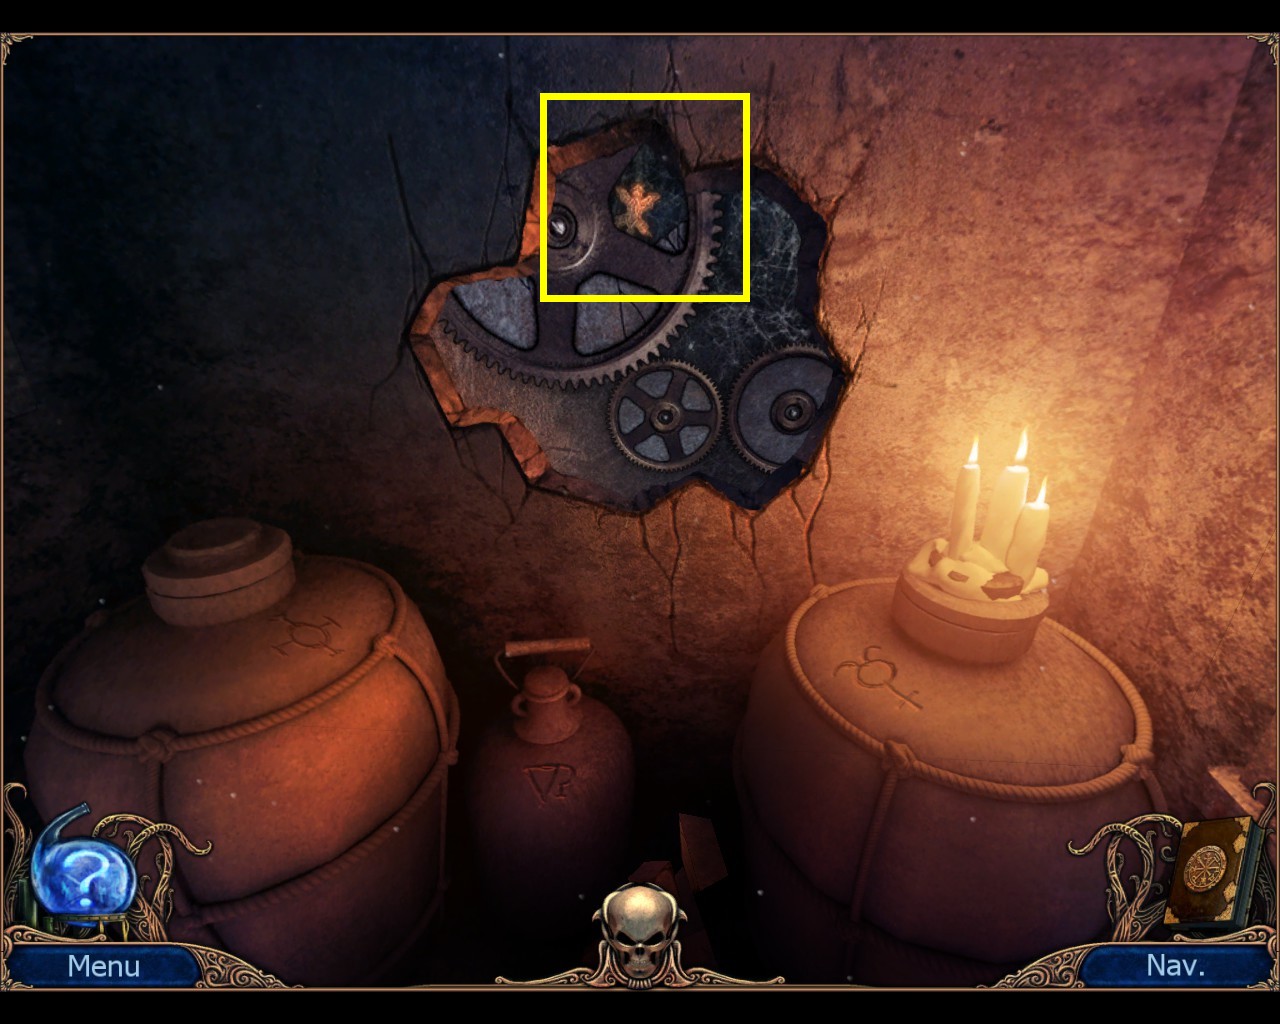
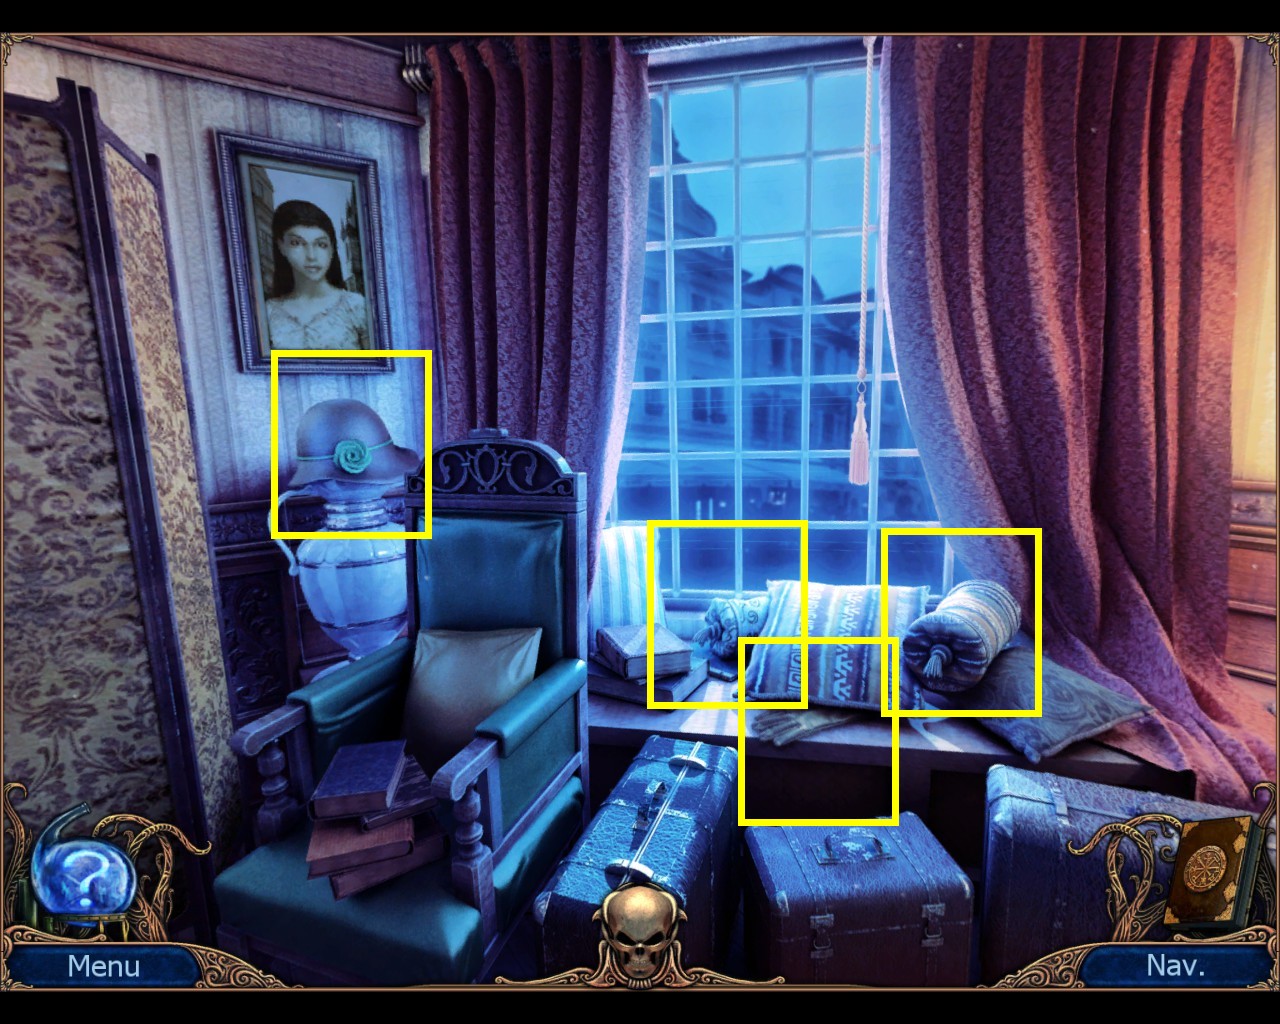
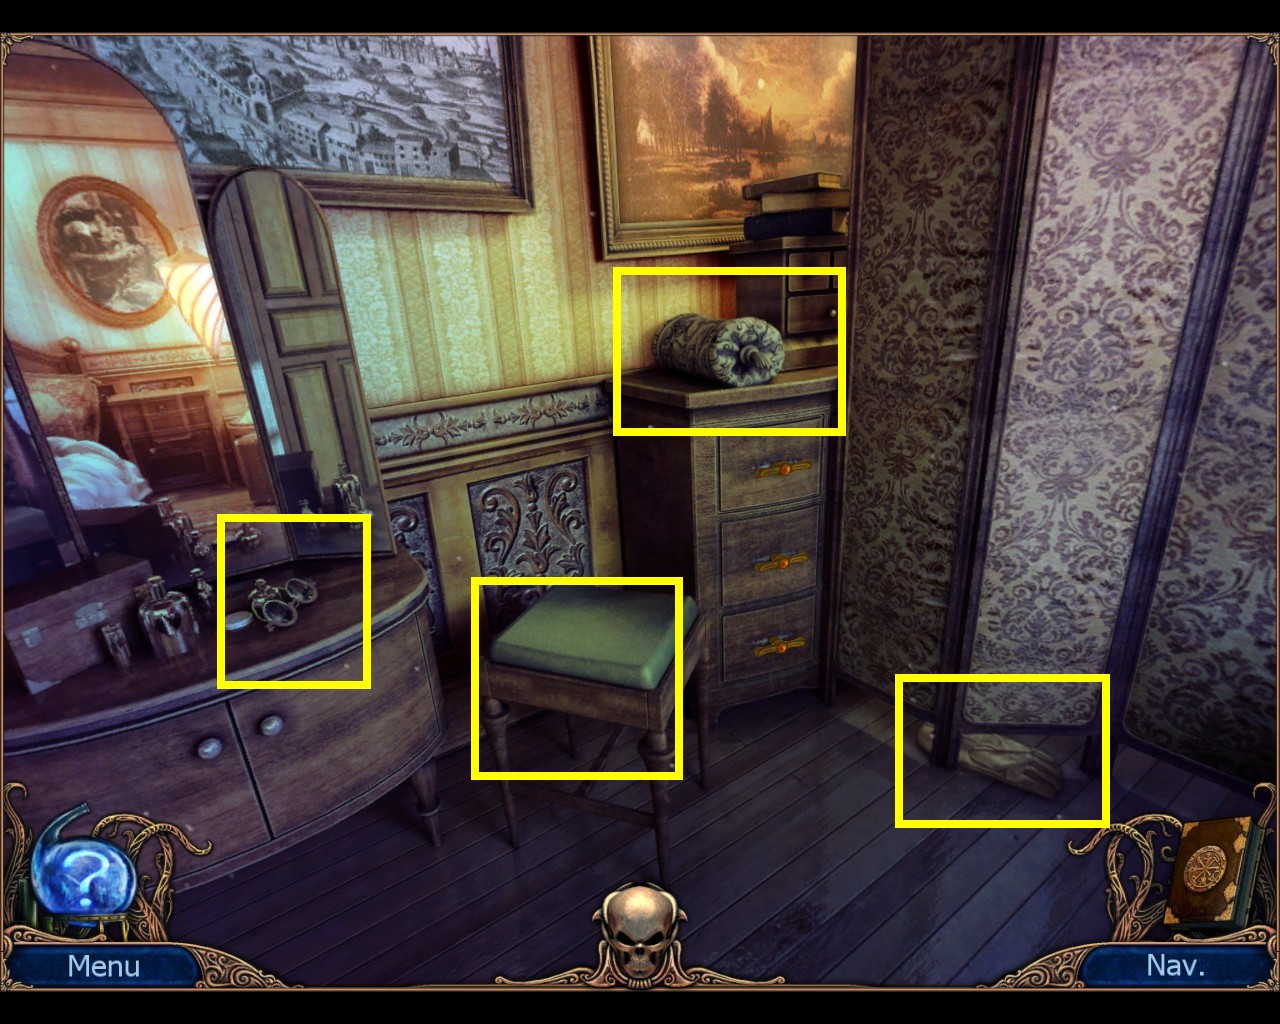
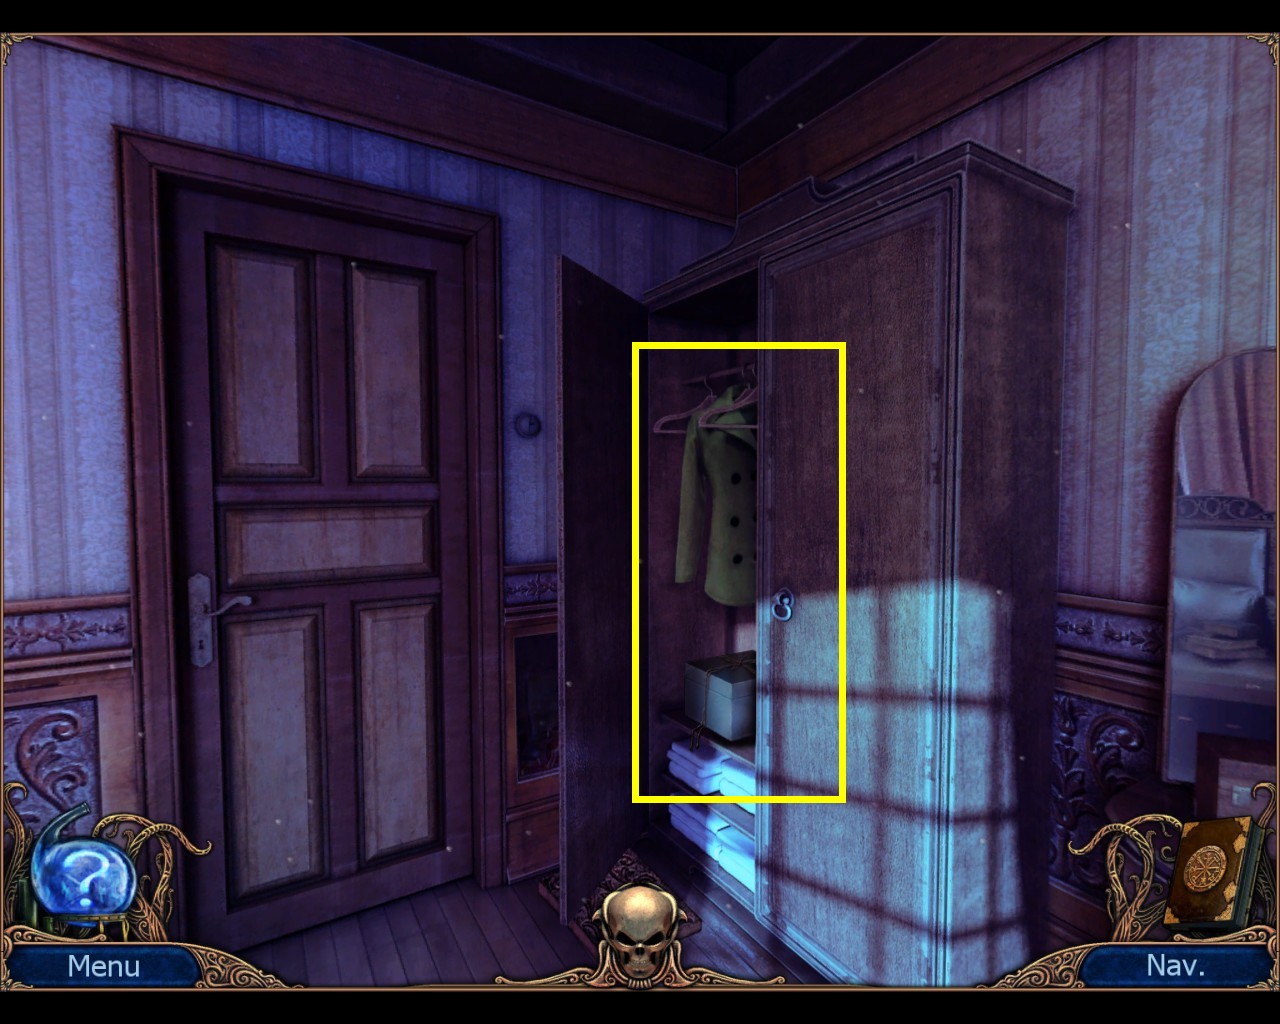
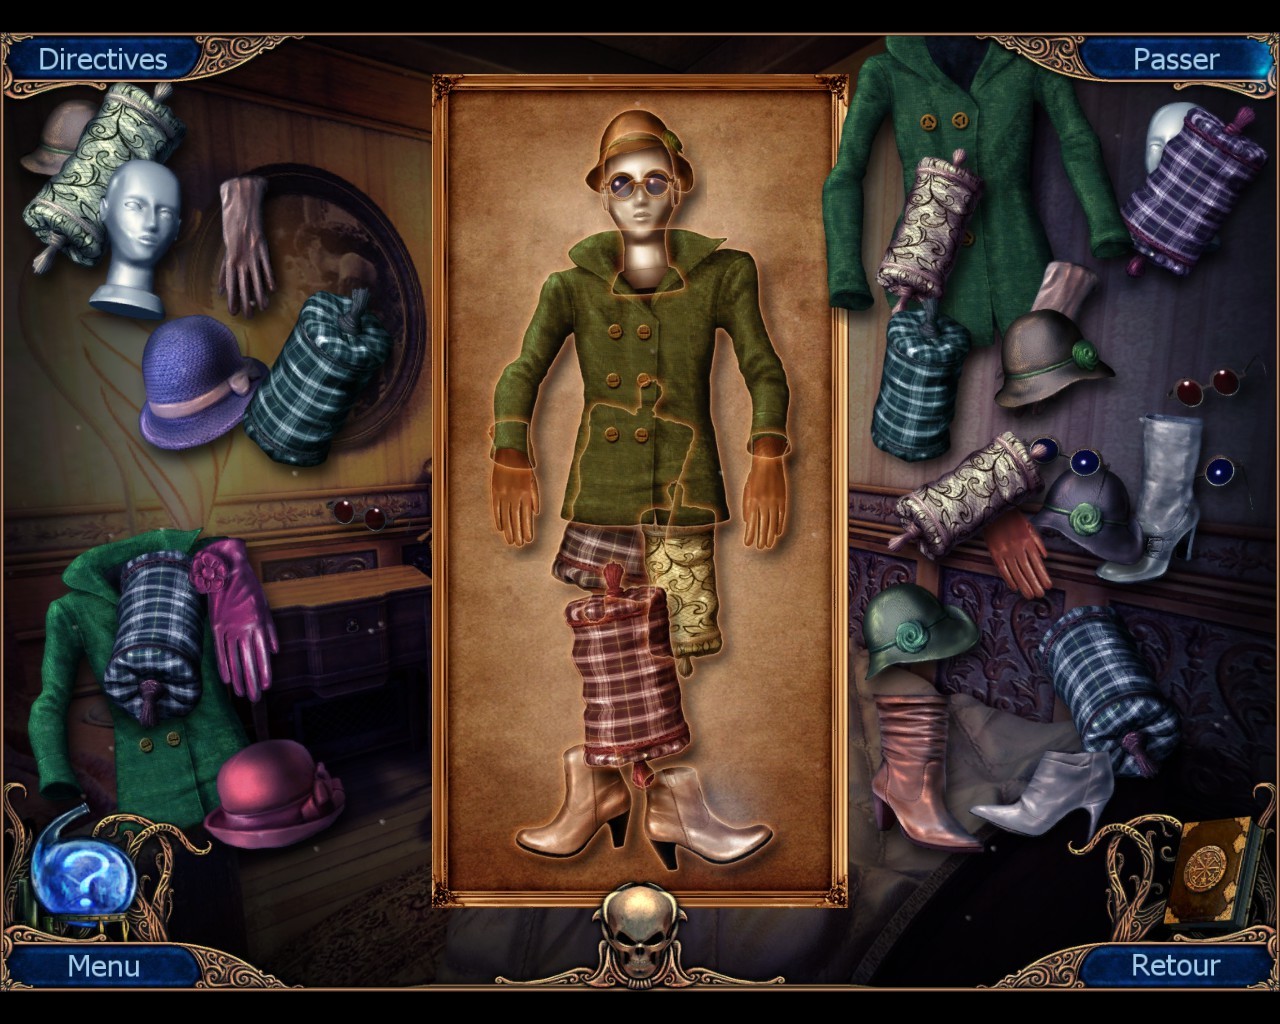
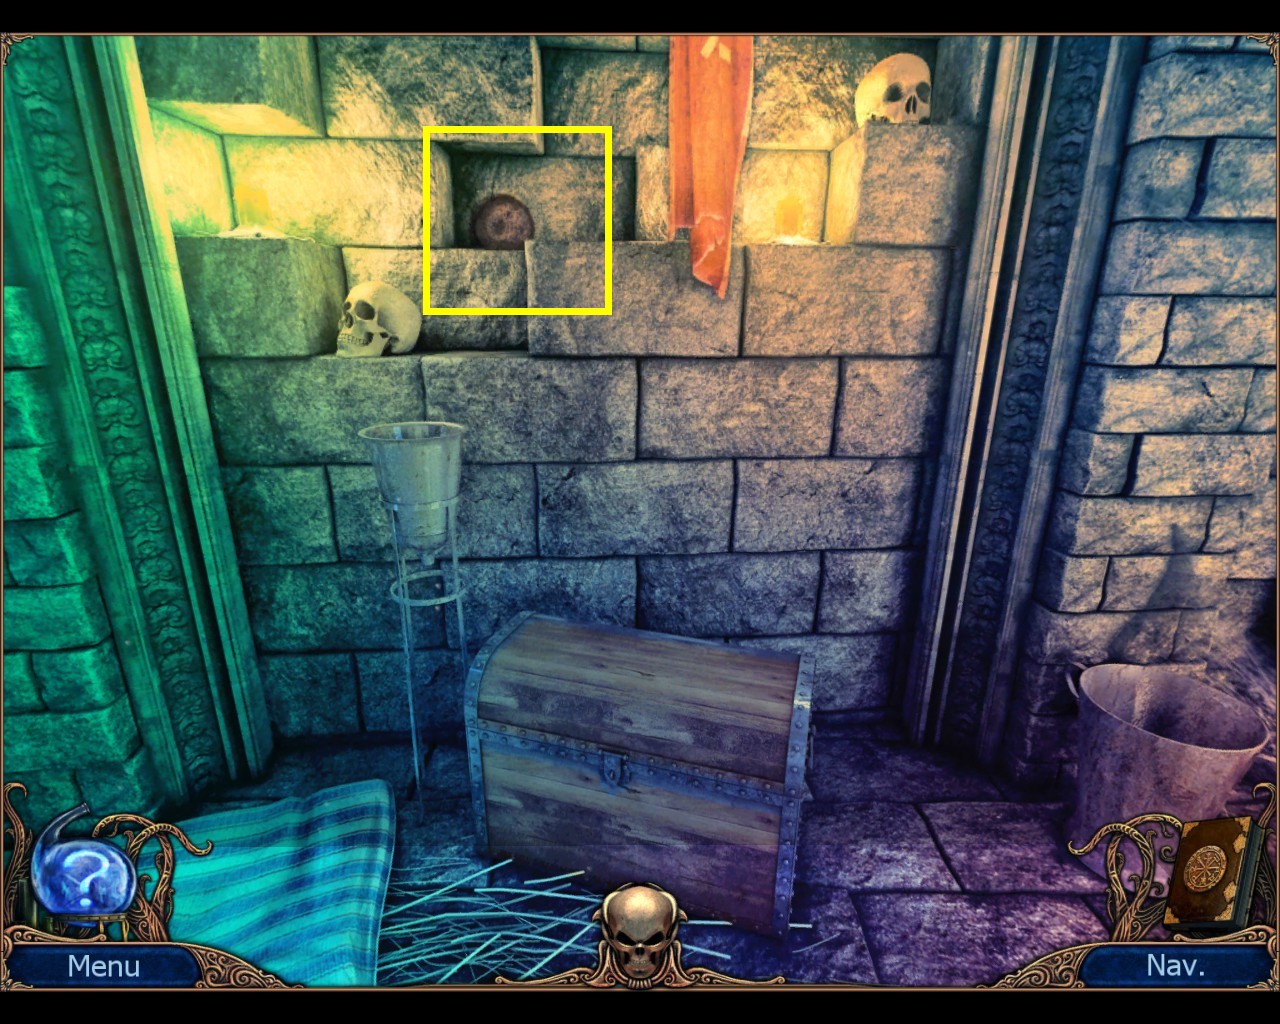
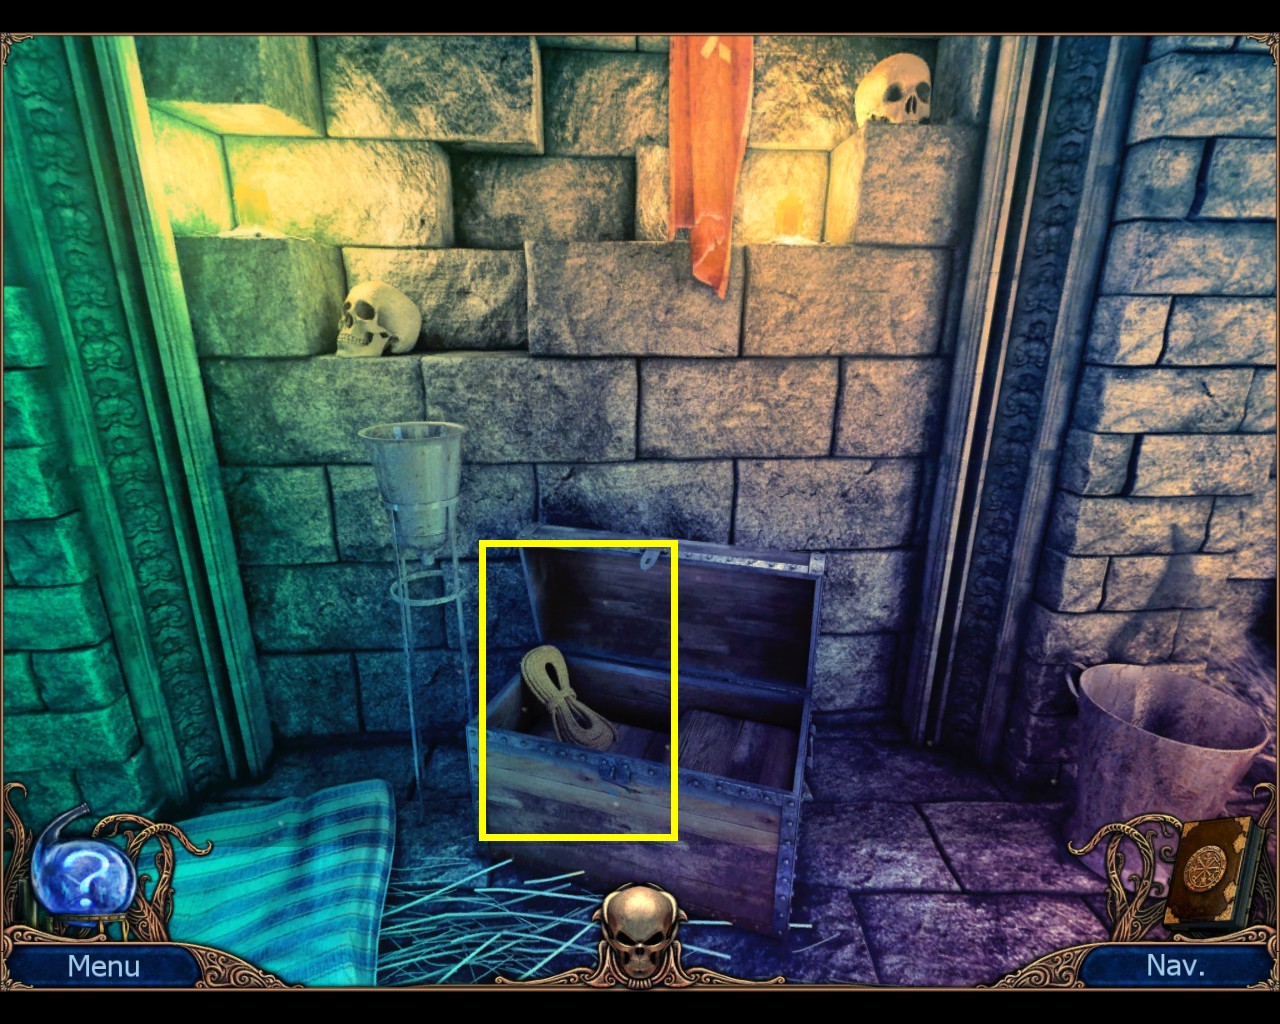
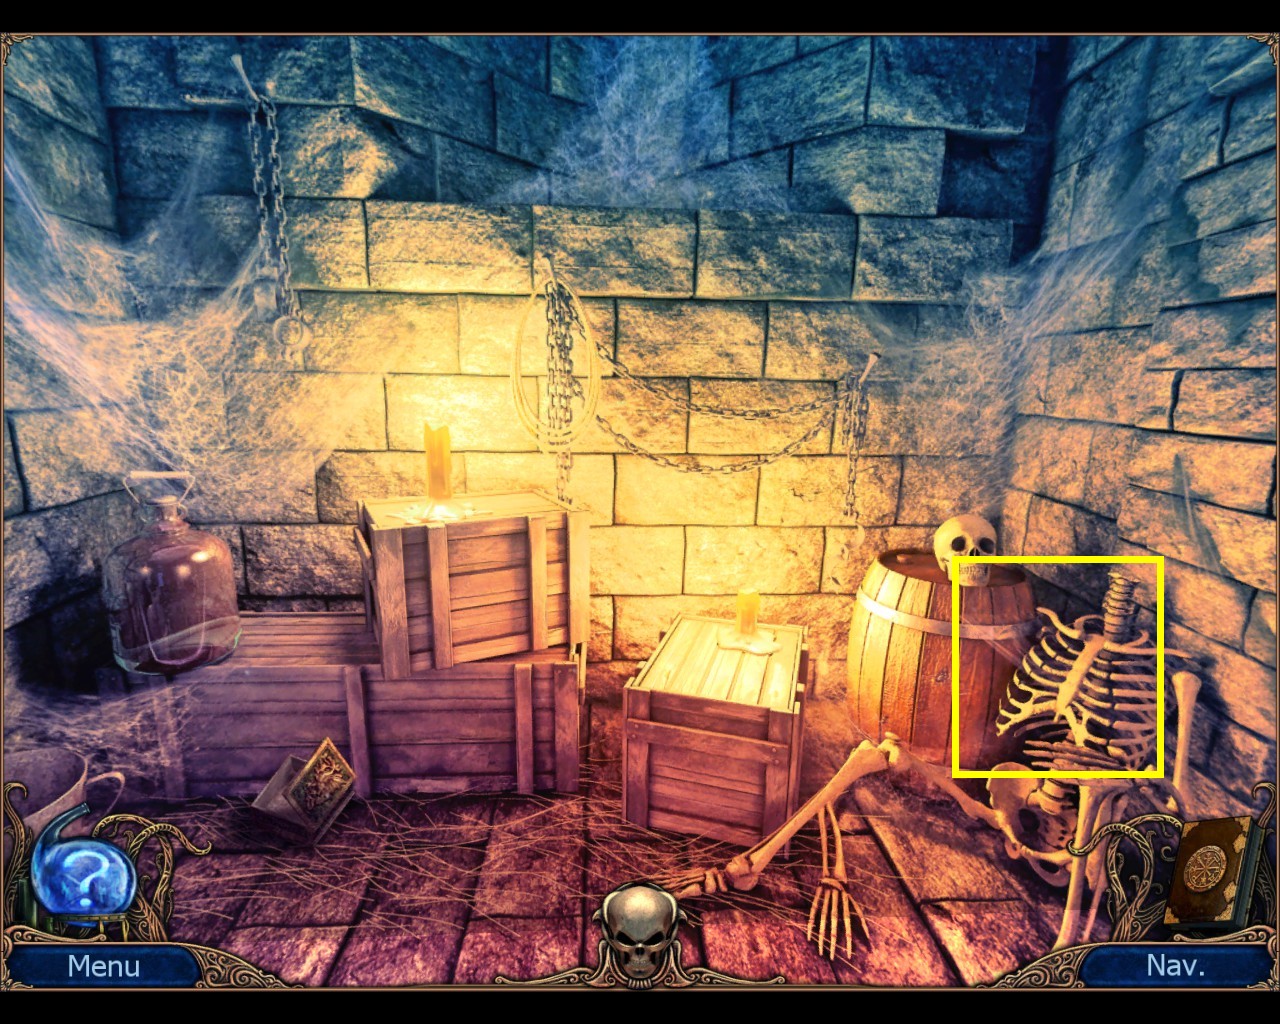
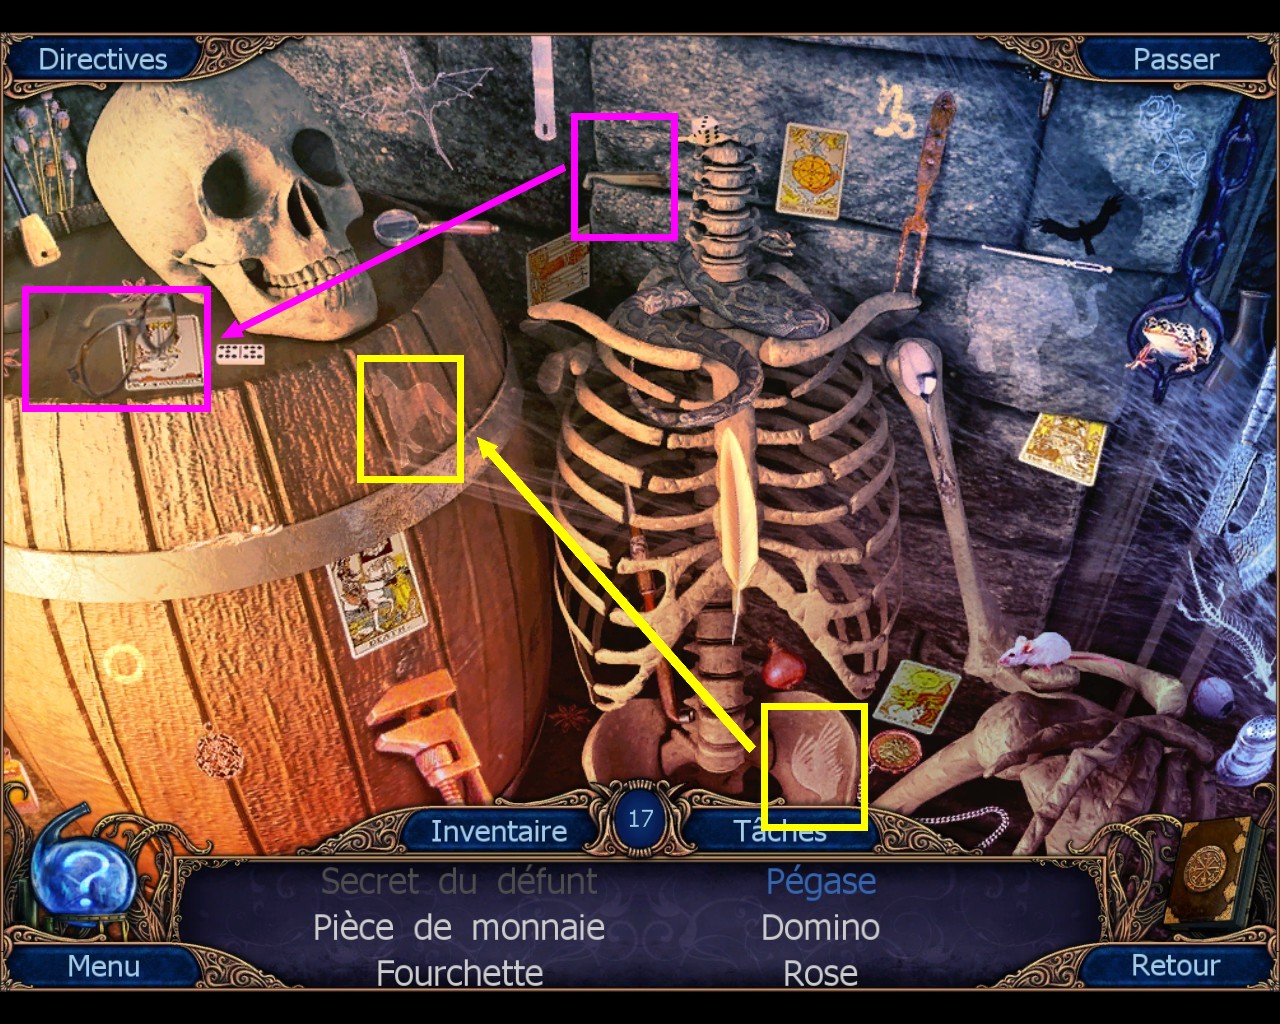
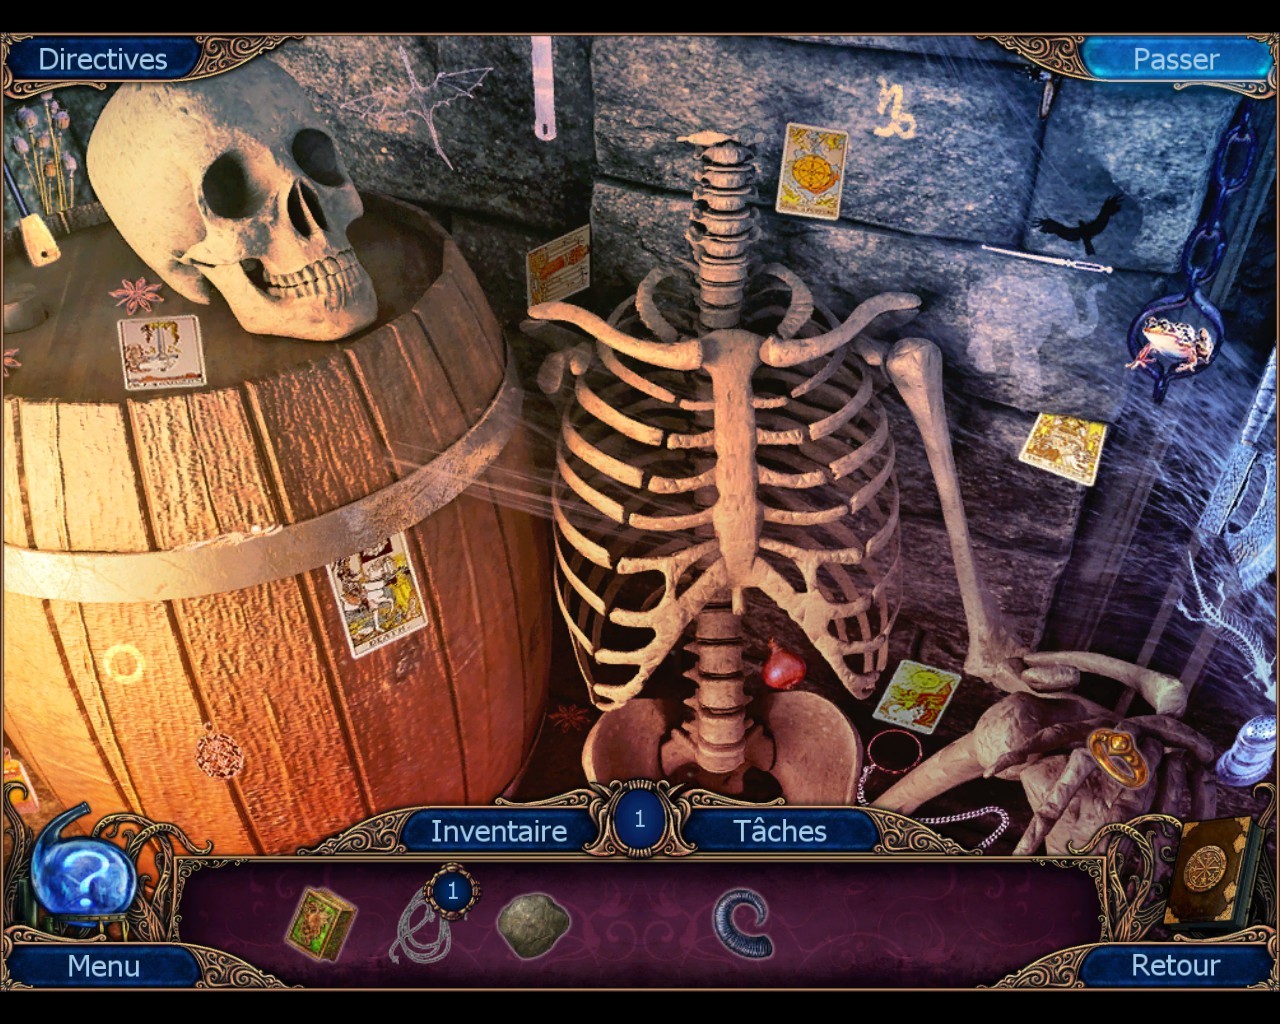
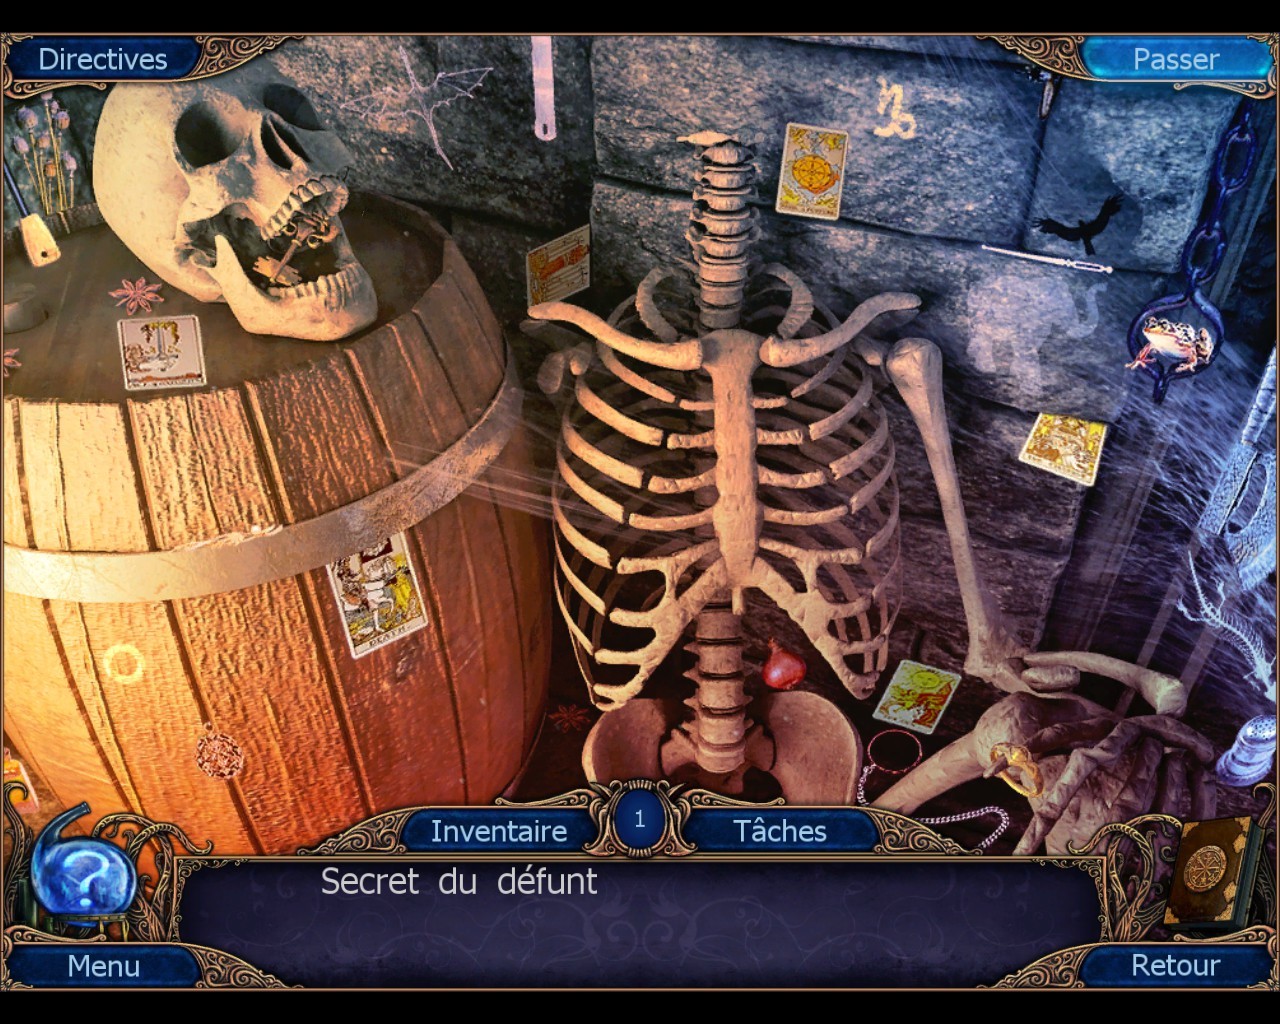
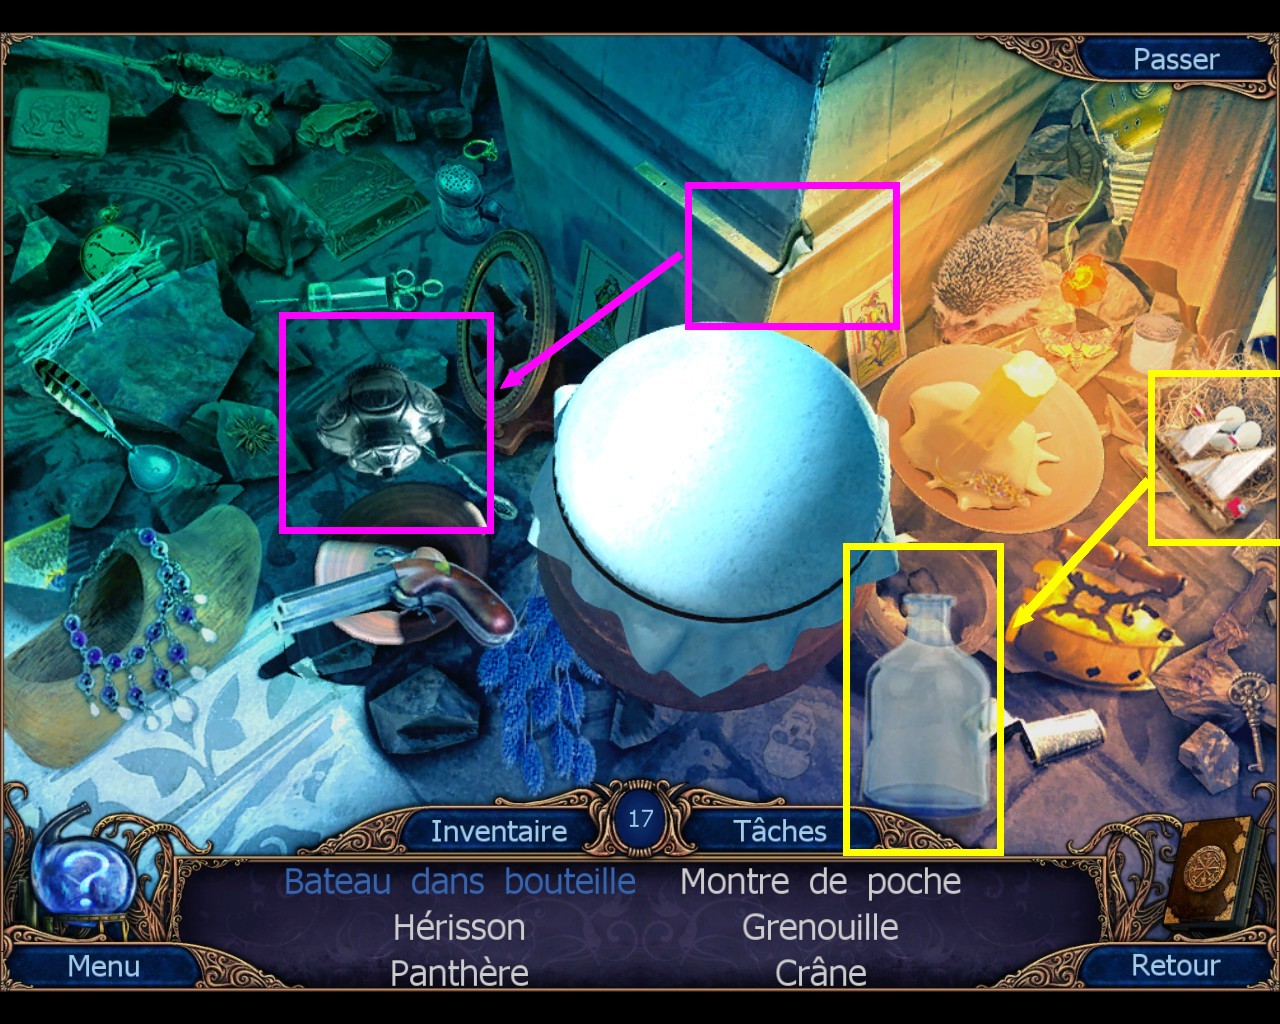
Yeh, I totally missed the rope/cord part of the walkthrough. :steamfacepalm:

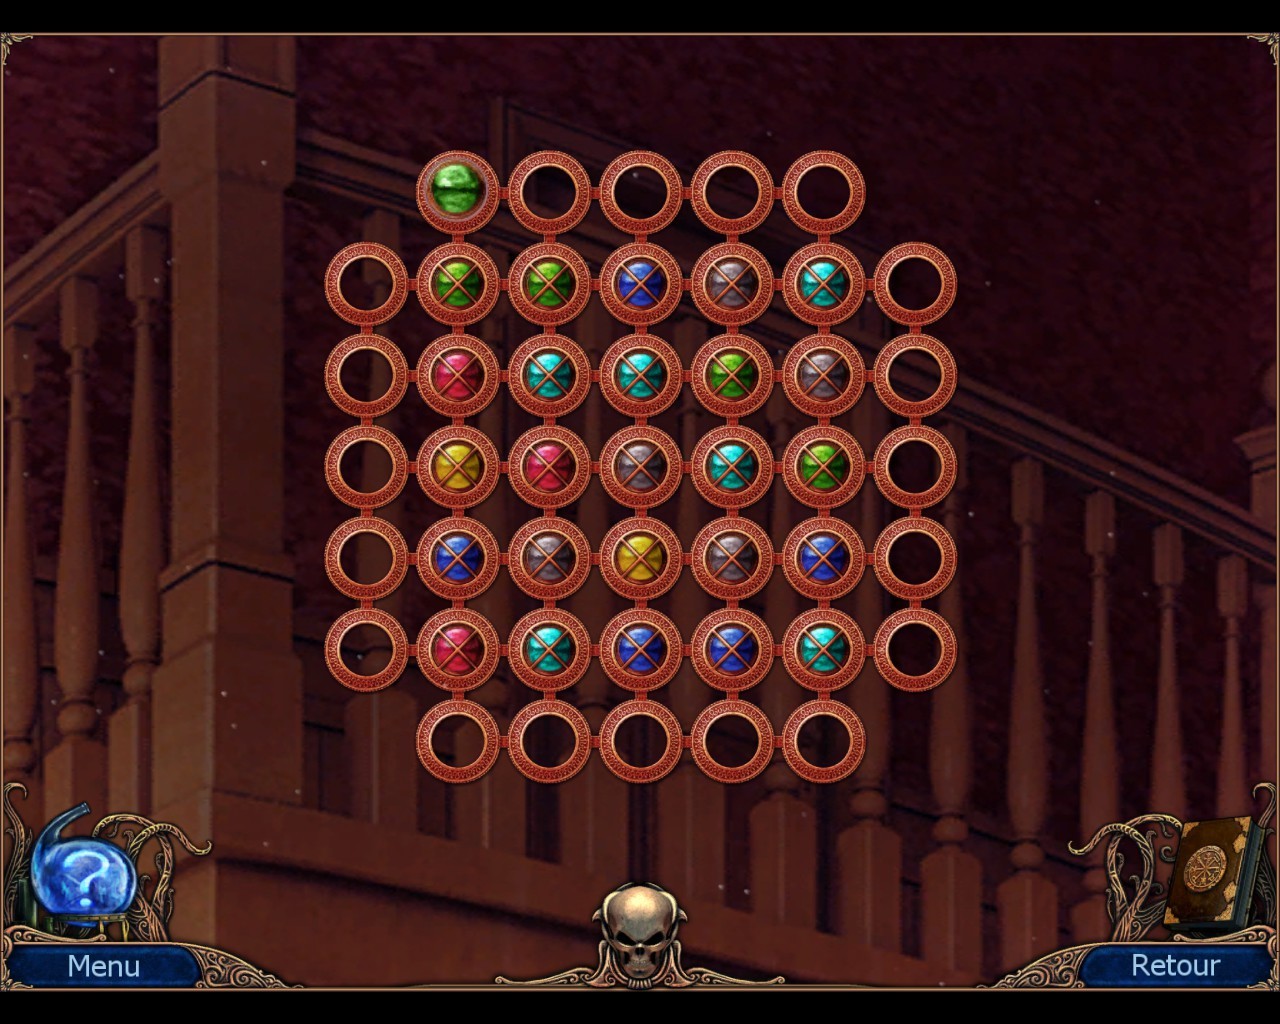
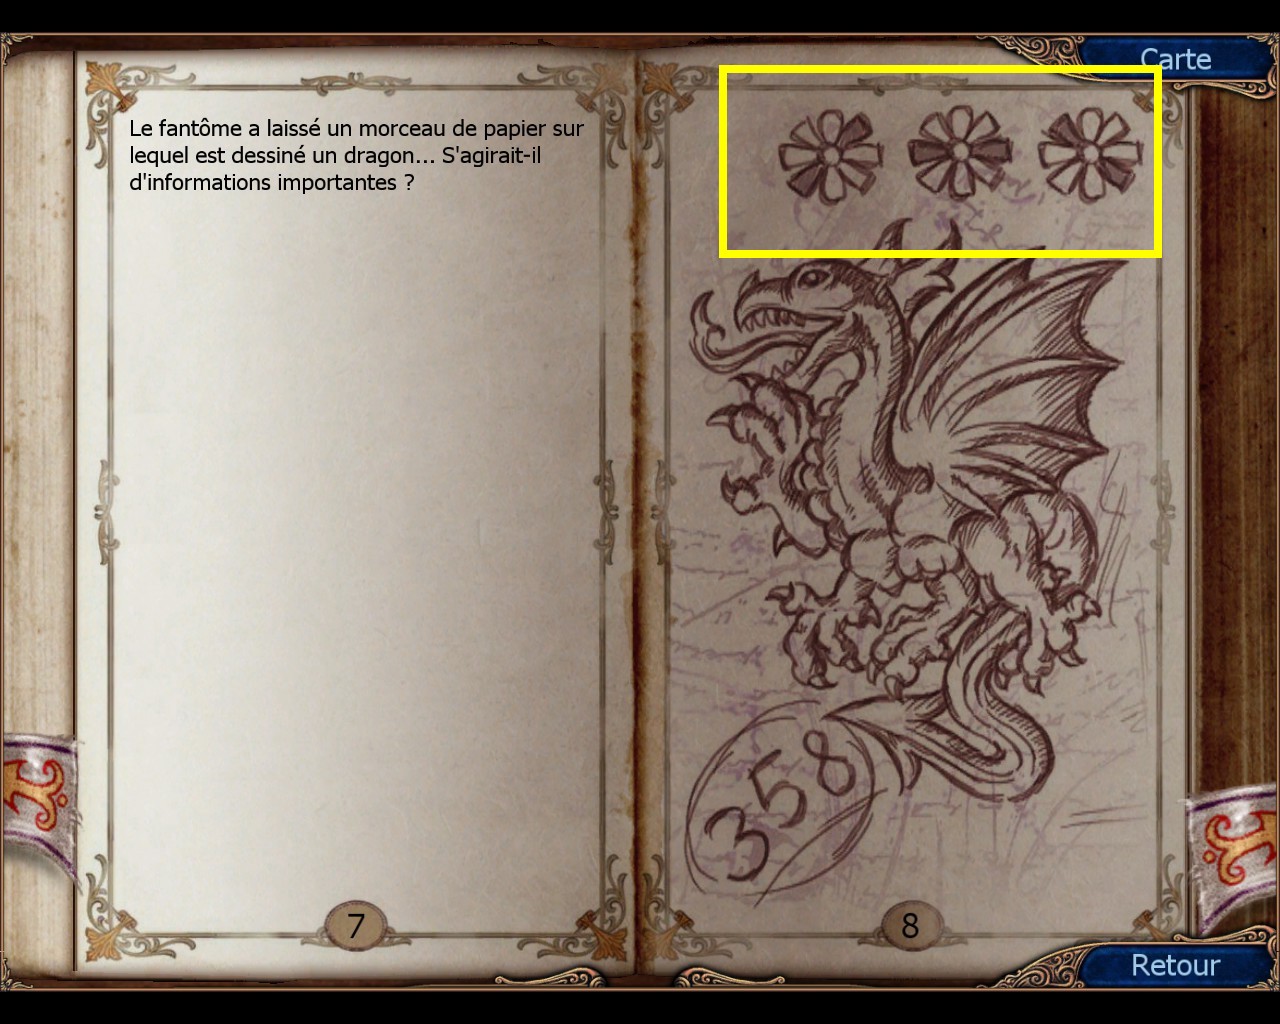
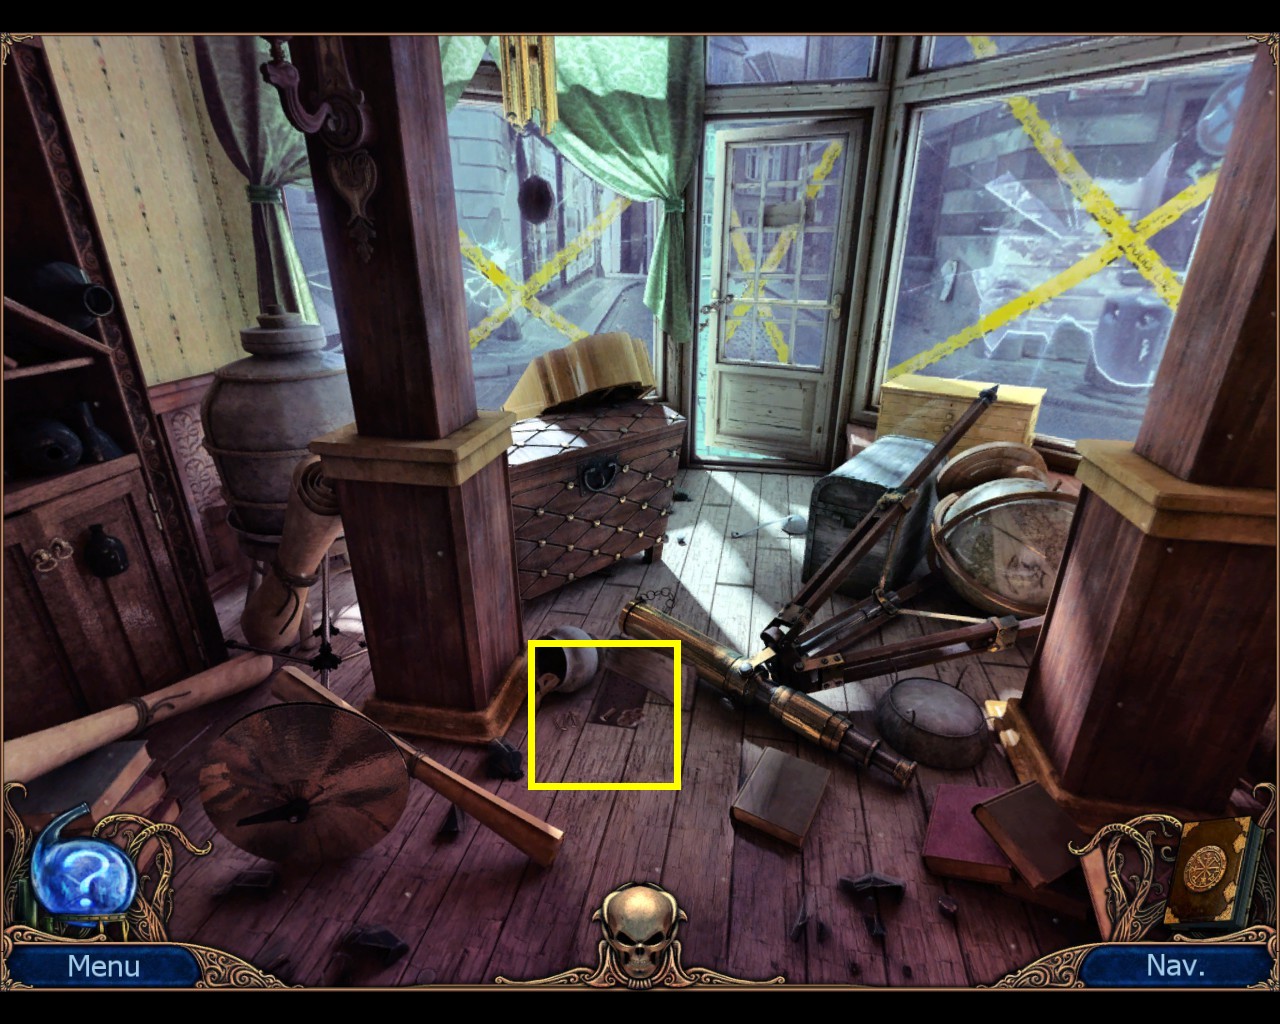
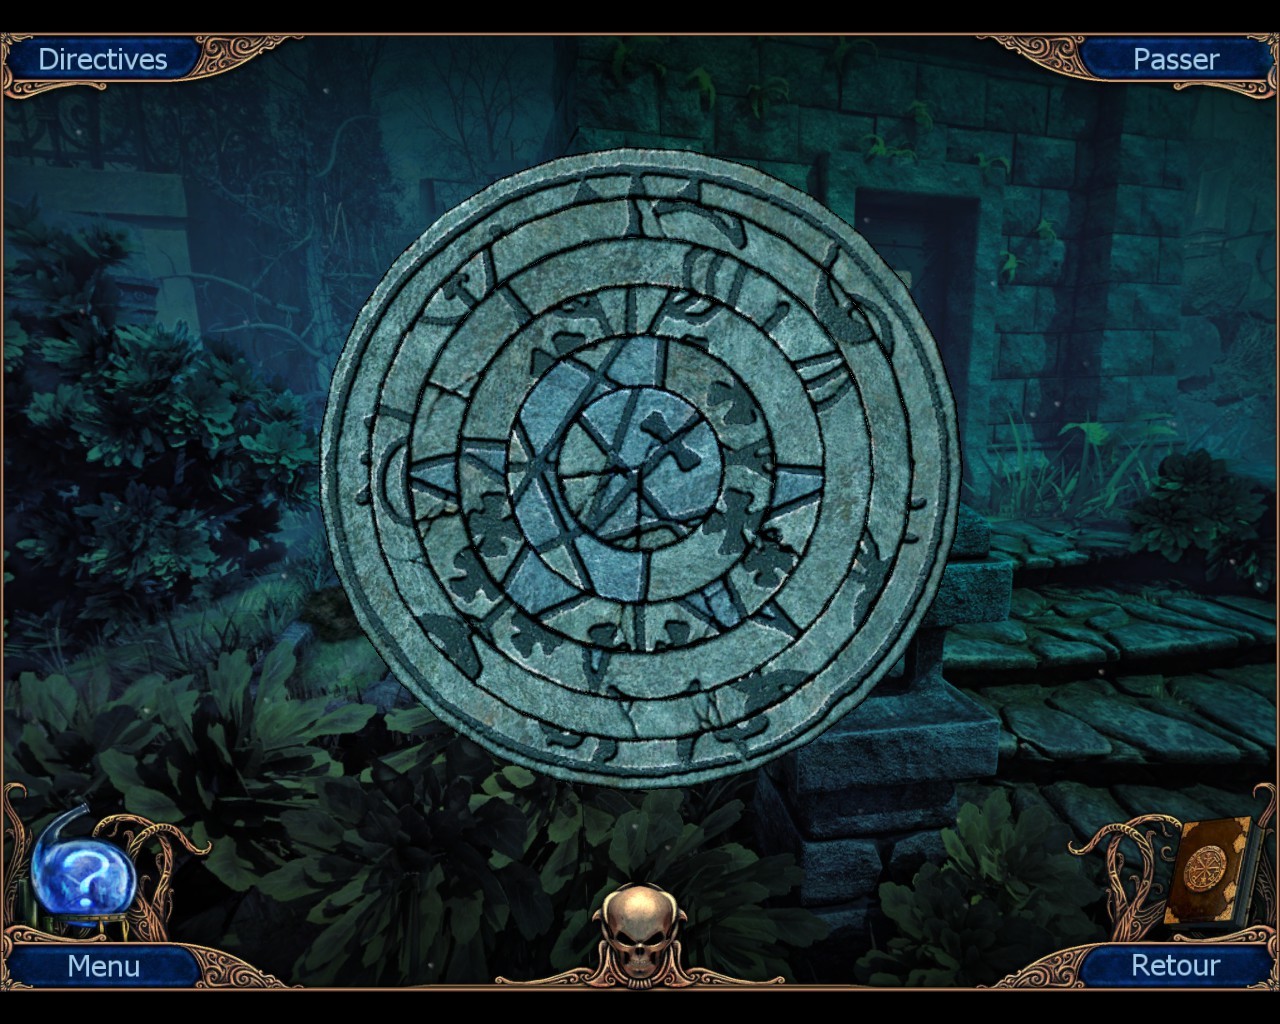
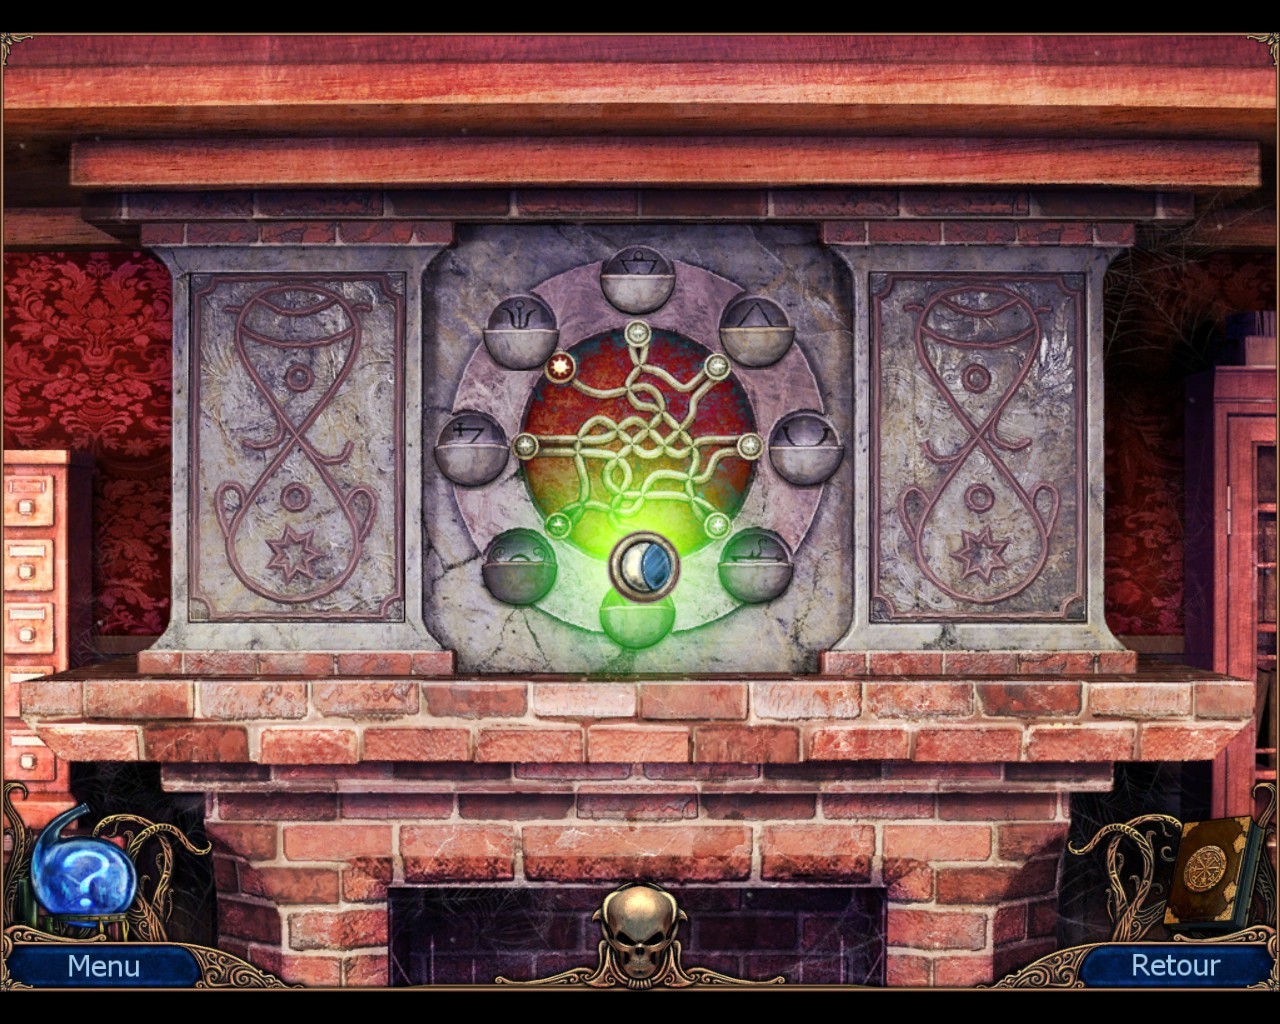
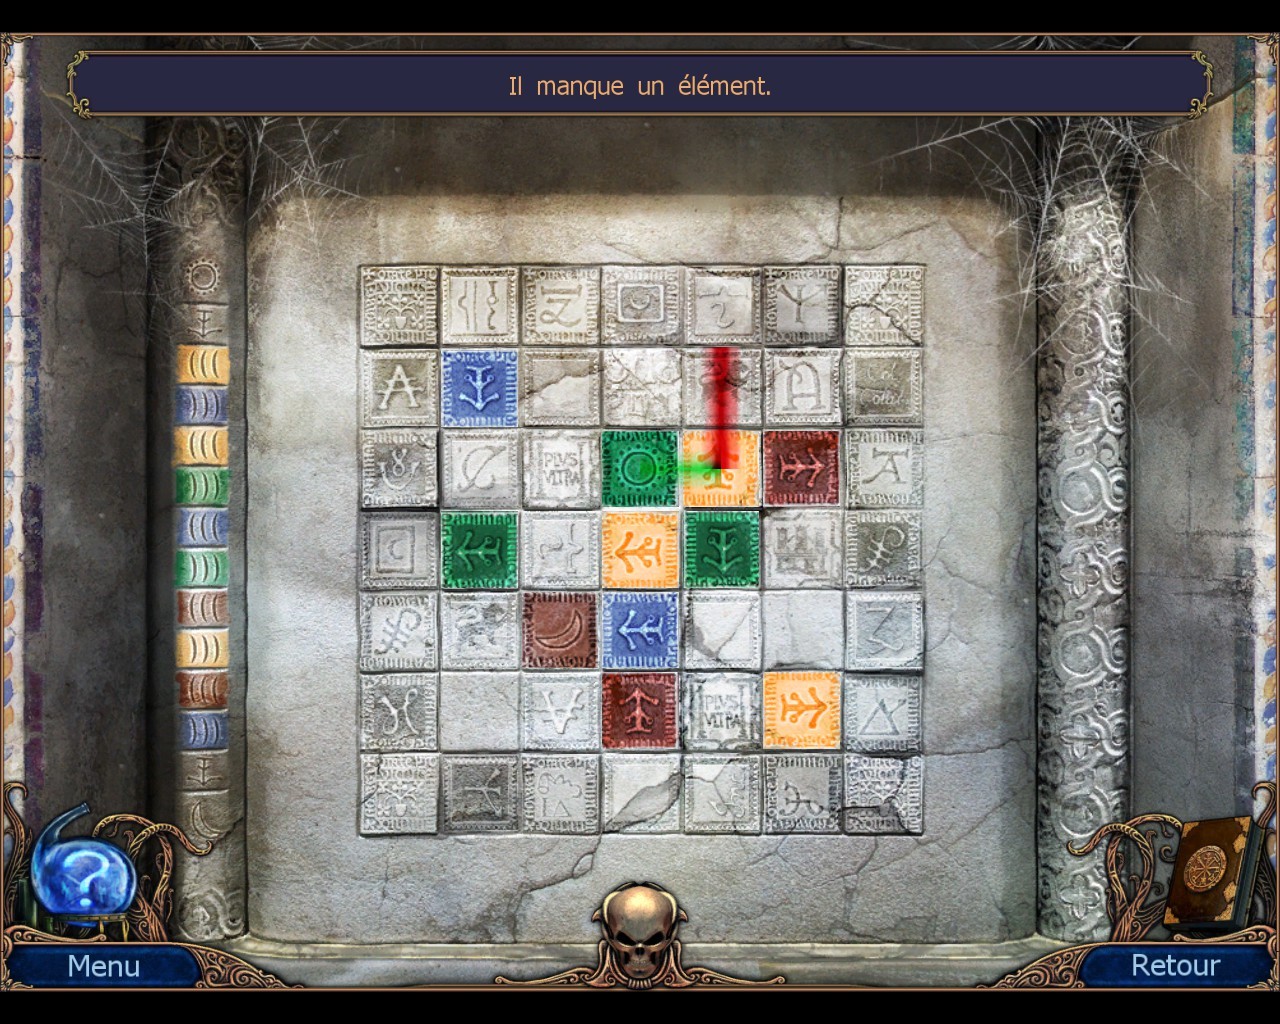
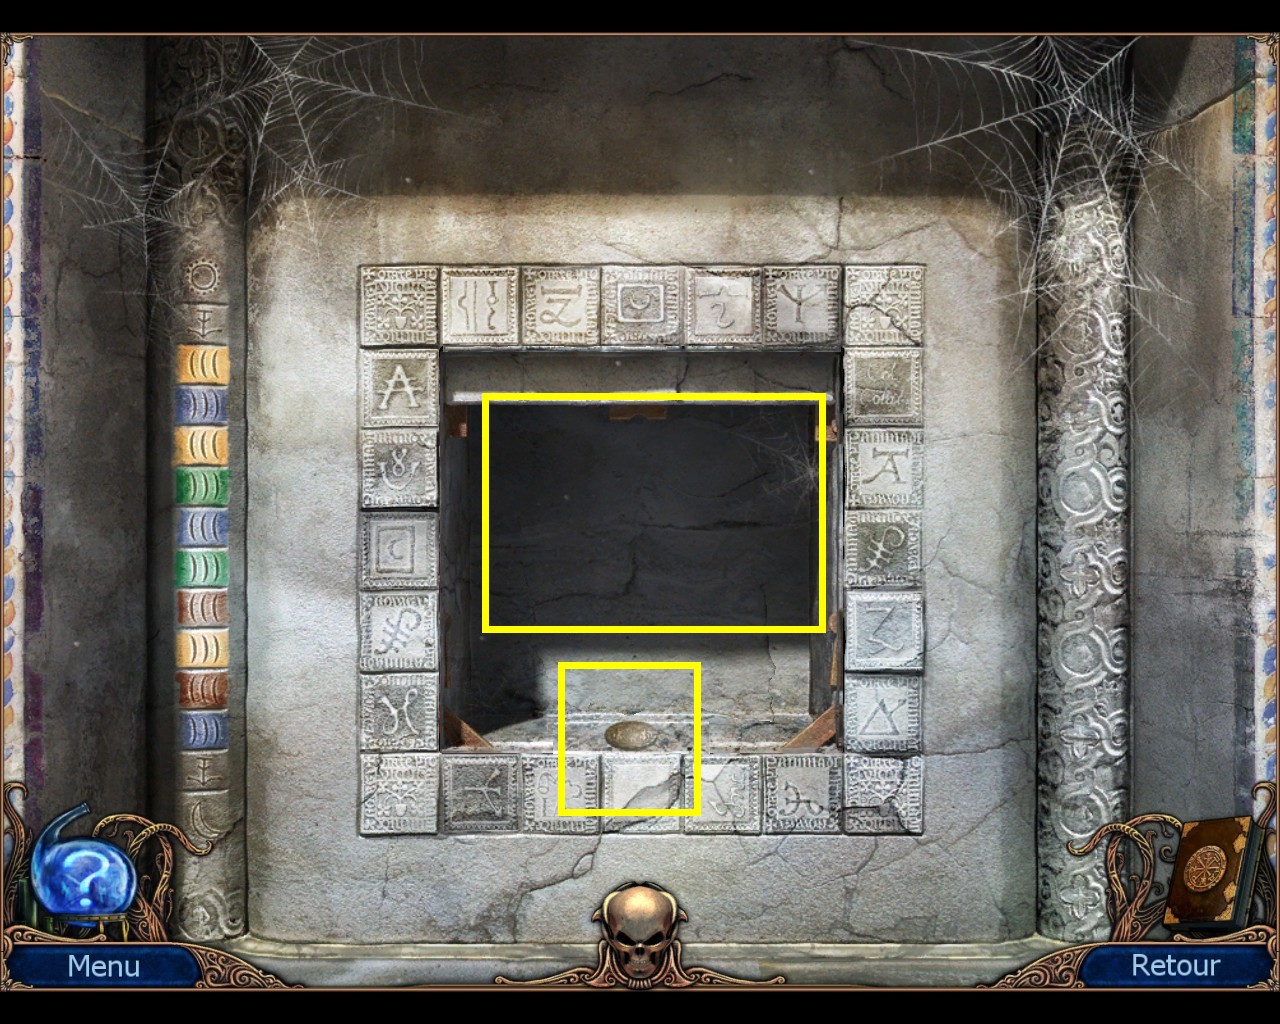
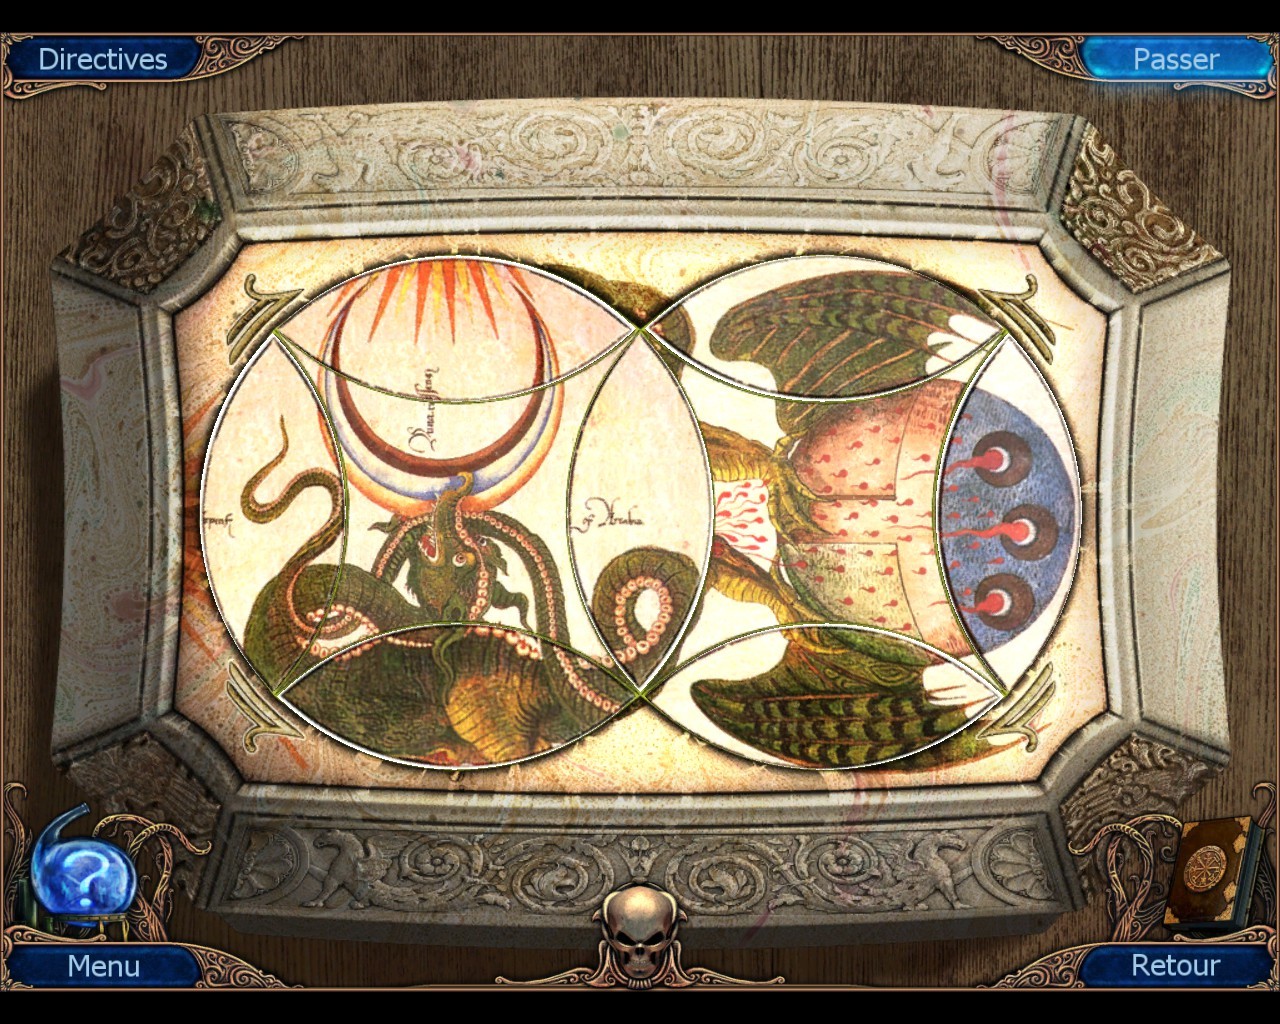
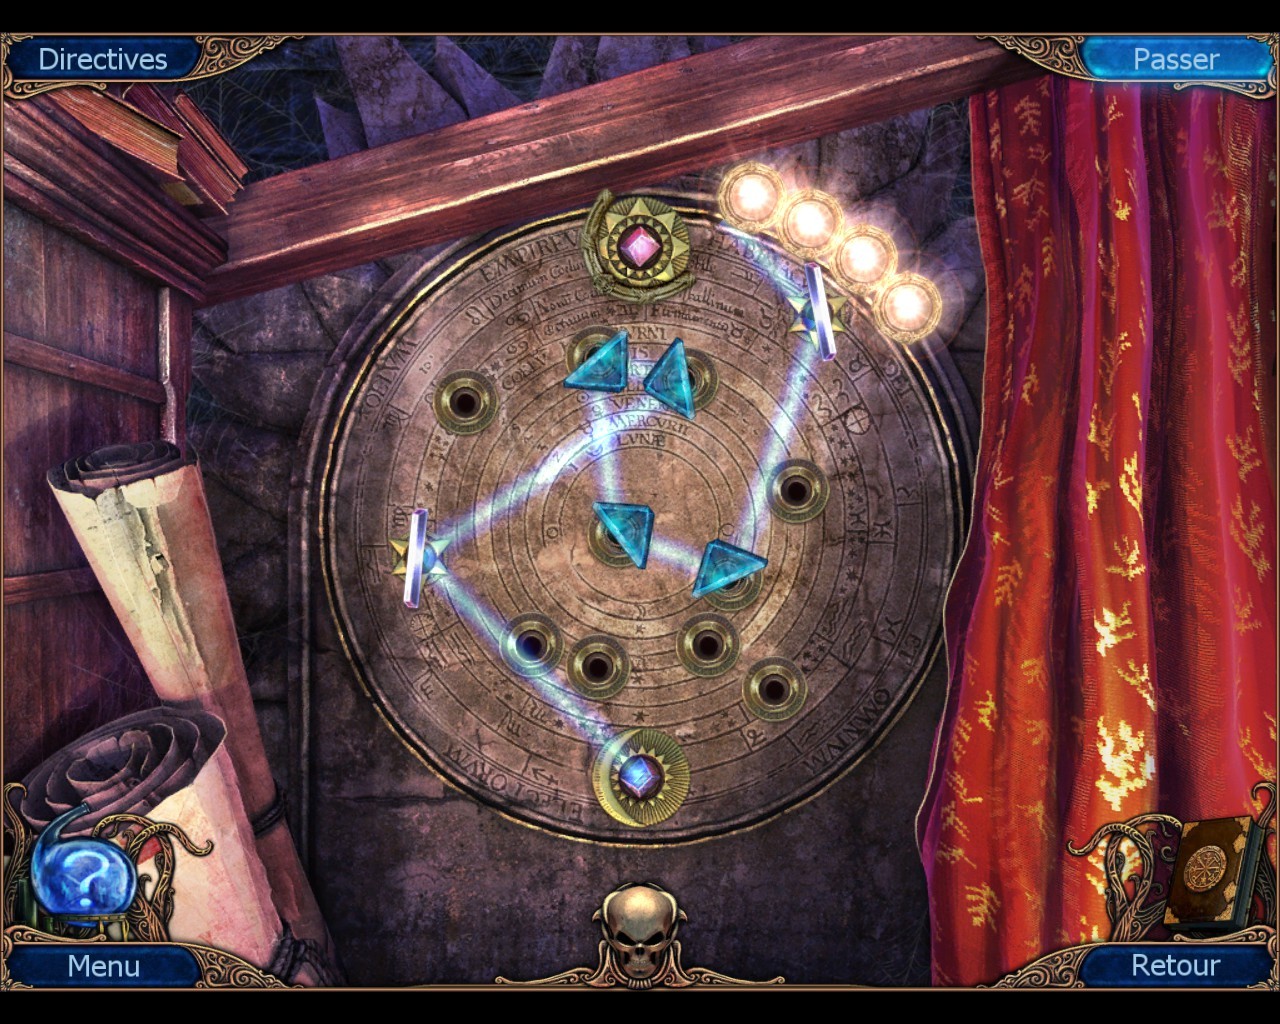
Now i'm stuck on the Prism Puzzle near the end of the game. :steamsad:
Slowly but surely, lol. :reexcited::steamhappy:
HIPPYCHICKLOVINLADY 8 Apr, 2019 @ 10:22am 
Hello LoneWolf love that name but i was going to tell you that what they are calling a rope is from the drape in the girls bedroom you cut that drape cord and then use it there for the lamp thank you
PunkSteve 8 Apr, 2019 @ 7:29am 
Hi, great guide.

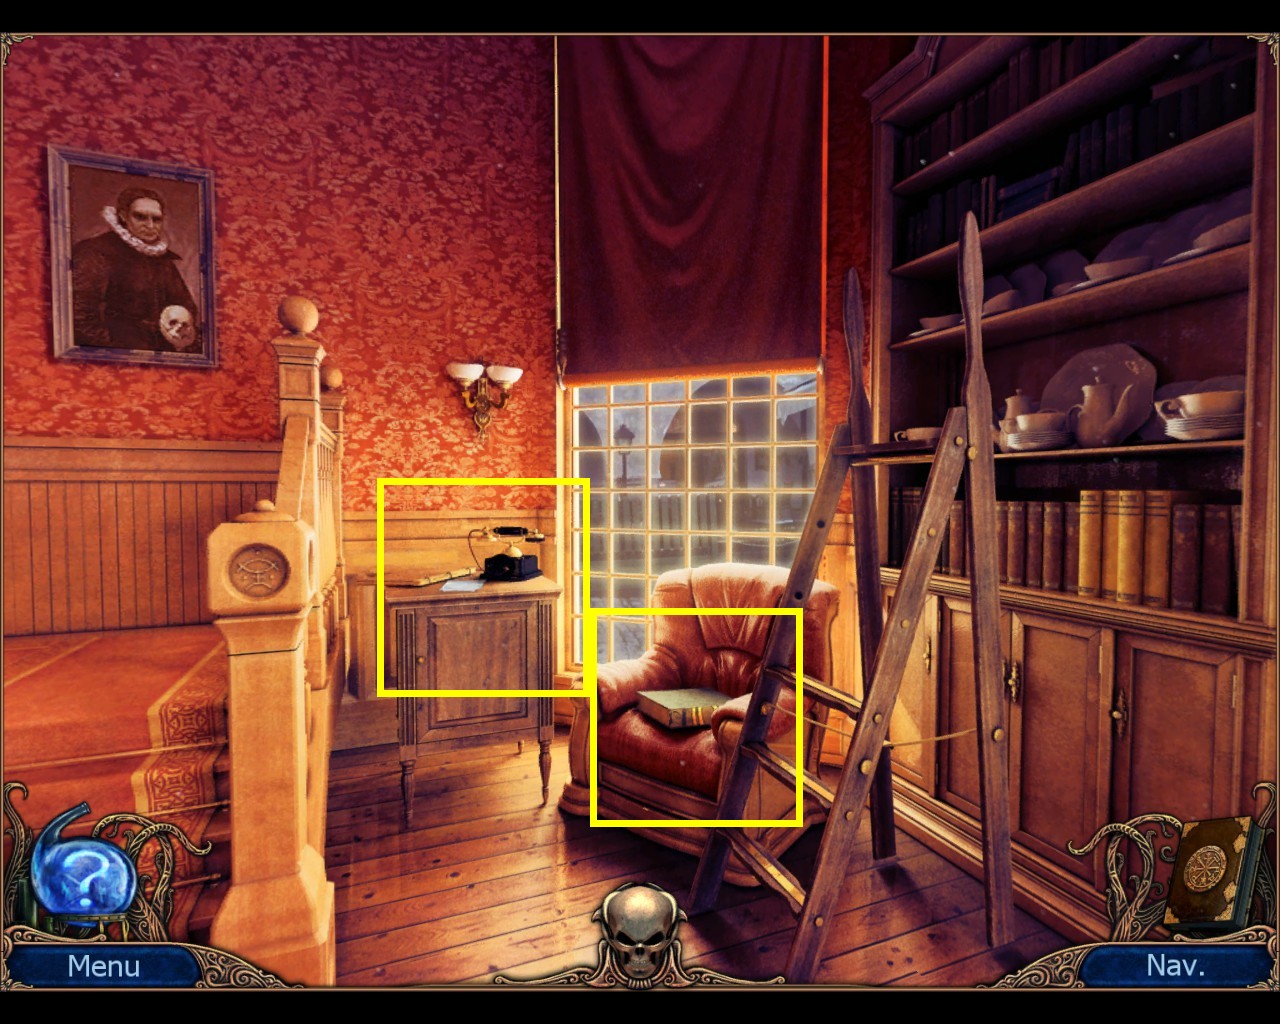
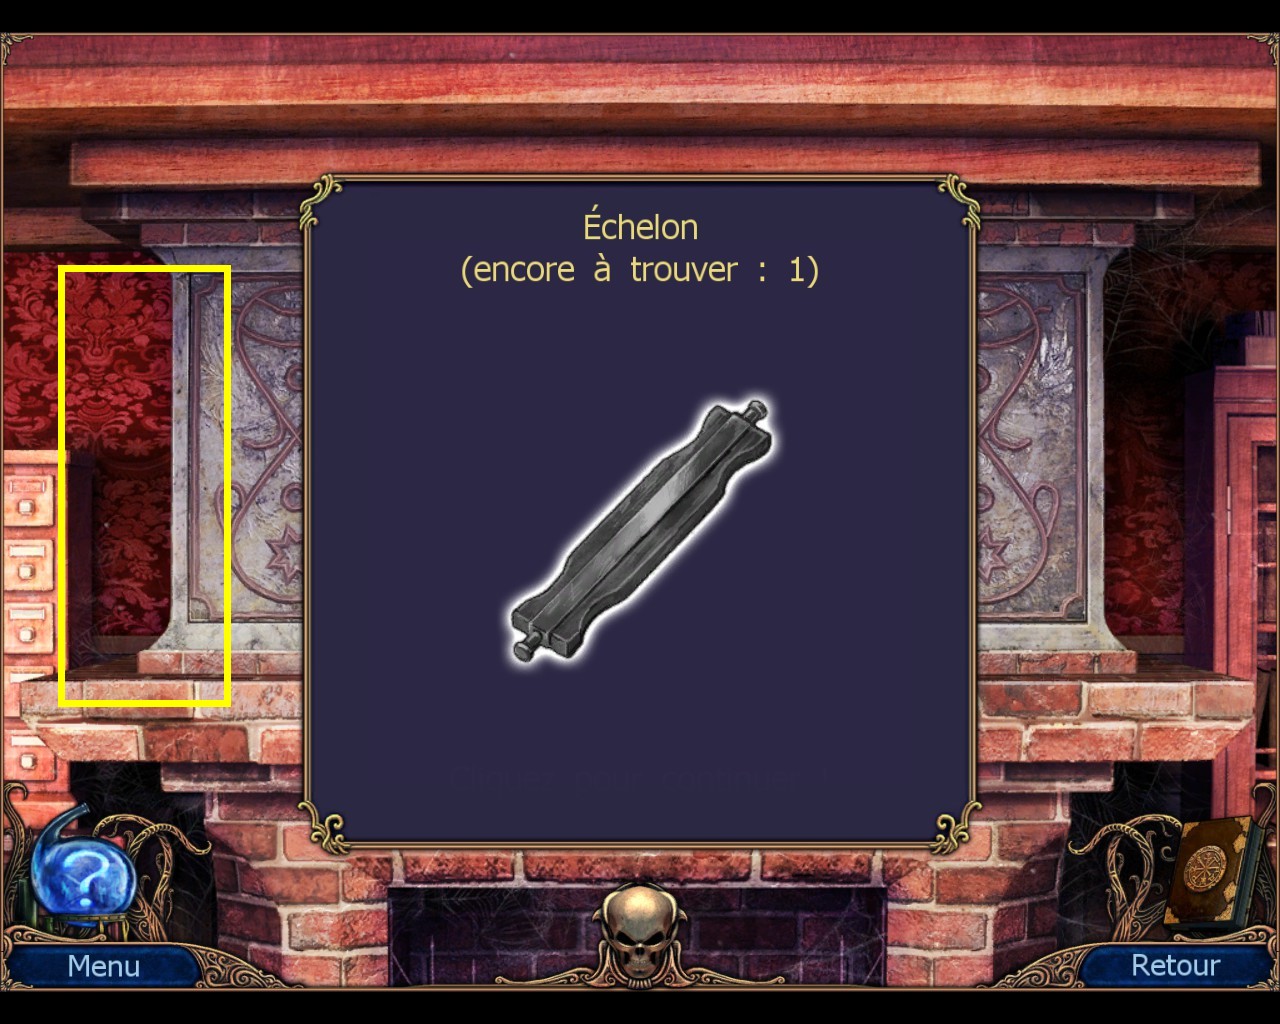
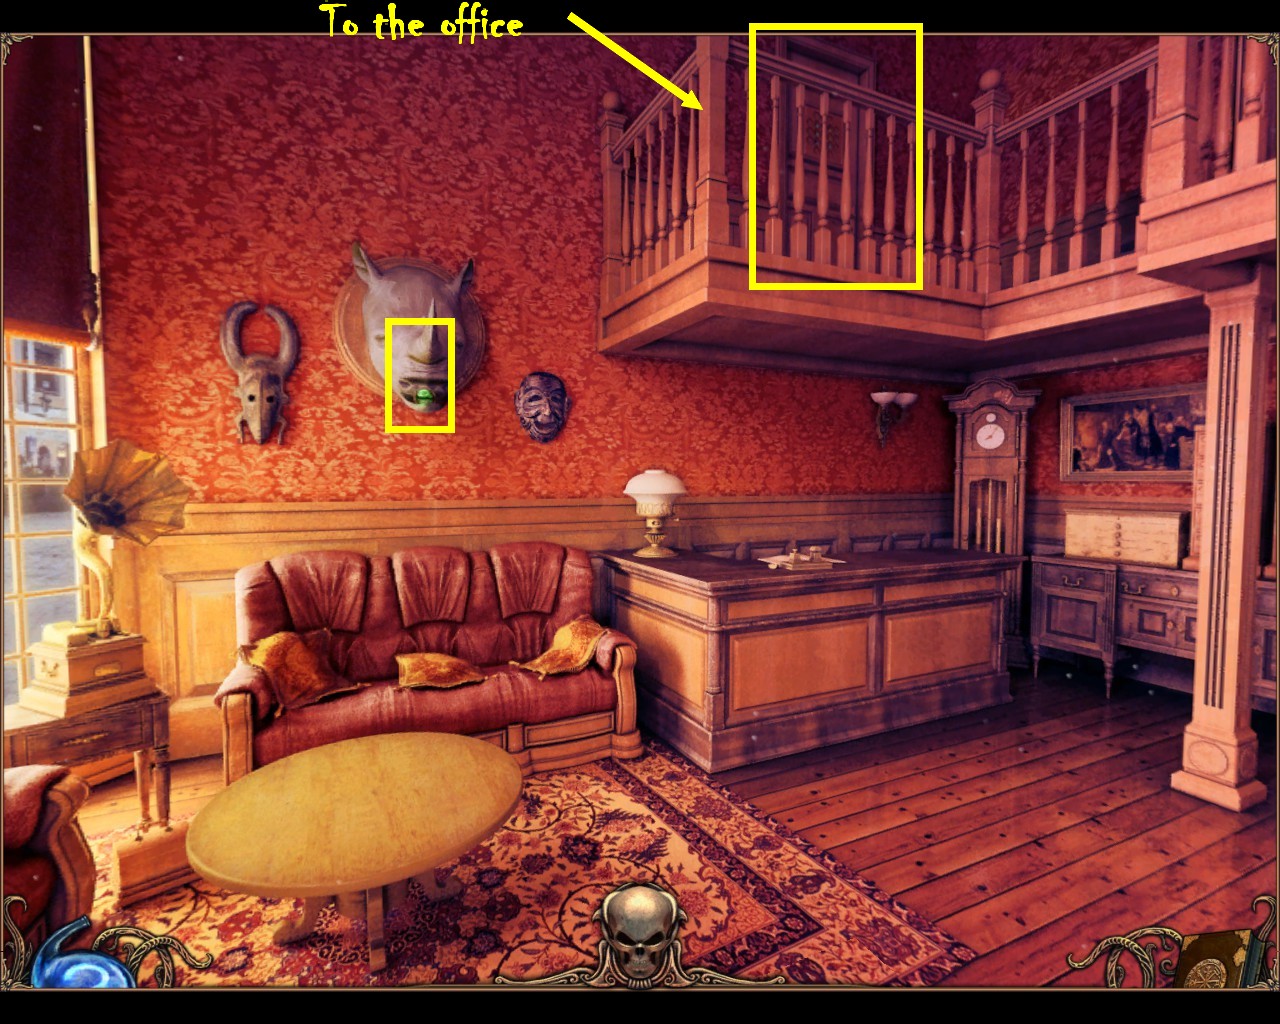
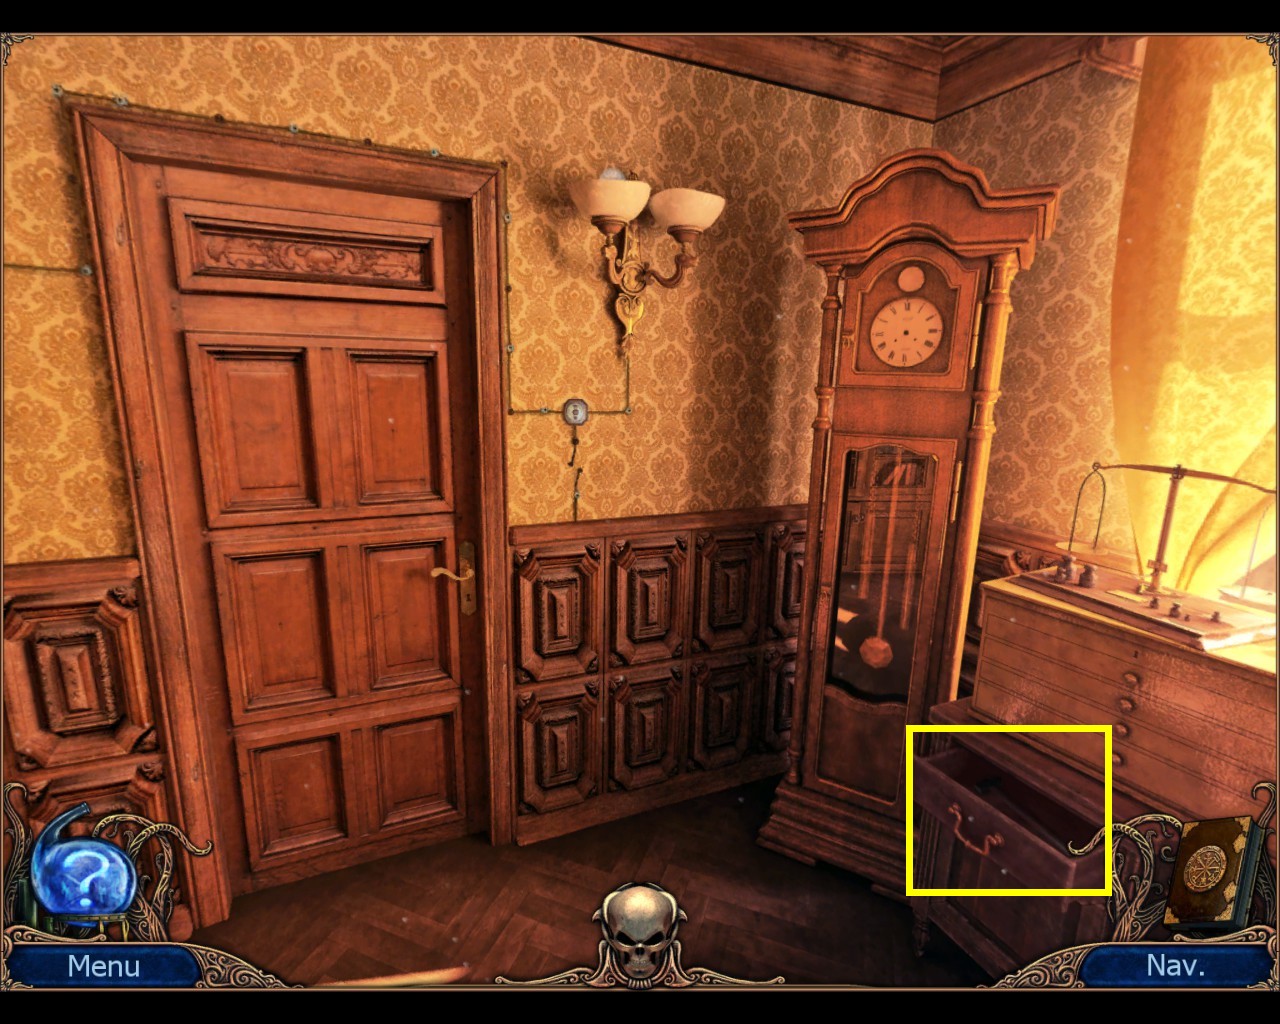
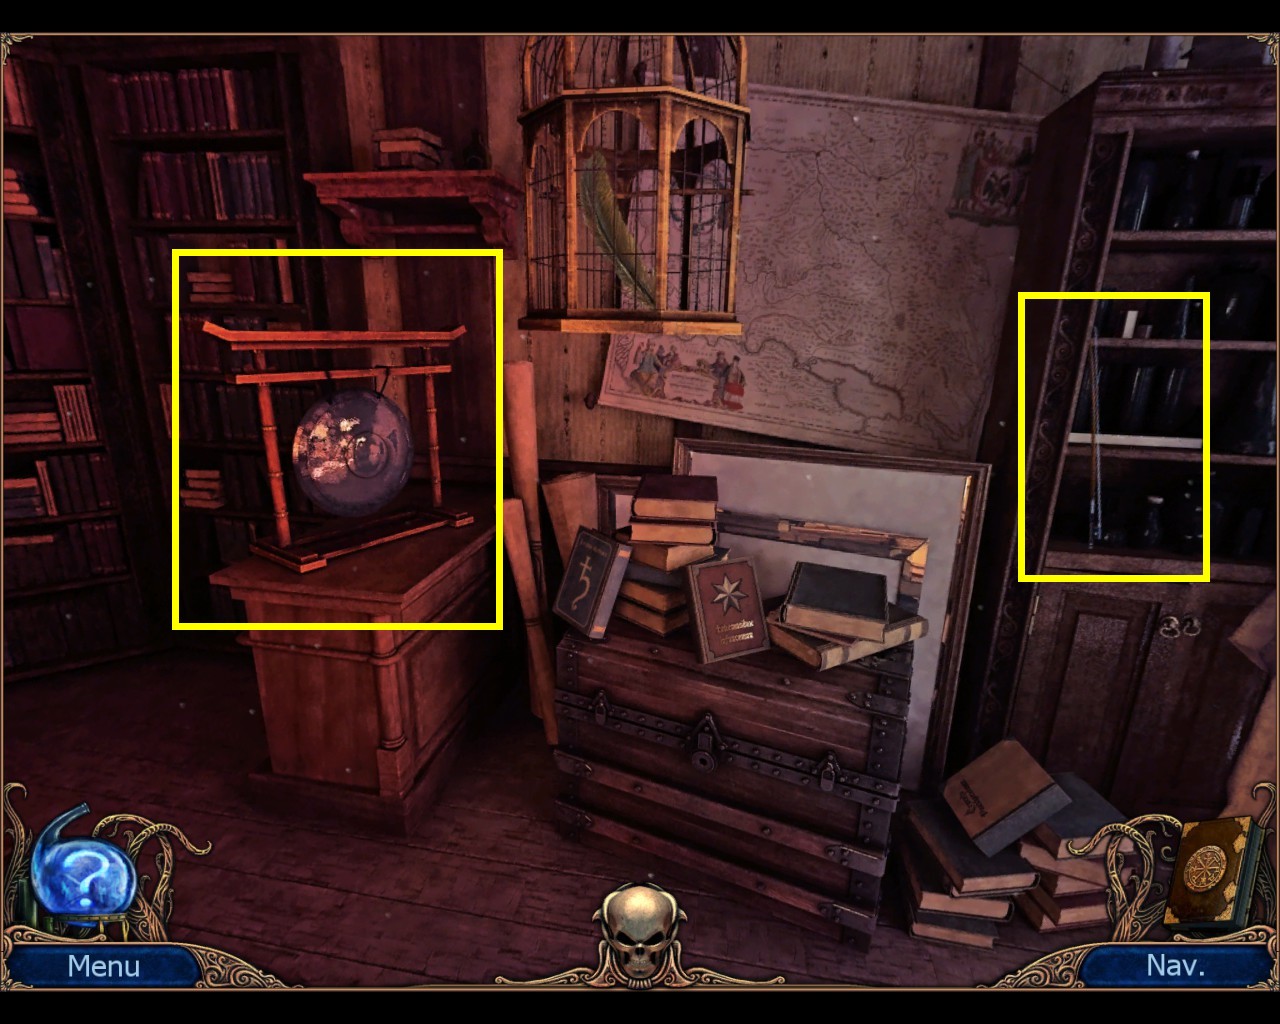
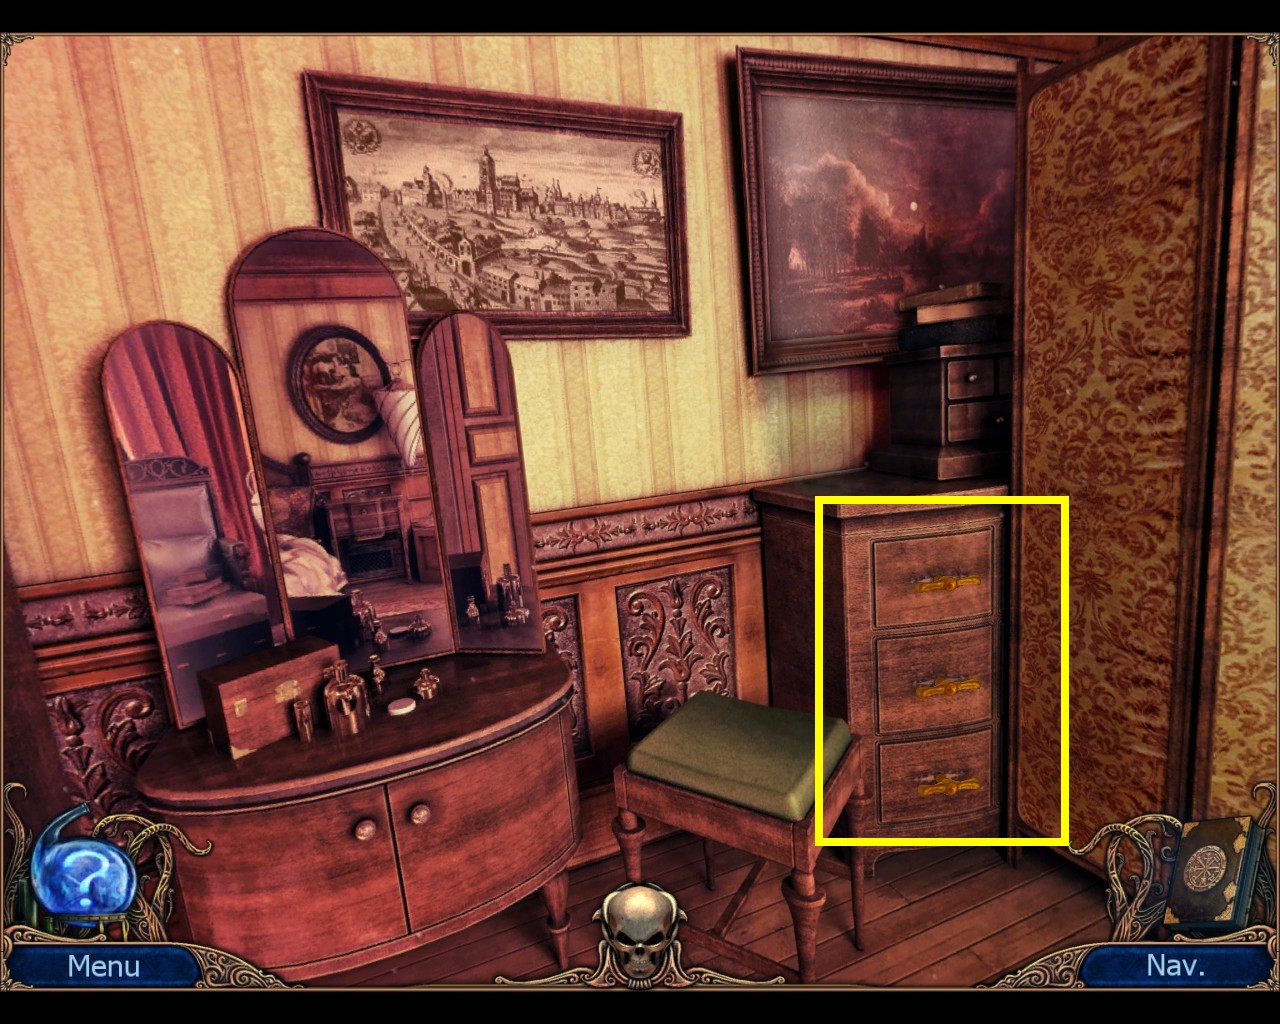
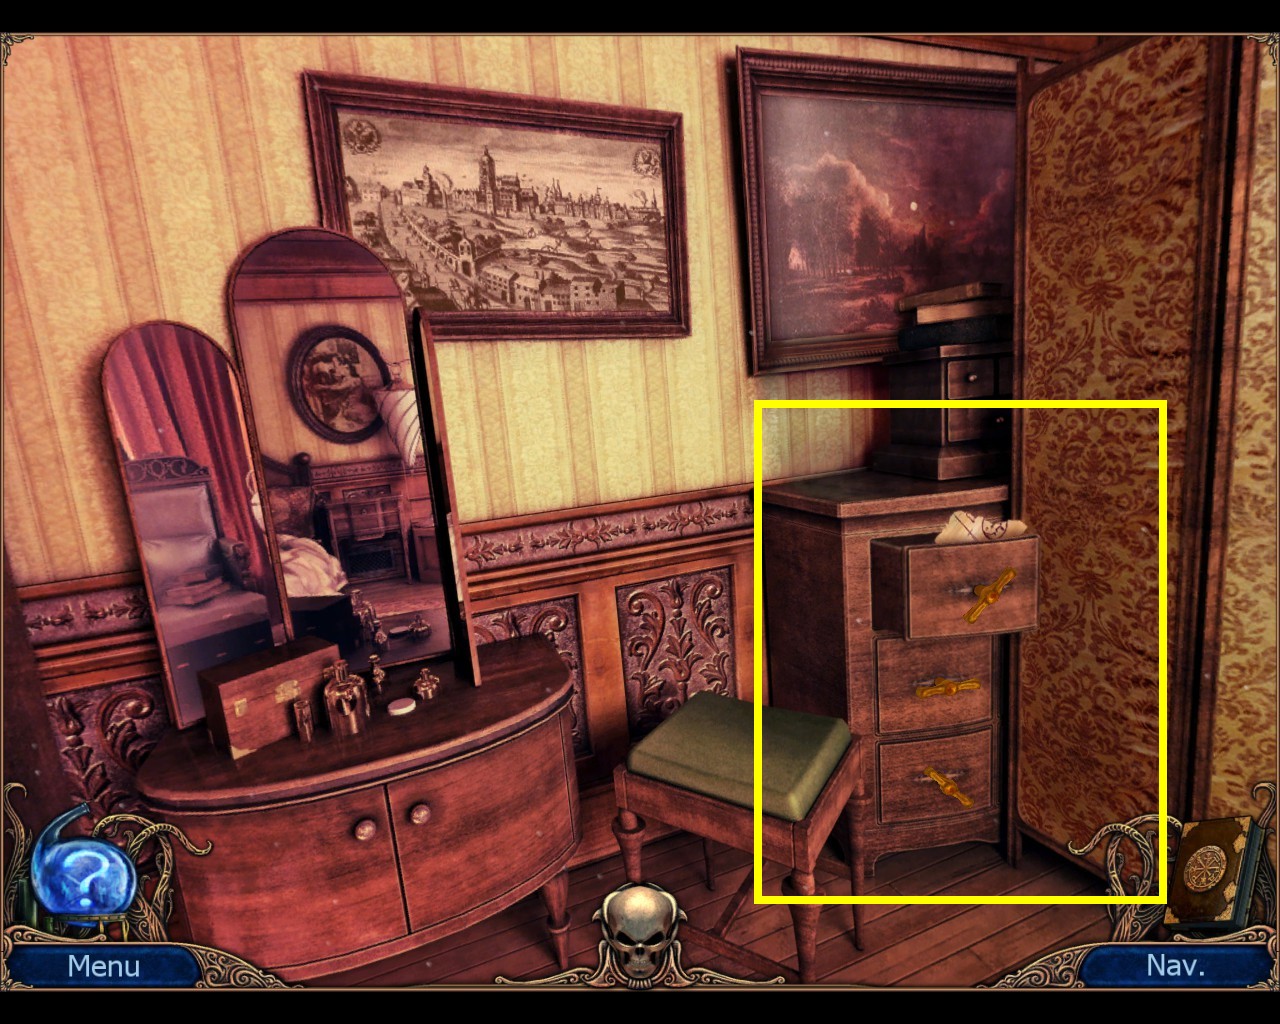
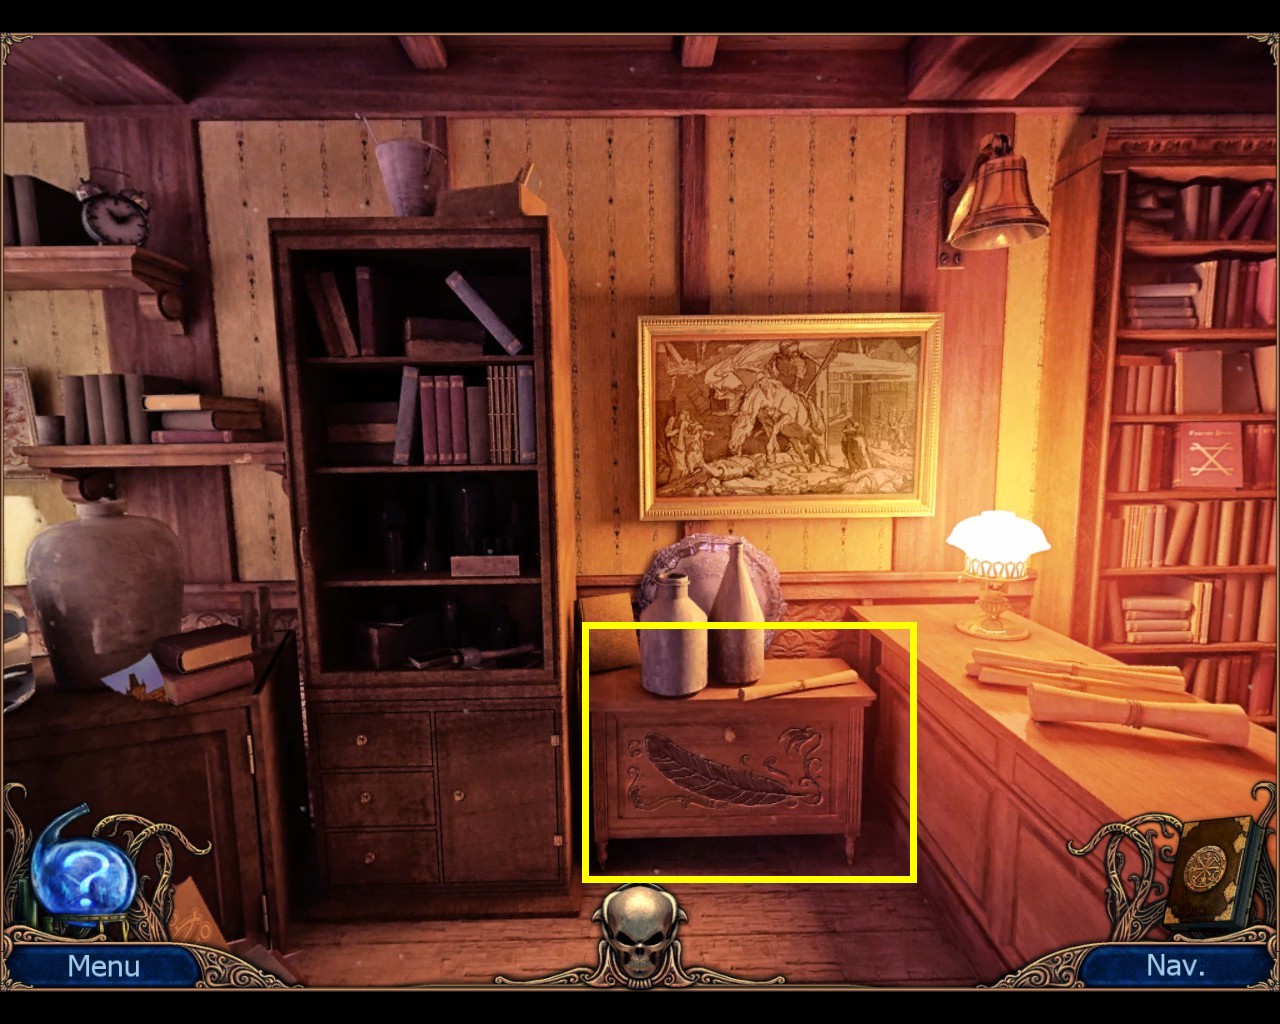
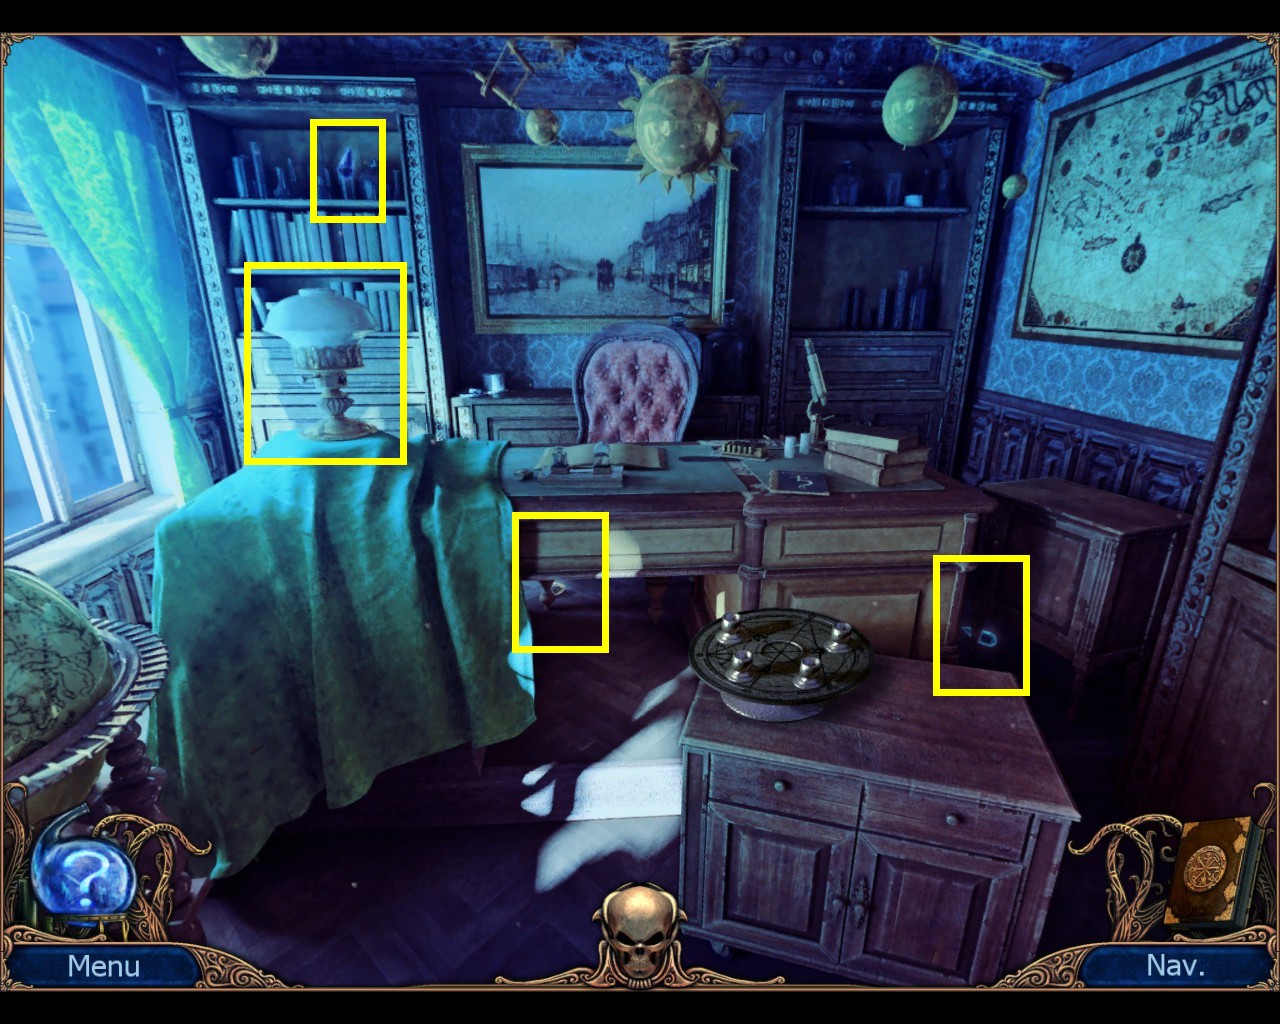
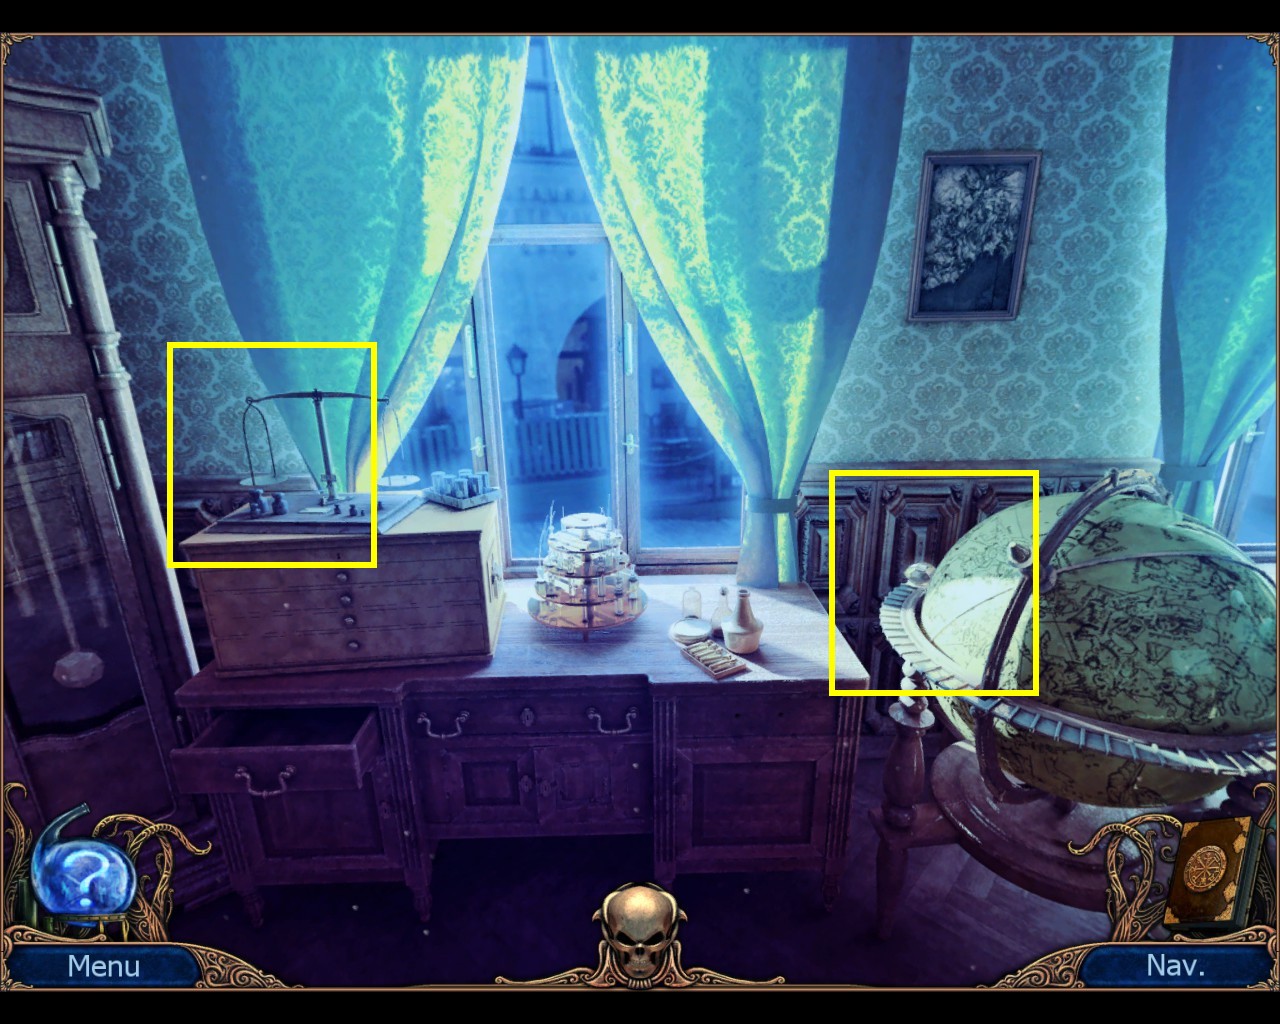
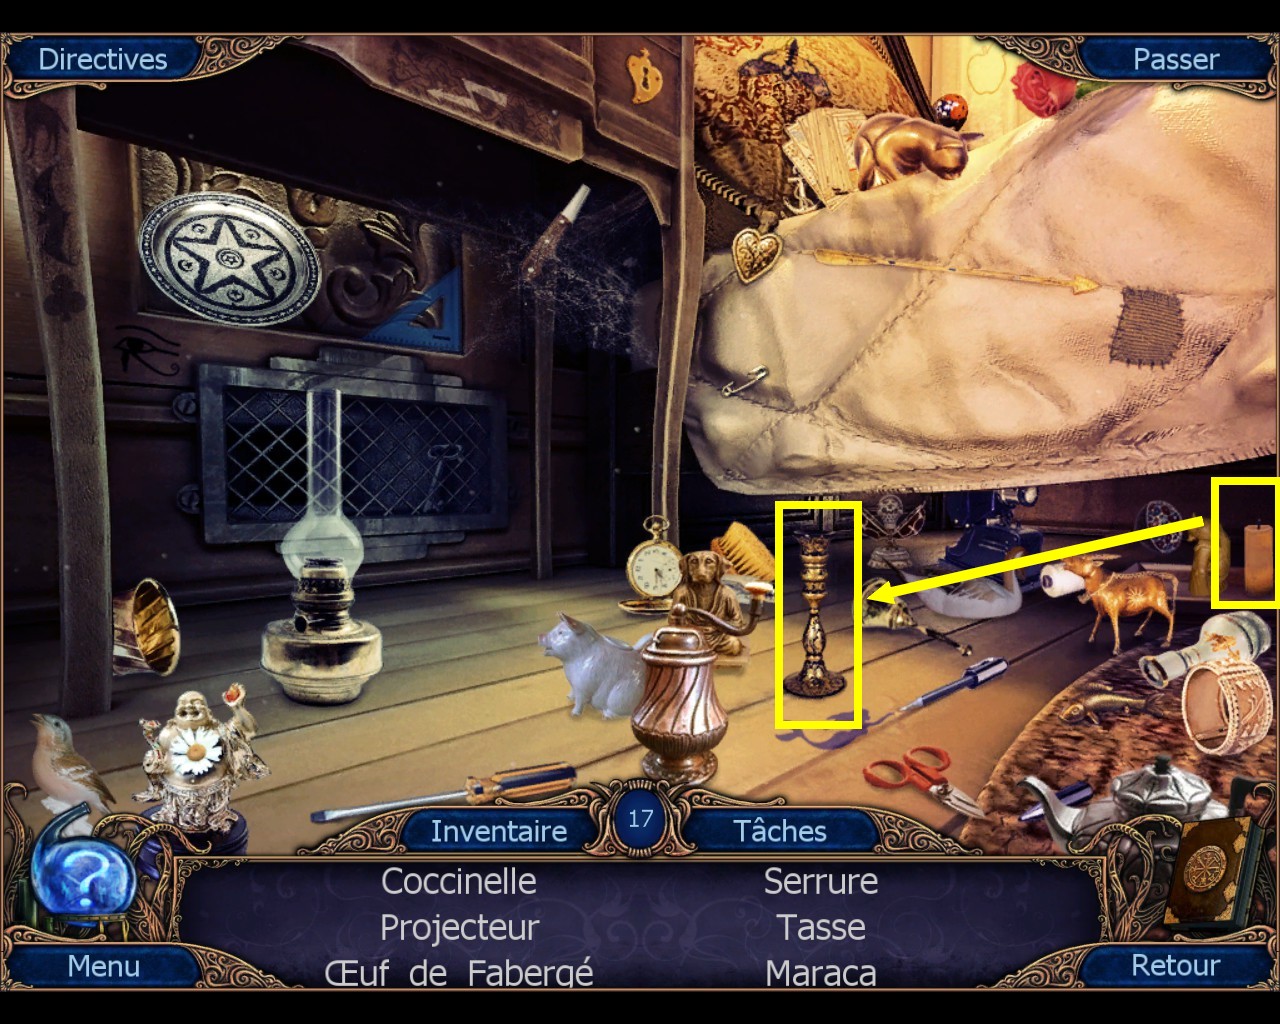
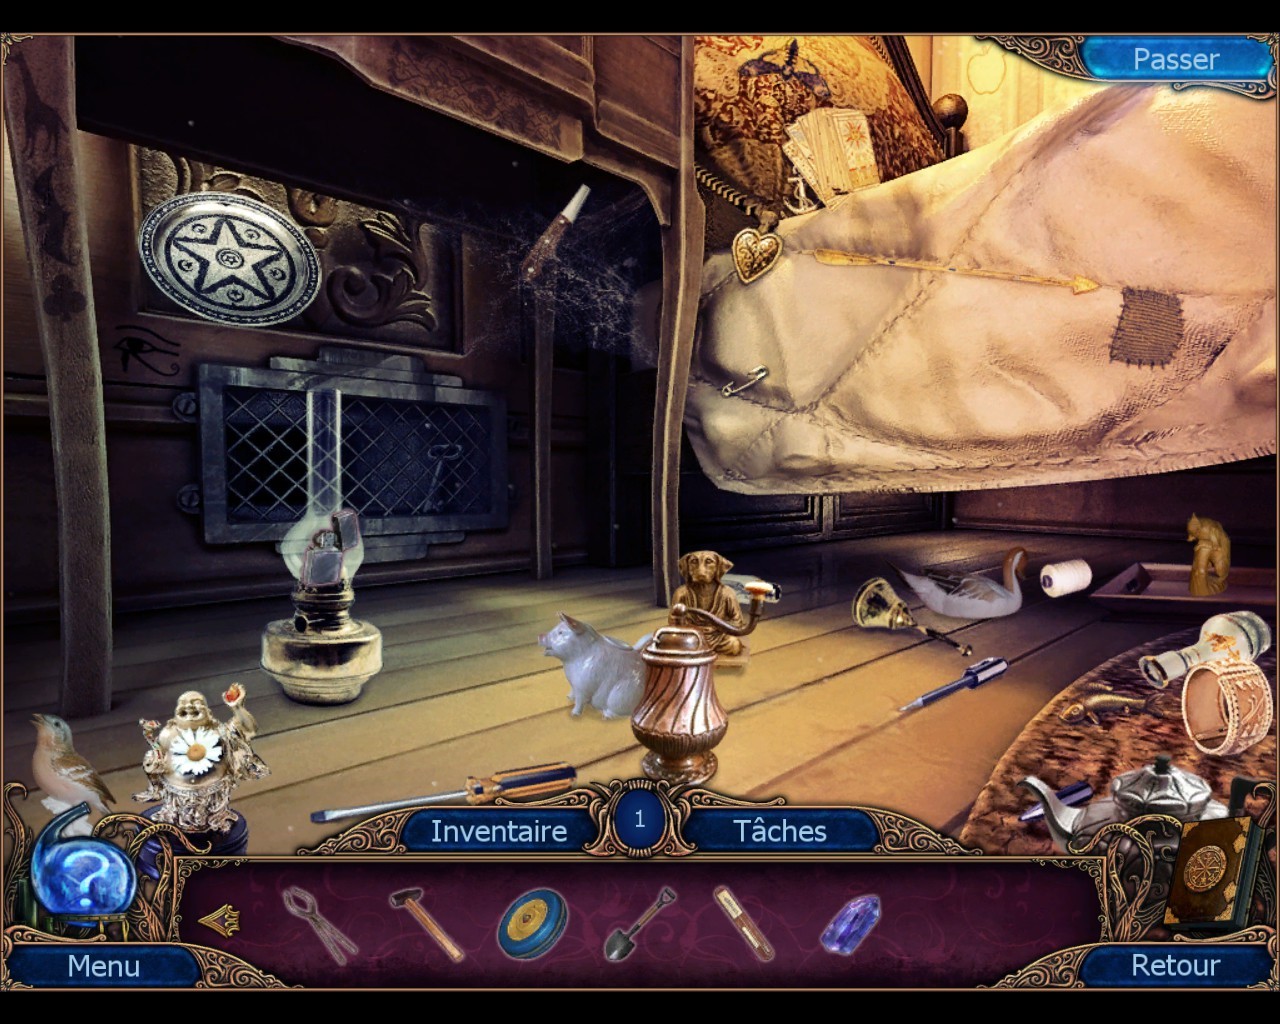
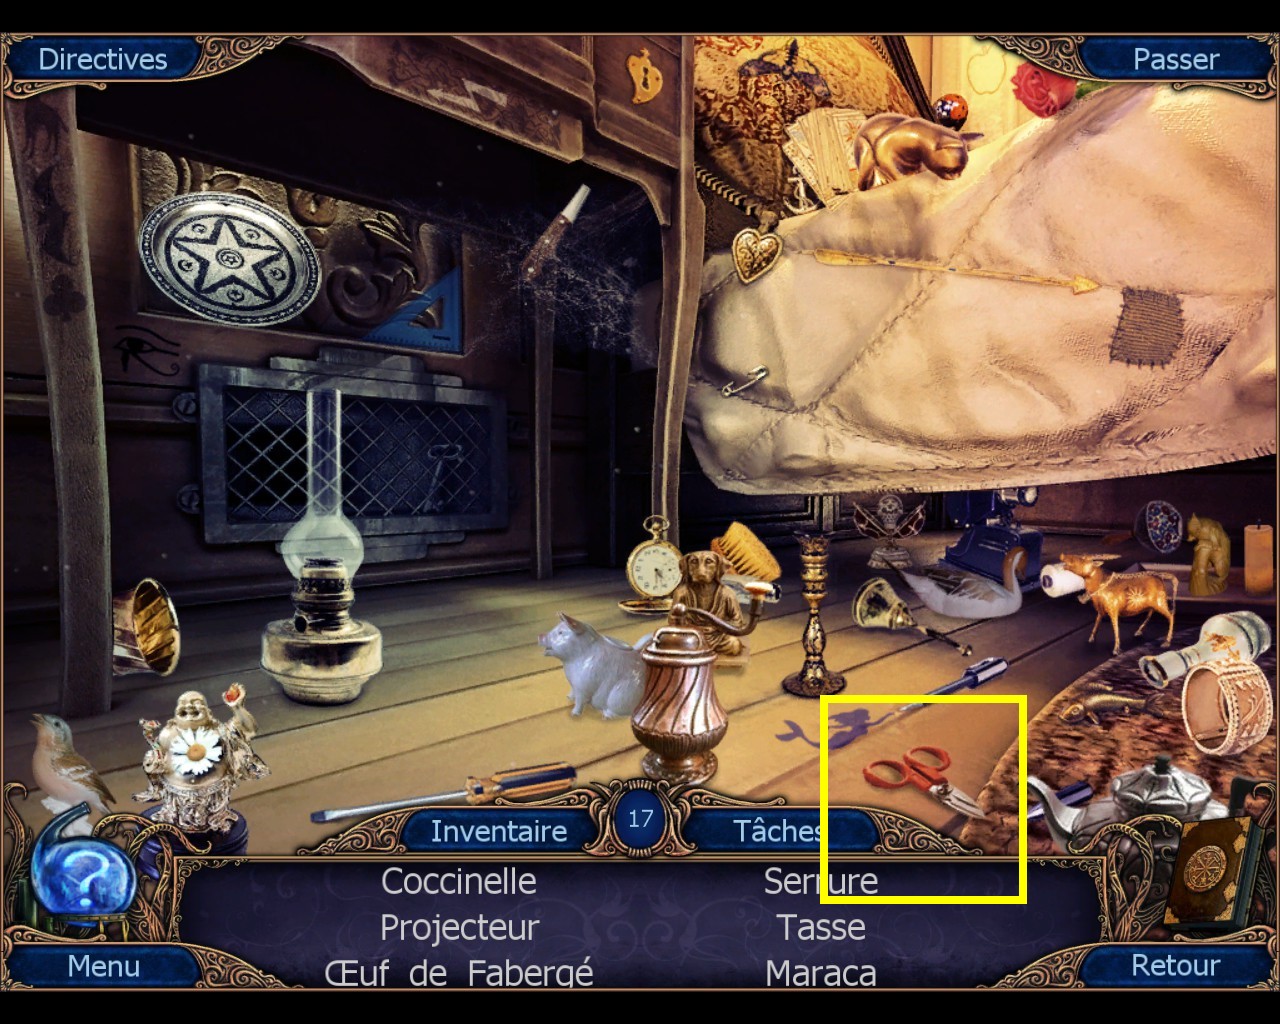
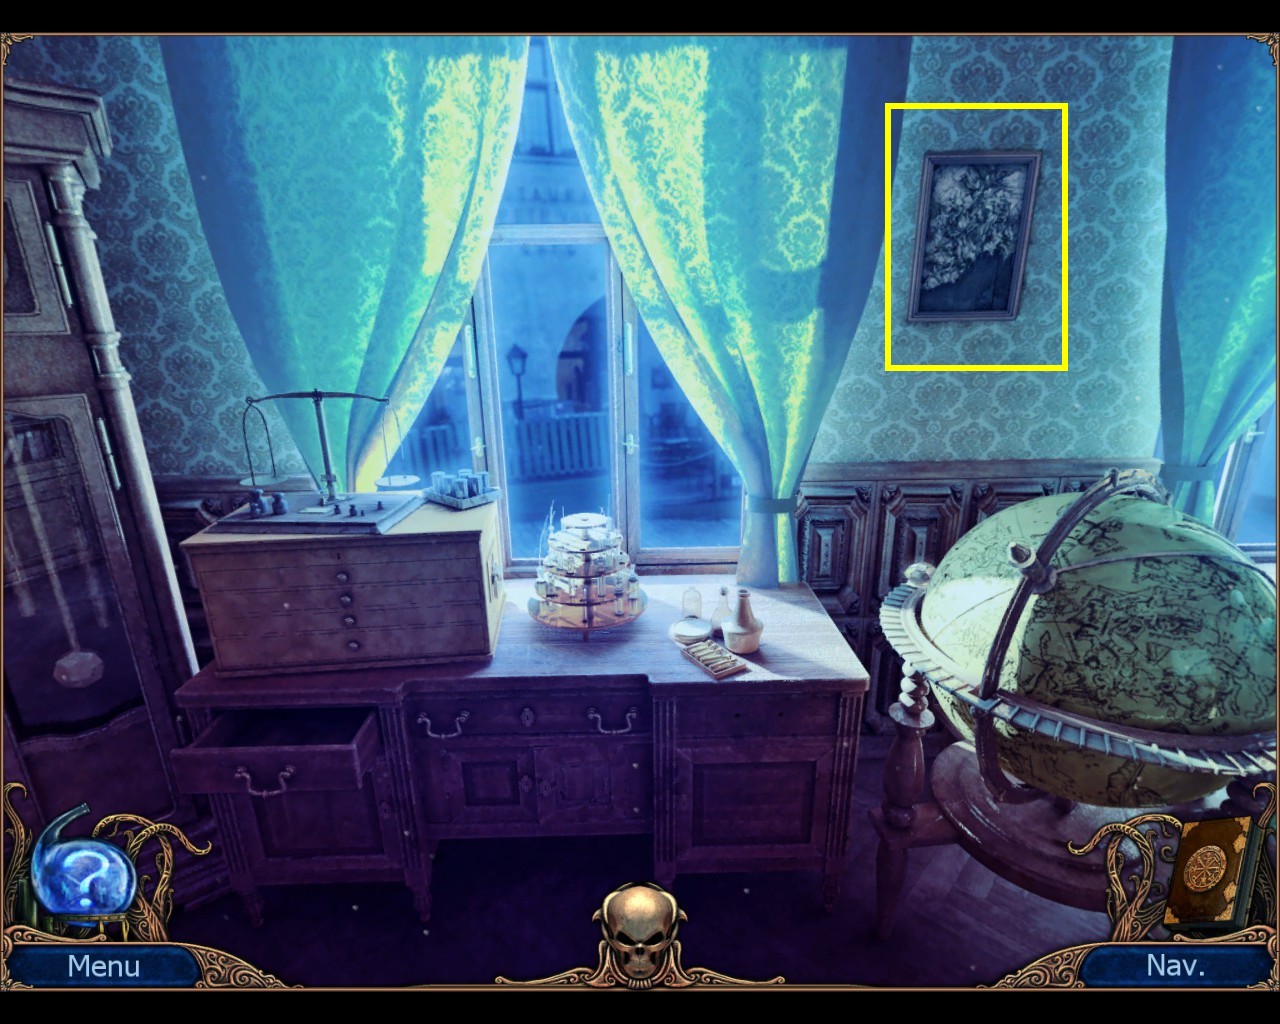
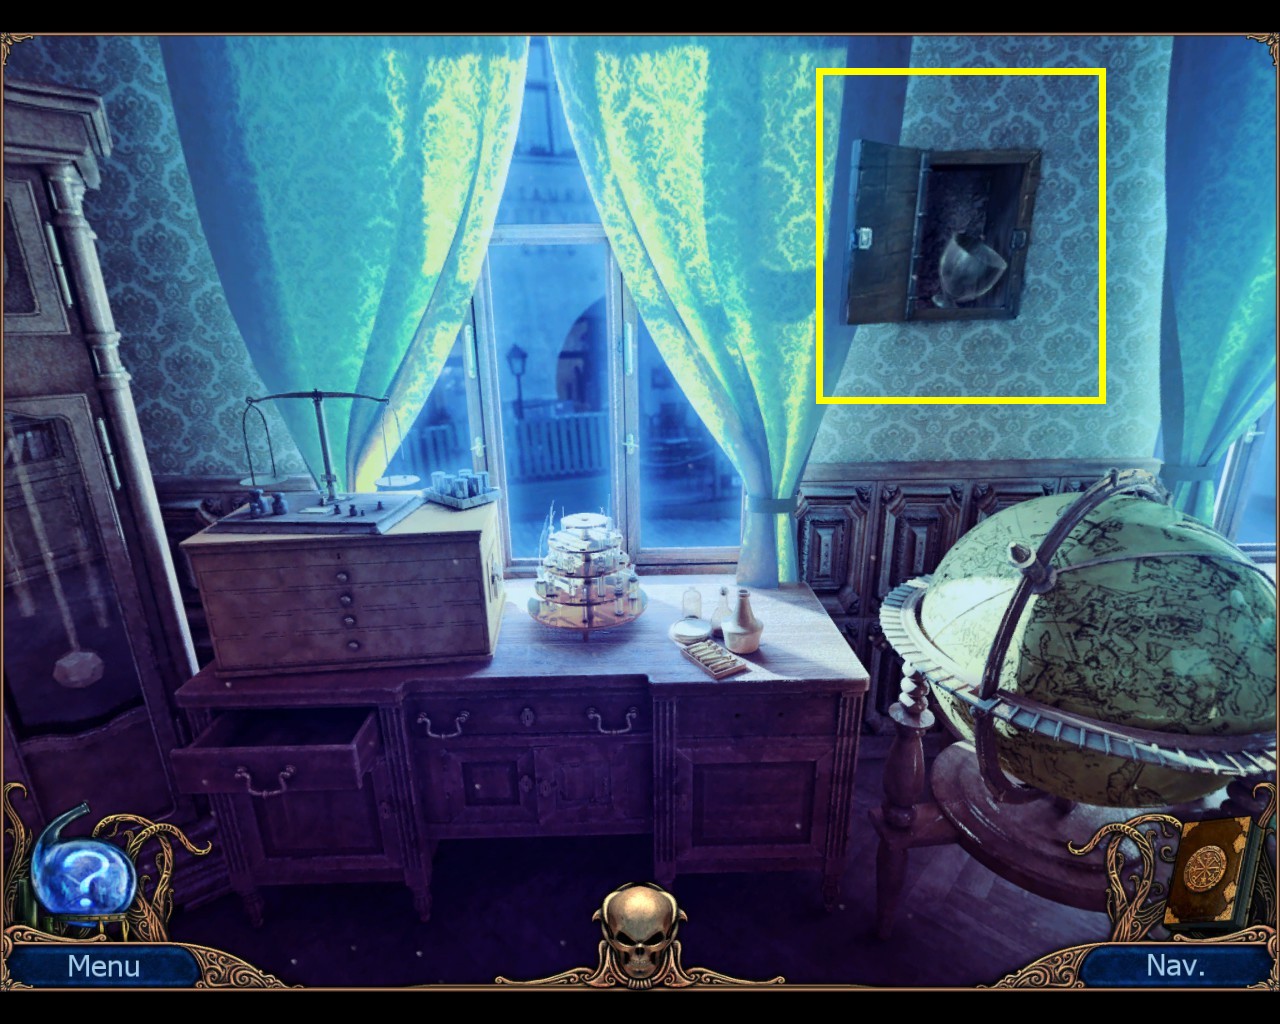
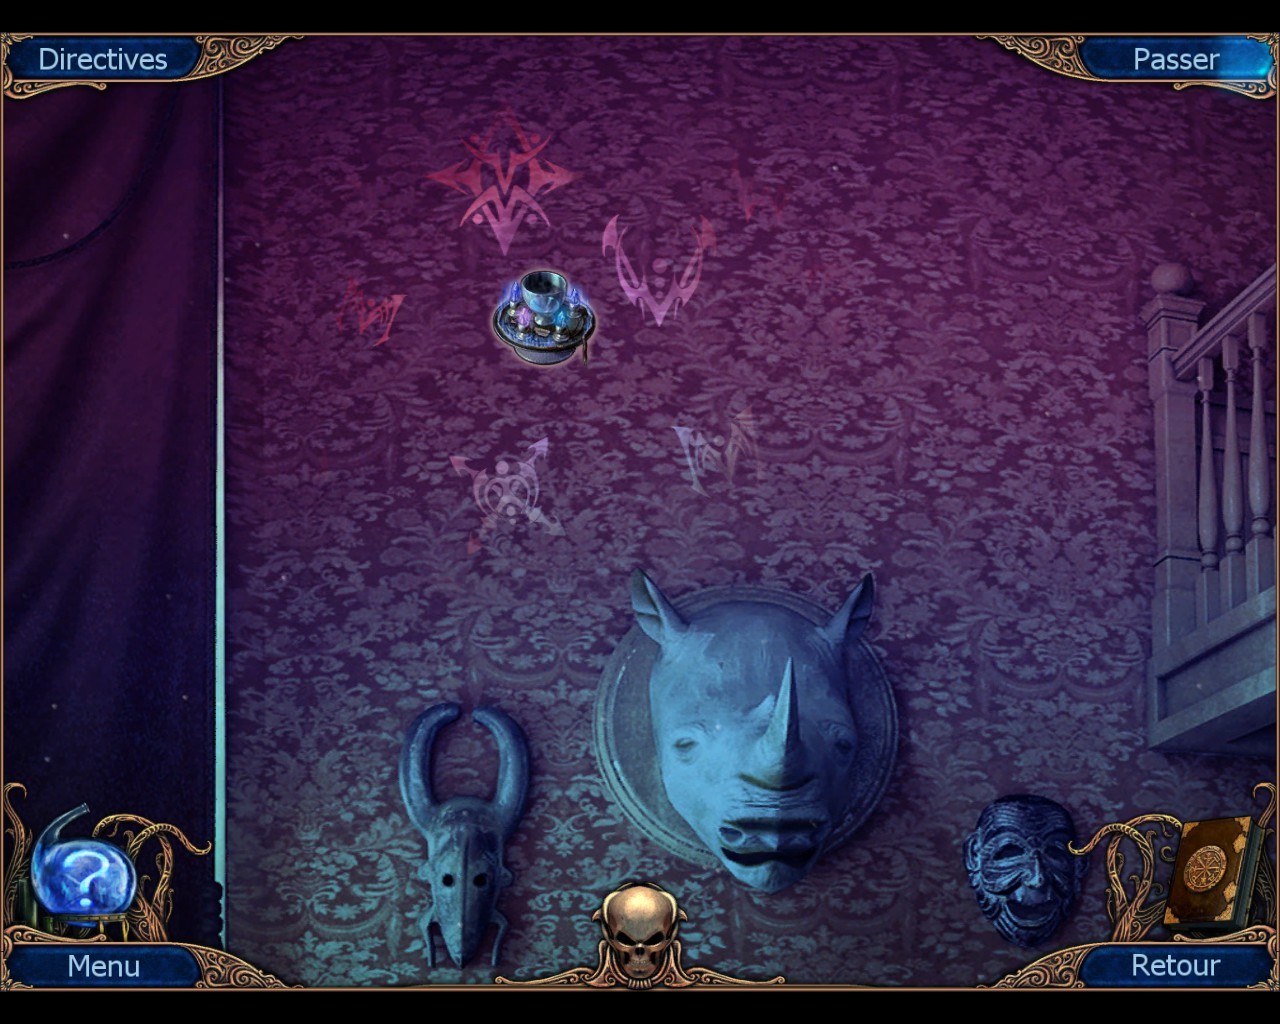
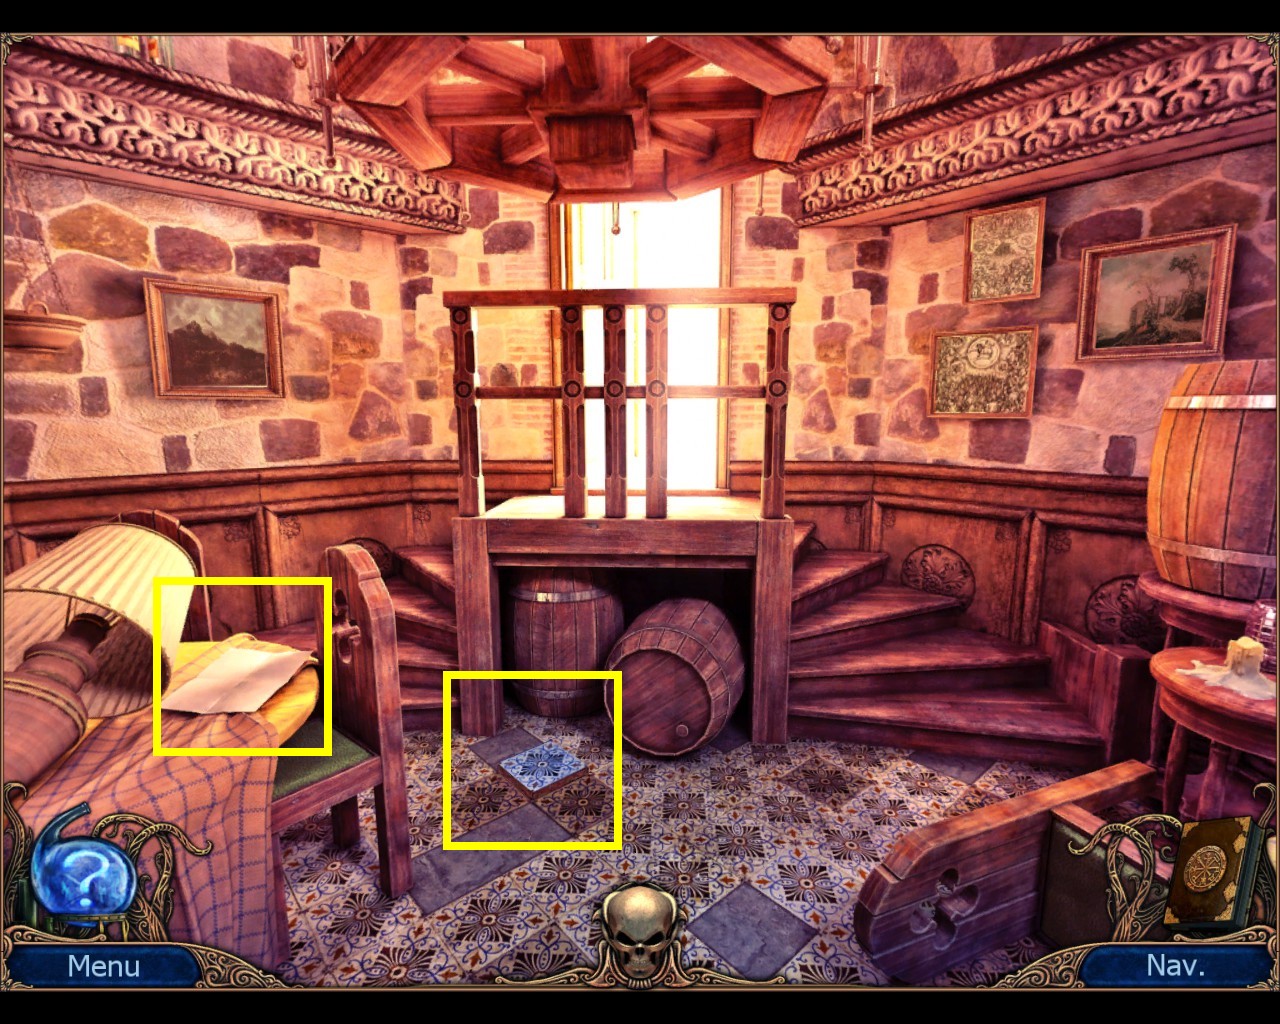
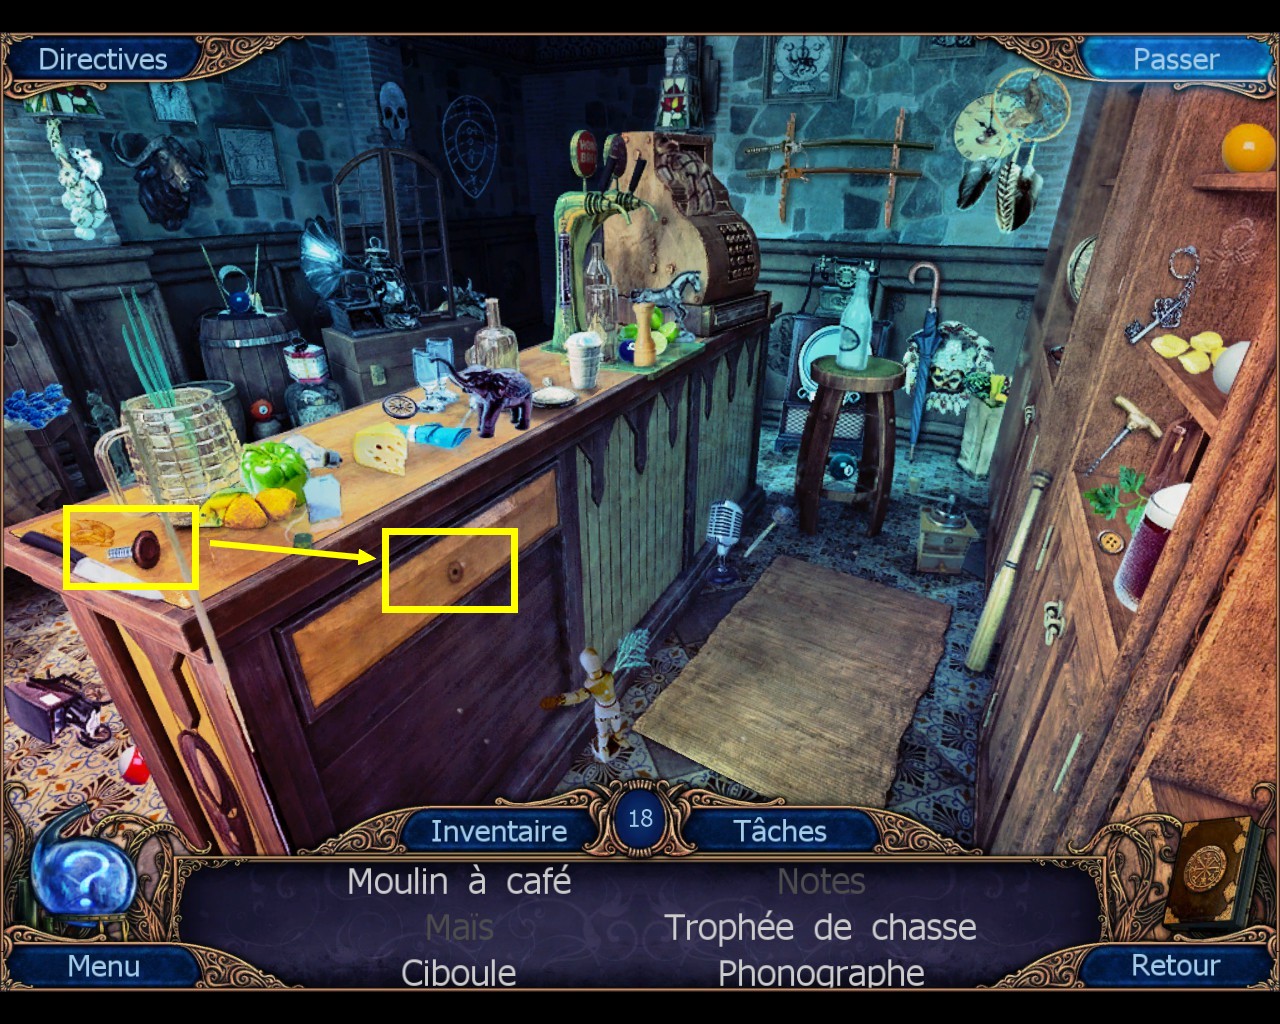
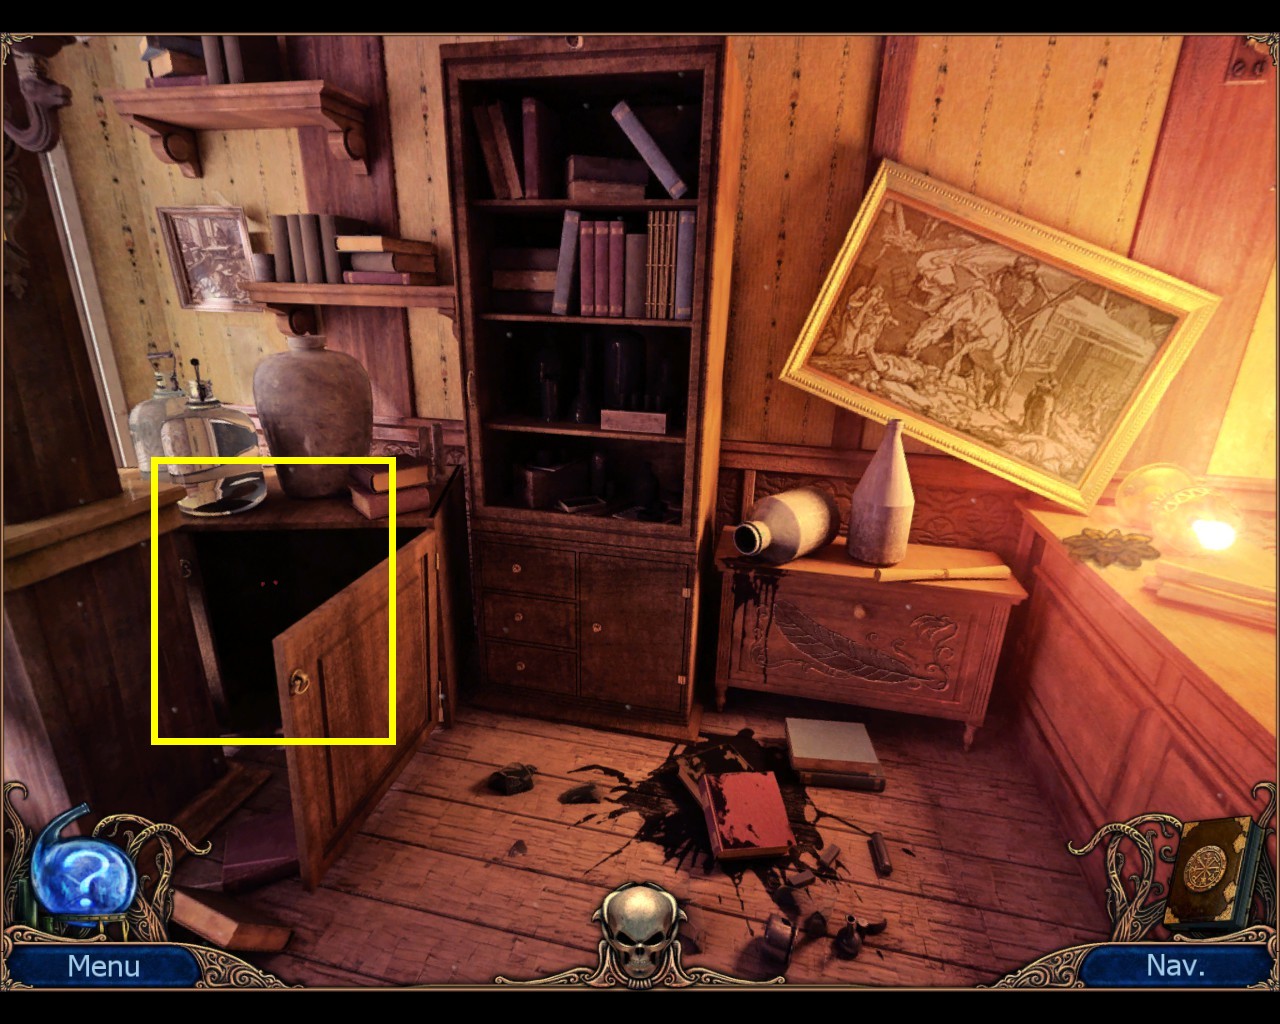
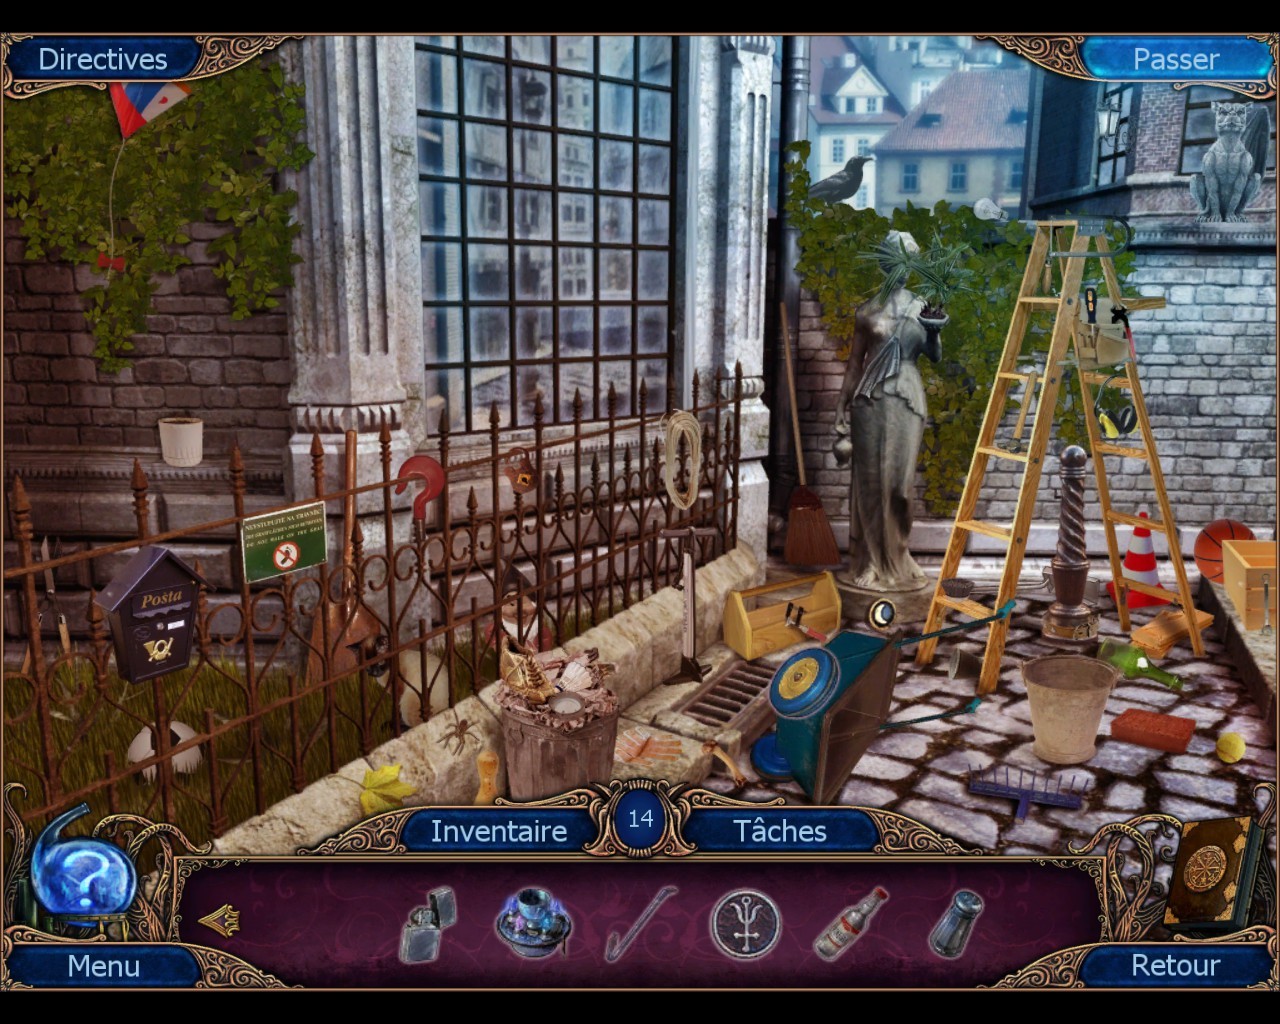
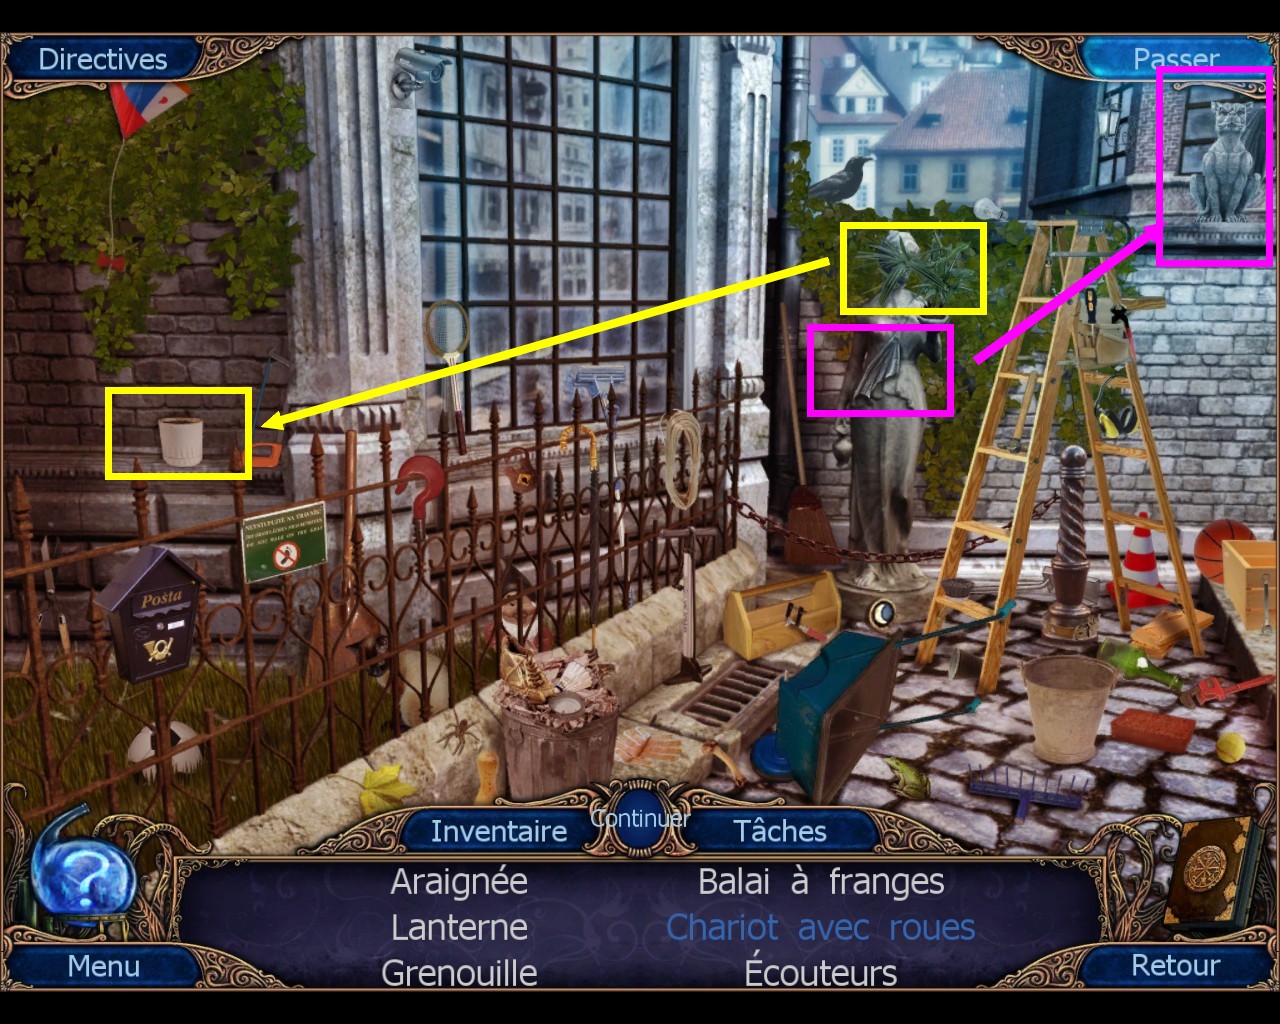
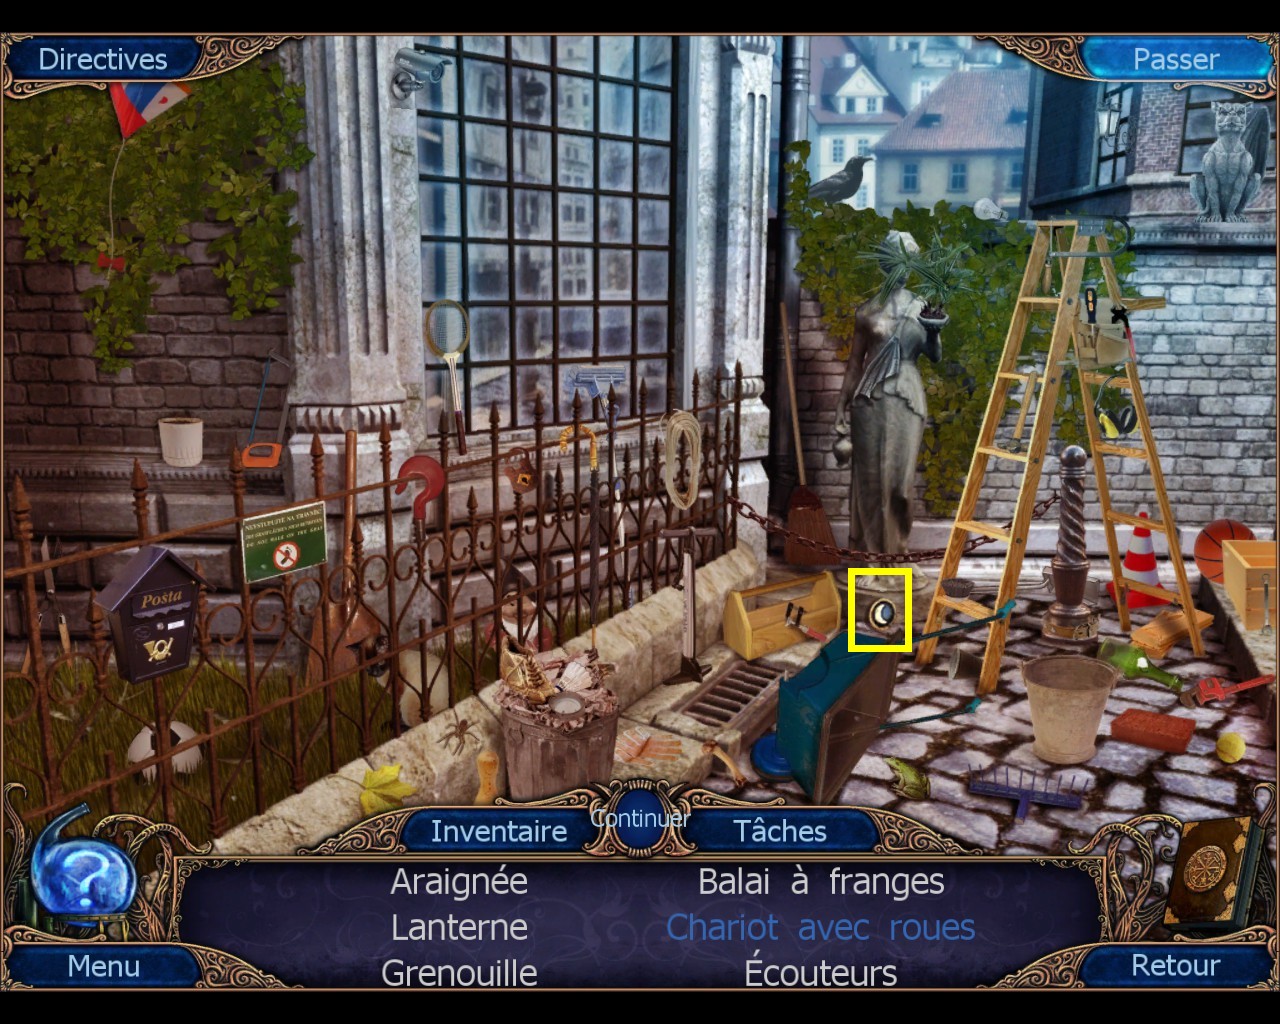
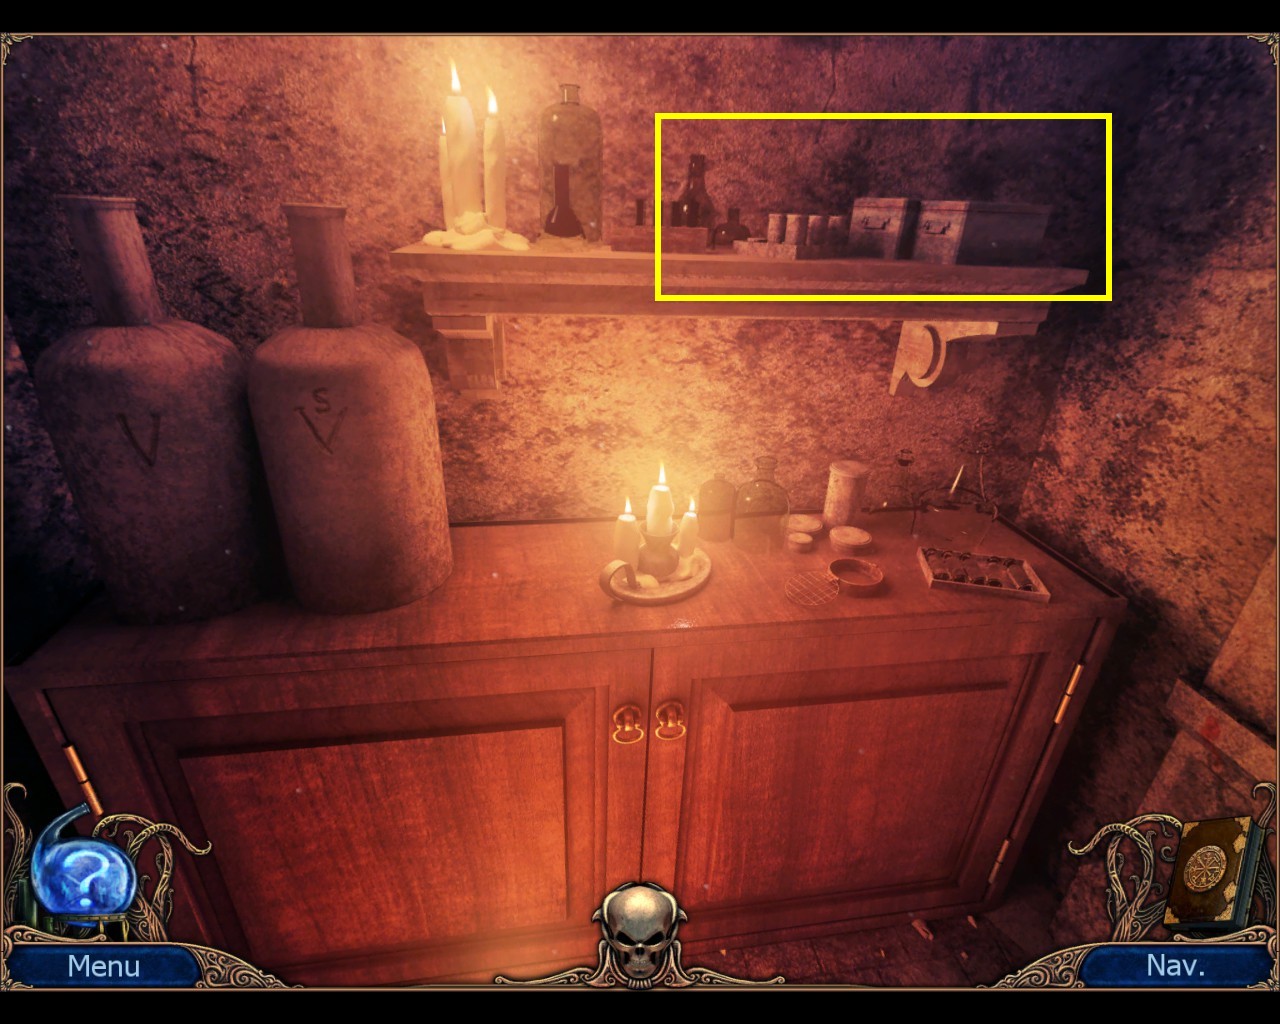
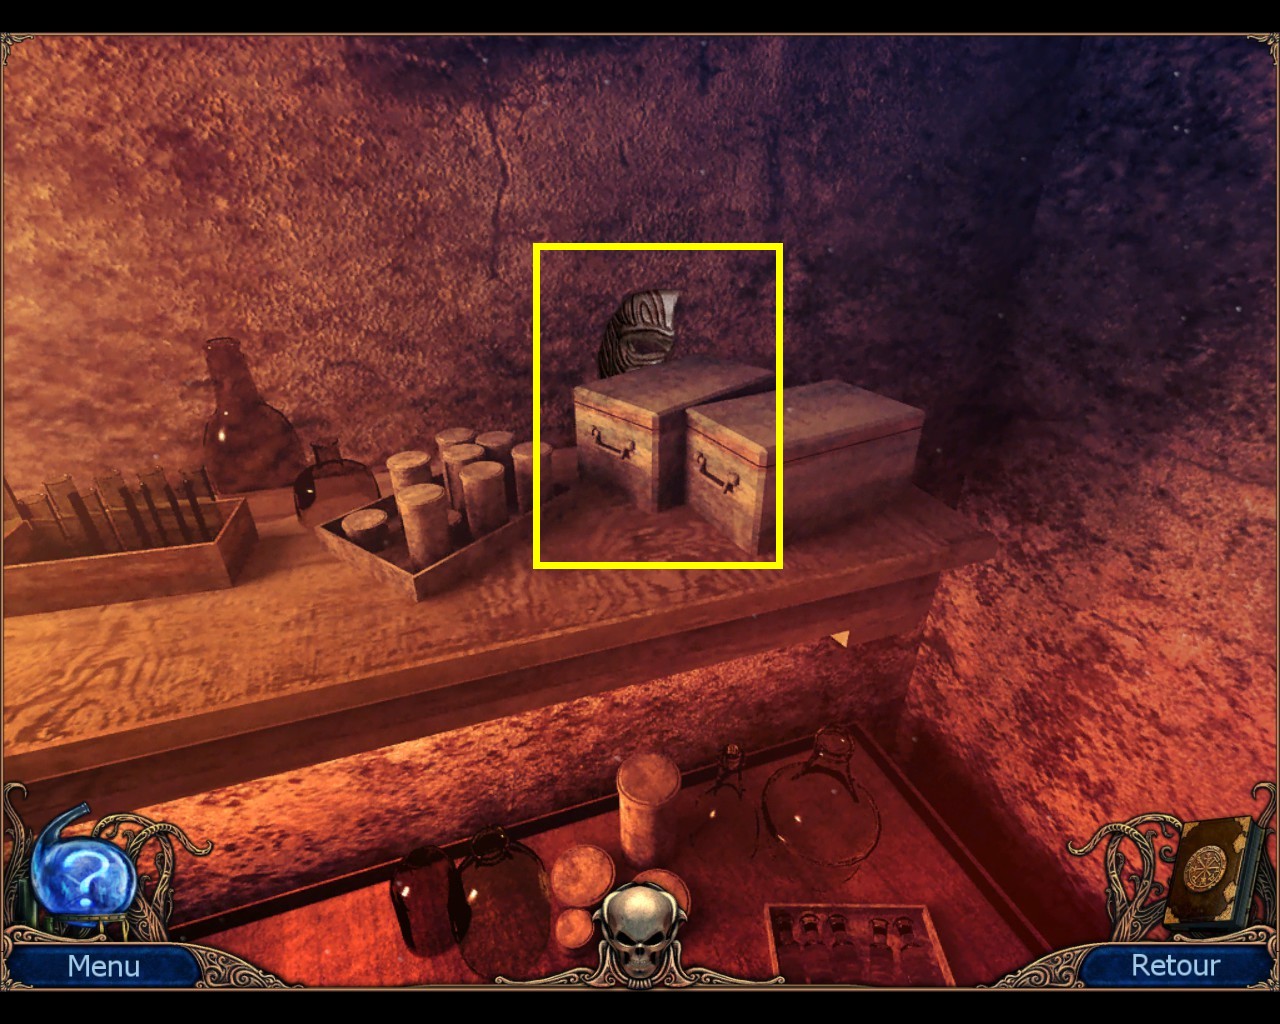
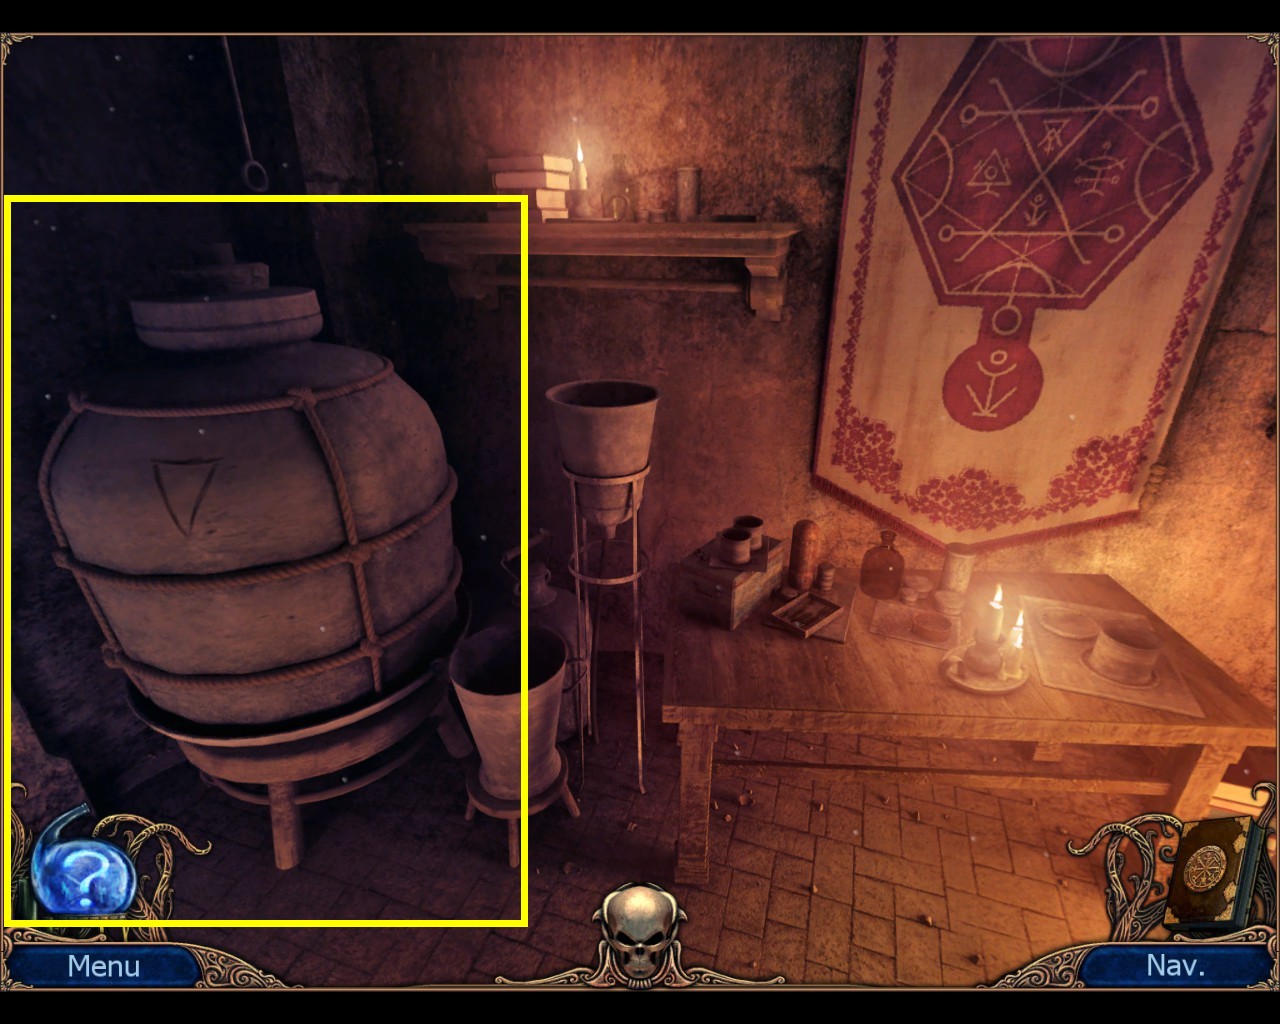
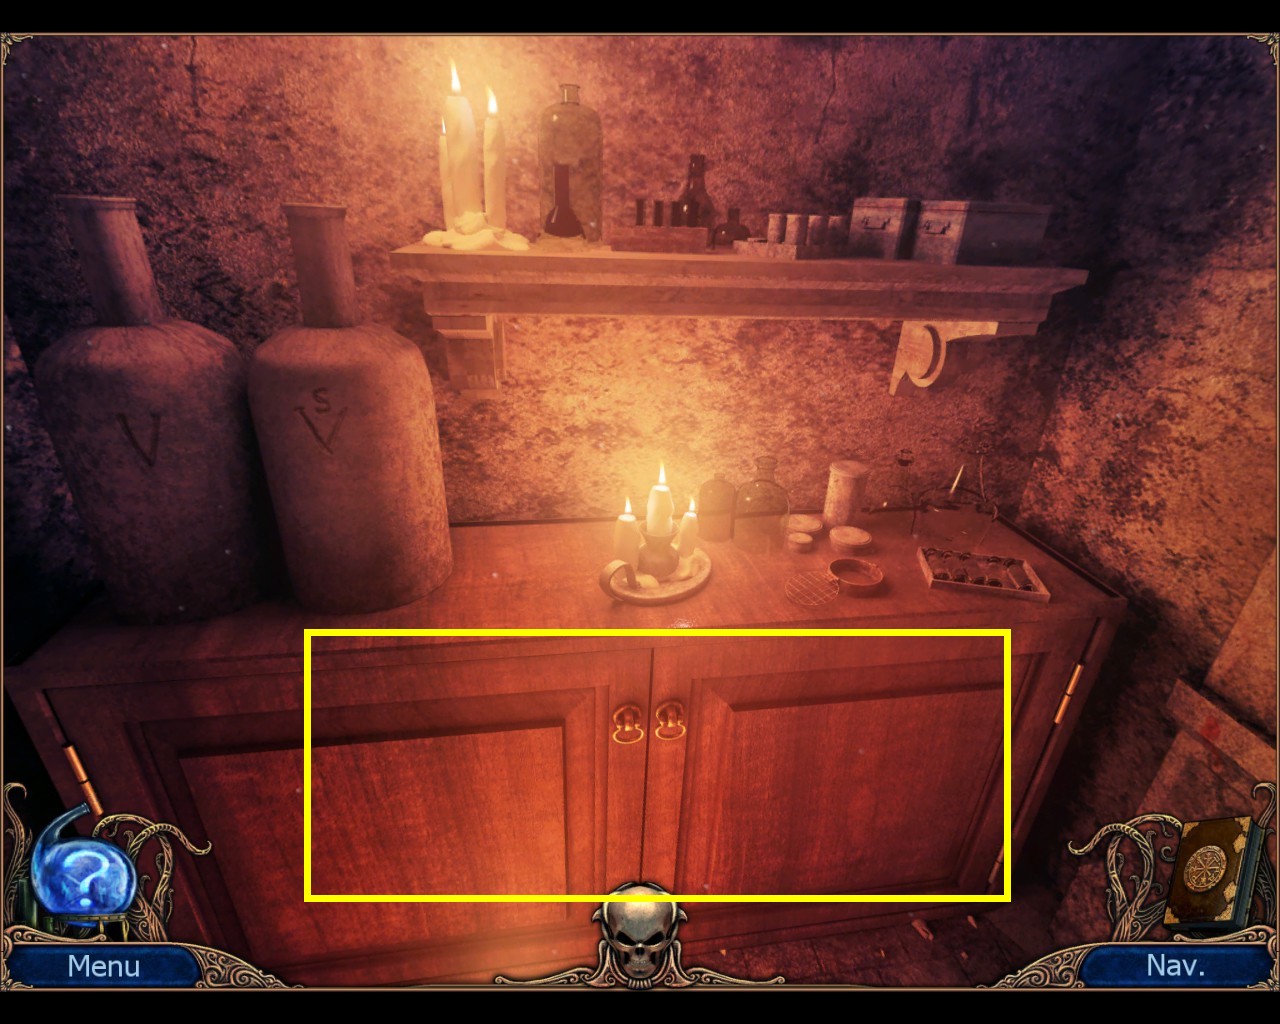
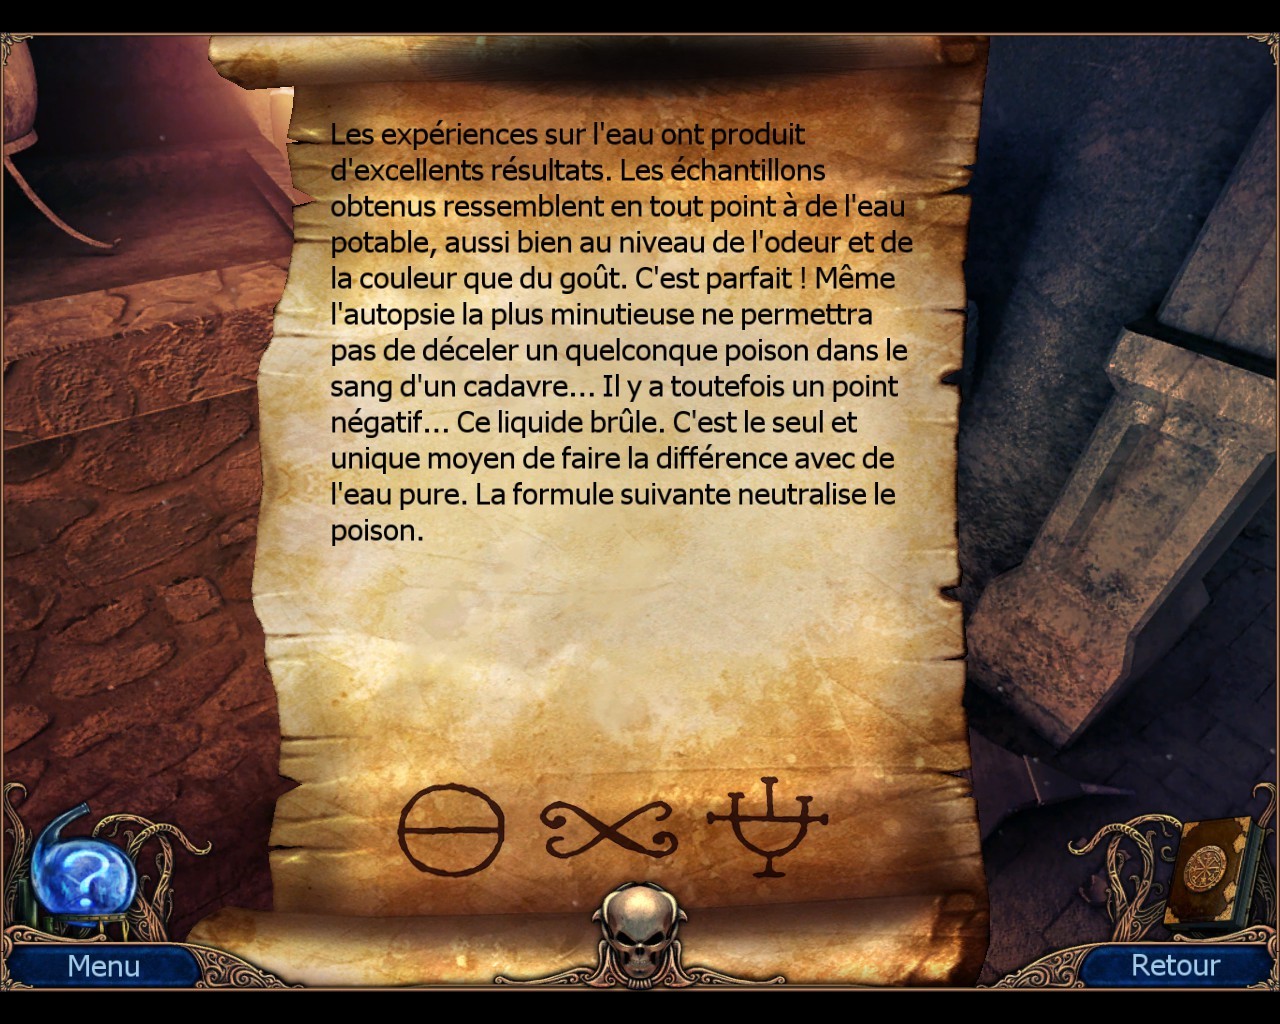
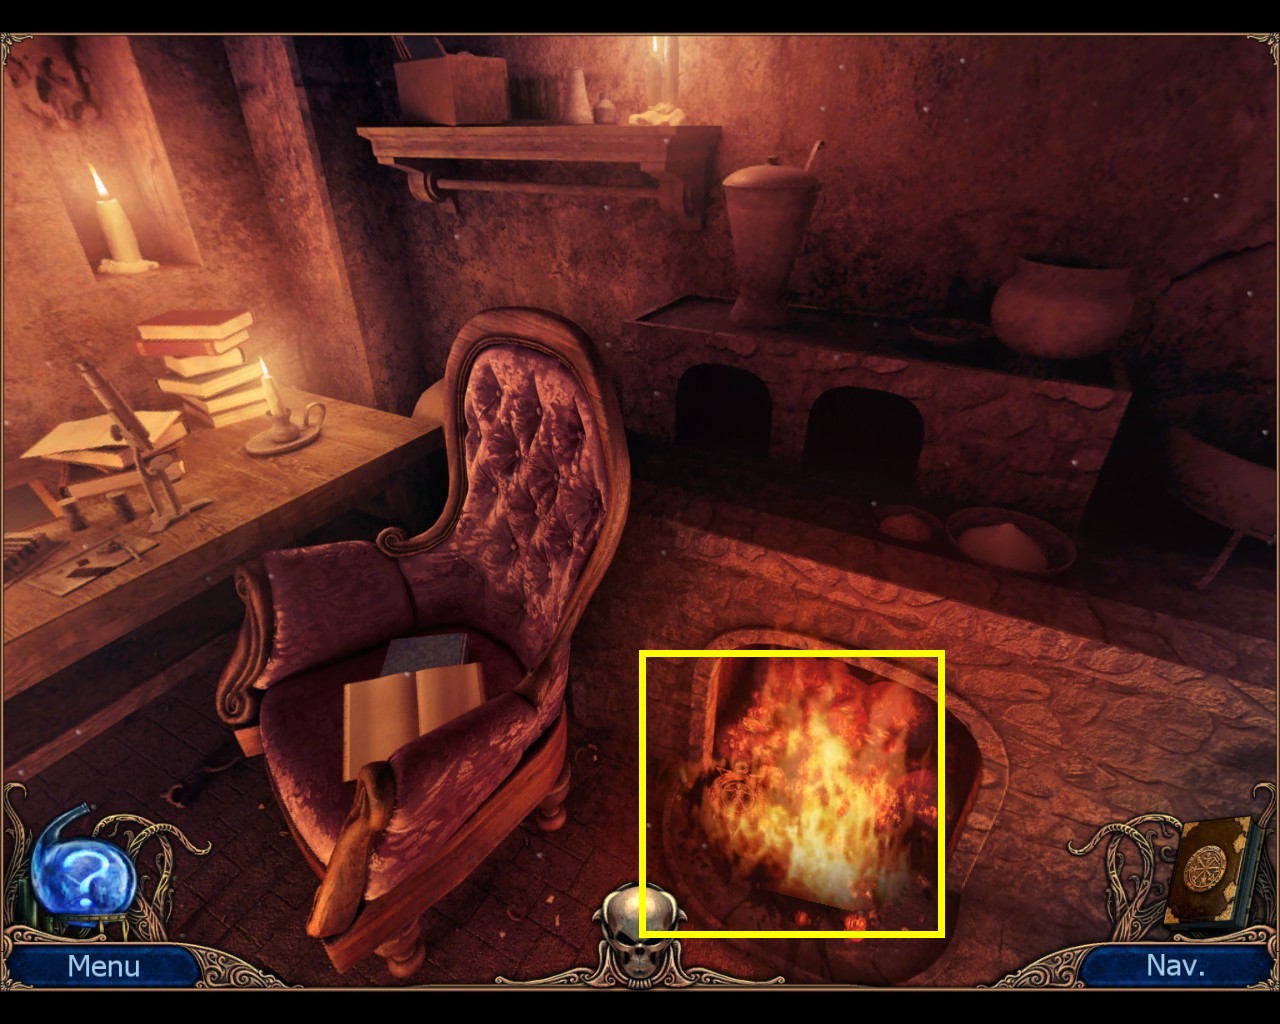
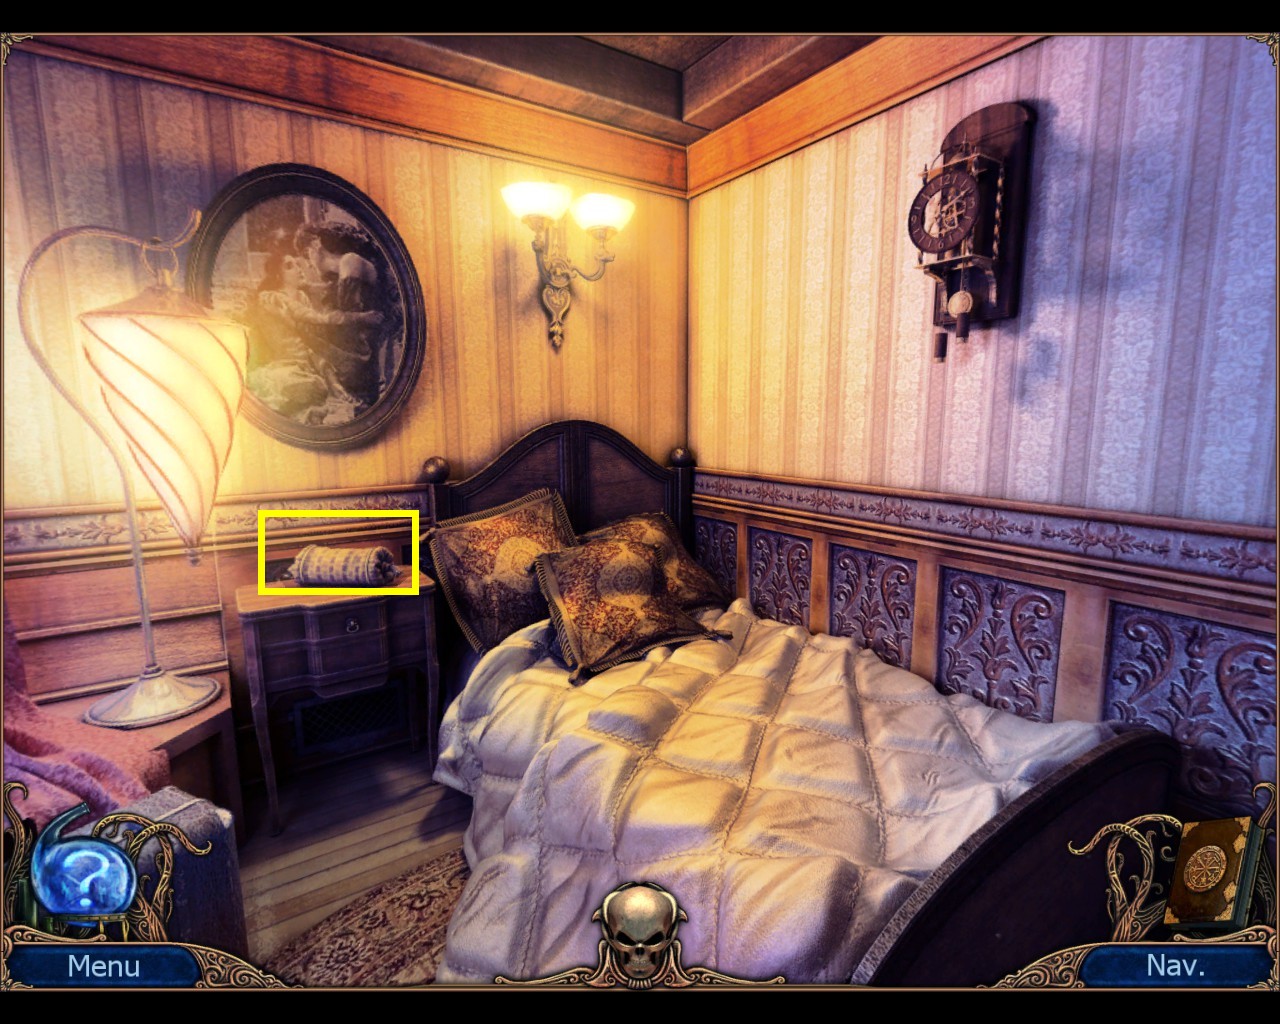
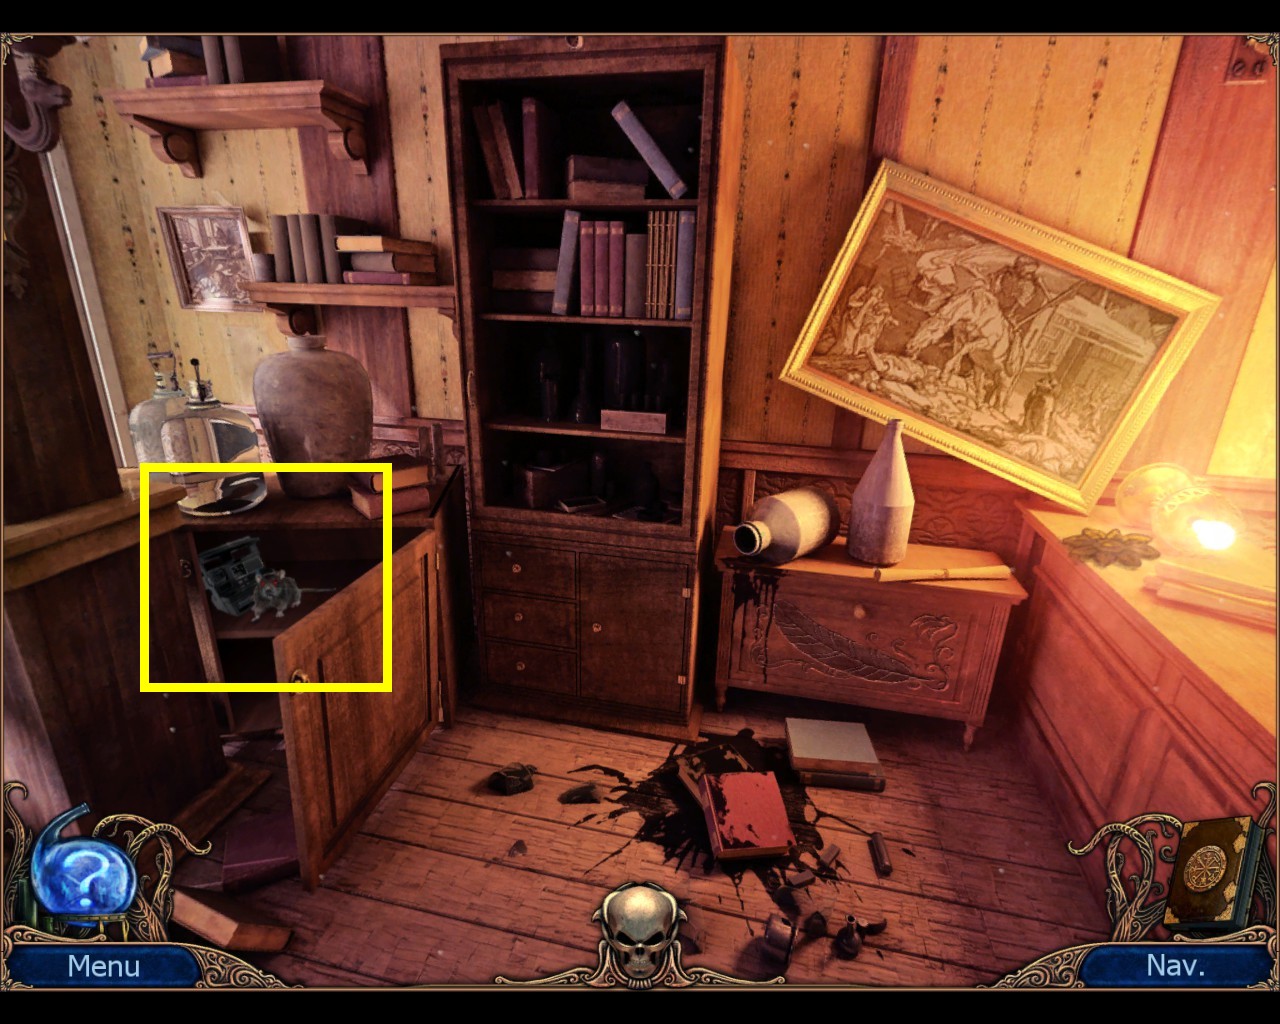
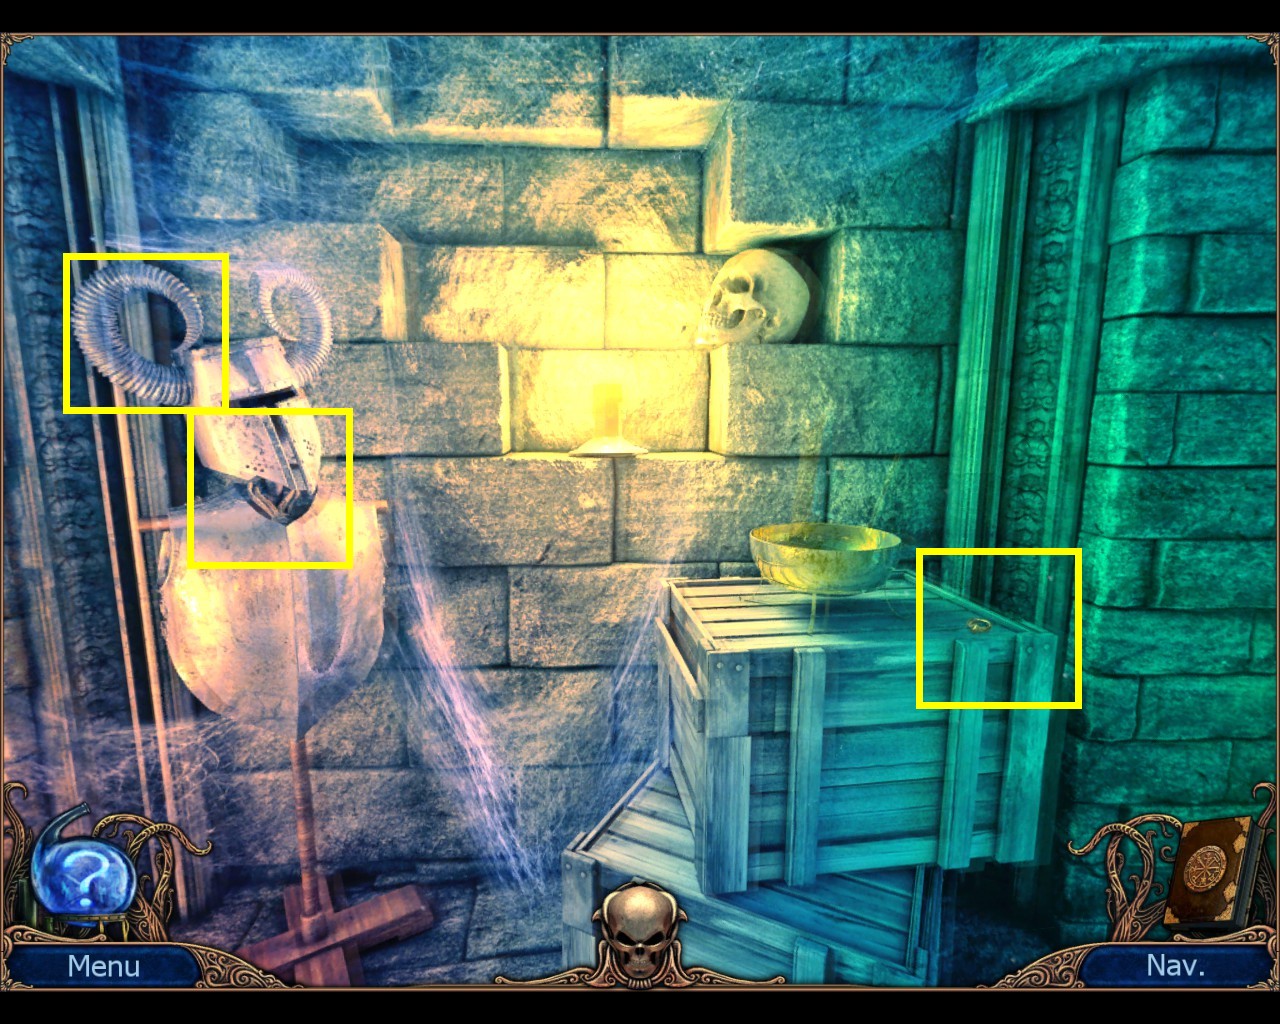
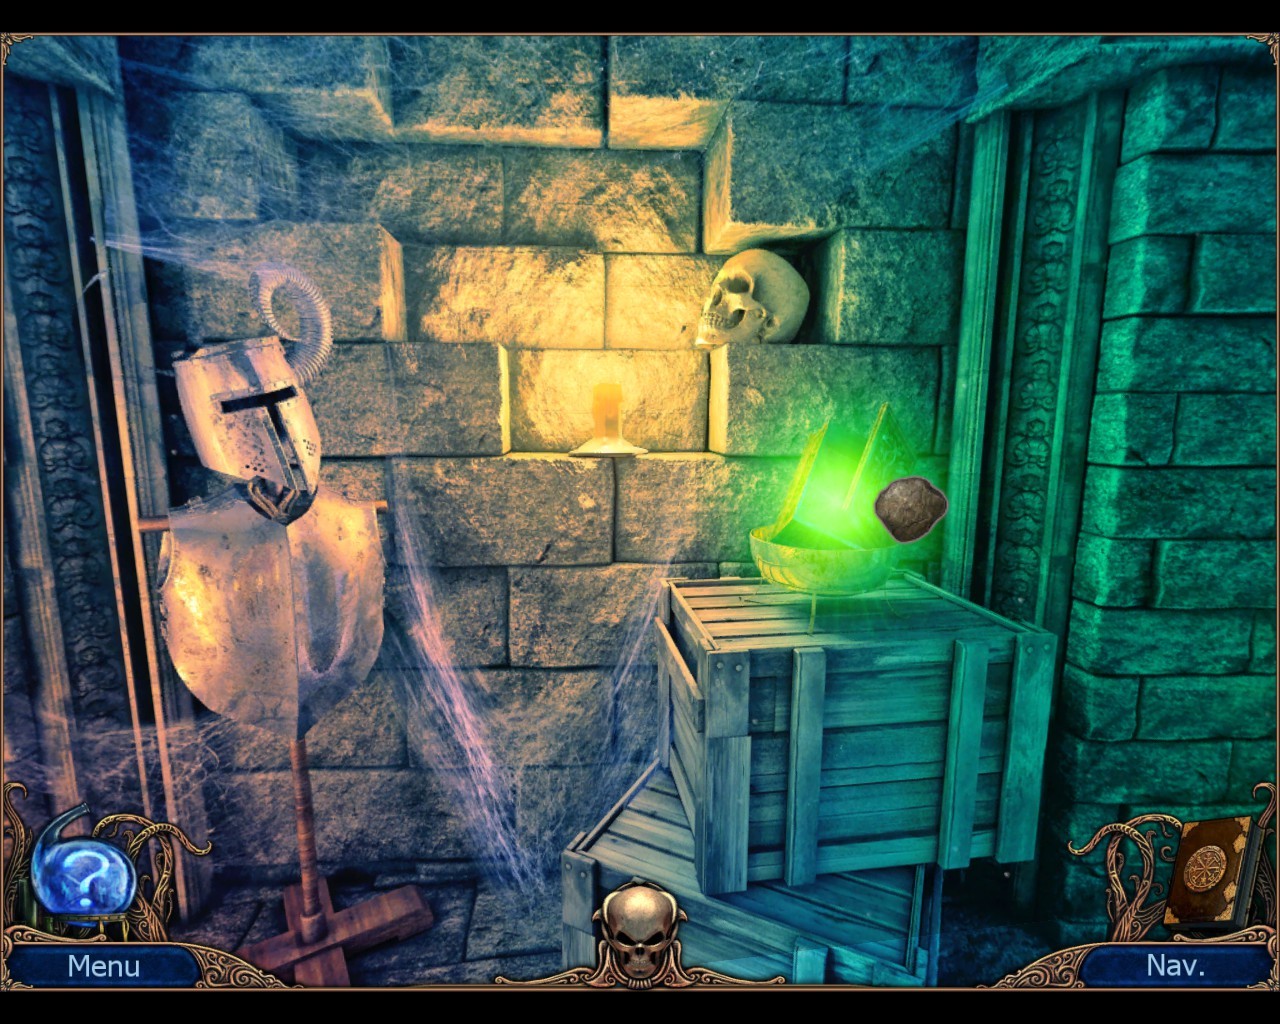
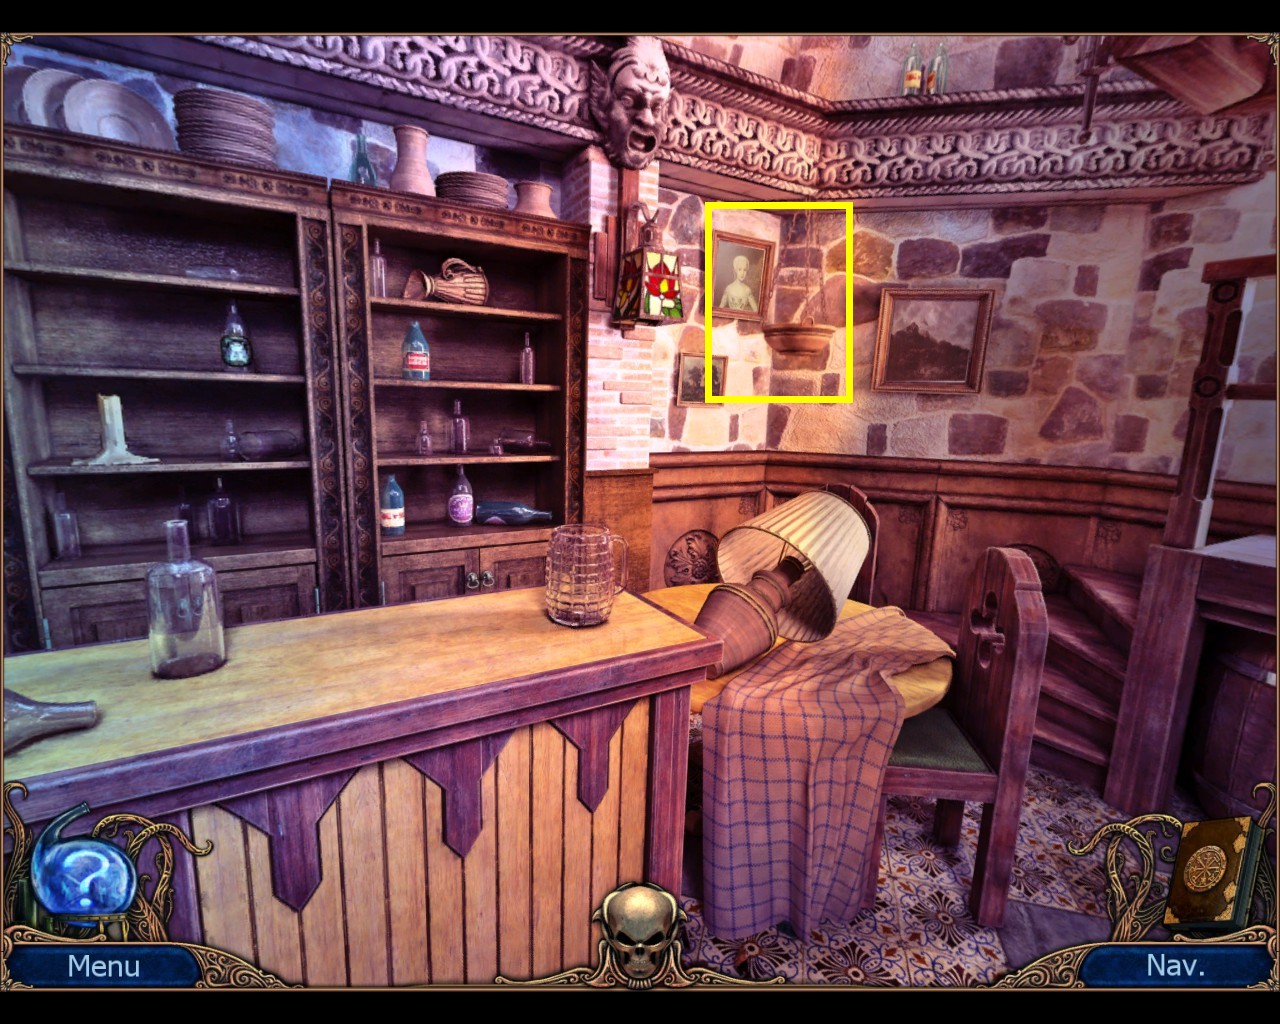
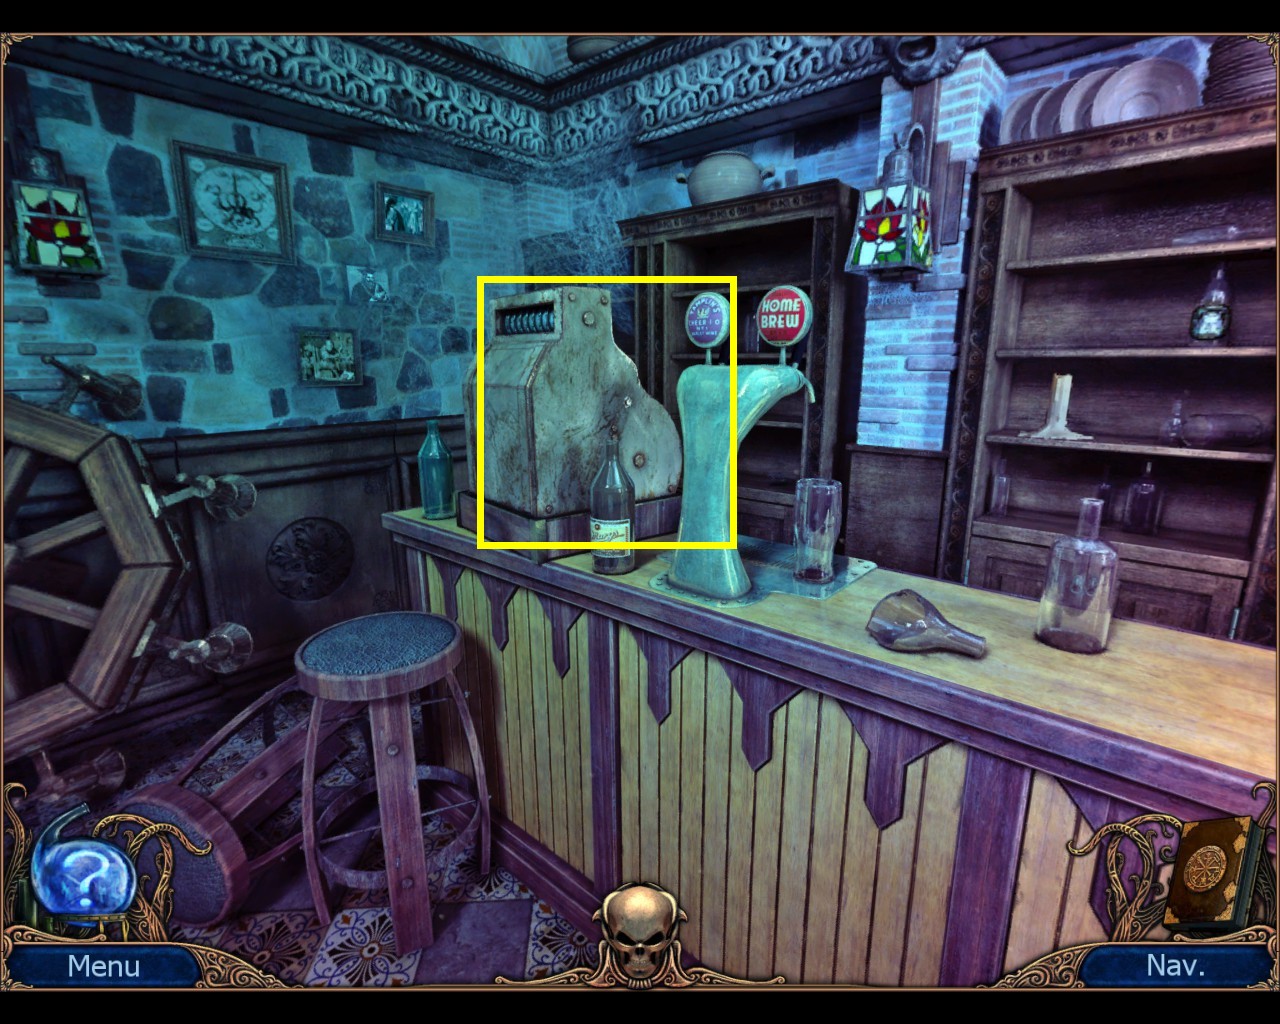
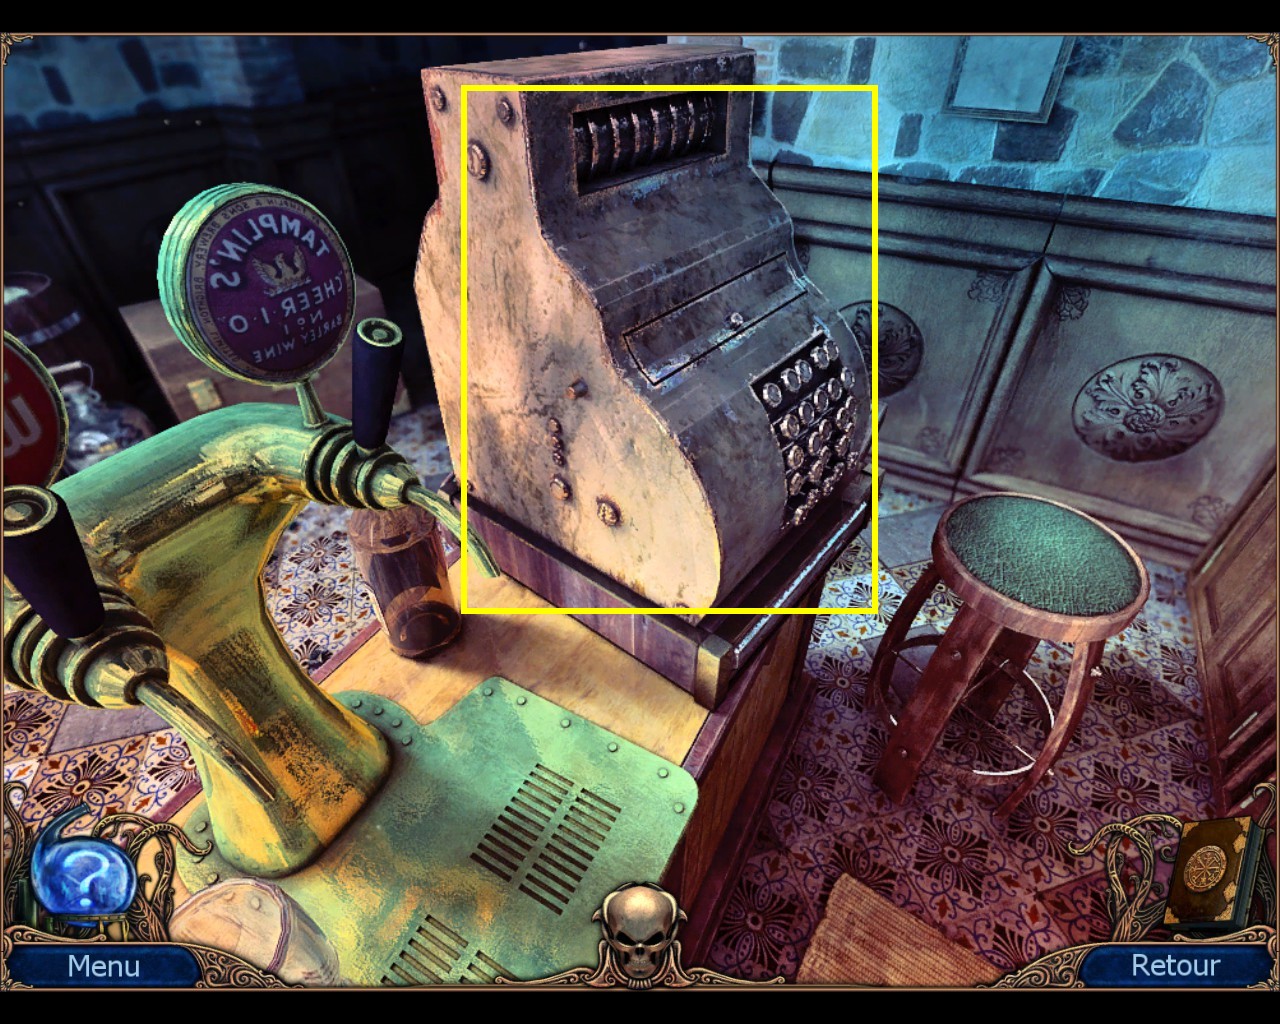
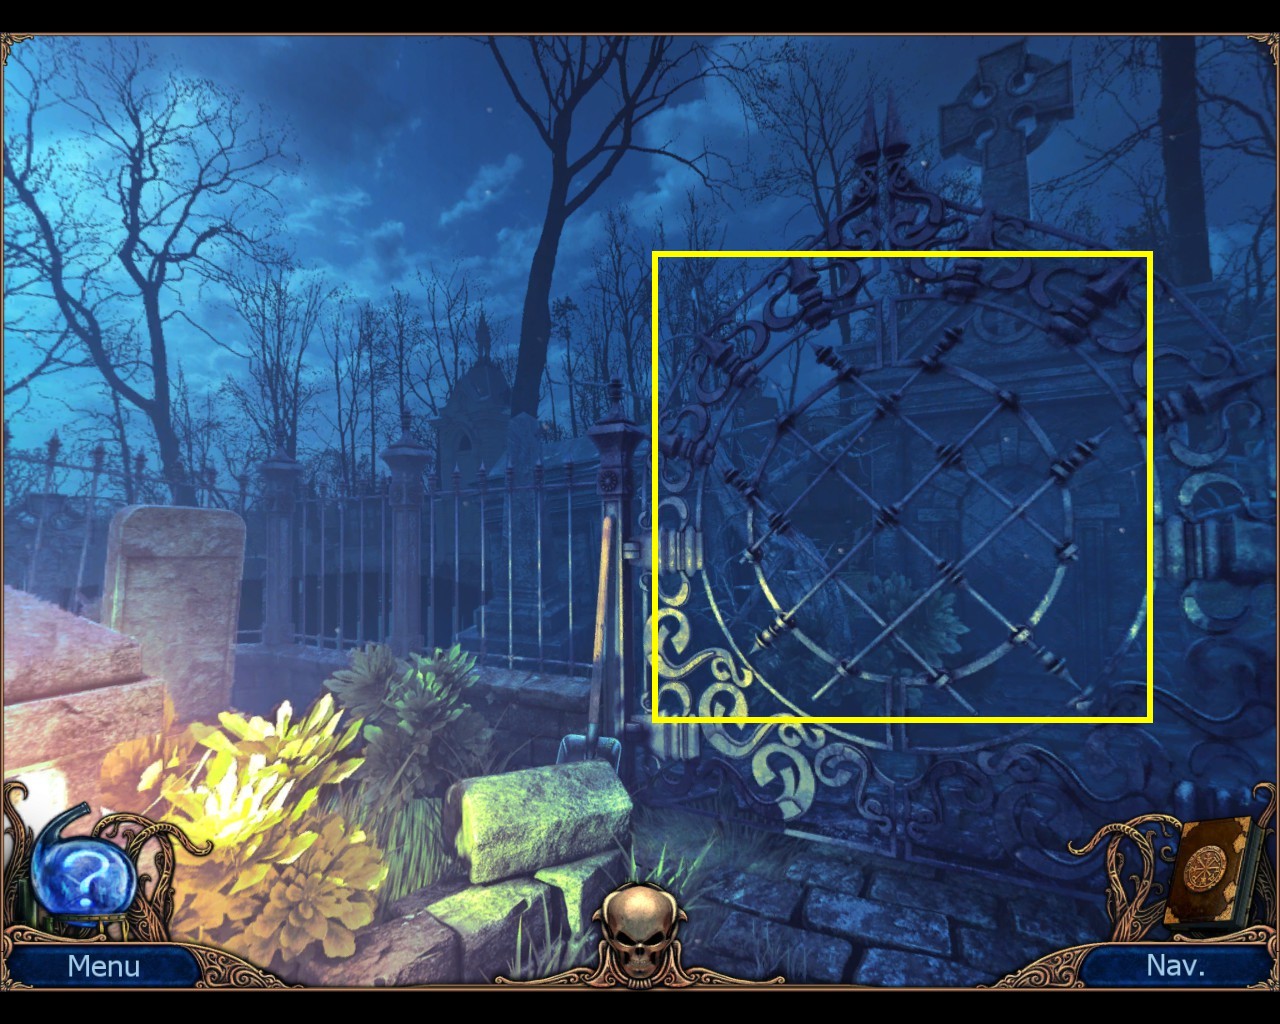
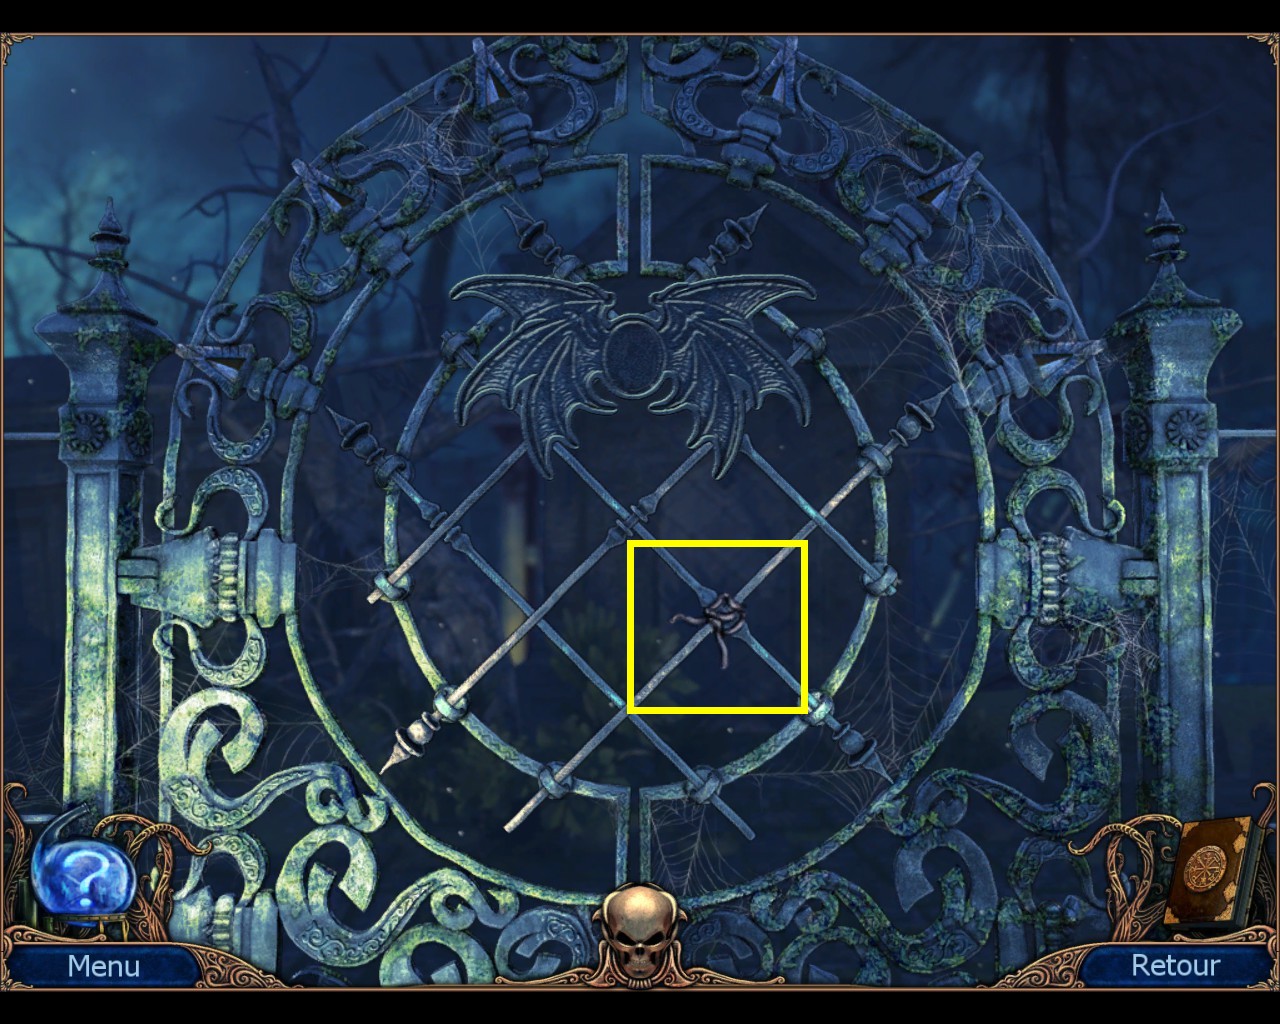
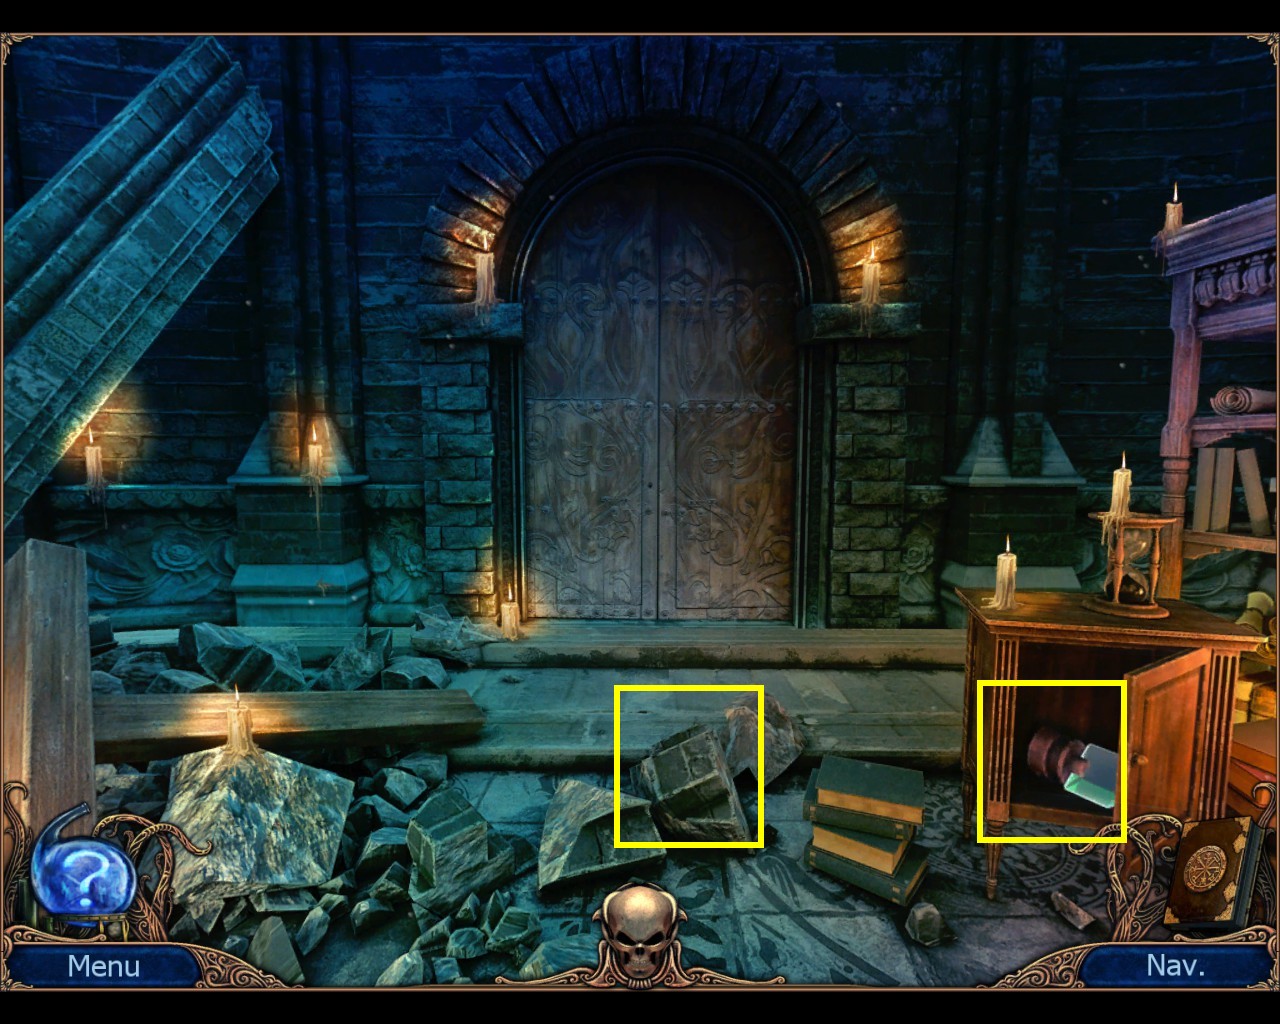
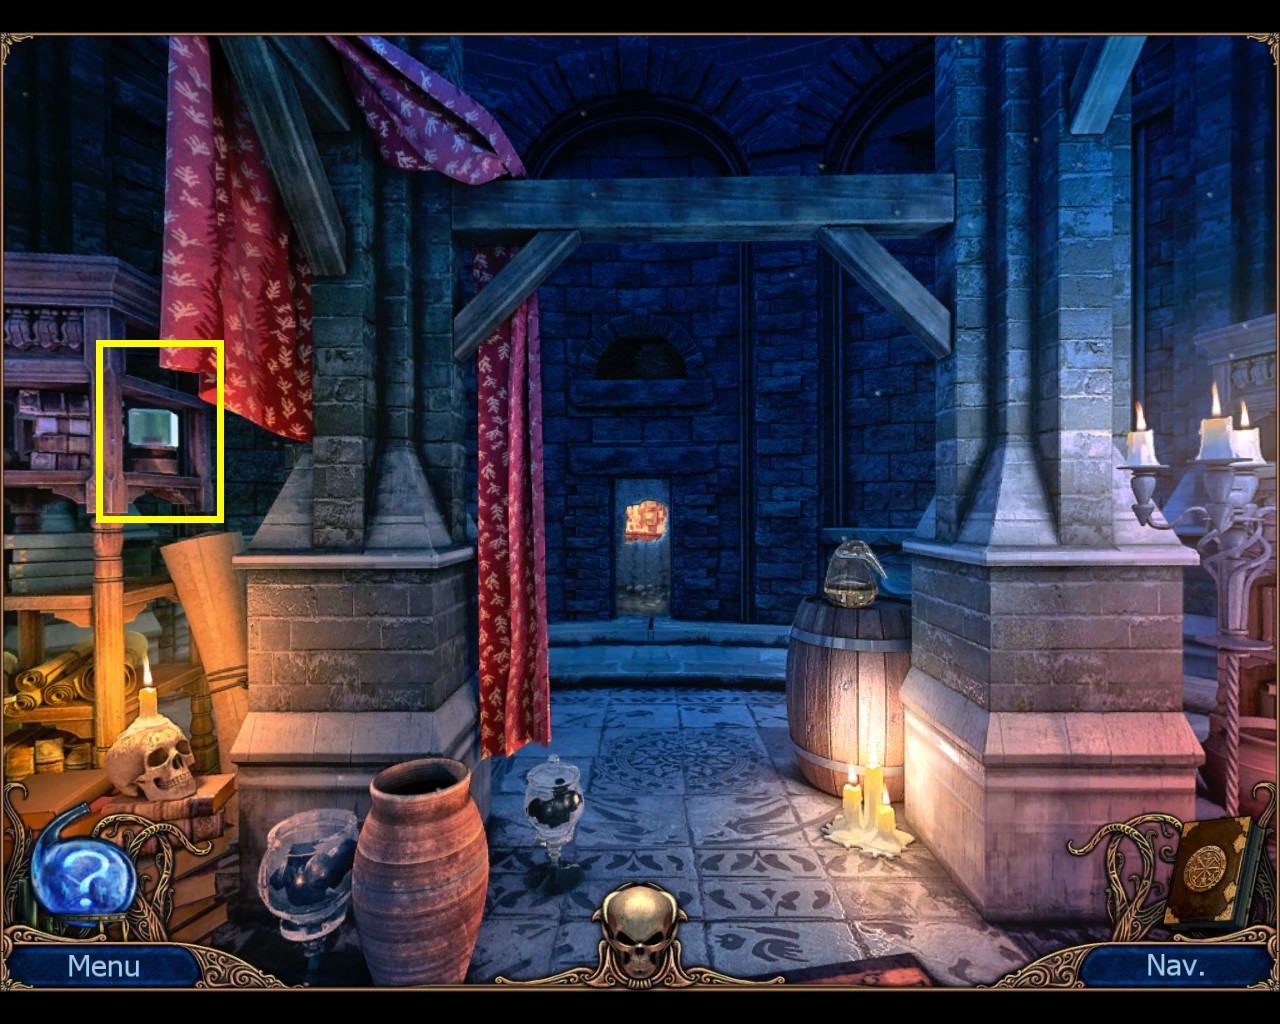
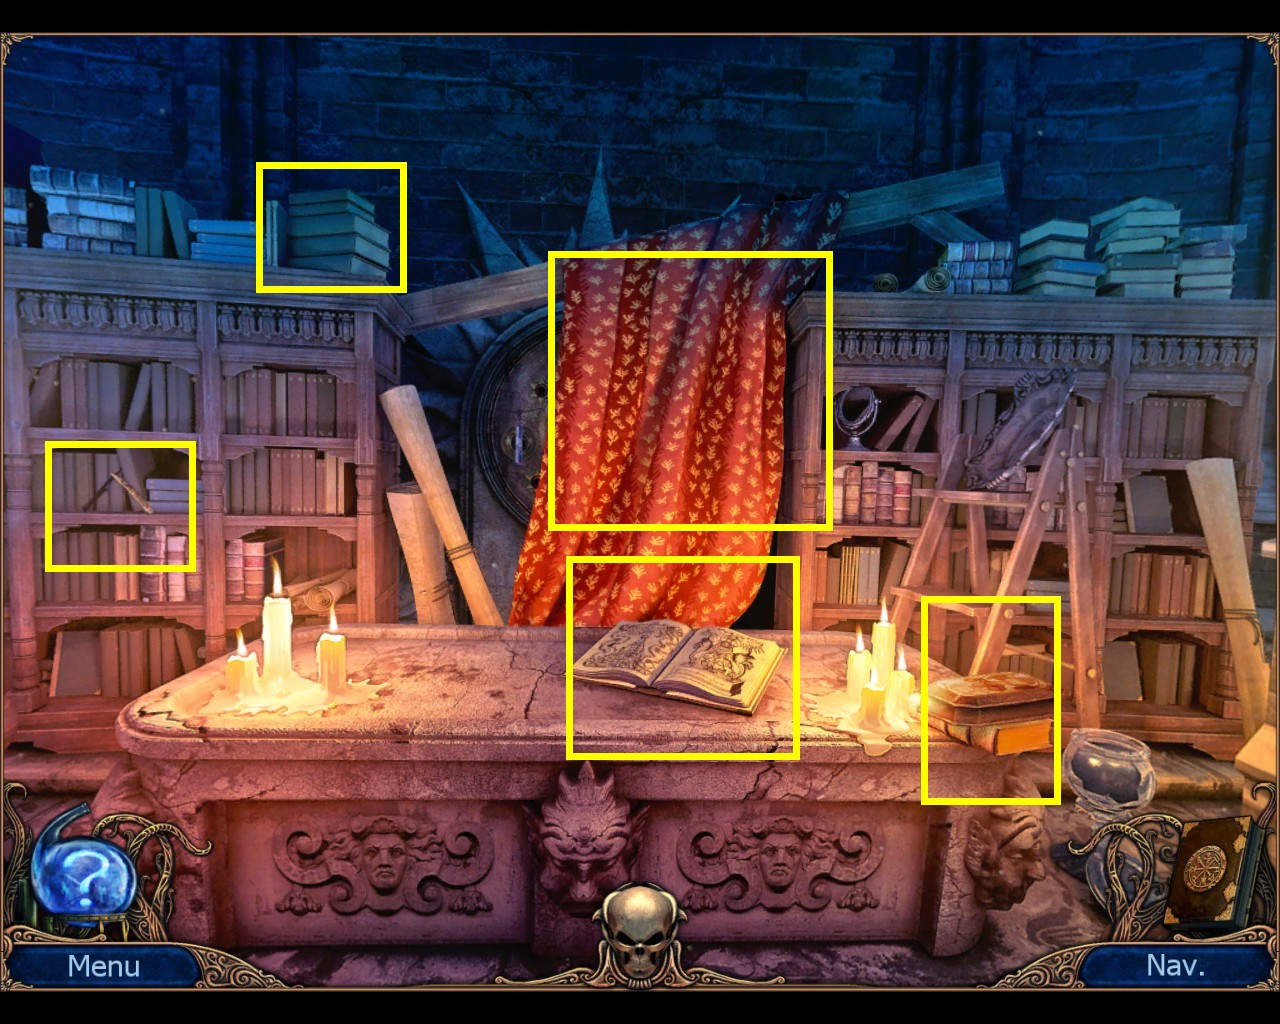
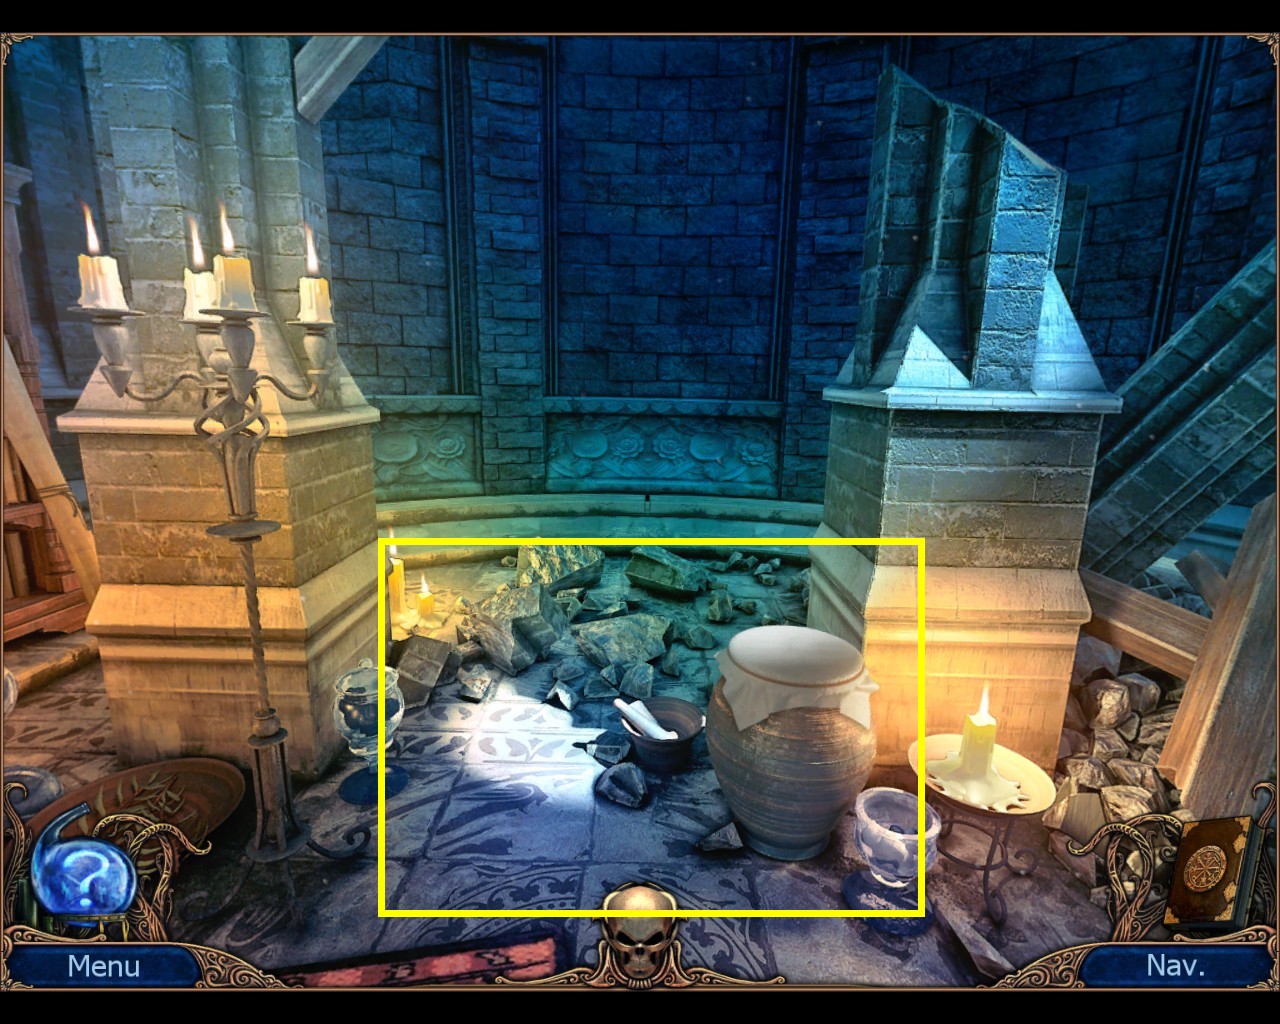
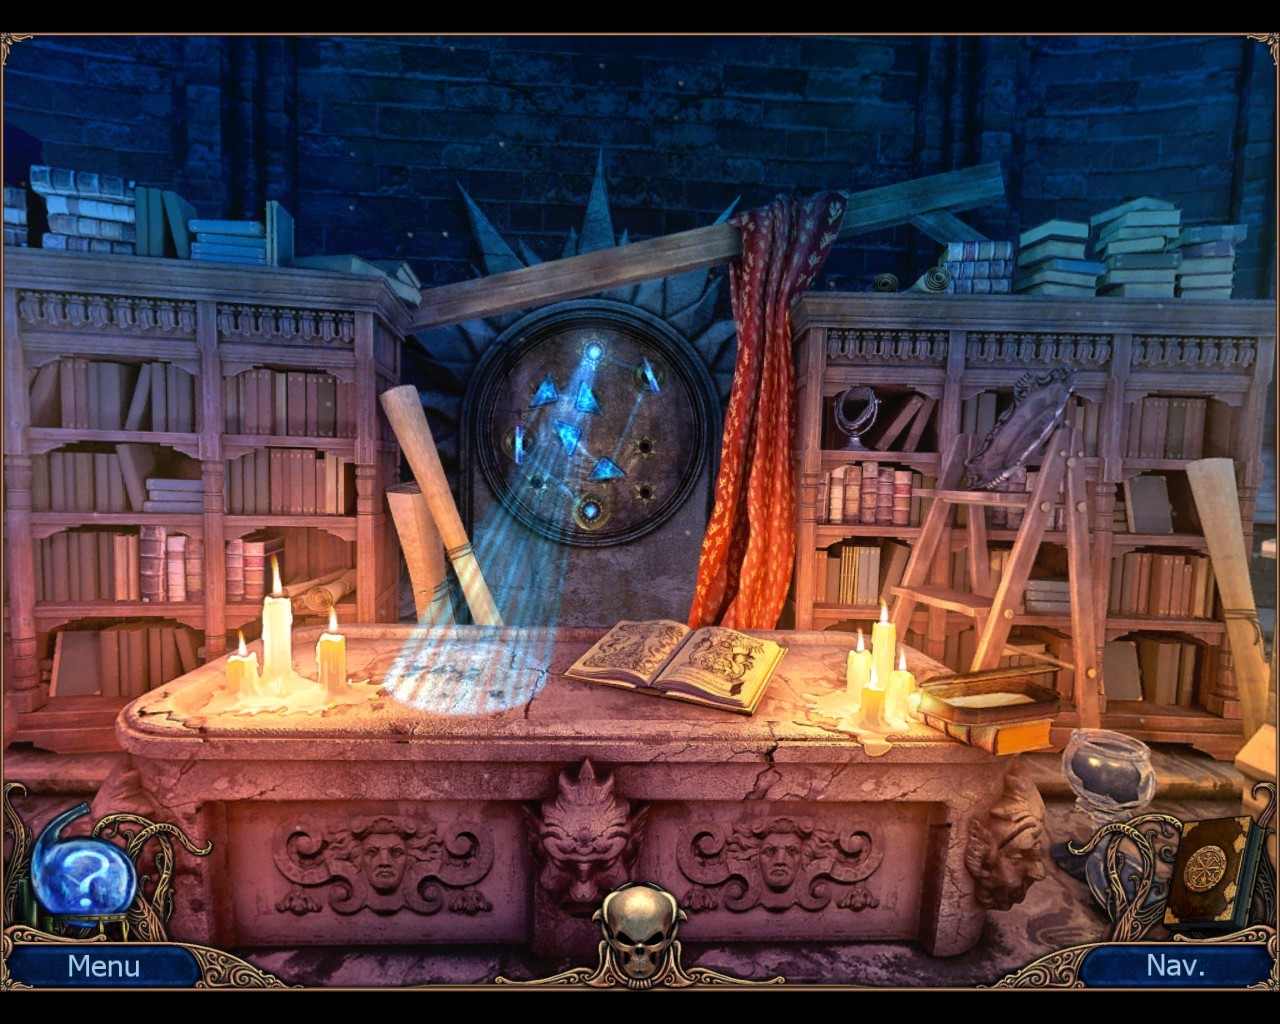
Just wondering, in Office (III) it says "Turn to the right and use the cup on the strange box on the cabinet. Use the thermometer, the crystals and the rope on it.".
I don't have any rope, did i miss it?
HIPPYCHICKLOVINLADY 5 Apr, 2019 @ 12:29pm 
Thank you so much for this i would have never made it thru without your help thanks again Grace:steamhappy:
Illyria 28 Nov, 2018 @ 2:22pm 
Laser game with prisms solution: https://prnt.sc/lo9jwh
ToxicDog 28 Aug, 2017 @ 4:20am 
Hello, I added your guide here: http://sp.zhabite.com/sharedfiles/filedetails/?id=963020290
I hope you enjoy it ^^
Belmez 7 Jul, 2017 @ 1:24am 
Perfect guide! Thank you :steamhappy: