Moonstone Island

Moonstone Island

Not enough ratings
Solving Combat with Unlimited Power
By Knight_Nin
A guide to building the ultimate deck that will clear all the combat in the game. Like most good things, it'll have a beginning, middle, and end build for you instead of just the end-game deck you can only get after 20 hours of play.
2
   
Award
Favorite
Favorited
Unfavorite
Early Game


Humble Beeginnings

It all starts here, with your first Spirit familiar. The humble bee, unassuming in it's form and size but undoubtedly the most powerful of the starters. It also has, in my opinion, the most useful of the initial abilities in Recharge, saving you from a lethal blow once each battle.

Capacibee comes out of the box with a respectable deck and a decent power stat, both of which will carry you initially until you can get a few levels under your belt and start looking for specific cards. For your first few levels, I'd suggest giving Armor and Speed love in equal measure with a few points here and there to Vitality just to make sure your HP keeps pace with enemy damage. You can entirely ignore Power as Capacibee starts with a base of 4 and that'll be perfectly fine for a good, long while. A 2/2/1 ratio would be ideal here so try to get to that point.


Your Bread and... Honey?

The card you most want on level up is this, the mighty Charge. It might not look like much, but this relatively common card is going to be our source of damage all the way into the late game. If you are lucky, you'll get one on your very first level up.

Unupgraded it grants 2 Charge which increases the damage of your Attack Cards by the amount of Charge you have. It also reduces by 1 at the start of each of your turns meaning it'll expire rather quickly in the early game. It might not seem like much but that's basically 2 free levels in Power and you can stack multiple Charge cards to increase and extend the effect. Once you've gotten 3 in your deck, it's fine to go ahead stop adding them. Too many cards and you end up bloating your deck and drawing bricked hands (a hand that you can't do much of anything with), wasting your turn.

Charge also has the Retain and Exhaust features which will be core to our strategy. Retain means the card will stay in our hand until we play it, even if we end our turn while exhaust means the card is removed from our deck until the end of the battle after it is played. I'll go into why at the end of this section once we introduce the other star player of our deck because a buff card can only do so much on it's own.


Very Limited Power

Our first primary damage card! Shock has a lower base damage than say Zap or Tackle along with a higher energy cost but to compensate for that it hits 3 times. Under normal circumstances this makes it strictly worse than Tackle but we have a secret weapon.

This is where the power of Charge really shines. Before I described it as free levels in Power but that isn't entirely accurate. It functions as free levels in power for tackle. For a move like Shock who's base damage is equal to one half your power stat, every point of Charge is like 2 free levels. And since Shock will hit 3 times, it applies those free levels 3 times too! Stack that with breaking the enemy spirit's armor to make them Dizzy and you've got the recipe for early game success!


The Lonely Road

Unfortunately for our Capacibee, this build works best with as small a deck as possible, so adding another Spirit into our Medallion will only serve to weaken our ability to win combats. It's a little bit more risky since we'll only have 1 HP pool to absorb attacks but that is why we prioritize Armor and Speed for damage mitigation and the higher chance to move first (moving first is the most powerful move in the game). Also Recharge will give us a little bit of a safety net for when things get too spicy.

Speaking of which...


Small Deck Energy

You must be wondering what our ideal deck looks like right? Well, I hear it varies from person to person but something small and manageable is what I like.
  • Charge+ x3
  • Shock+ x2
  • Bash x3
Tiny right? But don't be fooled, a small deck contains far more power than a big deck. It's the way you use it that matters after all. Of course, getting this exact list will require a bit of luck (unless you save scum your level ups) and a good amount of talismans which might be hard at the start of the game. I would prioritize removing the extra cards from your deck with Cleanse Talismans first before trying to upgrade your cards with Meditate Talismans. Also, ultimately we'll be swapping Spirits so don't invest too much into Capacibee here.

As for how to play the deck, you should be fairly consistent on your draws. The first turn you'll want to bash down the enemy Spirit and play as many Charges as you can. If you can't break the enemy Spirit's armor this turn that's ok you should be able to absorb a hit fairly easily. On the second Turn, you'll either want to play another Charge and then Shock or Bash and then Shock if you couldn't break all the Armor on the first turn. With your Charge and the bonus damage from Dizzy, this should banish every single early game Spirit with the exceptions of the Guardians. But even then it still might if you got lucky with your hands.

For turn 3 and beyond, just focus on bashing down the armor and pumping out damage. If it takes 2 Bashes to fully break the enemy Spirit's armor, it's better to split that across two turns and use Shock on both turns as well unless you really need to stop the enemy attack. But fights really shouldn't last longer than 2 turns.


The Promised Answer

I said it's a good thing that Charge removes it's self from our deck after you've played it, why is that? Surely such a card would be much better if you could play it turn after turn right? Well, you'd be right except that part of what makes a good deck good is consistency. And the smaller deck you have, the more consistent it is. Once you get down to 5 cards in your deck it becomes perfectly consistent because you draw your entire deck every turn.

Since we are running 3 Charge cards in an 8 card deck, once we've played all of them we'll always draw all three of our Bash cards and both of our Shock cards. This gives us perfect options turn to turn so even if we fail to banish the enemy Spirits before our Charge runs out we can still rely on Bash consistently.
Mid Game


Small Tiger Energy

I consider the early game to end once you've gotten the Broom and started exploring the islands further away than the ones directly next to Moonstone Island. For some people, this will be less than 2 hours in while for others it'll be around the 5 hour mark. In my case I never made a Broom and instead made a Glider immediately.

Regardless of where you are time-wise or equipment-wise, this section is really about when you find your first Lightning Island and get access to this handsome kitty, Bittybolt. Bittybolt has a very nice ability that will reduce the cost of Charge to 0 when you have 3 of then in hand! And since Charge has Retain and our deck is small that means we'll always have all 3 of them on turn 2 and likely a Shock too. What this means is our deck just became a whole lot more consistent at getting off it's mega damage combo.

Unfortunately we'll have to completely rebuild our deck, but that's ok since we wanted to piviot our build anyway since once we pass level 10 a new card becomes available in the level-up pool. Also a special card but we'll explain that after.


Pump that Base

This card is the mother of all deaths, banisher of Spirits big and small. With this, your damage will climb to insane levels unrivaled by other builds.

Turn it Up unupgraded doubles the amount of Charge you currently have and triples it when it's upgraded. I shouldn't have to tell you why that is amazing. The card also Exhausts it's self so that makes it double good for how we'll play our deck.


The Father of all Deaths

And this is the secret weapon that is essentially a tactical nuke you carry in your pocket. Lightning Strike is basically all the power of a Shock condensed into a single strike for less energy. Instead of adding the value of your Charge to the attack, it doubles your current value and triples it when it's upgraded. Once again, I shouldn't need to tell you why this is amazing.

This comes with two primary benefits. First, you can entirely cut Bash from your deck because your damage is going to easily eclipse any Armor value enemy Spirits might have. Second, you'll be able to play more than one attack a turn because of the reduced energy cost.

Lightning Spike's acquisition is a bit annoying, however. It can only be purchased from Magic Man's traveling house unlessyou've beaten the story entirely and he has moved back to Moonstone Island. But that is very much the end of the game already.Don't look at that unless you want spoilers for the end of the game. Or do, I'm not your mother.


A New Challenger!

Did you think this was gonna be a solo run? Think again, this little slime is gonna be even more important than Charge!

Well ok, that was a lie but Mystislime is here to take our two turn one shot built and turn it into a first turn Exodia Obliterate moment via ramping. Really, any Psychic Spirit will do but I like Mystislime because it's cute. You'd think it's ability would be the reason, but really that doesn't end up mattering at all. Pick your favorite because what we really want is access to the Psychic deck.

If you don't know how to get a Psychic Spirit, they spawn when a Psychic Storm is present. Psychic Storms will spawn on a single island at 8pm (20:00) that either is or borders the island you are currently on. You also get a free Psychic Spirit Egg from the Spring Festival on the 21st of Spring if the great spirit likes your offering.


Greed in a Jar

This draws cards from your deck. Drawing cards is good. Ok, next section.


Enriched Uranium

This is the single card we are adding a Psychic Spirit into the deck for. Enlighten is so good I'm honestly surprised it's even in the game at all. This completely breaks the energy economy of the game.

It's "balanced" by the fact that it costs an energy to play and Exhausts, but tripling 2 energy still gives us more than enough energy and Exhausting is a boon, not a bane. However, this card does slightly complicate the deck as now we need to think about ordering. Not too much as we'll only have 16 cards total with only 7 that actually cost energy.


Beside Me

Now that we've added a second Spirit, our stats can change too. All of our power comes from Charge and Lightning Spike so there is no need to ever level the Power stat. Instead, we want Speed the most to make sure we go first as often as possible with equal parts Armor and Speed just in case we take a hit. I'd distribute 2 Speed for every 1 Armor and 1 Vitality so your speed is double your Armor and Vitality values (which will be equal).


It Gets Smaller

We've doubled our deck size but we really don't want big deck energy, it's unwieldy and honestly kinda painful to play with. Instead, we'll be trying to get back to the nice, comfortable small deck we're used to. Anyway, here is the deck list:
  • Charge+ x3
  • Turn it Up+ x2
  • Lightning Spike+ x3
  • Enlighten+
  • Meditate+ x7
If you've been paying attention to the cards as I've listed them, you'll notice that after we play our cards we'll have just 3 left in the deck as everything else exhausts. This isn't all that important, and I'll walk you through why.

First turn, you should draw at least one Meditate, play it. In fact, play all of them until you've drawn the entire deck. Of course, once you get all three Charges in your hand stop the Meditate combo to play them, making sure you are targeting Bittybolt. Once you have drawn the entire deck and played out the Charges drop the Enlighten to boost your energy, use both Turn it Ups and then laugh as you drop Lightning Spikes that deal 244 damage. This will be more than enough to liquefy the insides of any enemy Spirit through their armor.

Ideally, we'll only have the single turn but you could get a bad draw and not burn through the entire deck. In that case just play things out, making sure to save your charges for when you have all 3 and can play them for free. Also make sure you don't blow Enlighten before you are ready to play the Turn it Ups and Lightning Spikes since the energy doesn't carry over to the next turn.
End Game
Is This Really Necessary?

I'm gonna level with you, the mid game build is good enough to clear the entire game. Anything beyond that is entirely overkill and pointless. Anyway this next section is going to describe how to consistently get over 4k damage per attack and go infinite on the first turn.


Kiwi What? Min Who?


We are replacing both of our partner Spirits that fought with us through thick and thin to pursue power and power alone. Oh and their abilities but I digress. Both of these are only found in eggs so you best get to gathering. As an aside, if you want to shiny hunt them if you release the first ones you hatch they'll start spawning like normal, albeit rarely.

Our stat distribution doesn't change here, we want twice as much Speed as Armor and Vitality which will be equal while Power is left in the dirt where it belongs. Or you could be an absolute mad lad and push all of your points into Speed and Power, forgoing defense to chase that last little bit of damage. But surely no one would be that crazy right? Right?

It's a bad idea, take it from me who totally isn't speaking from experience.


Unlimited Power!

D*ck list:

  • Turn it Up+ x6
  • Lightning Spike+ x2
  • Enlighten+ x2
  • Momentum+
  • Meditate+ x5

Our deck list has changed somewhat hasn't it? Don't worry, I'll explain. Kiwiwatt gives us a free Charge when we start our turn so we no longer need to keep one in the deck. It's unupgraded, but trust me we won't miss that one extra point. Instead, we just push in as many Turn it Ups as possible to skyrocket our Charge, ending at 4,374 Charge if we play our cards right.

Ideally, we want to draw the entire deck as usual. Before you play anything with a cost (so Charge, Turn it Up, and Momentum) you need to play at least one Enlighten. In fact ideally you want to play Enlighten and then Momentum before anything else. The Meditates and other Enlighten should follow after that but we don't live in a perfect world so slot in the Meditates until you draw both the Enlighten and Momentum. After that, Charge followed by all of your Turn it Ups and finally your Lightning Spikes.

This is where Minoot comes into play. See, with only two cards in your deck and Momentum making you draw when you play a card you'll constantly be cycling those two Lightning Spikes from the discard pile to the draw pile. And each time you do, Minoot will give you an energy. Since Lightning Spike only costs one energy it's a full refund creating an infinite loop of thunder and ozone.

If you are ok with being less and less consistent you can add in as many Turn it Ups as you want. The more you have, the more the damage skyrockets. I'd say the sky is the limit but I'm fairly certain it's actually the integer overflow.

In short, Meditate your Deck until he reaches Enlightenment, building Momentum as you go Turning it Up for that Lightning Spike finish.
2 Comments
Fytayn 17 May @ 11:27am 
I know I'm kinda late but did you think of replacing Enlighten+ with Mind's Eye? Two Enlighten+ get to 15 total energy but two Mind's Eye hit 23 and cost 0 so order's not so important. That's using 3 starting energy, not 4 from skills, but your whole guide's based on that I think. Could replace a Lightning Spike+ with Momentum+ in the Bittybolt/Psychic build to make single-turn win more likely.

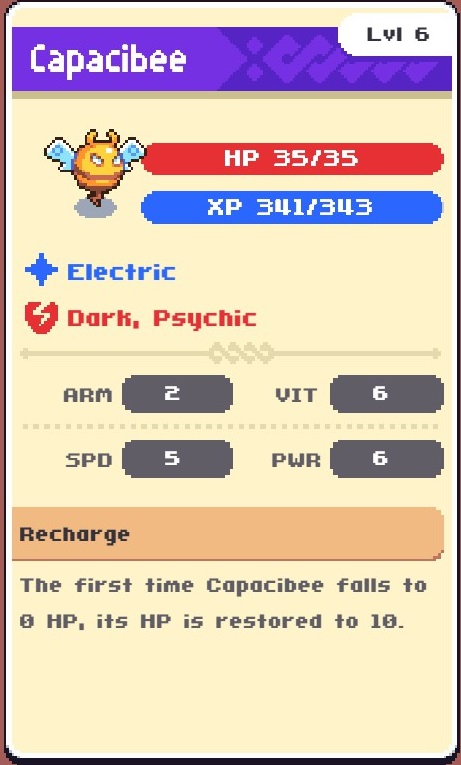
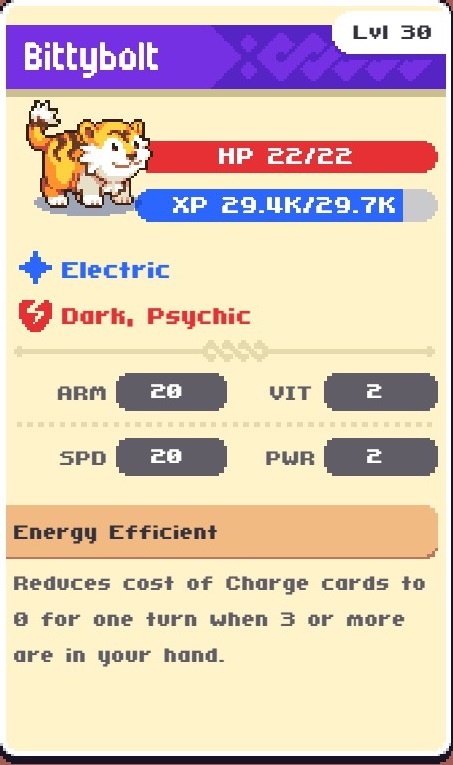
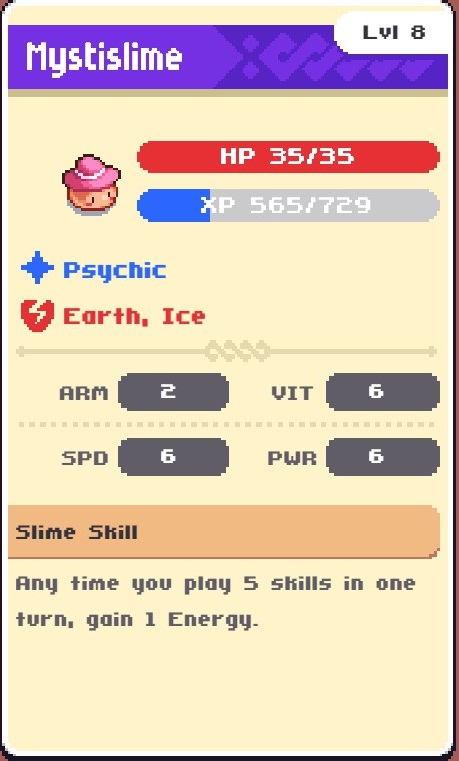
Speed kinda seems too random to rely on, tbh. I've seen sides with way less speed go first due to whatever random roll is involved. Building for survivability alone can save healing in/between fights.
Knight_Nin  [author] 23 Nov, 2024 @ 6:45pm 
I wrote this guide specifically for that dick joke