Tiny Glade

Tiny Glade

505 vurderinger
Builder's Basics Guide
Af Zaiquiri Daiquiri
A guide focused on the various building elements (and maybe some secrets I find) that I wanted to catalog in one place.
15
8
35
3
8
5
5
2
3
2
2
   
Pris
Føj til foretrukne
Gjort til foretrukken
Fjern som foretrukken
Welcome
I liked the thought of creating a sort of "library" of basic structures and building elements that I could look at while I play. Hopefully others will find it useful, too.

I've organized features in this guide by structure type. Some elements (like doors) can be added with different tools, so it made more sense to me, even though it may be a bit redundant.

THIS IS VERY MUCH A WORK IN PROGRESS! This is by no means a definitive list of everything in the game and I'm sure more building elements will be added in the future. I will try to update this guide as more features are discovered and added.

Again, this guide is mostly about the basic building elements. There are smarter and more creative people than me making tutorials for all kinds of complex structures, so go follow them <3 (there are some great ideas in the comments, too!)

Recent guide changes
  • Lanterns: added lantern brightness examples
  • Walls & Fences: added aged/intact palette setting examples
  • Buildings: added Battlements / Crenelations / Merlons section
  • Windows / Dormers: added pictures of all dormer types
  • Doors: added pictures of new decor
  • Decorations / Clutter:
    • added link to clutter guide
    • added section for clutter changes

Buildings
Round and rectangular / square buildings can be added. With either building tool, left-click-dragging will change the size before you place the building. Hovering over another building's edges or roof peak will snap the building to it, aligning it when placed (can be turned off temporarily with Left-CTRL).

Right-clicking a building will show most of the controls to resize, rotate, etc. all at once.

Decoration Note: If a building is fully connected to the ground, small bushes and decorations can appear. Sometimes, it may only look like a building is fully connected, so make sure to lower the building all the way (it will sometimes make a "thud" sound) if these extras aren't visible.

Connecting buildings
Placing a building near another will connect the two. If one connected building is raised above the ground it will create supports at the bottom depending on how far the building sticks out.

Connected rectangular building supports in stone and wood


Connected round building supports in stone and wood
Note: Round building support pillars always face the same way, aligning with the map borders.

 
Combining buildings
Combining buildings can create countless advance structures, so use your imagination and experiment. Below are some examples I put together:


Building styles and colors
Buildings have many styles and colors that can be changed with the palette tool.

Building styles (stone, stone with accents, wood)


Note: The color of most stone, brick, and wood materials can be changed.


Stone building colors

Wooden building colors


Battlements / Crenelations / Merlons

Whatever you may call them, the palette tool can be used to disable/enable them. This will also remove wooden railings depending on building style.
The setting in the palette tool


Enabled example (stone)


Disabled example (stone)
Roofing
Direction
Roof direction can be adjusted with the two arrows going in a circular direction in the right-click building controls.


Height
Roof height can be adjusted or removed entirely by flattening it with the right-click building controls. Removing the roof allows for other additions, like stairs and trap doors.


Ridge Width
Roof ridge width of rectangular buildings can be adjusted with the right-click building controls. The widest will make the wall cover the sides of the roof, while the thinnest will create a cap in the middle.


Concave & Convex
Roof curvature can be adjusted, making it more concave or convex. Left-click and drag the roof in and out. You must click off the building to get out of the right-click building controls to do this.


Below are some examples:

Rectangular and round roof variations

Flat / no roof


Colors
Note: The type of map (summer, winter, etc.) can affect how roof colors look.

Roof colors
Bridges, Terraces, & Balconies
You can make different structures by removing/flattening a building roof.

You just add a new building, flatten the roof, then raise/lower the bottom of the building. Shorten the top of building as needed.

Doors can be added pretty much anywhere with flat roof structures. See the "Doors" section for more about that.

If the bridge is small enough and connected to other buildings, some of the pillars will be replaced with wooden supports. Experiment with different heights and connections. There are many great guides on more complex and prettier bridges. Below are some examples I put together:

Bridge & covered bridge

Bridge wall & bridge wall over water

Terrace & balcony
Paths
Paths aren't very special on their own, but they can change lots of structures around them.

Paths that go through water will create stepping stones. Wider paths seem to raise the stepping stones out of the water more.


Paths that go through elevation / hills will create stone stairs.


Paths that intersect short roof-less buildings will create stairs.


Paths that intersect taller building walls create doors, archways and water grates. The height of these can be adjusted by hovering over the top, then a slider should appear.

Note: changing the height will change all other path-created doors, archways, and water grates on the same building.

Smaller paths will create doors.


Large paths and paths going through building corners will create archways. Archway pillars can be manipulated by erasing small parts of the path directly under the wall to get them to look how you want.


If building is in water, adding a path under it will create a water grate.


Paths that intersect fences and stone walls will create archways, as well.
Walls & Fences
Walls and fences can be edited after being drawn by right-clicking and moving the nodes. They can be made taller and shorter.

They can also be cut at certain points and connected to others of the same type.


The palette tool can be used to make stone walls fuller, and more intact (some examples below)


Doors
There are multiple ways to add doors: the path tool and the window tool.

Path tool

Drawing a path into a building wall will create a door. Larger paths will create a double door. Height can be adjusted by hovering over the top of the doors.

Path doors (small, large)


Path door (corner)


Note: You can walk through these doors while in walking camera mode.

Window tool
Placing a window near the bottom of a building or the top of an intersecting building will create a door. Multiple windows can be placed next to each other to create larger doors, up to three total.

Slit windows do not create doors.

Trap doors can be created by placing a window on top of a flat building.

Decorating Tip: You can change the decorations near and on a door (pictured) by left-clicking it. These seem to be random, so just click until you find something you like.


Plain doors


Fancy doors


Trap doors (plain, fancy)


Colors

Applies to other window doors.
Some of these colors also apply to other wooden elements.

Windows
Windows can be added to buildings and brick walls. They come in different sizes, styles, and even light up at night.

Plain windows
Plain windows have the most variations at the moment. You can place them on building walls, building corners, brick walls, and roofs. You can place them side-by-side, up to three total.

Plain windows placed on brick walls do not have glass, look slightly broken, and do not light at night.


Plain windows (single, double, triple)
Note: Placing windows side-by-side on corners can be kinda finicky. I've found it's easier to piece the windows together on a flat wall, then move the larger window onto the corner.

Fancy windows
Fancy windows can be placed building walls, brick walls, and roofs, but NOT corners. You can place them side-by-side, up to three total.

Fancy windows placed on brick walls do not have glass, nor do they light at night.


Fancy windows (single, double, triple)


Arrowslits
Arrowslits can be placed on building walls and brick walls ONLY. These windows merge together vertically instead of horizontally. They can also be placed near a roof (but not on the roof) to create a dormer.


Arrowslits (single, double, triple)


Dormers
Roof dormers (All plain and fancy windows, not arrowslits):

Wall dormers (All windows, except small arrowslit):


Window decorations
Windows (along with some other structures) can be left-clicked to change the decorations around them. This seems to be random, so just click until you see something you like.

Both plain and fancy windows generate decorations on the ground when placed low enough.

Plain windows can have:
  • nothing
  • a flower box (single, double, triple)
  • a clothesline (single, double)
  • shutters (double only, not mutually exclusive)

Fancy windows and arrowslits do not have window decorations.

Some examples below:

Single and double window decorations


Triple window decorations


Cool Feature: Two windows placed near each other with the clothesline decoration can link together.


Window colors
Plain windows

Fancy windows

Arrowslits


Light colors
Decorations / Clutter
Decorations or clutter will appear on the ground when adding doors and windows near ground-level. These decorations are linked to the door/window that created it. When hovering over the door/window, linked decorations will have a chain link symbol under each (pictured below). Linked decorations can be changed to other random decorations by left-clicking the linked door/window.

Wanna see all the possible movable decorations / clutter with close-ups? Check out this guide: All Clutter by Q


Decorations can be moved, rotated, and copied when left-clicked (controls pictured). They can be deleted individually using the erase tool. NOTE: When a linked decoration is modified, it will un-link from the door/window that created it.


Vines
Vines will grow up the side of buildings at random and cannot be changed as of writing this. In the latest version, vines can be cut off when placing objects like windows near them.
Stairs
Hill / elevation stairs
Drawing paths on hills will create stone steps.


Roof-less building stairs
Drawing paths to roof-less buildings will create steps.

Placing roof-less buildings within a certain height of others roof-less buildings will create a ledge where they intersect.

Below is an example:

Chimneys
Chimneys can be placed on roofs, and walls, and corners. It can be raised up to create a fireplace or raised up more to bring it off the ground.

Chimneys added to a wall with a window or other small element above it will create a metal chimney instead.

The color of the brick chimneys can be changes, but the metal chimneys cannot.

Stone chimneys


Metal chimneys
Lanterns
There aren't many lantern interactions that I've found. They're pretty and they make a nice sound when they turn on at night.

Lanterns can be placed on building / brick walls, building corners, roof-less building floors, and the ground (as a lamp post).

Lanterns (day)


Lanterns (night)


The palette tool can be used to change their color and brightness (examples below).

Banners & Flags
Banners can be placed on building / brick walls, building corners, and the ground (creating a wooden post). They can shrink if structures are placed below them.

Flags can be placed on roof-less building floors and roof caps.

Below are some examples:

Banner posts, connected


Banners, various sizes


Flags and corner banner


When placed close enough, banners will connect to each other. This can be disabled with the palette tool.

Colors
The palette tool will can change the color.


Sigils & borders
The sigils and border of a banner / flag can be changed by left-clicking it. There are three parts that change when doing this: the center symbol, the bottom symbol, and the border.

Below are examples of each part:

Center symbols (not random, cycles the same every time)


Bottom symbols (semi-random?, not sure)


Borders, the last one adds a diamond background (semi-random?, also not sure)

Flowers
Flowers beds can be drawn on the ground just like paths with the flower tool. Drawing over an existing patch of flowers (basically creating a second layer) will add more bushes, flowers, and slightly change the color of the flowers.


The flower tool also works on water, creating water lilies and lily pads. Flowers on water do not get more dense when putting more flowers over them.


You can choose to erase only flowers with the erase tool.

Note: Paths will cover up flowers on the ground, so you can use it to carve shapes into flower beds. Inversely, lily pads on the water will cover stepping stones, so you may want to erase flowers in the water to see them.
Water & Water Grates
Drawing water creates bodies of water at ground level.

Drawing a path through building walls that exist over water creates water grates.

Ruins
"Ruins" or destroyed-looking buildings can be created with the erase tool (choose walls only, large brush size also helps).

27 kommentarer
Flying Fox 117 2. apr. kl. 8:48 
Отличный гайд! :steamthumbsup:
Ardneh 1. apr. kl. 13:26 
Great post, can you add the following pic on Decorations/Clutter - I think this includes all items as of March 2025.
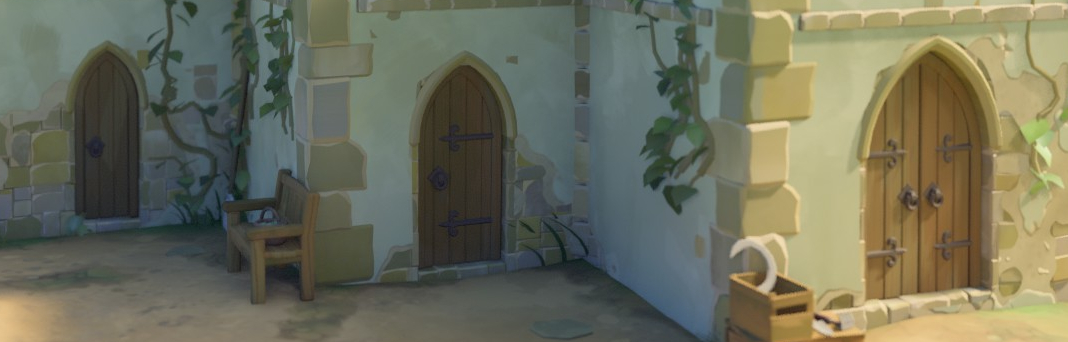
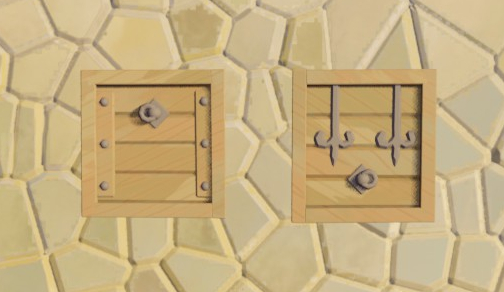
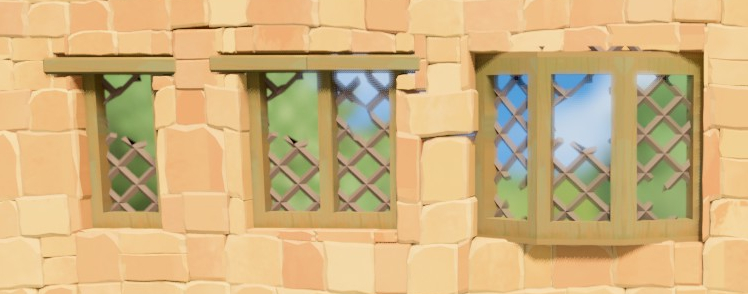
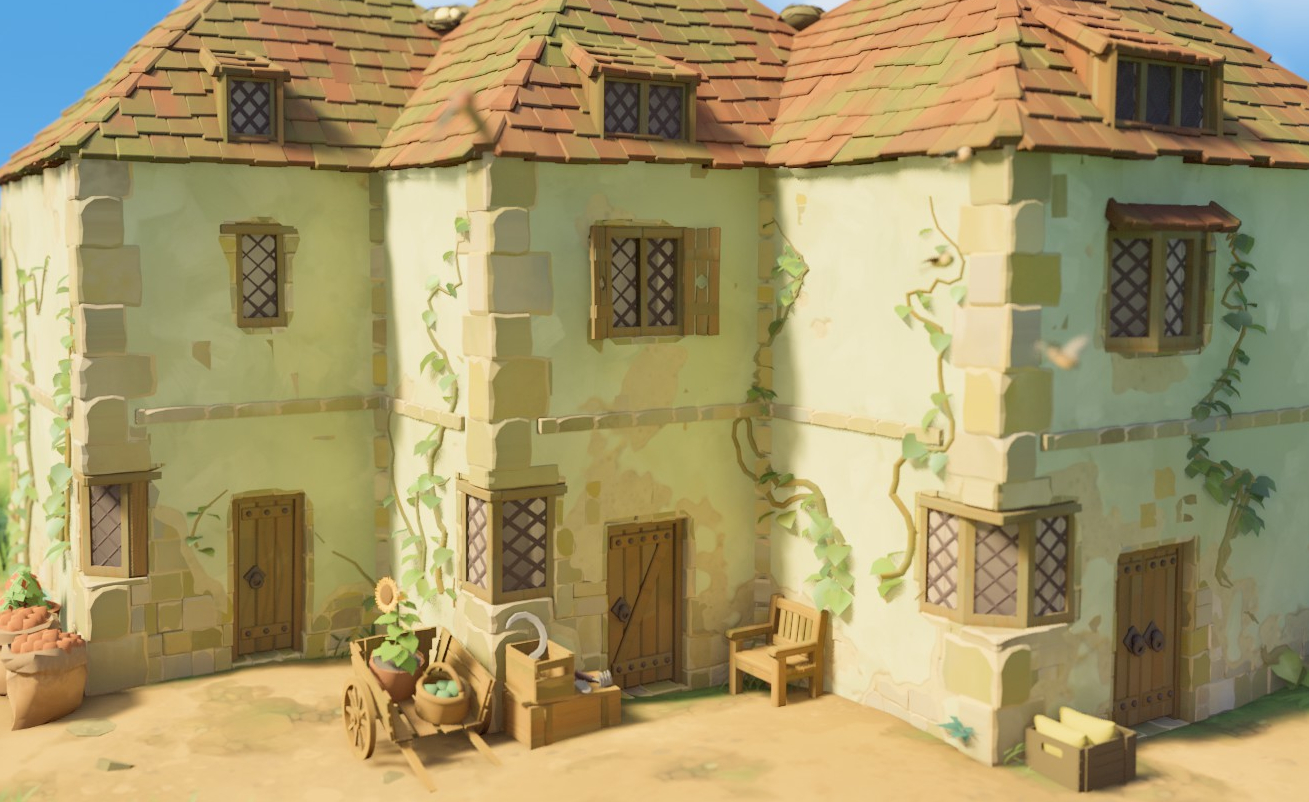
https://sp.zhabite.com/sharedfiles/filedetails/?id=3454303778
ZeroGlitches 27. mar. kl. 21:11 
The arrow slits also create dormers, but only if they're halfway between a wall and a roof
Miss Keks 26. mar. kl. 12:45 
perfect guide :) :steamthumbsup:
Cinder 21. mar. kl. 4:31 
Can you please add animals to this :steamsad:
Evariyun 19. mar. kl. 13:48 
amazing and comprehensive!
wideboydave 19. mar. kl. 9:50 
Great guide and well organised!

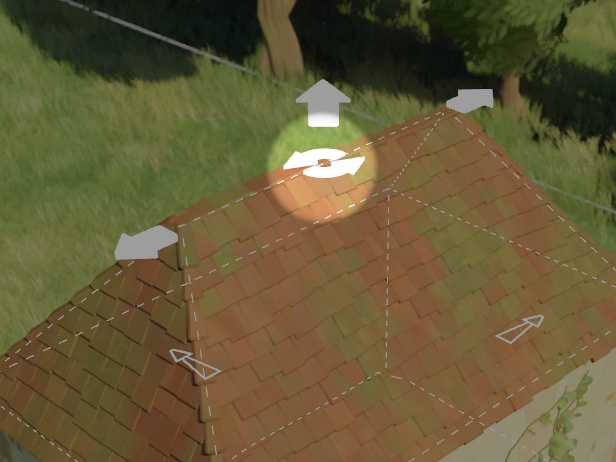
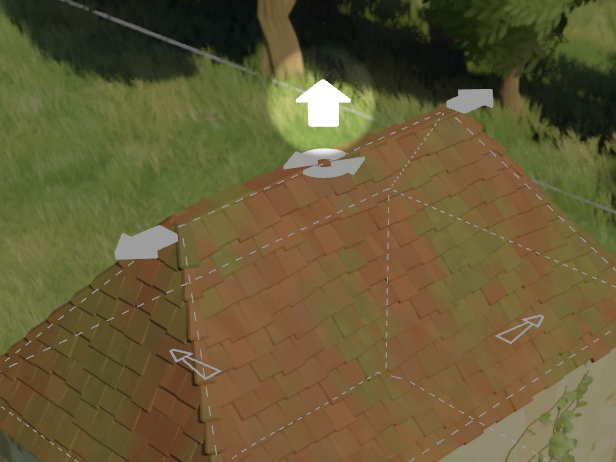
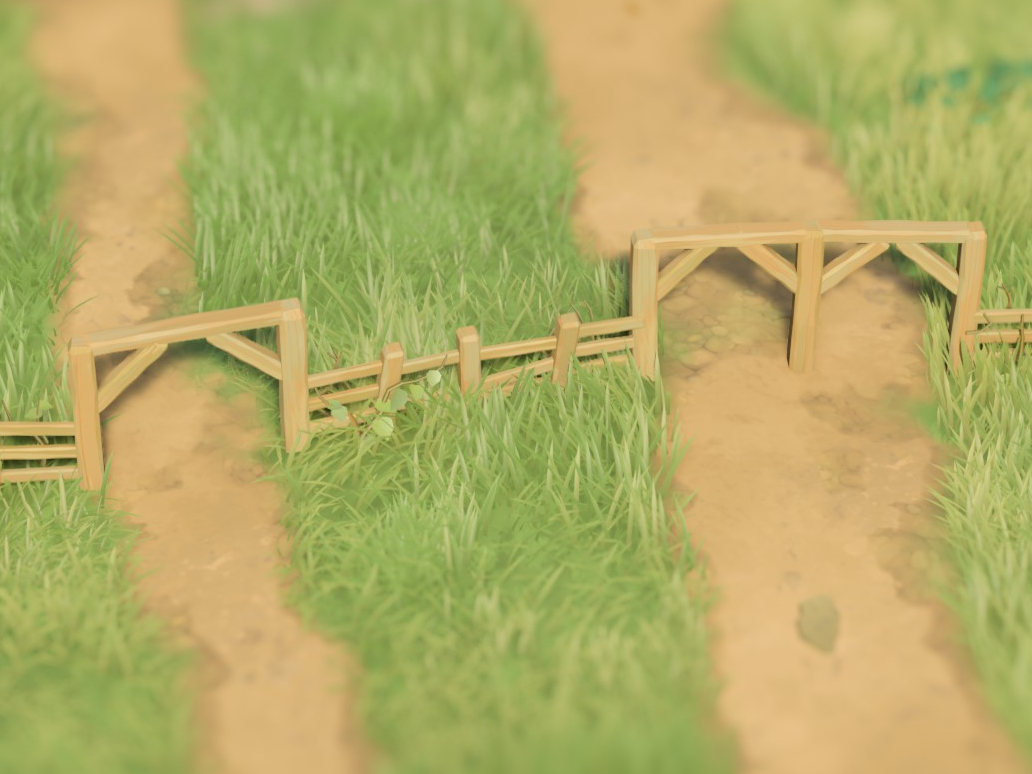
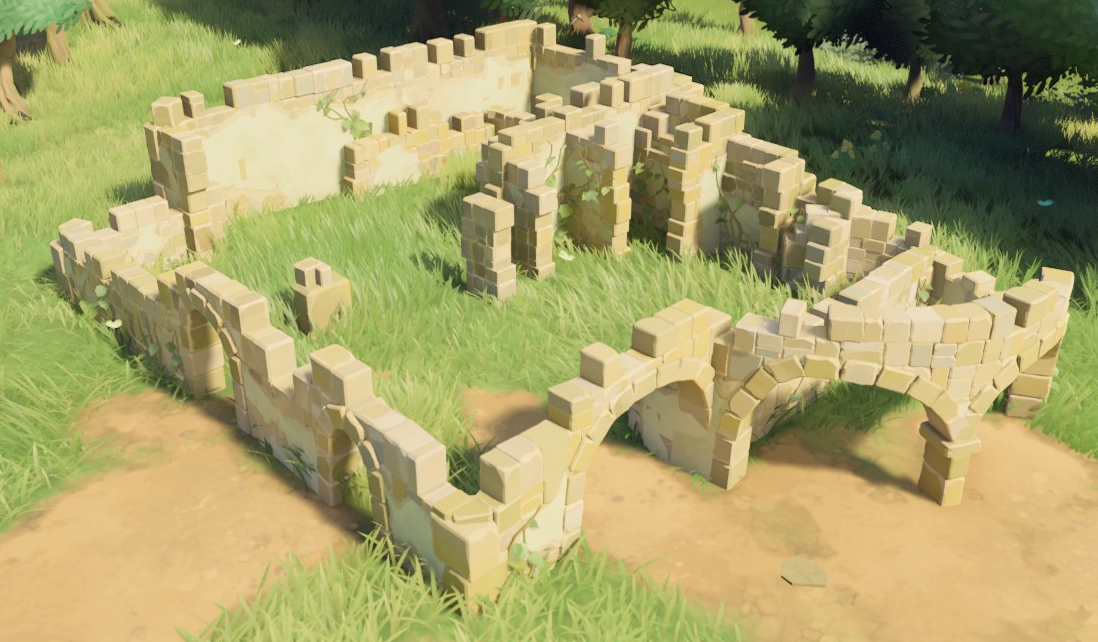
Not sure if it's worth adding into roofing and or bridges bit:
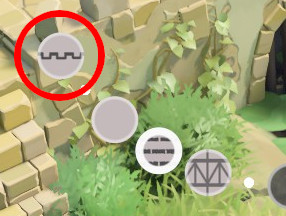
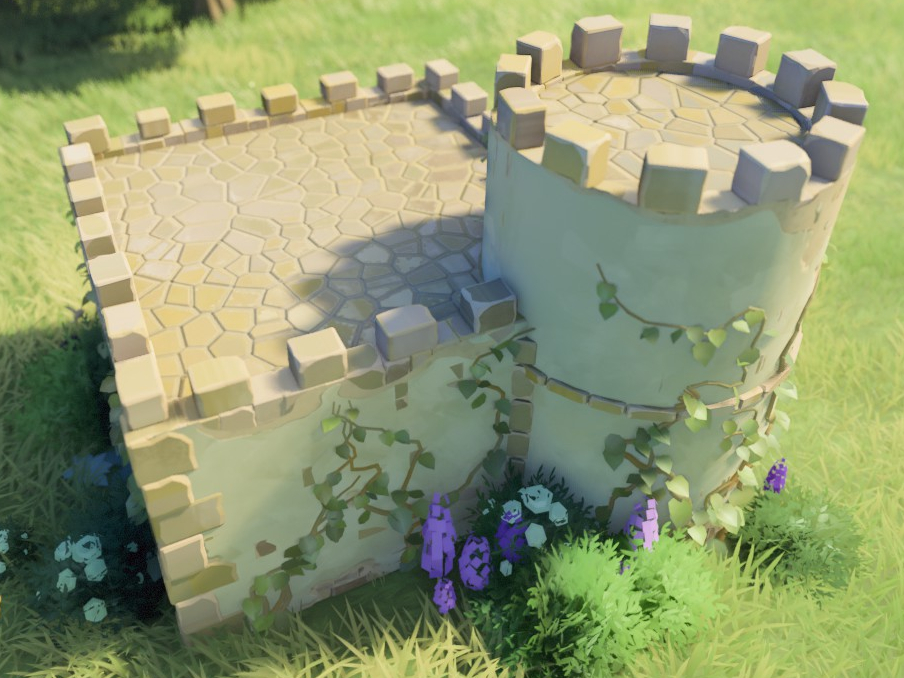
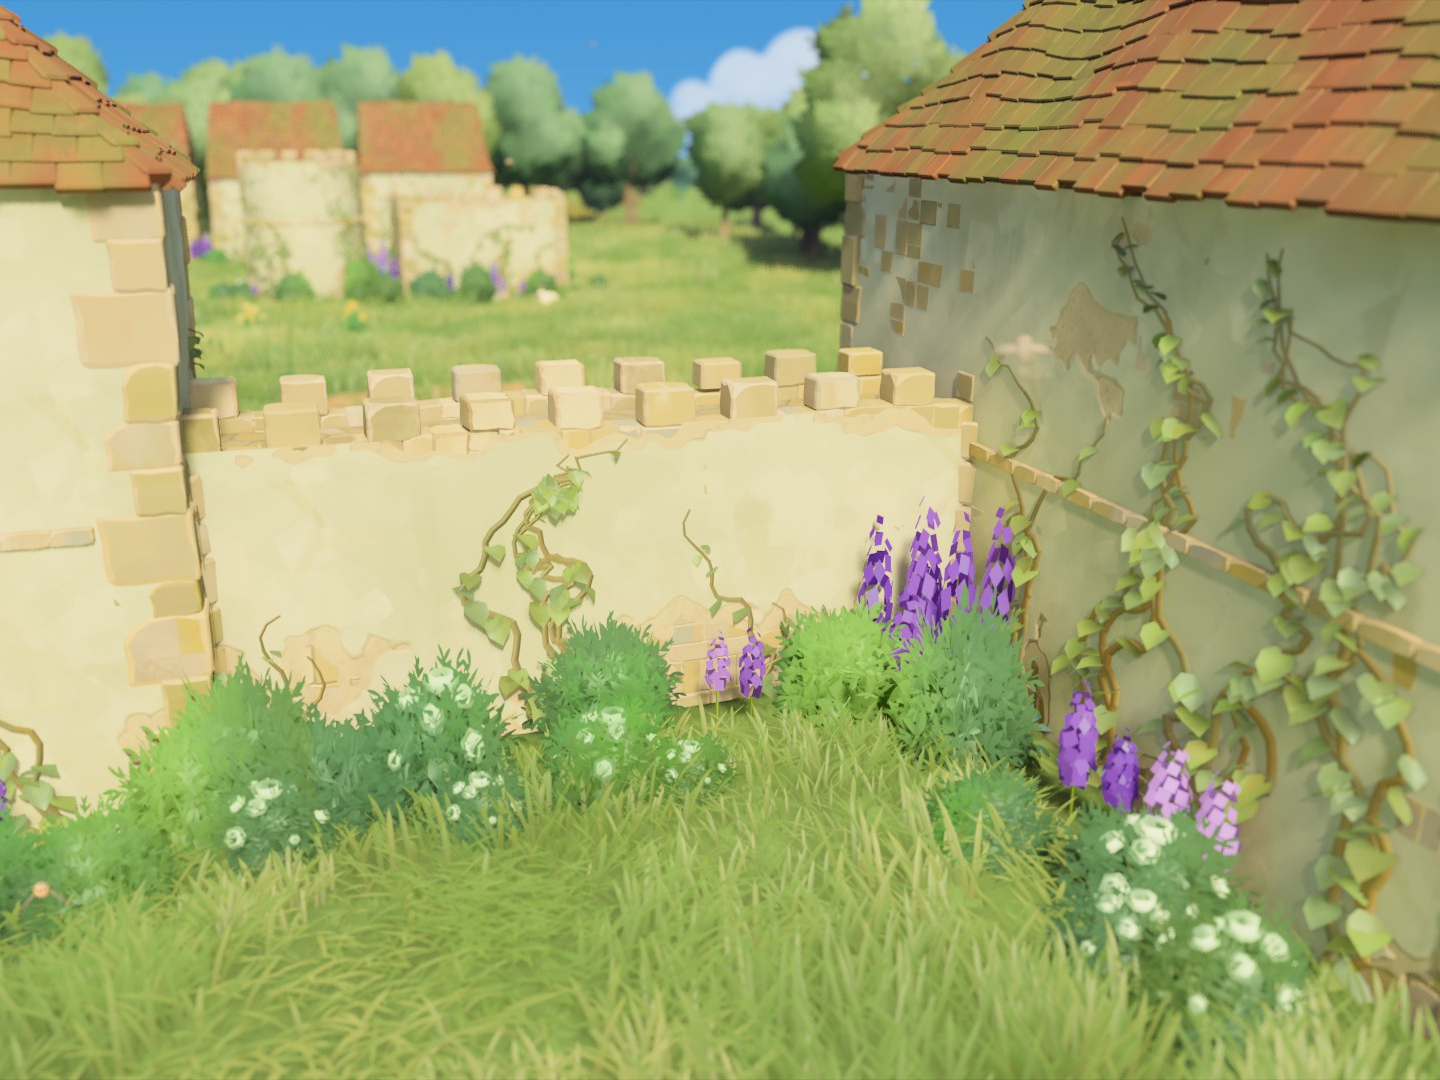
-with a flat roof, you can use the pallette tool to remove the crenellations... i think the guide above doesn't mention this (at time of writing) and the pics you've used should a lack of crenellations only if a path intersects it (and thus also generates steps).

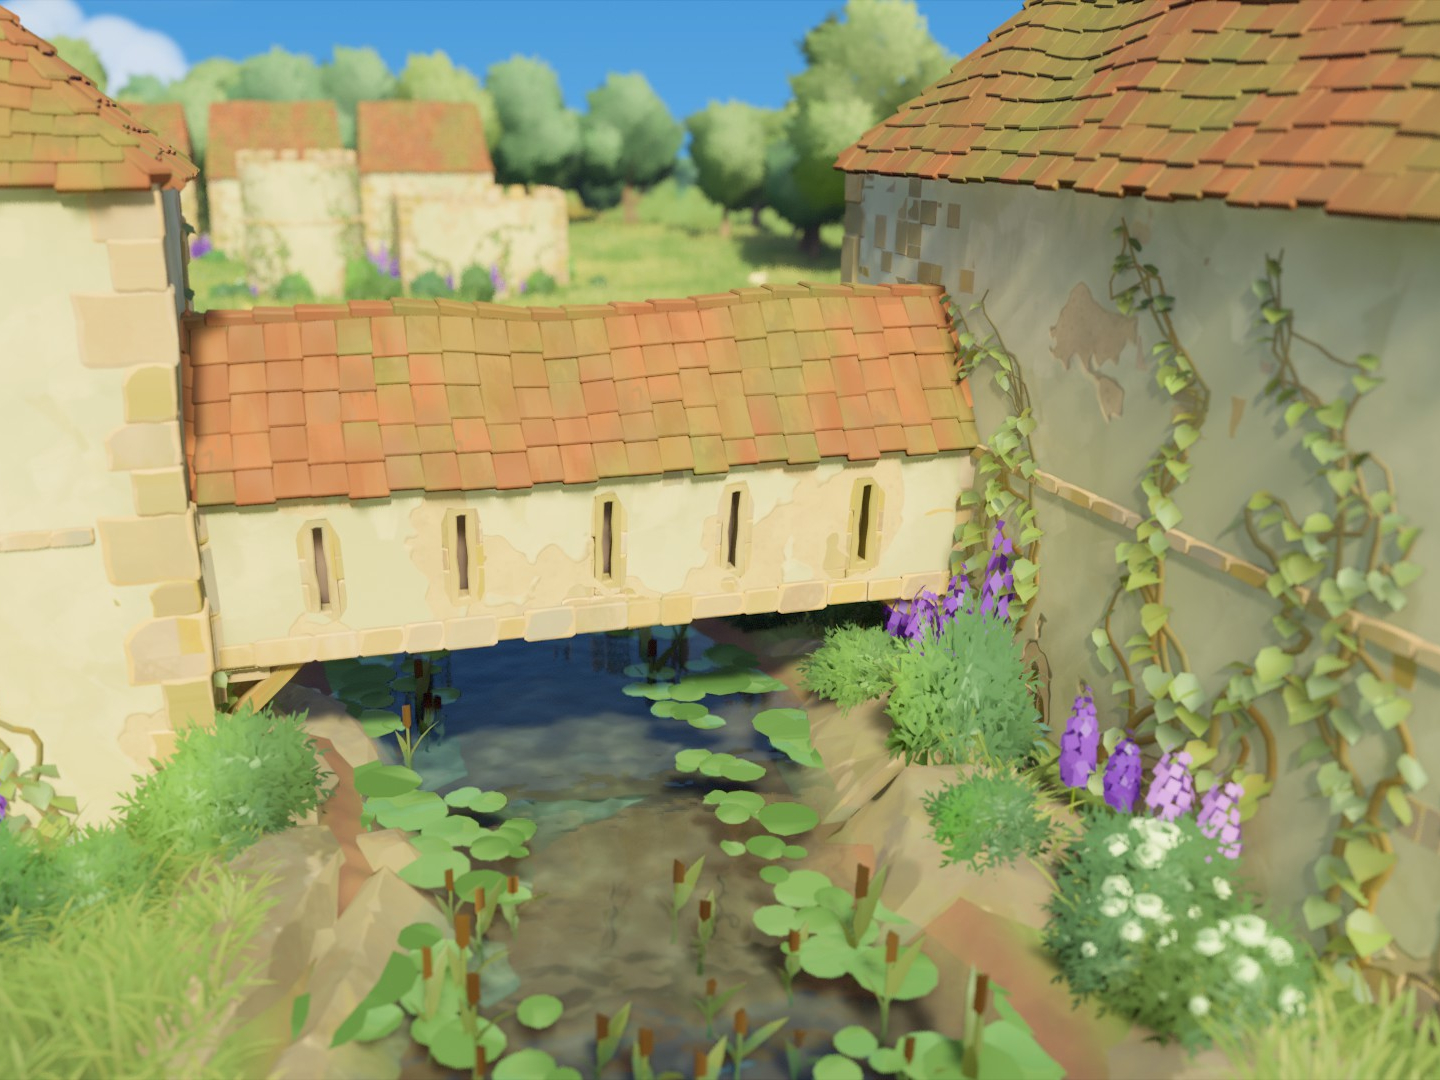
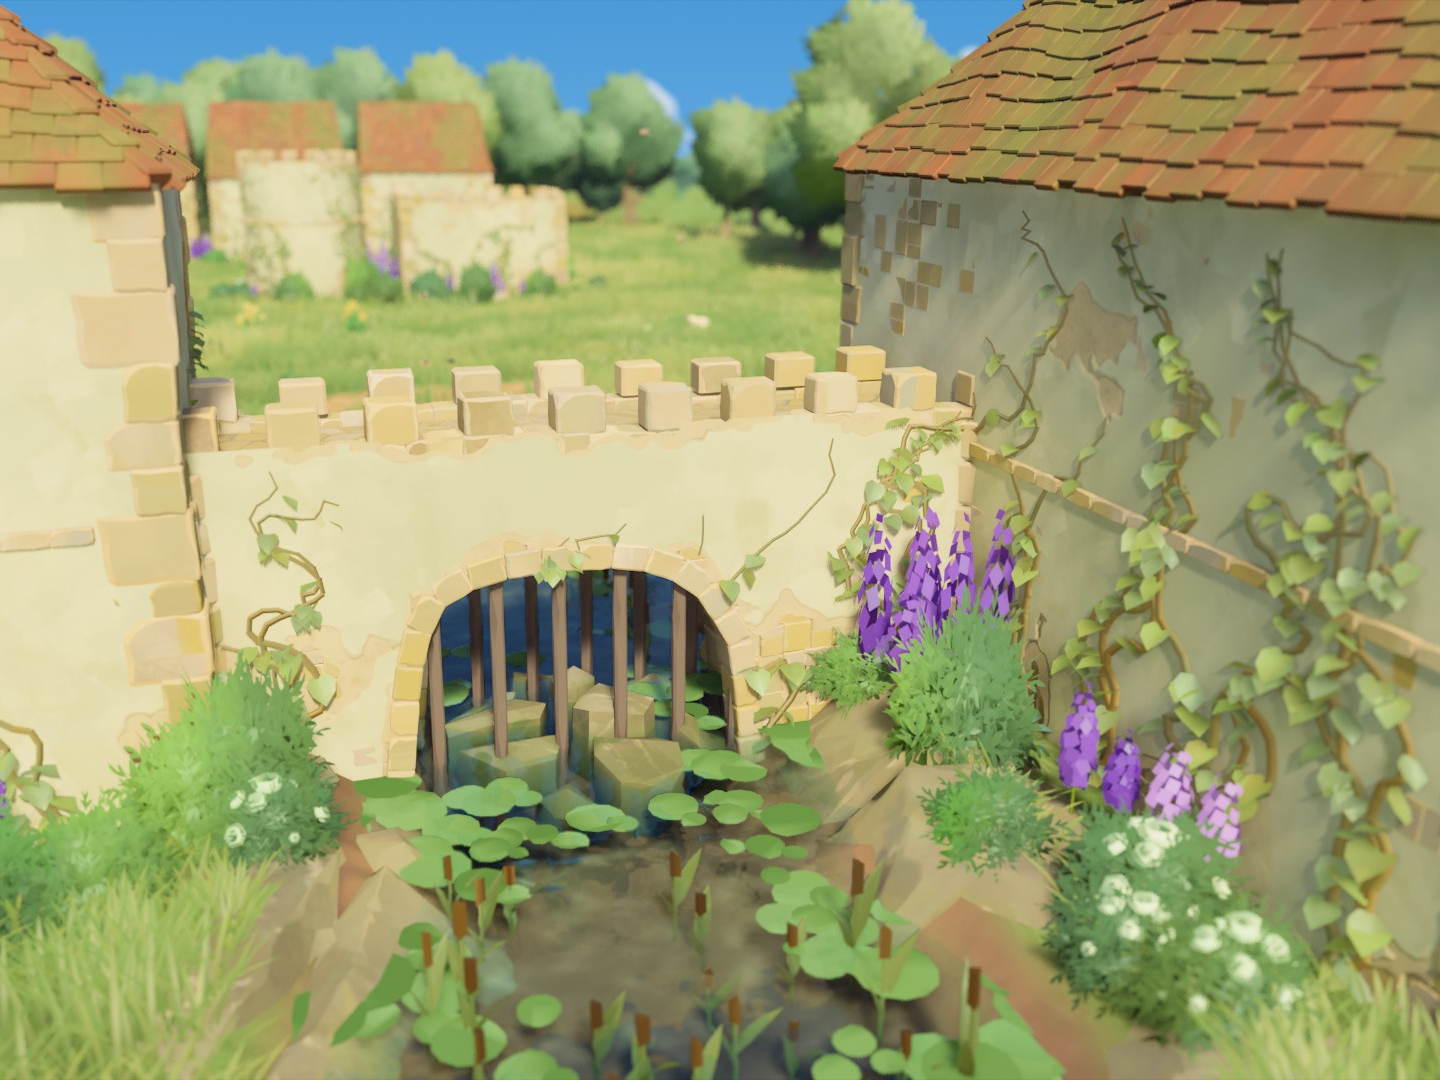
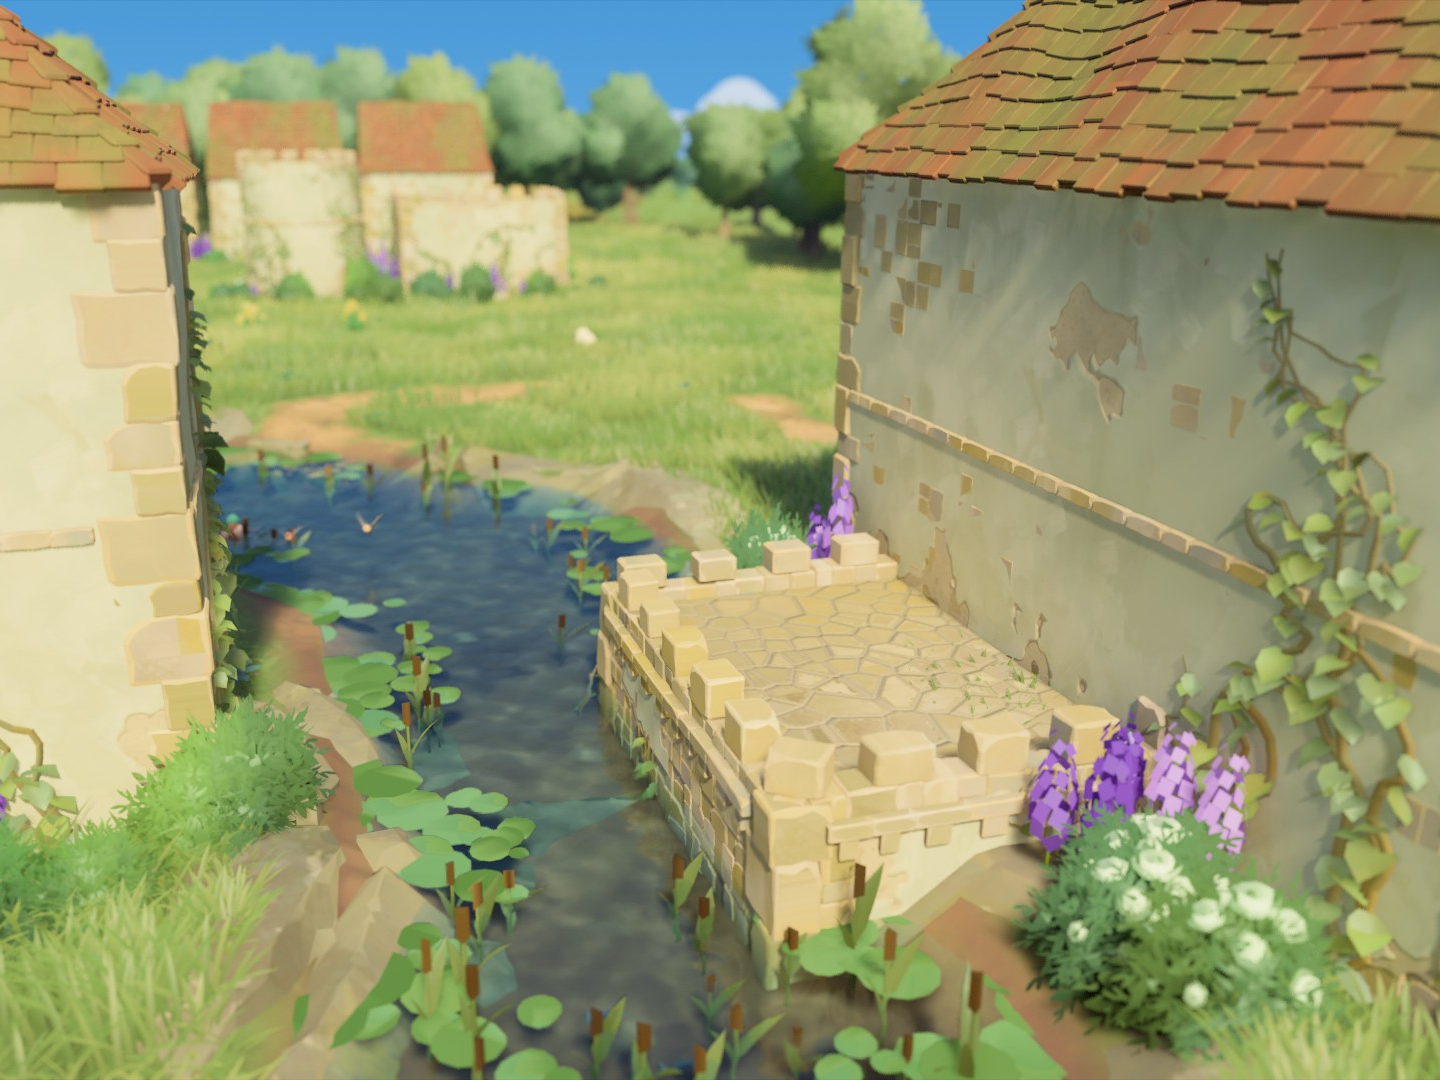
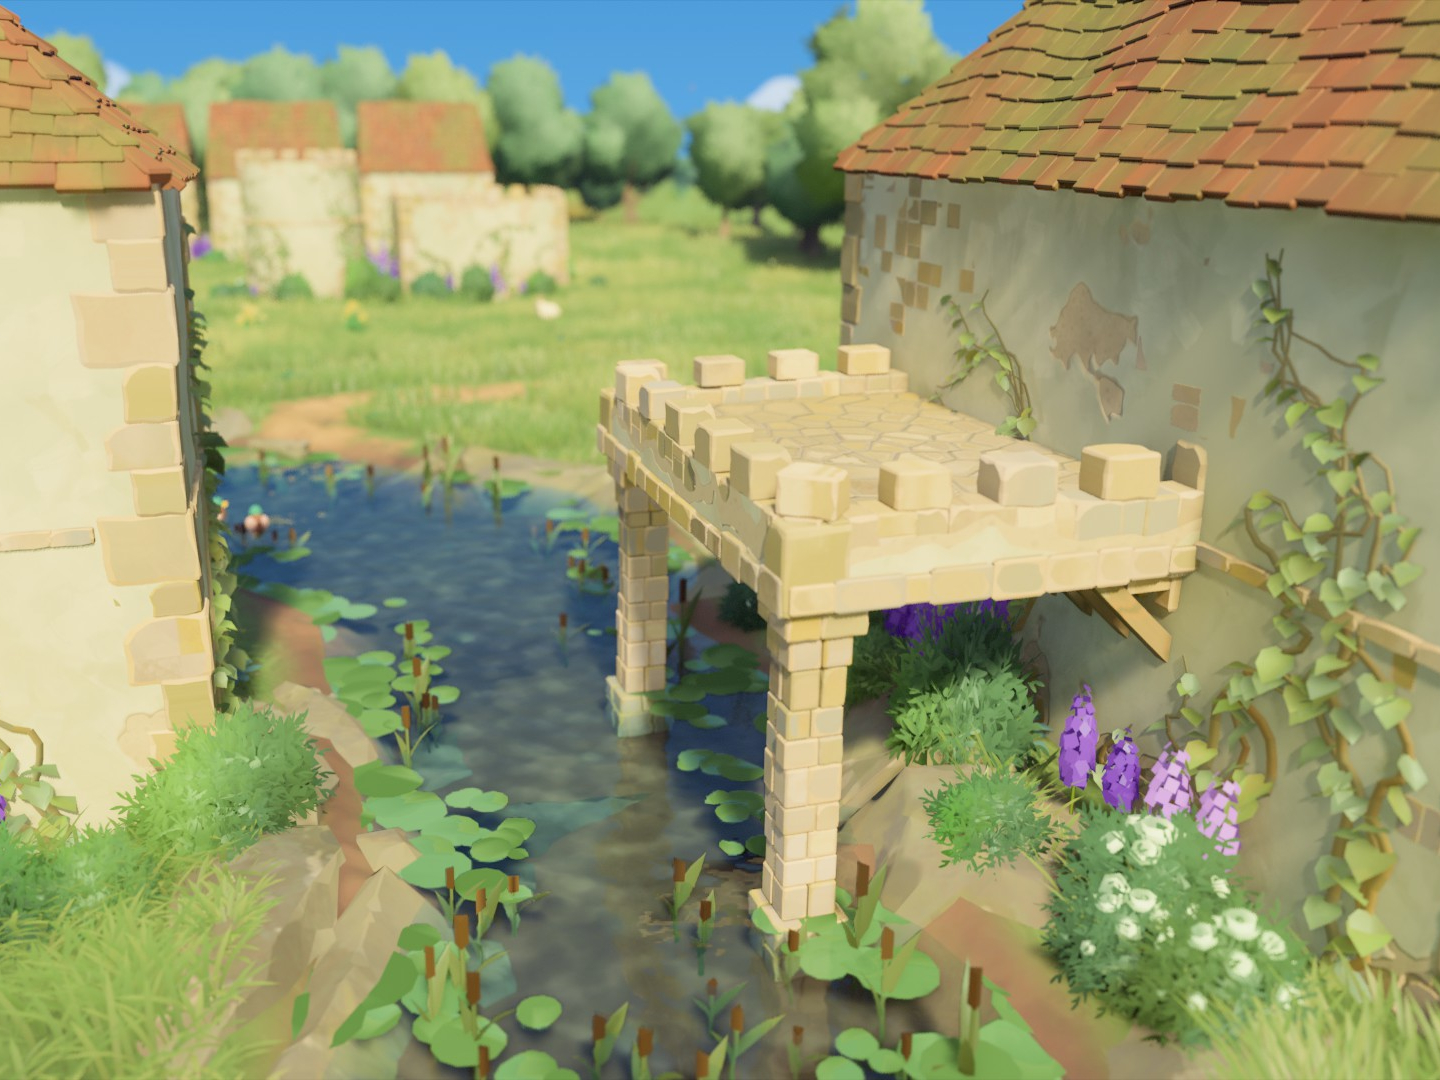
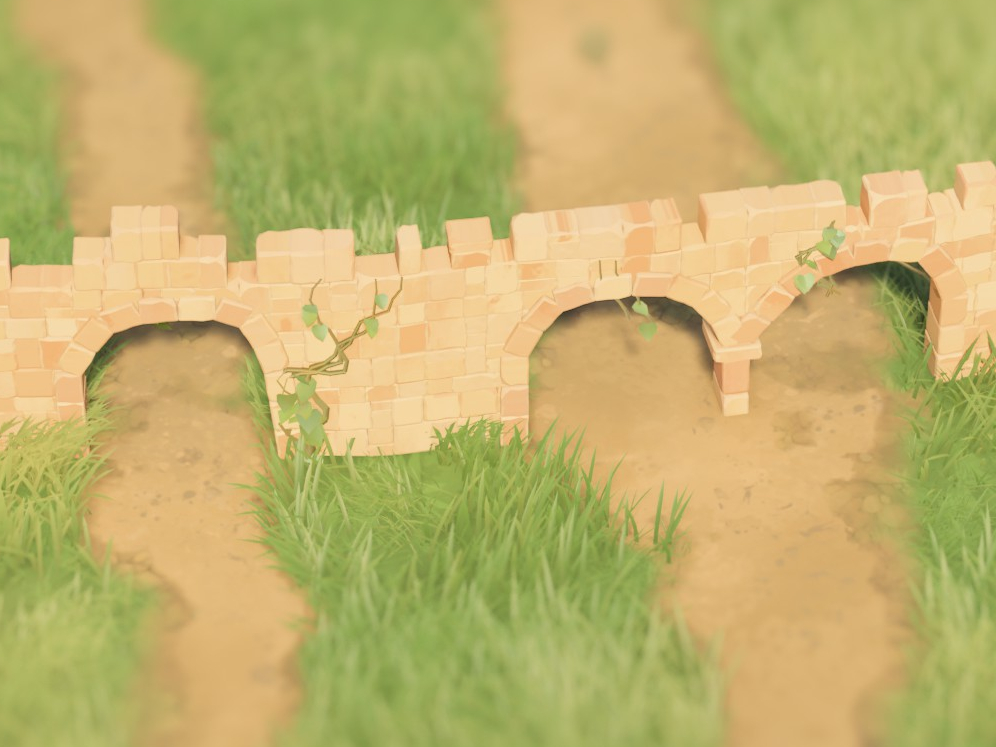
Also for bridges bit:
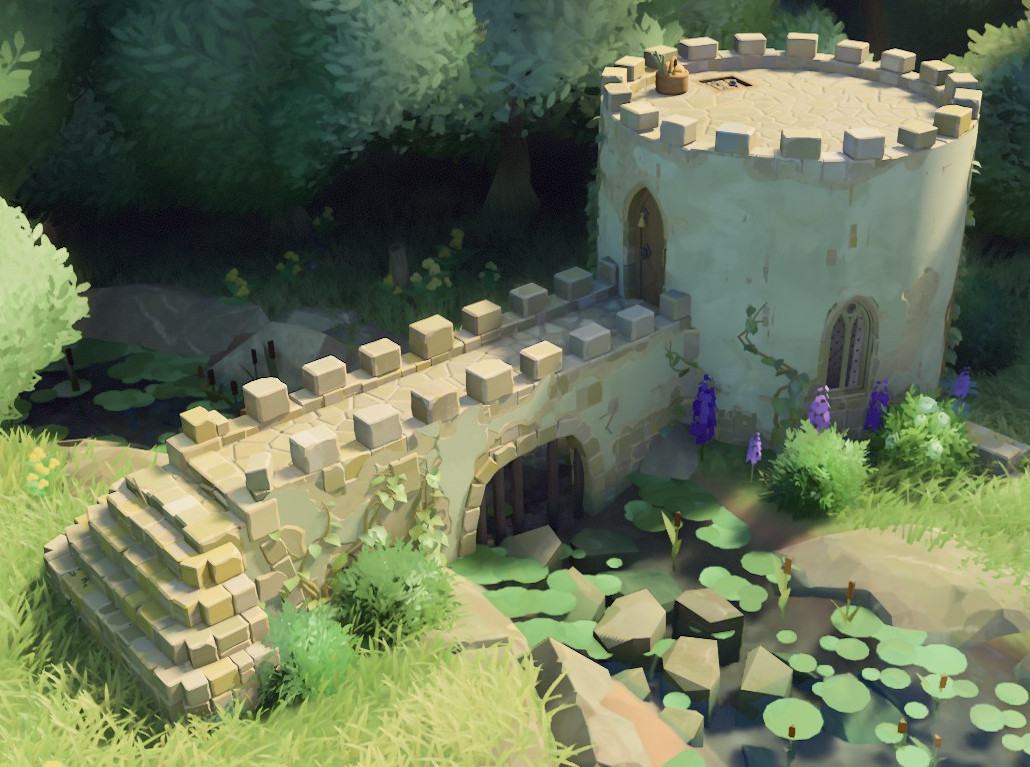
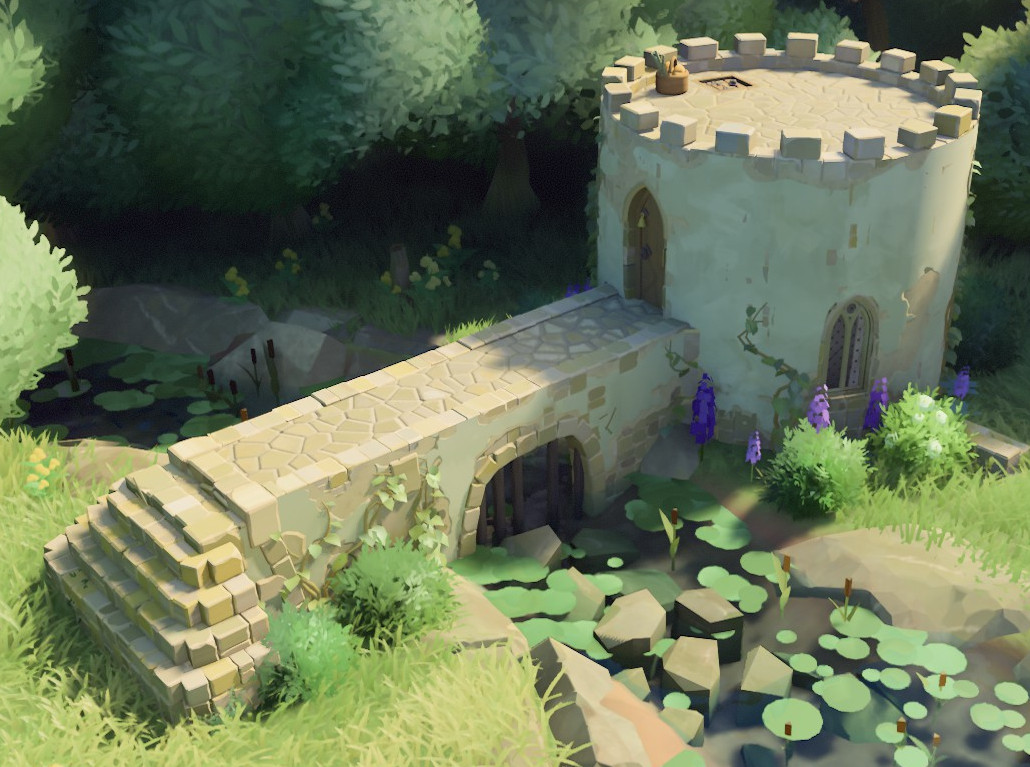
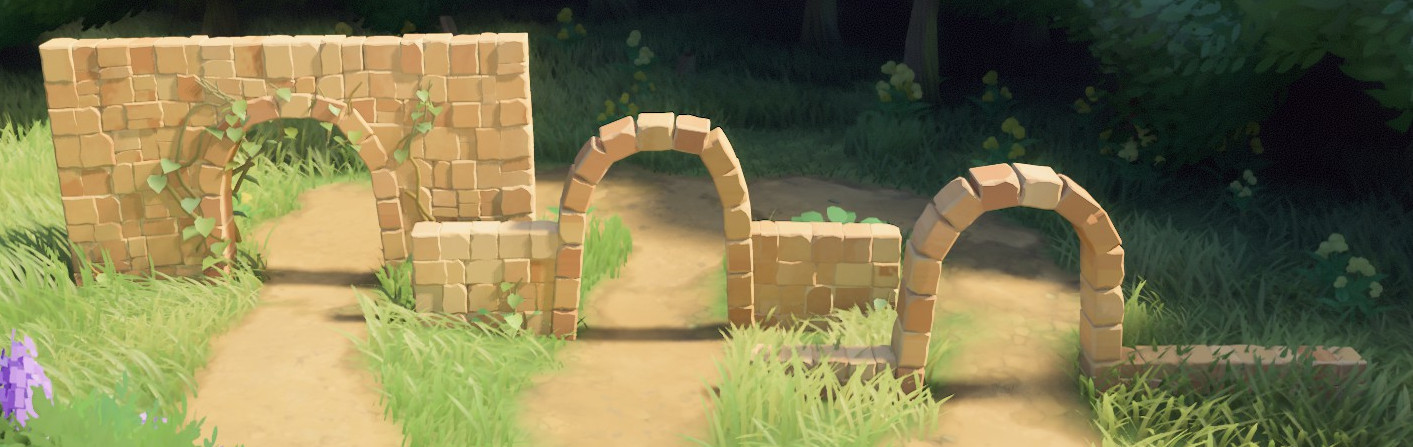
I think you've only shown the option for bridges between other buildings... you can raise terrain slightly either side of a body of water and then chuck a flat buildling across it... then add the path underneath (as you have mentioned) to create arches... or raise the bottom for a fully raised bridge.

I've only just started playing this and it's really relaxing!:steamhappy:
Taizaki 15. mar. kl. 3:13 
Thank you for this!
Ruven 5. jan. kl. 16:57 
Nice one. Very helpful
jeep_sheep 4. jan. kl. 10:41 
Thank you for creating the guide!