
Install Steam
login
|
language
简体中文 (Simplified Chinese)
繁體中文 (Traditional Chinese)
日本語 (Japanese)
한국어 (Korean)
ไทย (Thai)
Български (Bulgarian)
Čeština (Czech)
Dansk (Danish)
Deutsch (German)
Español - España (Spanish - Spain)
Español - Latinoamérica (Spanish - Latin America)
Ελληνικά (Greek)
Français (French)
Italiano (Italian)
Bahasa Indonesia (Indonesian)
Magyar (Hungarian)
Nederlands (Dutch)
Norsk (Norwegian)
Polski (Polish)
Português (Portuguese - Portugal)
Português - Brasil (Portuguese - Brazil)
Română (Romanian)
Русский (Russian)
Suomi (Finnish)
Svenska (Swedish)
Türkçe (Turkish)
Tiếng Việt (Vietnamese)
Українська (Ukrainian)
Report a translation problem


Hey I checked your addon and actually didn't see much twitching in game...
Still, I found something wired in model file.
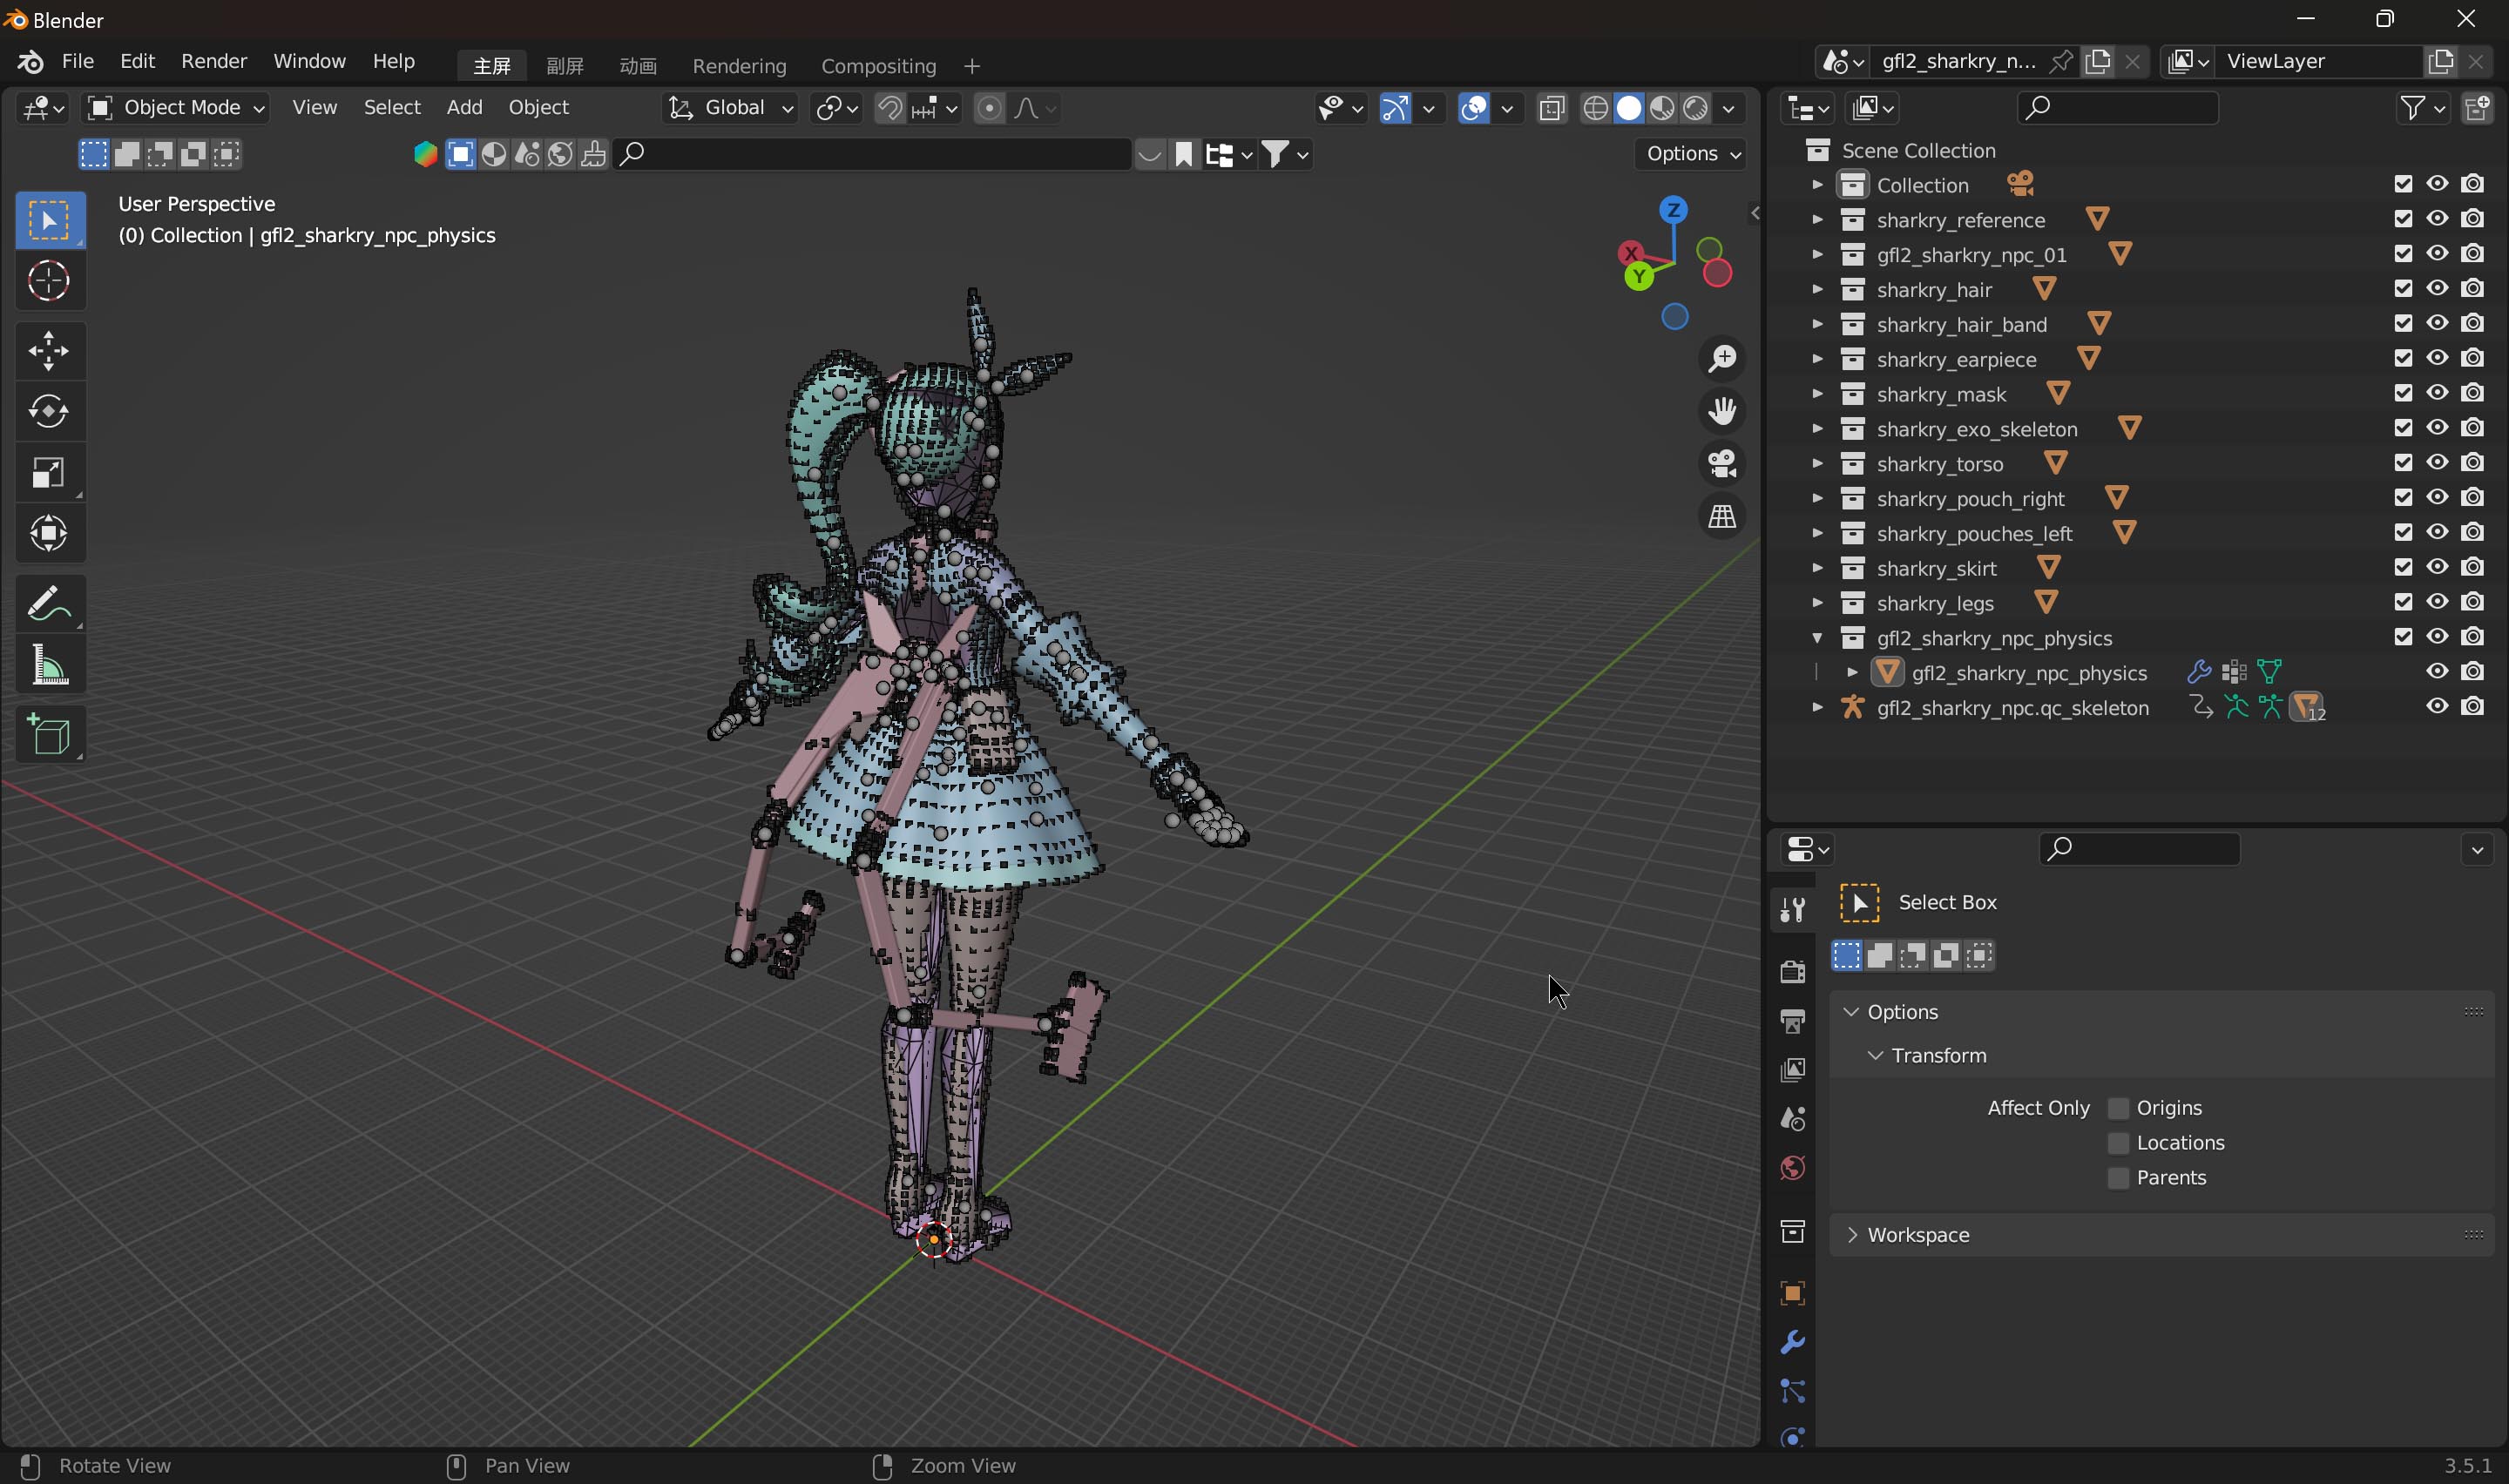
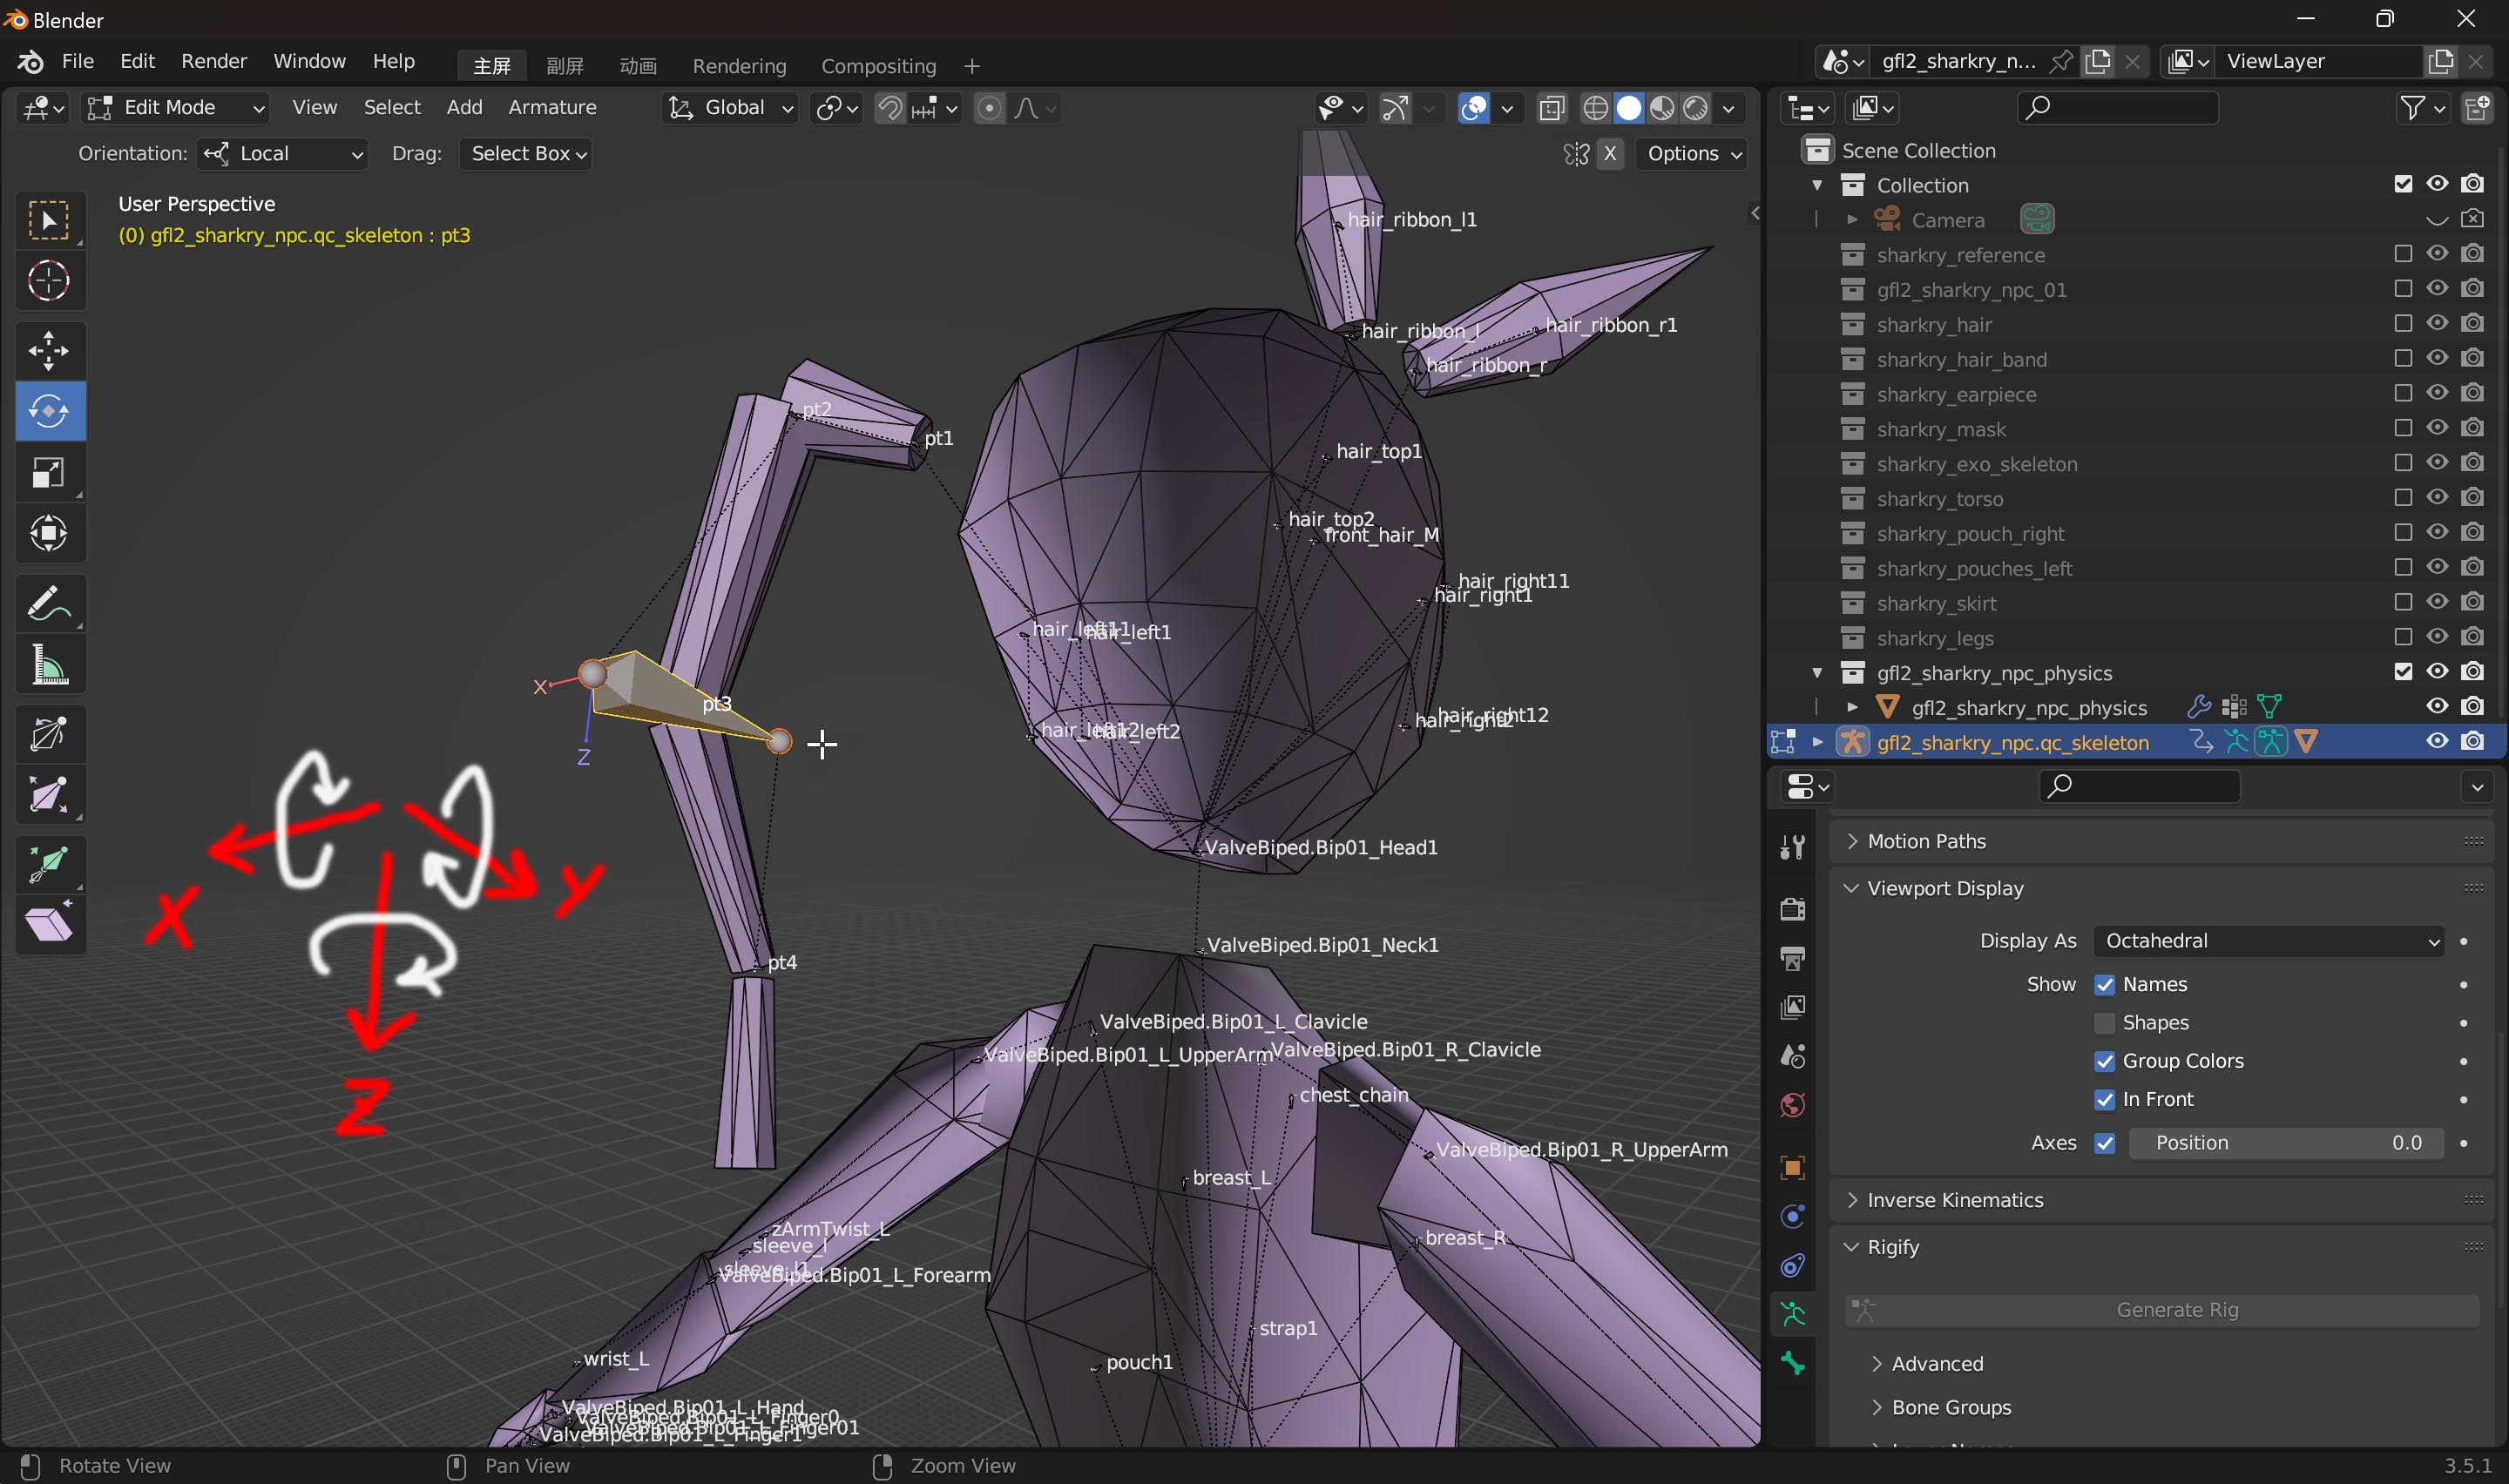
In the "aeon_physics" mesh, there's a mesh assigned to "Tail 1", and there's another duplicated mesh assigned to "ValveBiped.Bip01_Pelvis", these two meshes are sharing same position and clipping with each other.
Although two same meshes are clipping, this actually isn't the problem, because "ValveBiped.Bip01_Pelvis" is the [Parent Bone] of "Tail1" , there won't be any collision between [Parent Bone] and [Child Bone] , so these two are actually fine with other.
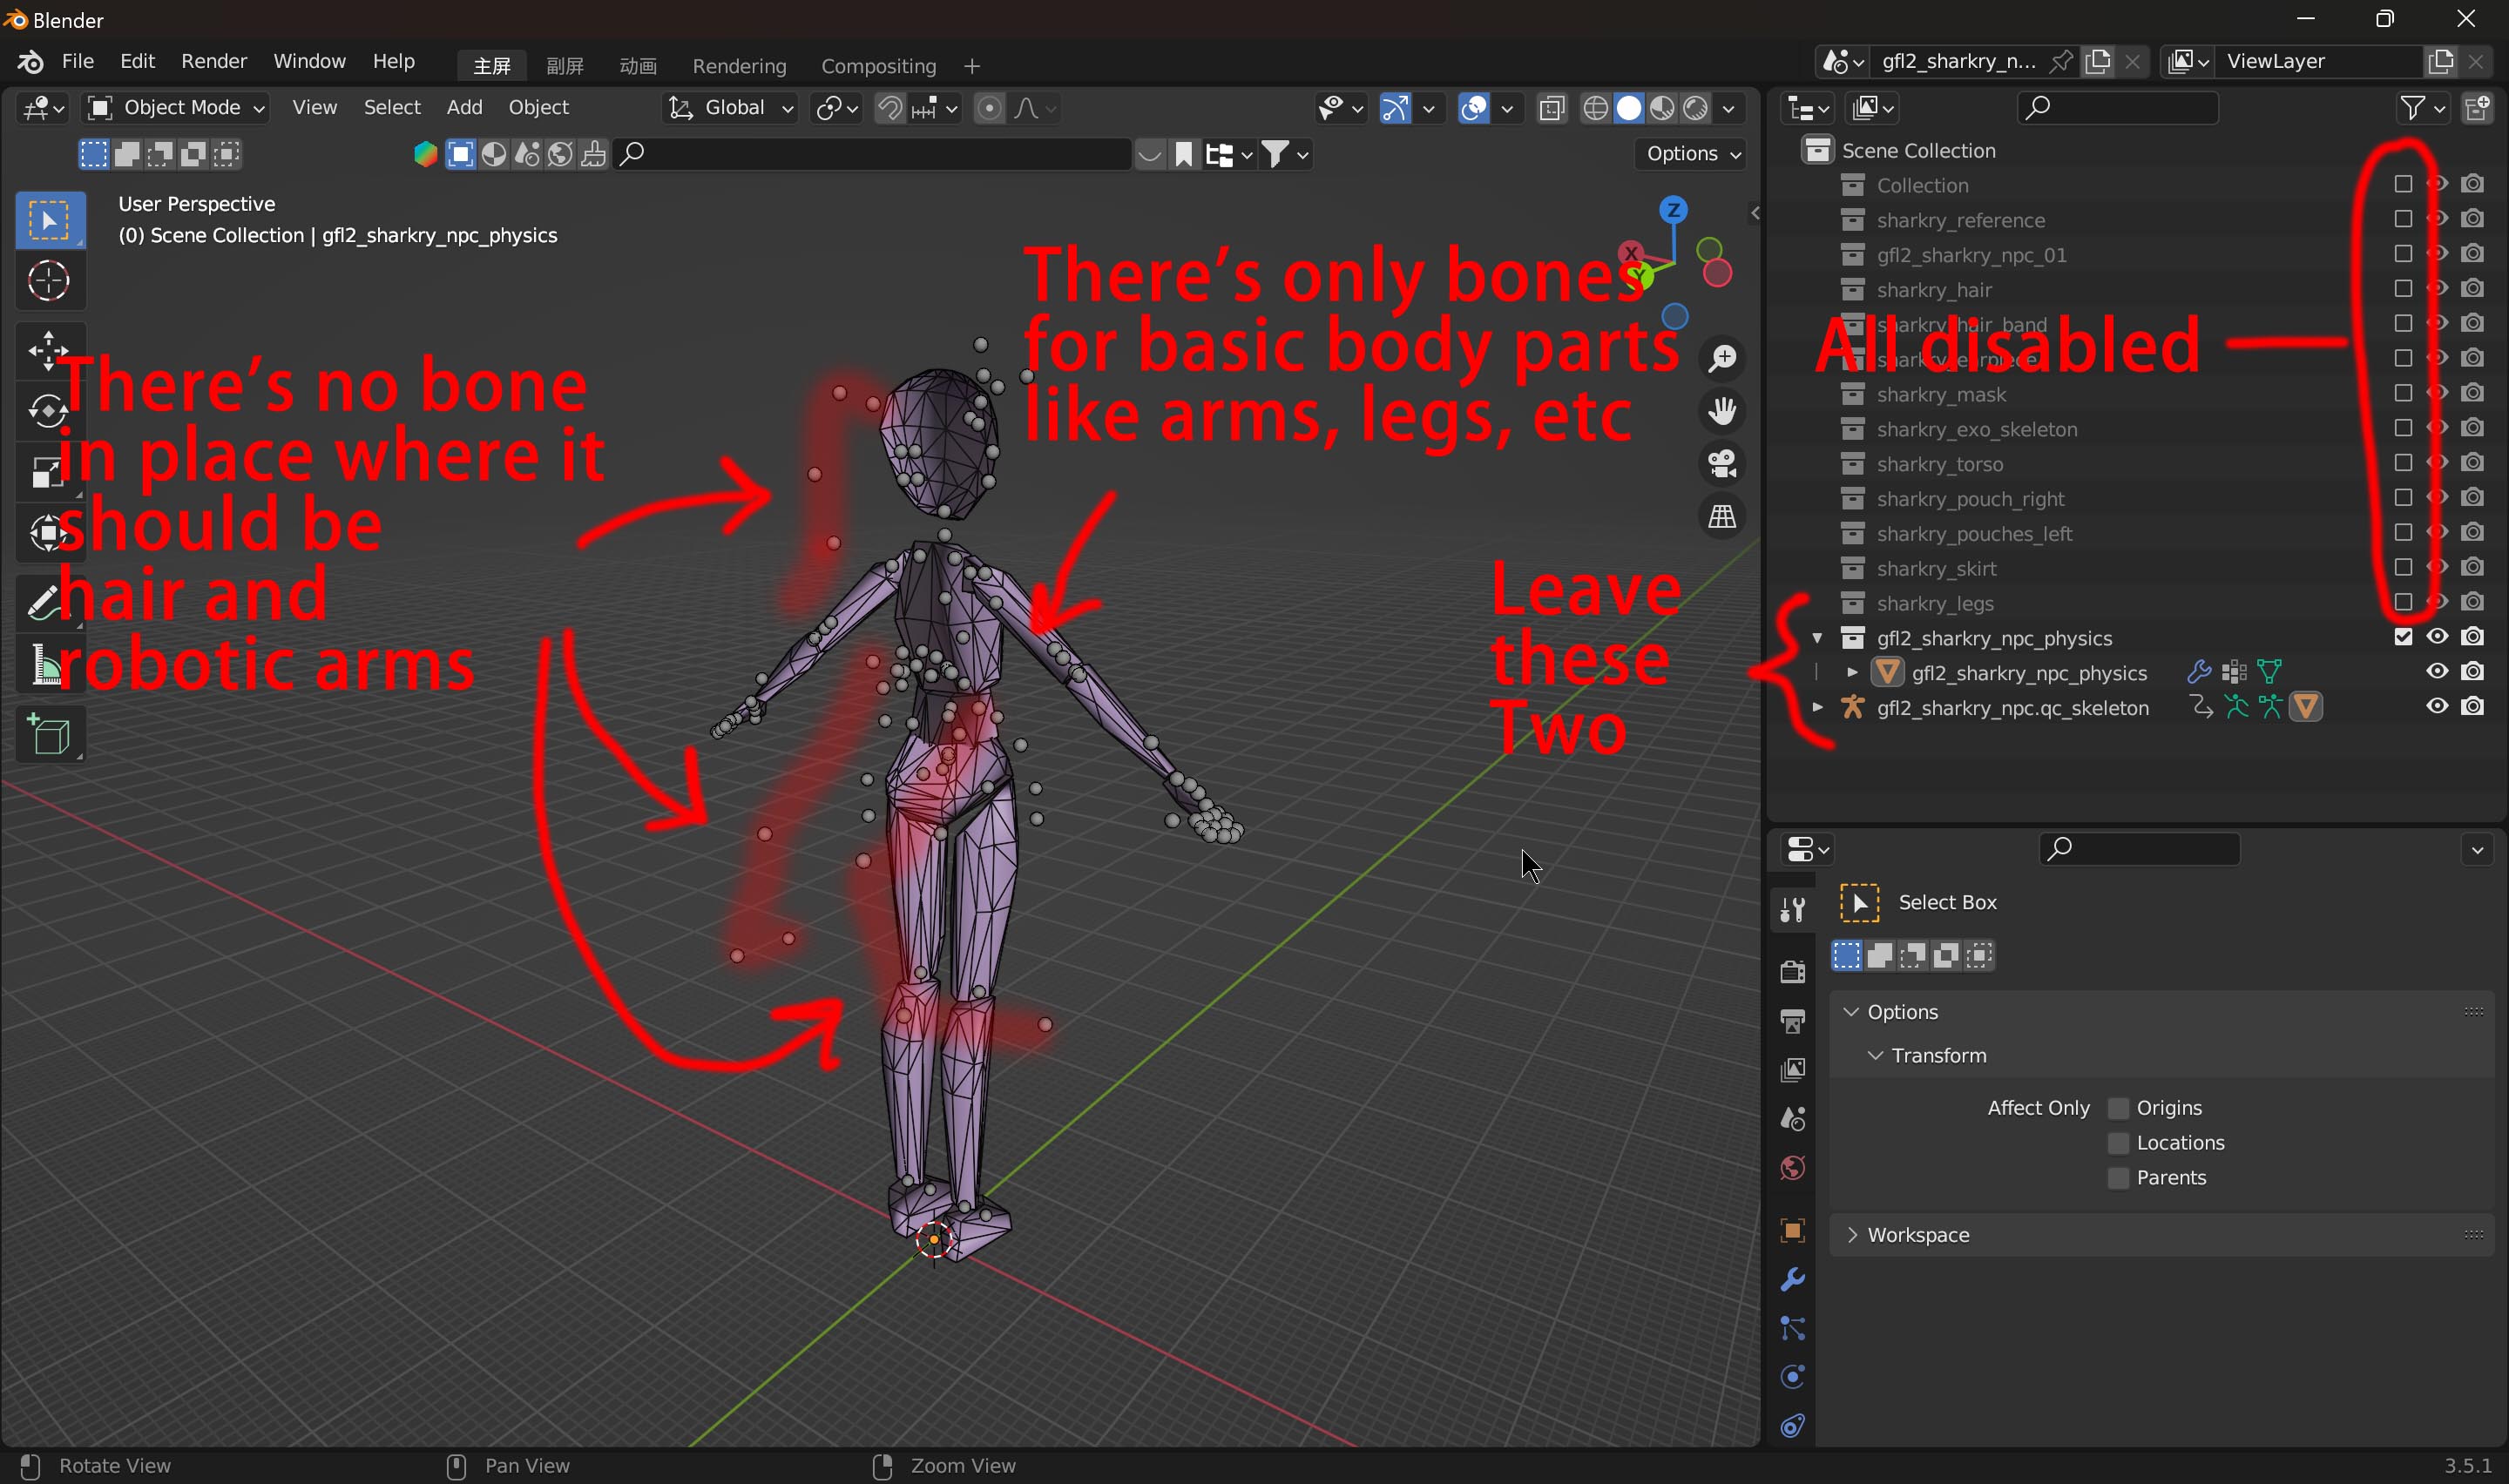
"ValveBiped.Bip01_Pelvis" is the [Parent Bone] of "ValveBiped.Bip01_L/R_Thigh", so Pelvis mesh won't have collision problem with Thighs, But "Tail 1" will. Due to its giant mesh which was duplicated from Pelvis mesh, it may collide fiercely with Thighs.
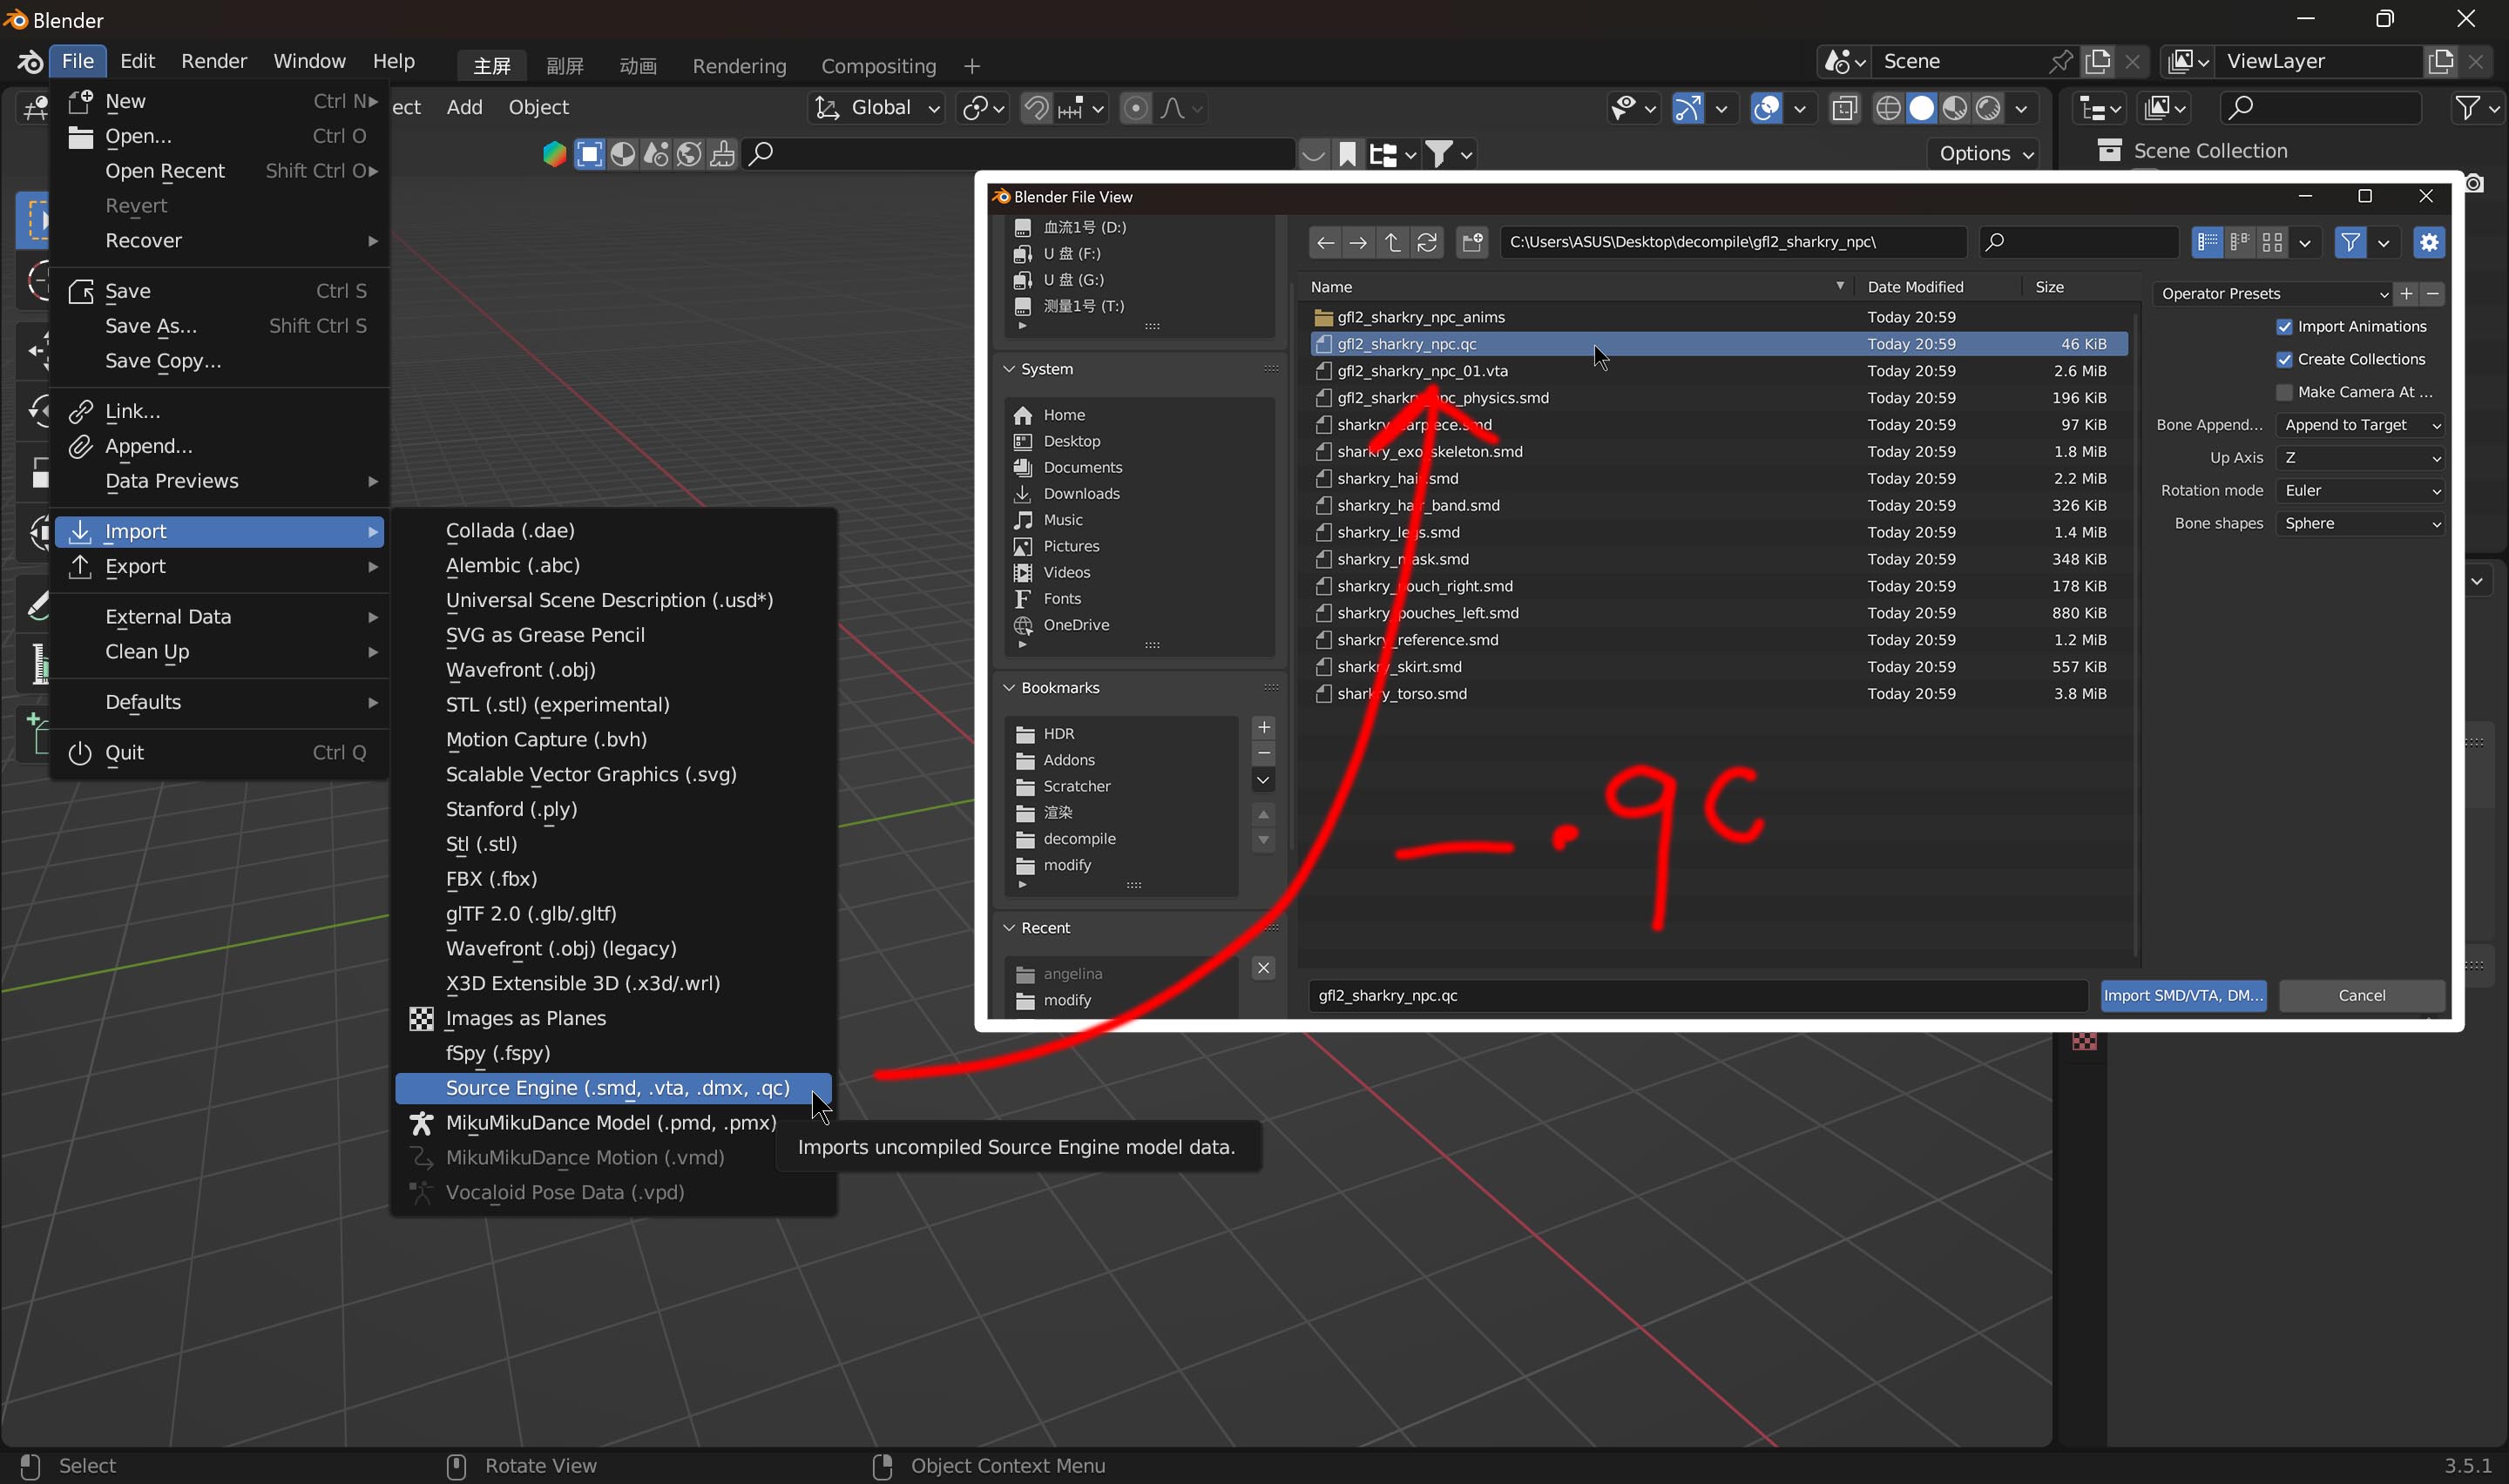
Just go to blender, select the "Tail 1" in pose mode, and rotate it and you will know the problem.
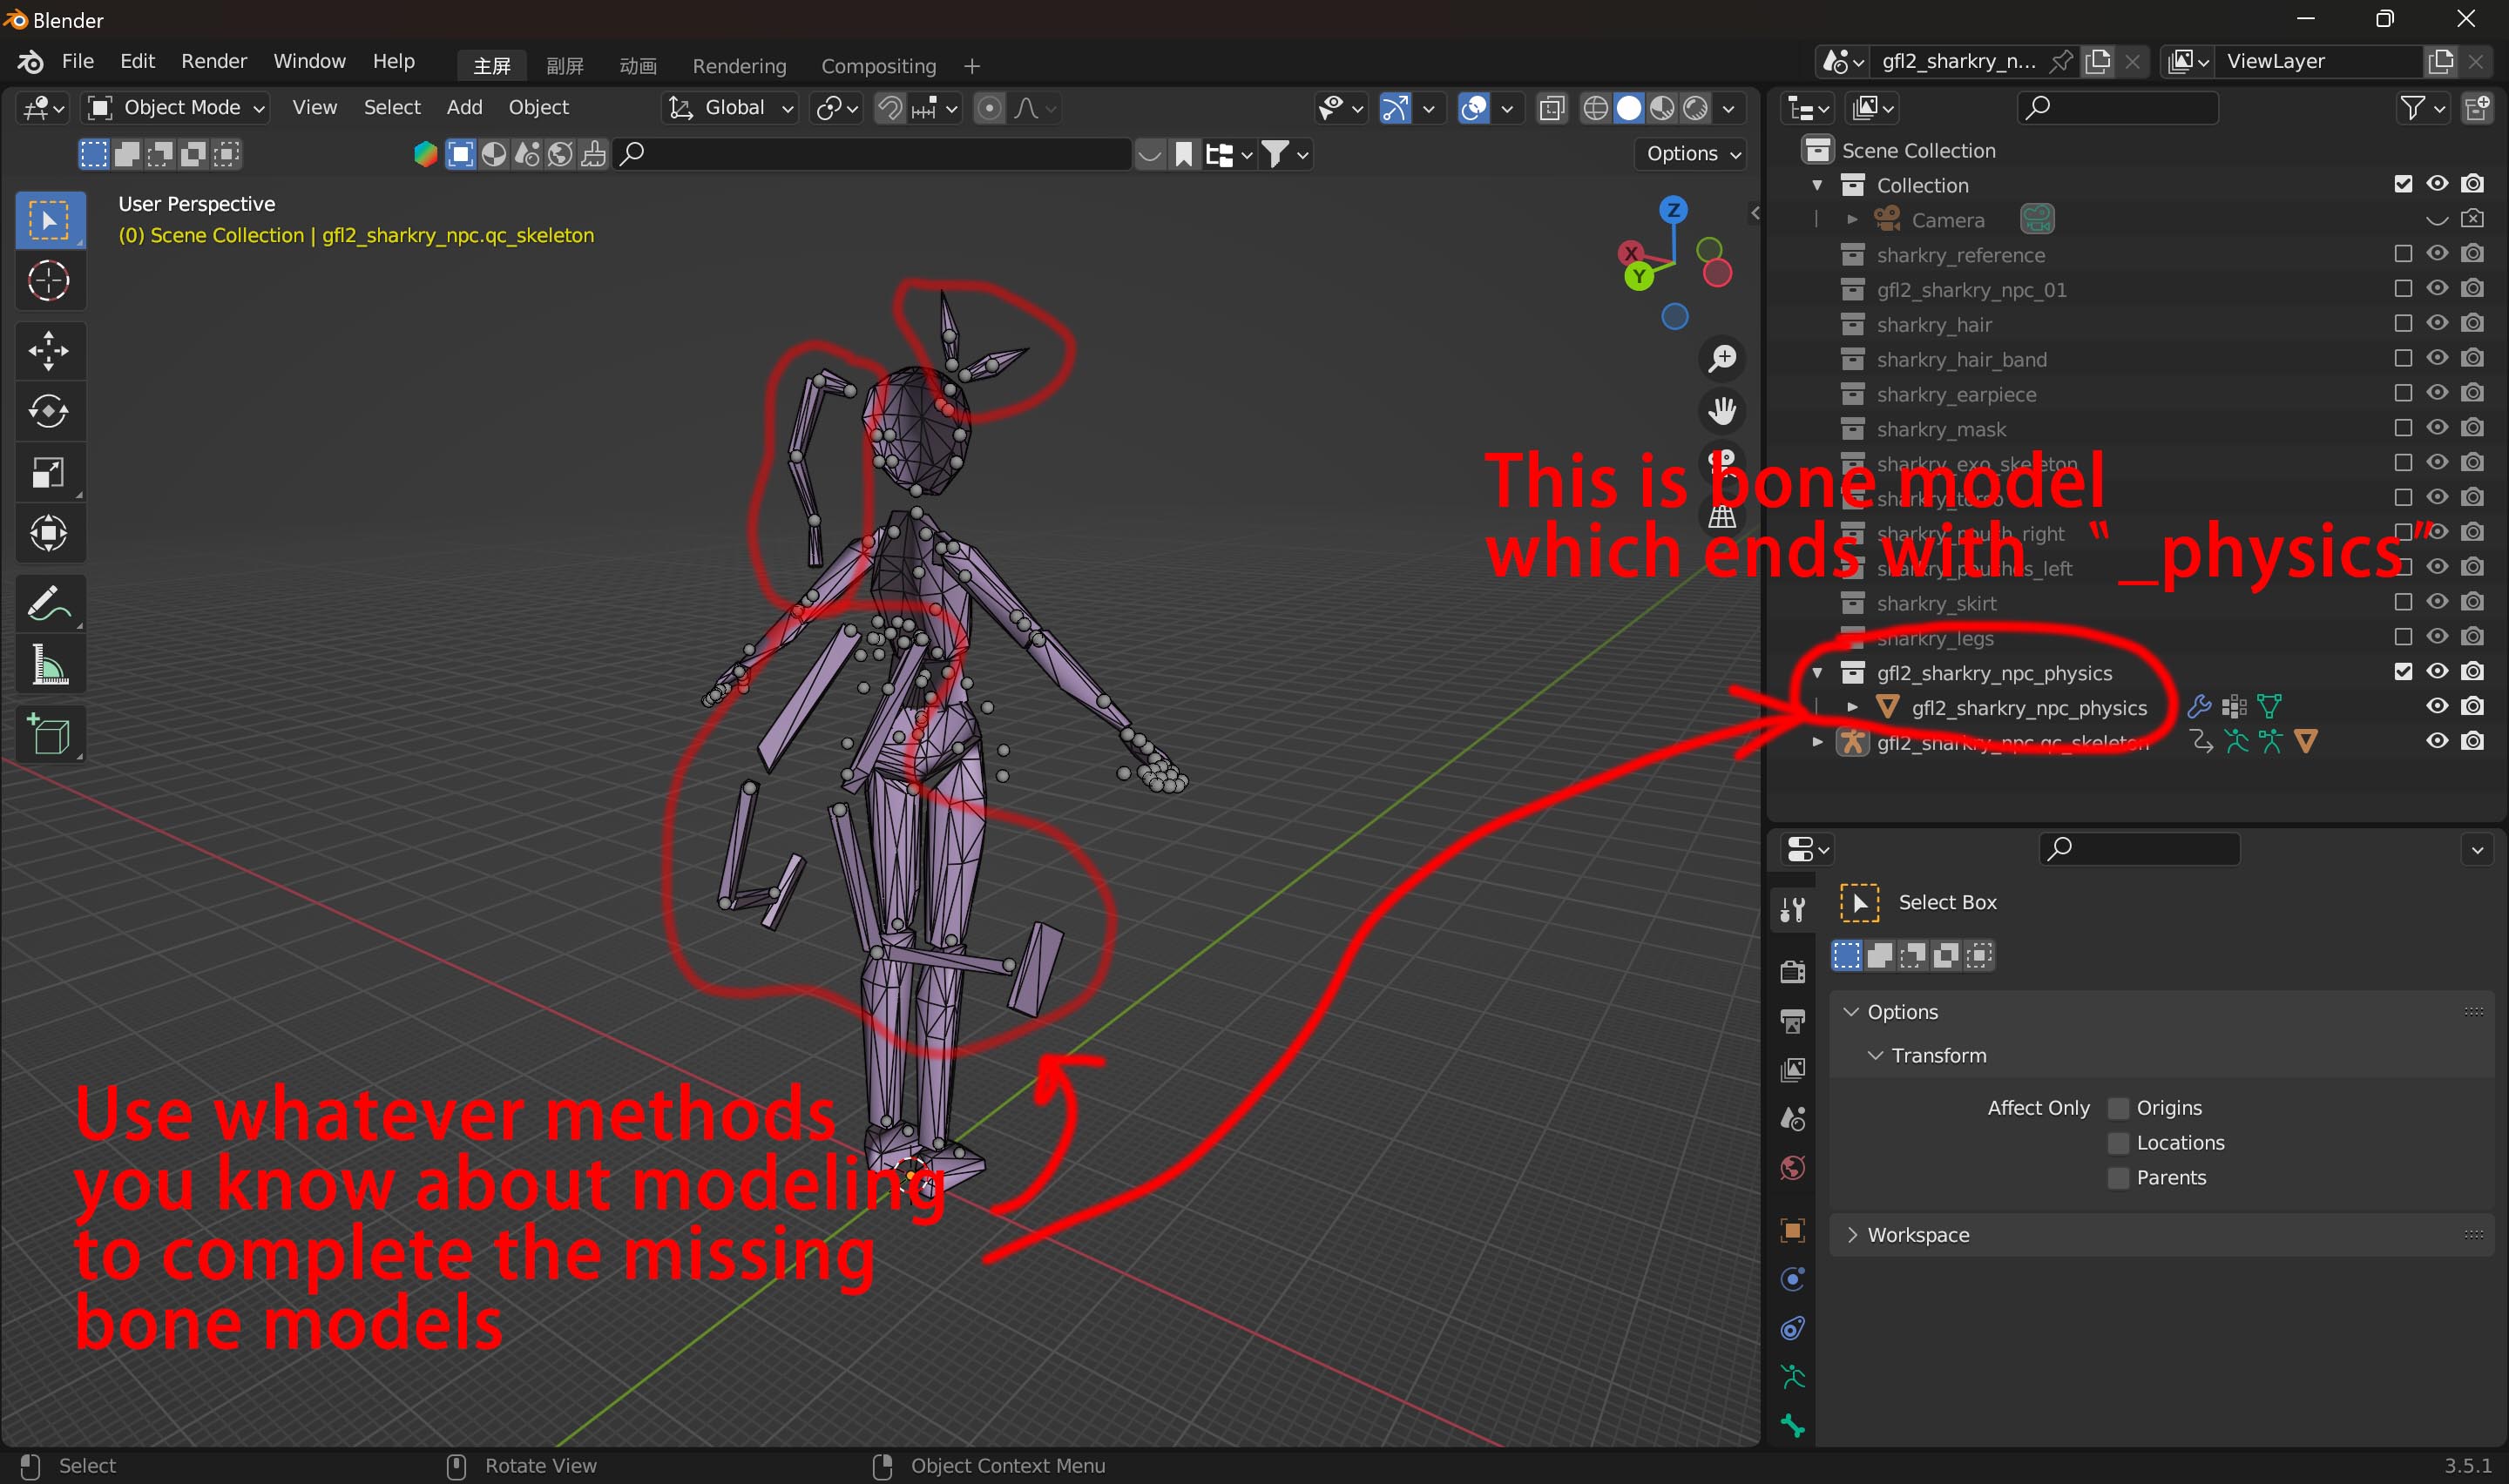
I recommend either delete the "Tail 1" mesh or make it as small as other tail bones.
Thank you so much for your response.
I didn't even know that §jointcollide was even a thing, i will experiment with that...
About the size of the collision joints, yeah, i actually thought about that and made them a lot smaller soon after the modification because i knew that they would have caused problems.
Oh, one more thing... This is my fault since i forgot to specify it in my last comment, sorry for that...
I didn't made HAIR...
I followed the steps in your guide to make a Tail, which is obviously attached to the Pelvis (and that's why probably i'm having these problems)
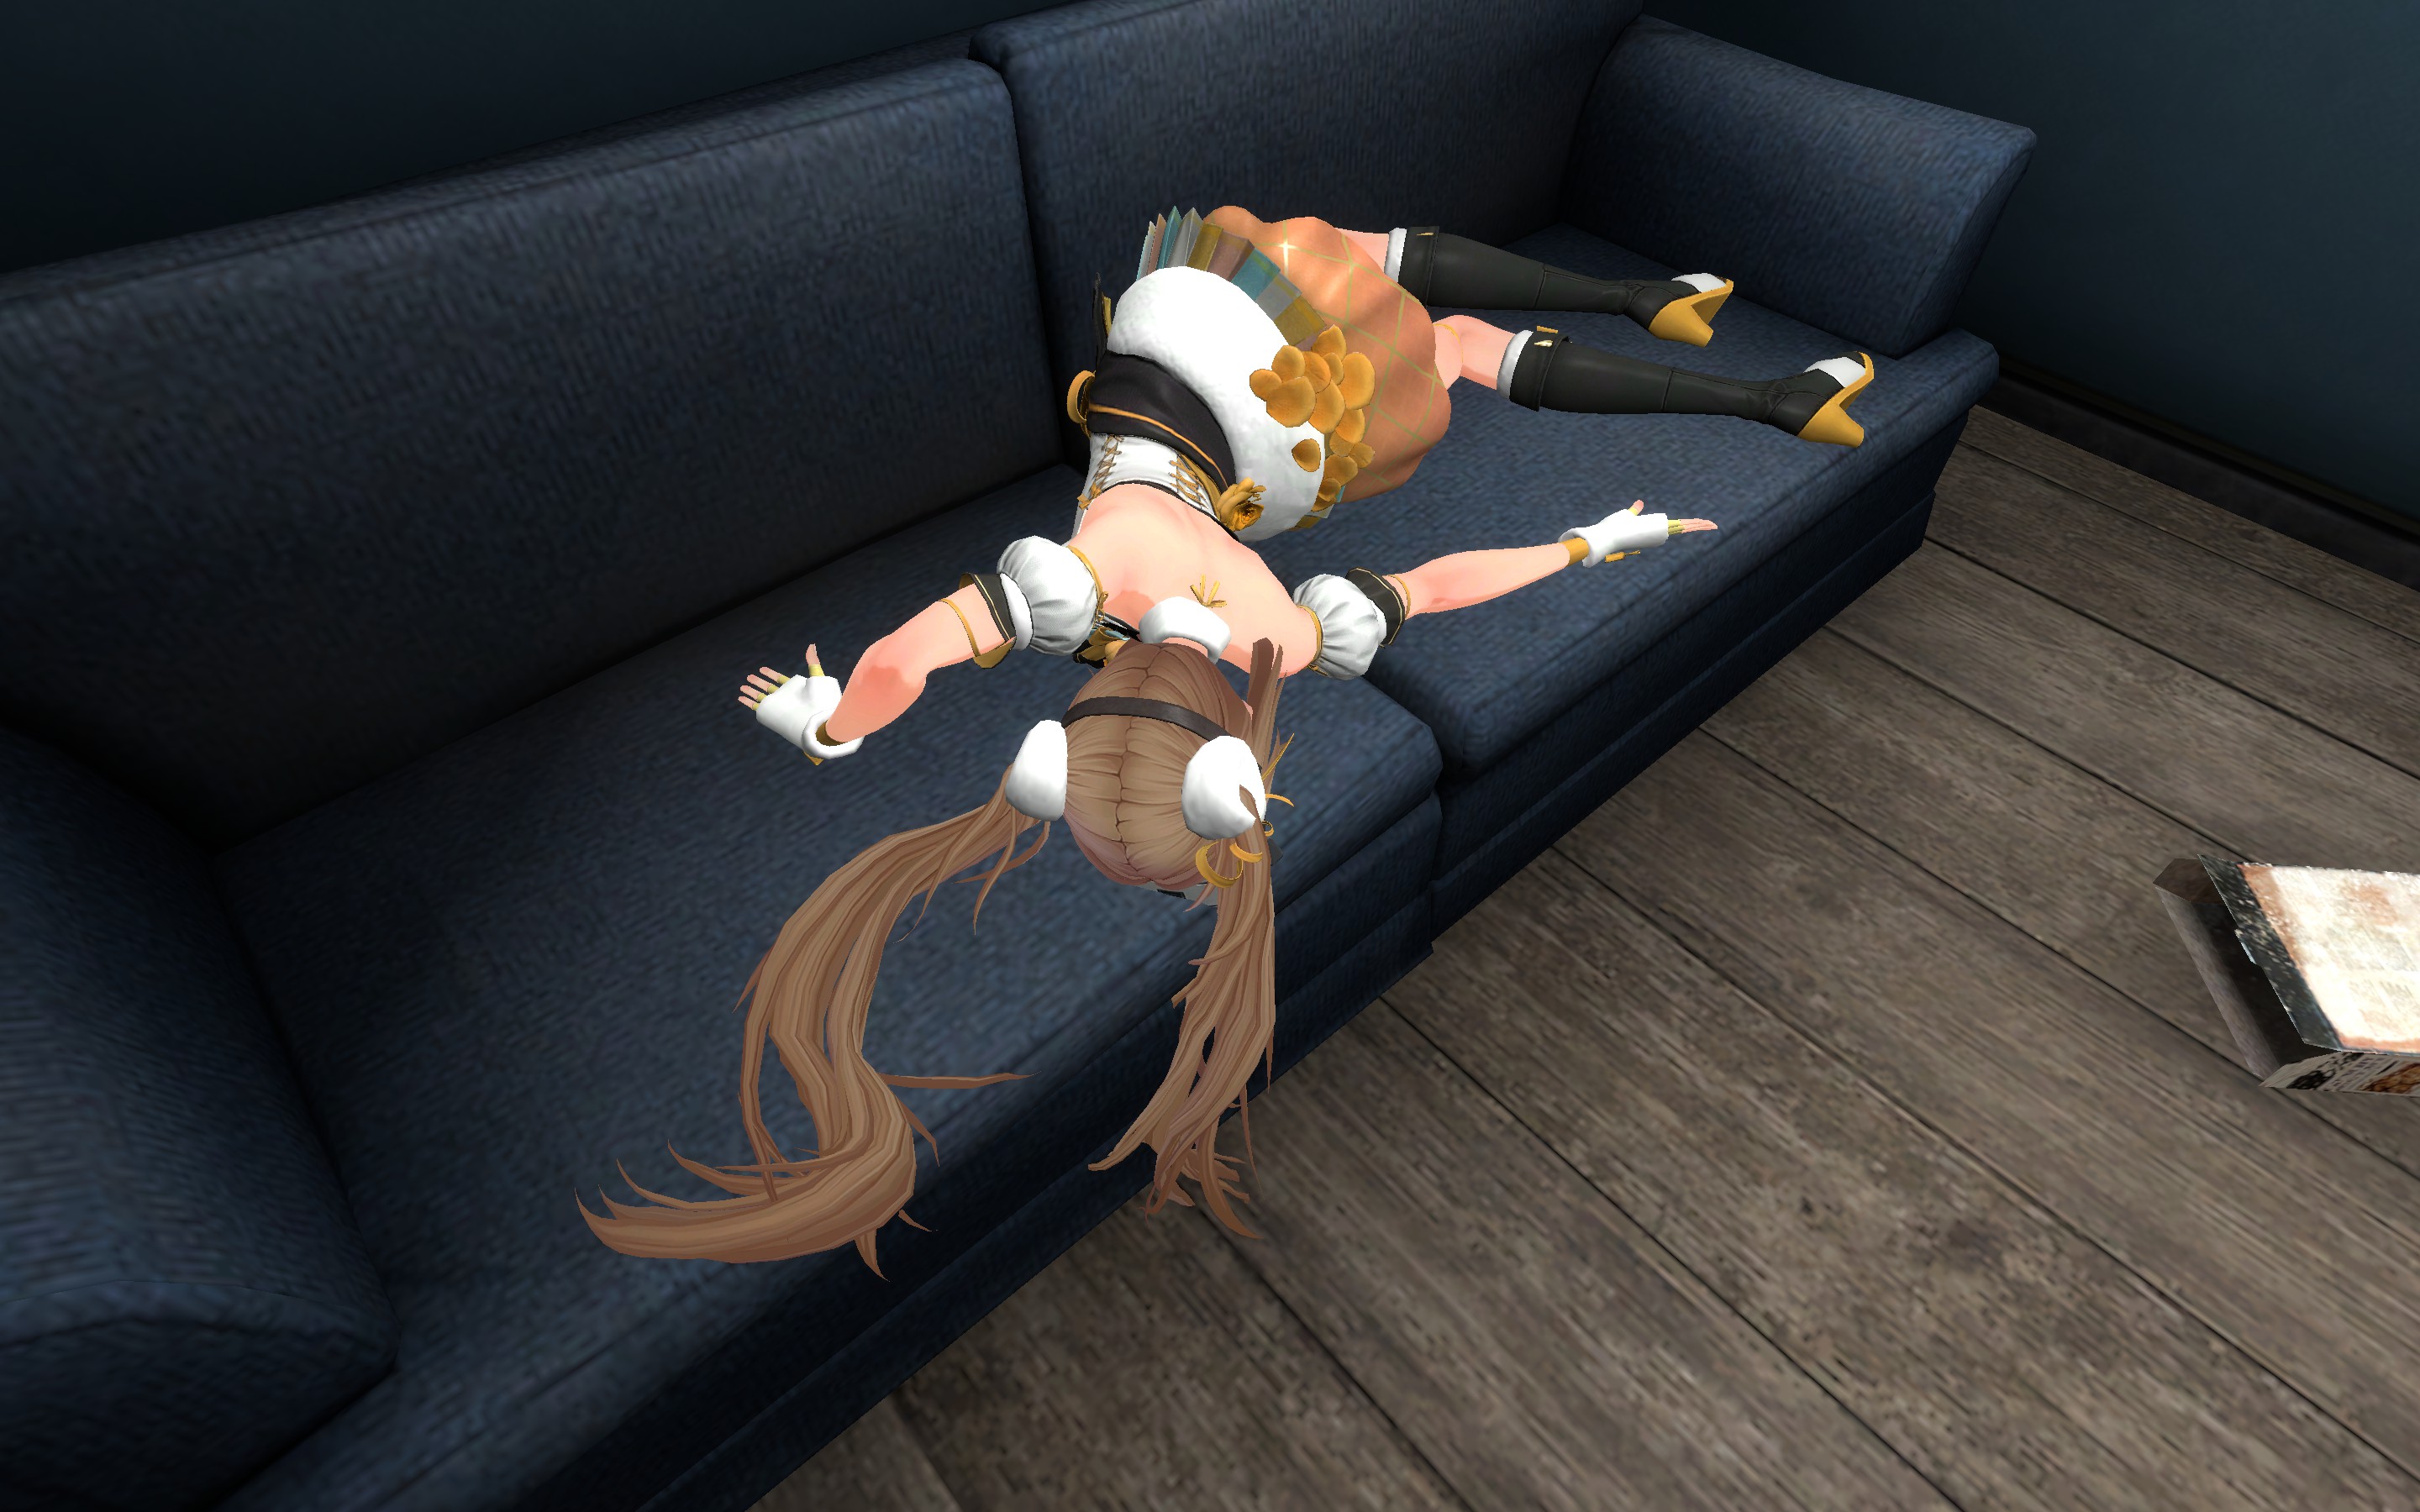
Here's the playermodel, there's a gif in the addon page where you can see what i'm trying to achieve.
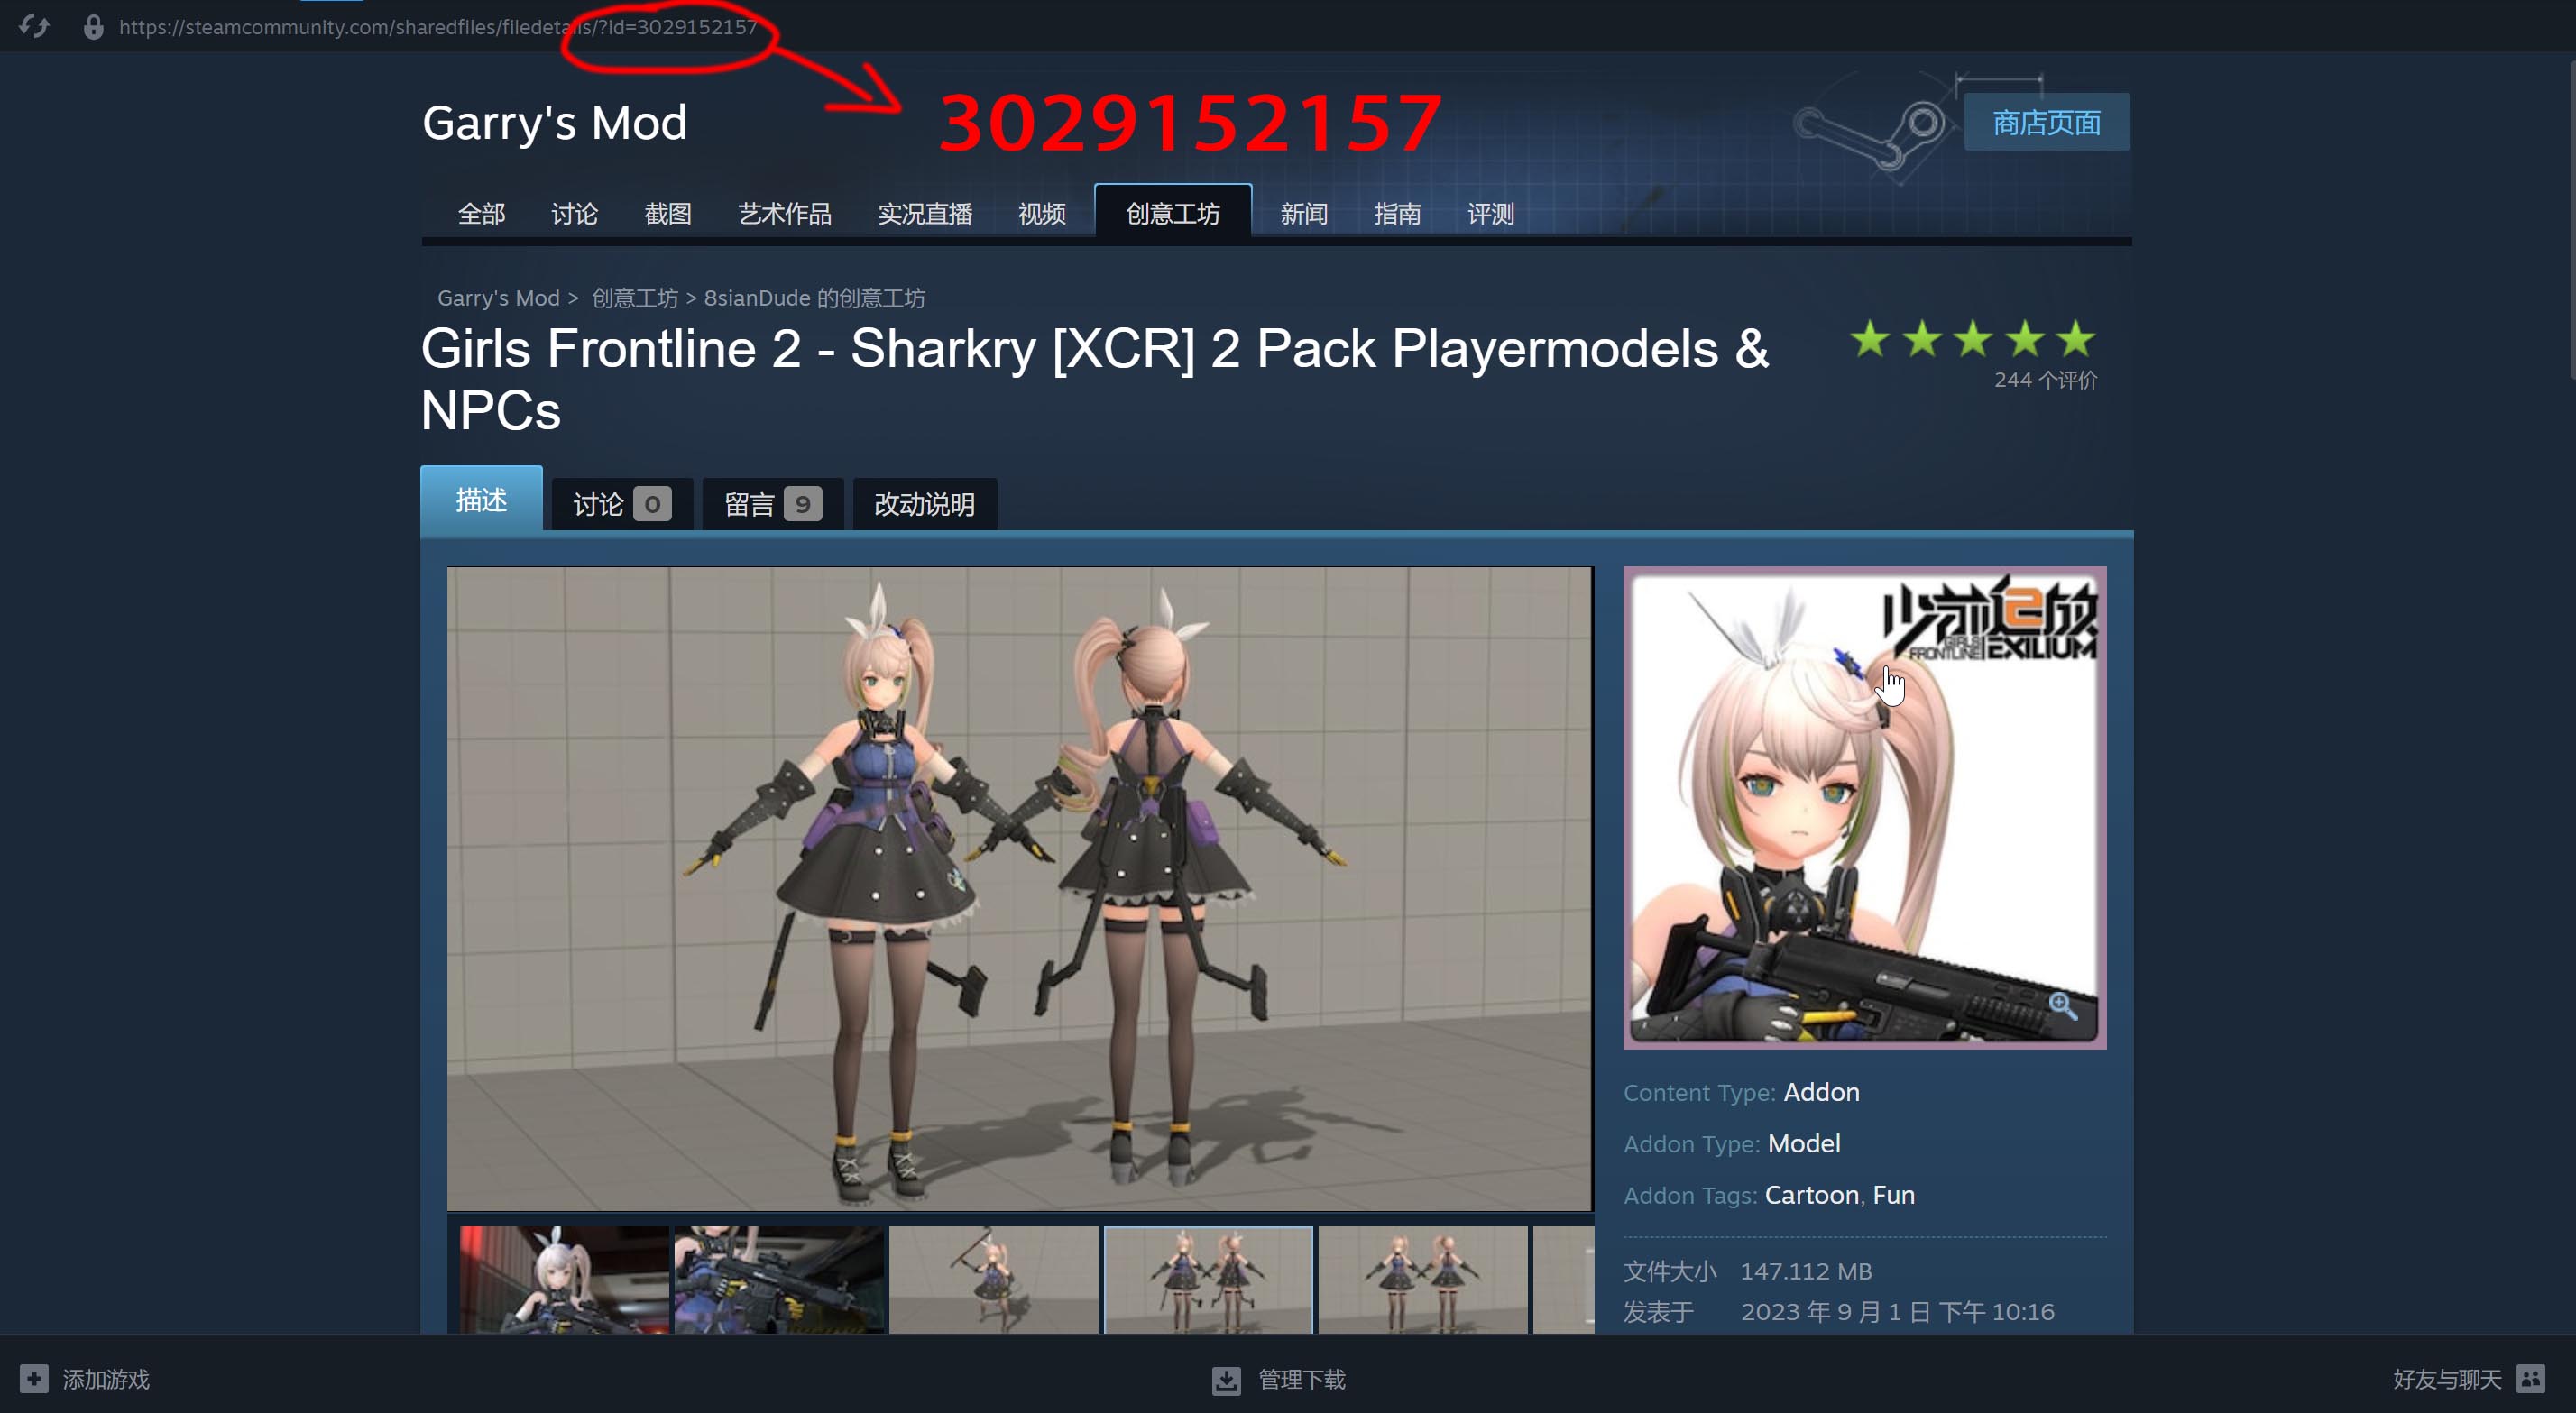
https://sp.zhabite.com/sharedfiles/filedetails/?id=2713075077
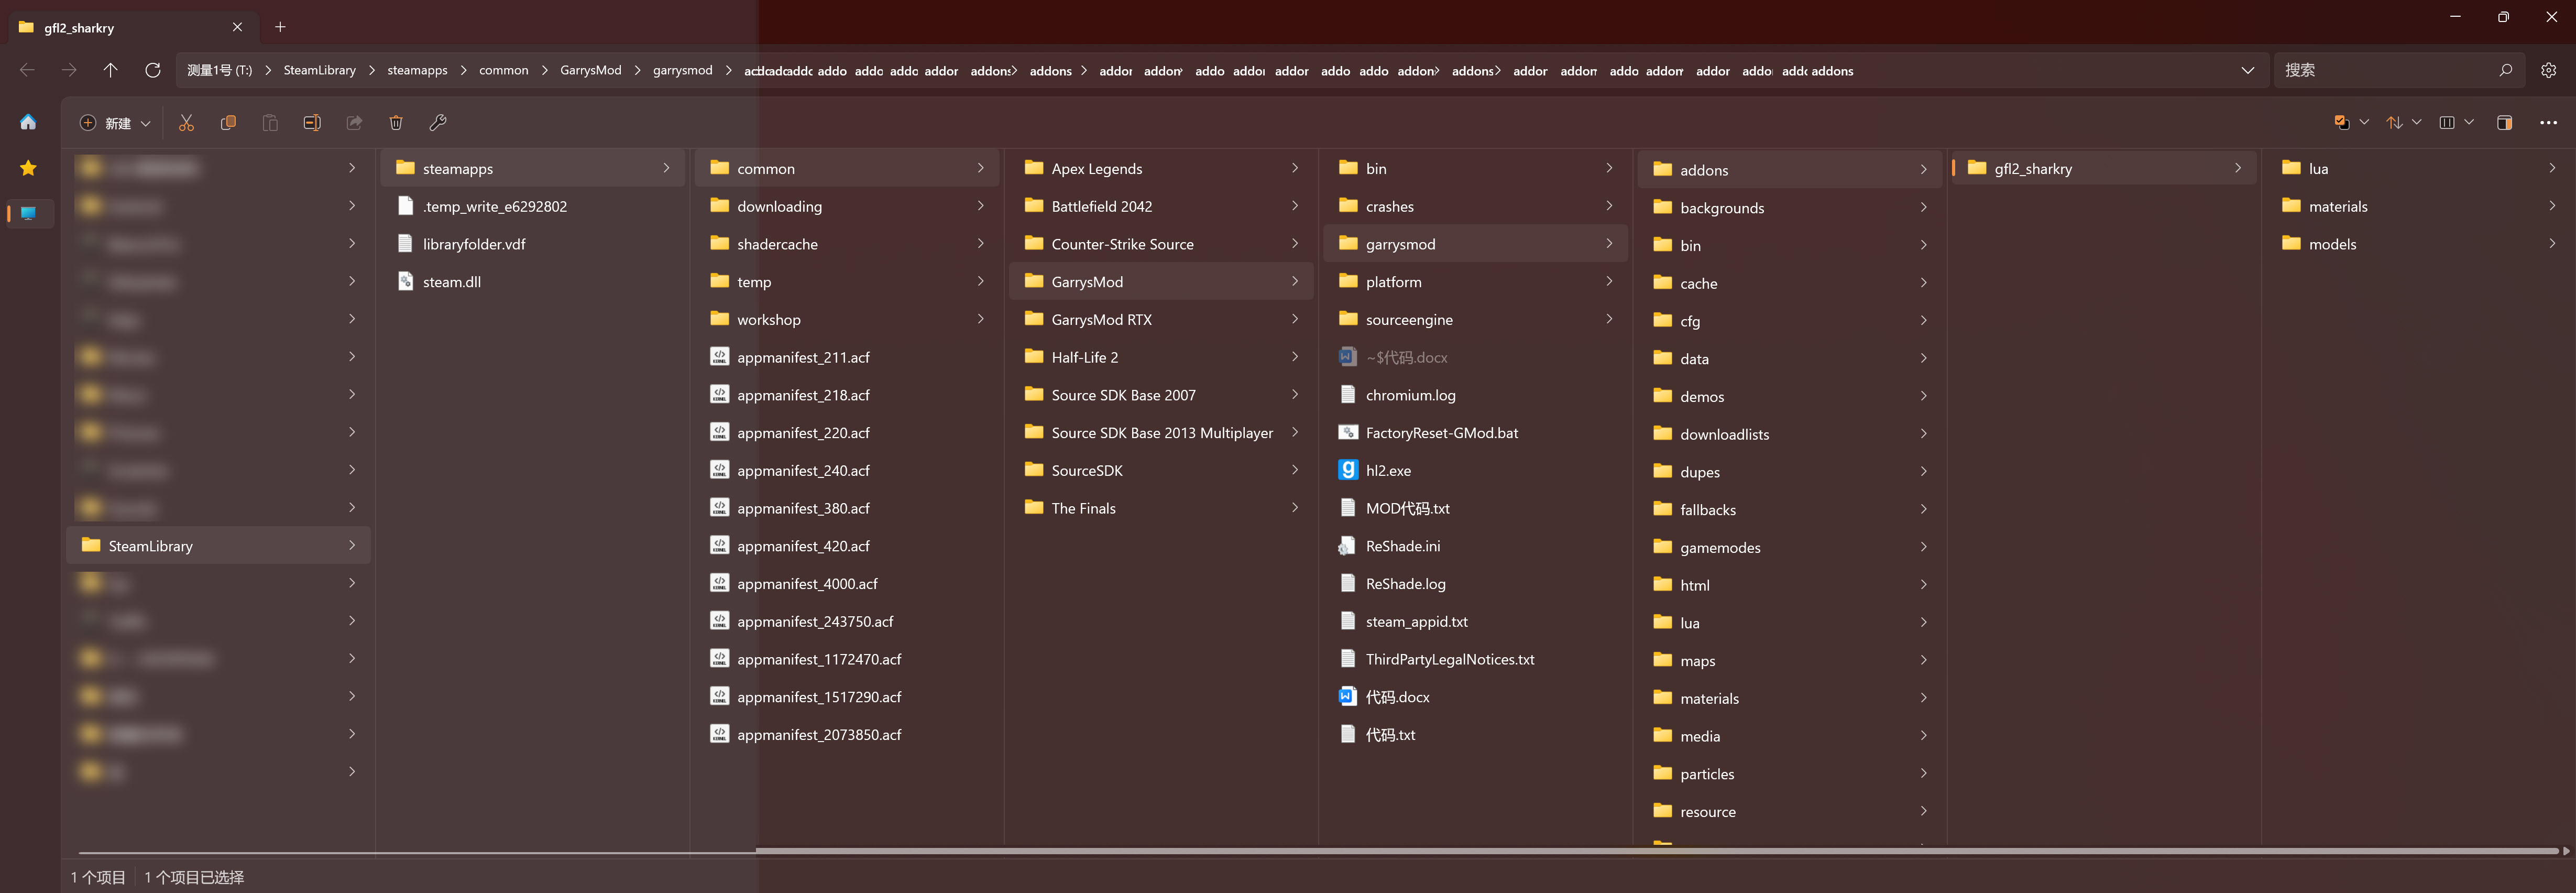
There's a command I provided, " gf_death_collision_optimized_universal 1", type this and my script to optimize hair physics will now work on All NPCs, including yours.
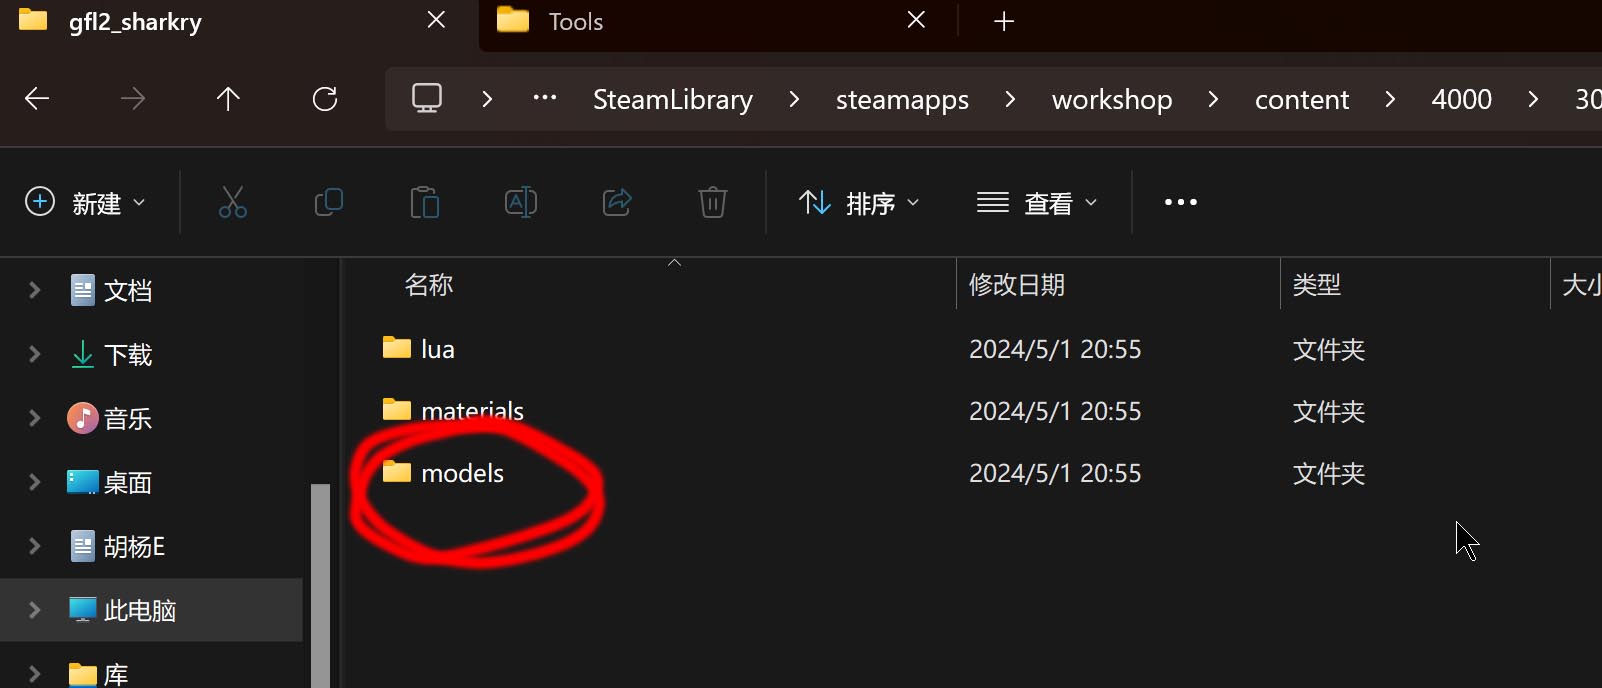
The script file that achieves this is
lua\autorun\server\00_death_collision_optimized.lua
What this script does is very simple:
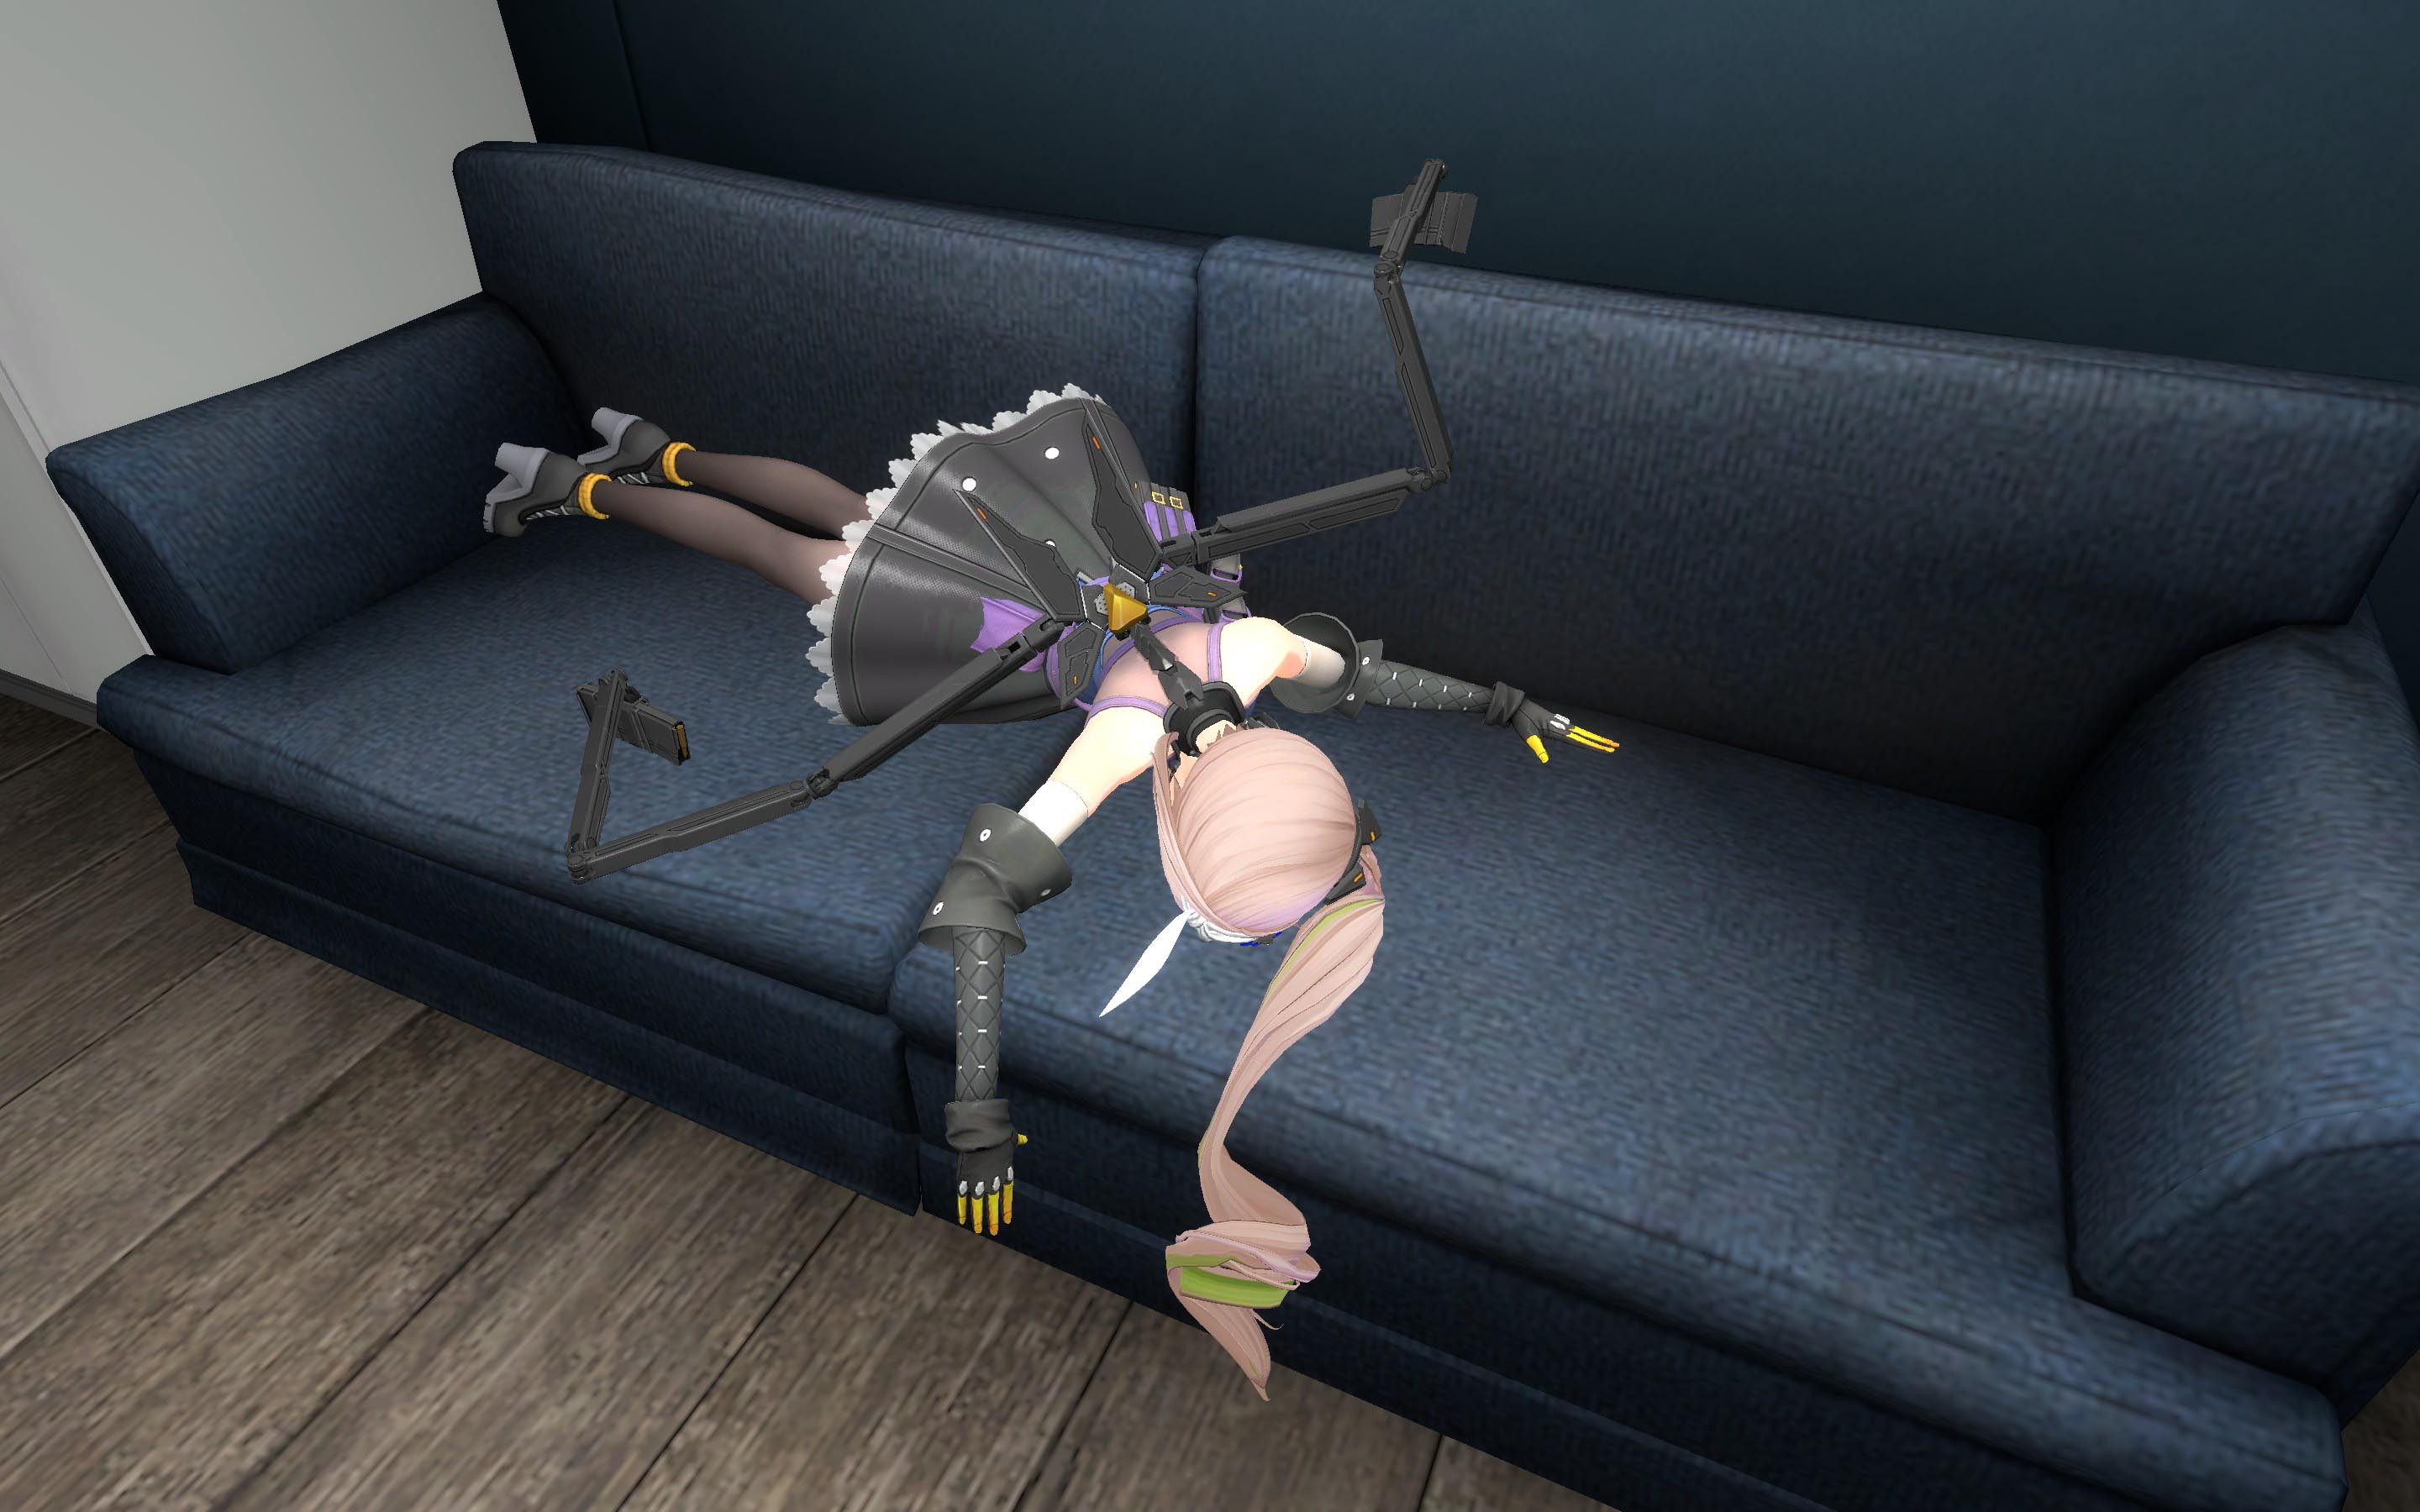
When NPC dies, disable collision of some bones (because they are too close to the hair and may clip with hair), then apply a small force to hair, separating the hair from other body parts, so that there won't be any collision (hopefully) between hair and body at the moment of NPC dying. Then, after all these are done, re-enable the collision of bone back to normal.
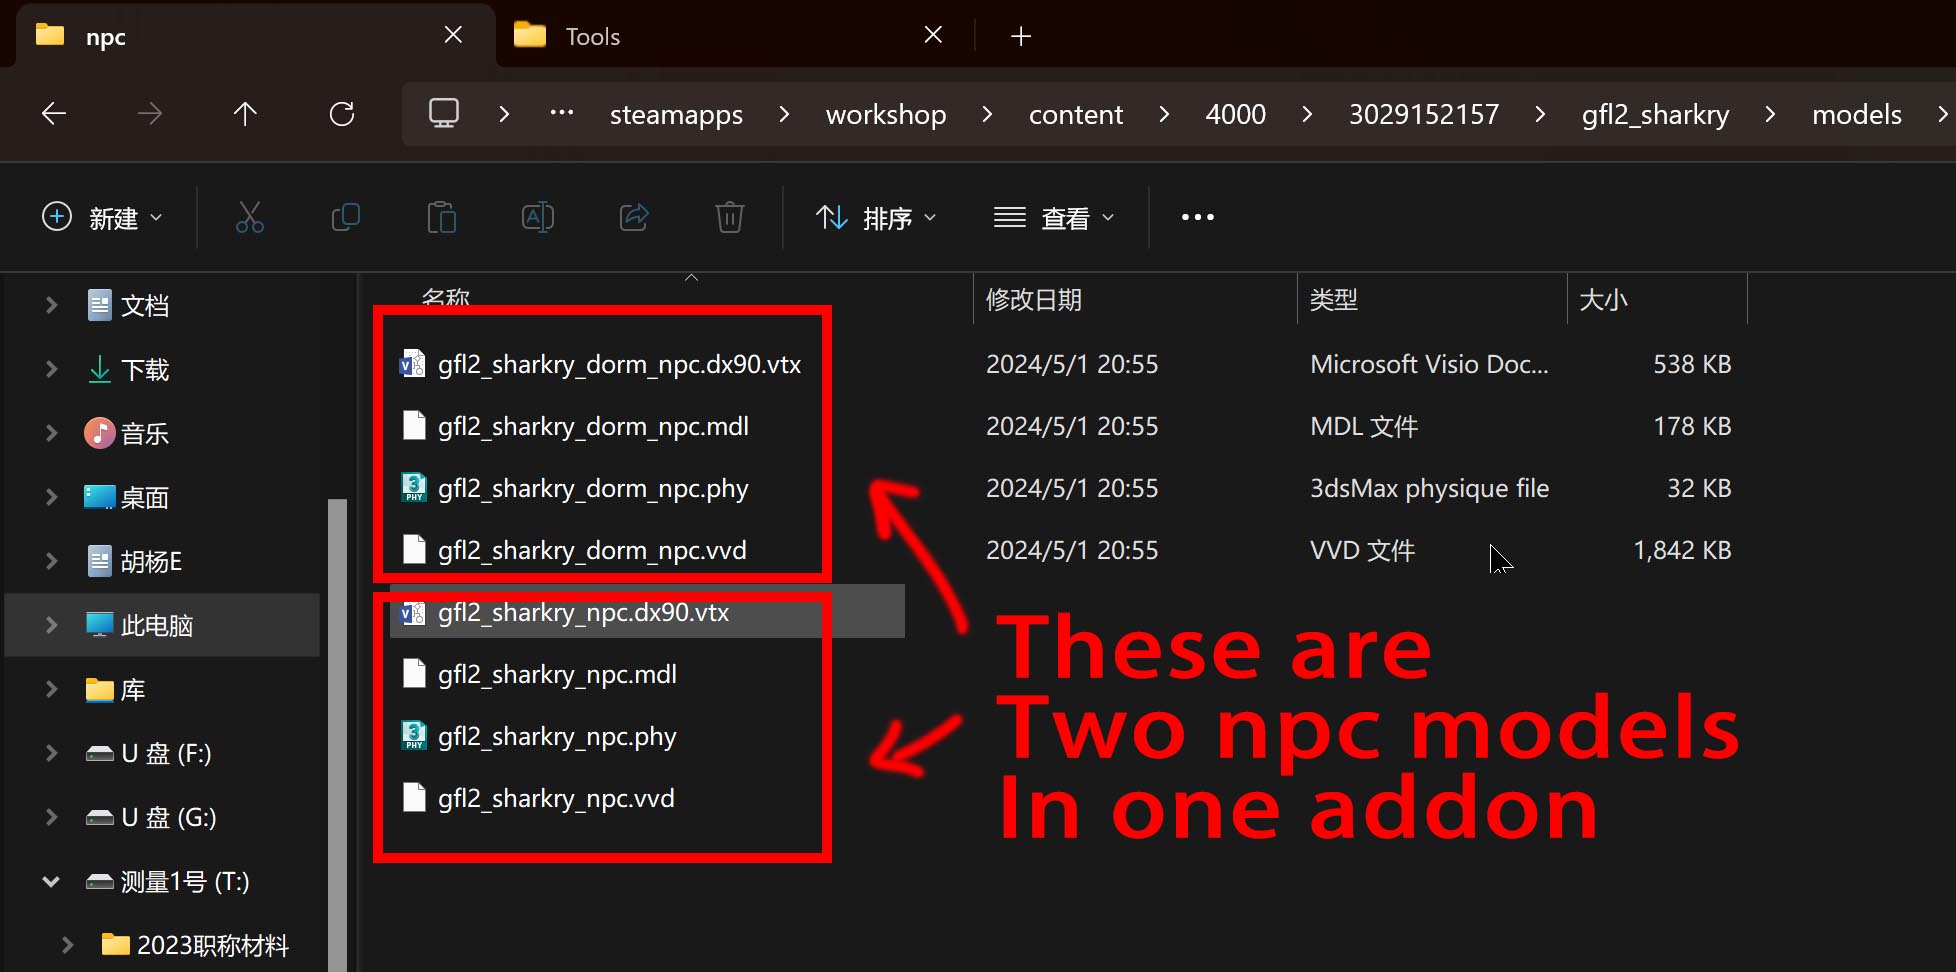
This is for NPC models! not PM models, because PM models have a total different and wired system, I still couldn't find a way to script with PM models.
Still, for PM models, there's another way to optimize hair physics, but it will cost you something: