Caliber

Caliber

Not enough ratings
Guide, Tips and Tricks, and Easter Egg for Special Operations
By SSO Predator
So you've leveled up and Special Operations is now available to you. You immediately start a mission up, excitedly bolt out of the door as if on a race, and go all out "John Wick" to your enemies, suddenly you're down (hmmm they got lucky), medic revives you, you receive a few hits and you're down again. You begin to be frustrated, your team too and with good reason. Medic revives you completing his weekly objectives of reviving people in only his second game. You decide to hunt down the enemy, chasing him while your team is screaming from behind to slow down. As you close in, enemies start showing up *Crap! you forgot he has friends), aaaaannnnnd then you're down again. An enemy RPG shows up from out of nowhere, takes his time as if on a picnic, and fires at you while you're down just for good measure. At this point you're either fed up, confused and/or embarrassed, you decide to rage quit (which you shouldn't do) and leave your team mates with one operator less to try and complete the mission.

Special Operations is way different from Point Sweep.


So, I've been playing this game way before the game was on steam, My steam name here is Microsoft Powerpoint, but in Caliber I run with the name PHSFBlackAces.

I've played through the updates and can definitely say I know a thing or two about the game and its mechanics. I am hoping that this guide can help new players as well as old on how to go about the different objectives/maps in Special Operations. Since the developers are constantly updating the game to be better and better, I will try to update this guide as well.
   
Award
Favorite
Favorited
Unfavorite
General Rules when playing Special Operations
There are rules, general guidelines, or unspoken rules (whatever you want to call it) that increases your chances of winning. Here are some:

- Don't rush -
the bots are going to have a field day with you. The bots in Spec Ops dish out damage like no ones business and you're not the exception. Also if you rush, the farther you are from the team/medic, the longer you have to wait to be revived. Don't do stupid things that will put everyone or the mission in danger.

- Dont activate switches right away -
In the game, you will come across levers and/or switches that needs to be activated in order to proceed with the mission. As with everything else, check if everyone is ready, or if they are already stocked up on ammunition etc. Activating things when everyone isn't ready or isn't in position is a recipe for failure.

- Dont bring level 0 operators -
Some players can pull it off, but it's much safer if you level up your operator a bit before dedicating him/her to a spec ops game. Imagine you're a level 0 medic, in a team comprised of upgraded death bringers. A lot of people can carry now but I doubt they'd want to play with you again. It's an automatic decline if you add them to your fireteam after a mission failure. They will remember you.

- Go for headshots -
Headshots cancel the enemies aim, especially machine gunners who gets accurate in time while firing. In Spec ops, killing enemies fast without giving them a chance to fire back is key.

- Ask if you don't know what to do, and suggest if you know what's up, or if you know of a way that's much better -
In my experience, Caliber players be they high or low level players, are generally cool and awesome people to play with. People are more forgiving when you own up to your mistakes, if they see that you're doing your best to learn, or if you ask what to do if in case you're lost. Veterans will sit down with you to teach you how to do things, they respect that so don't be shy.

- Be a team player, and play as a team -
Nothing better than finishing a very hard Special Operations mission because everyone played their part. Makes you and the team want to go and do harder missions. Also being a team player will most likely land you an invite or them accepting your invite.
Overall good skills to have
Your operators have innate skills that you can unlock as you level up the character, and in turn you will be able to use the skills for when you use other operators. I compiled here what I think are generally good to have skills for use in Special Operations. Now of course to each his/her own, there may be skills that others might find more useful than the ones I have on here. .

Self Treatment - if the operator's HP drops below to a certain point (20/30/40) their HP starts regenerating up to that value. The operator must not take damage for at least 5 seconds for it to activate. Useful if you're not using med kit as your reserve, and increases survivability for a bit until you're healed by the medic.

R&R - If your stamina pool is over a certain amount, this skill will grant you immunity to stun, slow, trapped or stiff. Incredibly useful on maps where enemies throw stun grenades.

Fresh Forces - Ability cooldown decreases (33%) allowing you to use abilities faster but your health is also decreased (30/25/20). Useful for those operators that have long cooldowns on their abilities, also useful for medics who want to heal team mates fast, however you will most likely have to hang back since a few shots will put you down.
*I noticed that enemies will try to kill you first, my guess is that enemies will prioritize those who have lower/smaller health.

Anti Shrapnel Layer - Increases survivability in maps where RPGs and enemy sergeants appear. Most RPGs can one shot you and the enemy sergeant's recon/kamikaze drone takes out a good chunk of your health if you're not using this skill. Just be sure to have armor plates as your reserve.

Regenerative Materials - restores the most recently damaged armor segment if you haven't received any damage for 5 seconds. It increases your survivability a little bit, rather than going through a mission having no armor at all (especially if you're using ammo as your reserve).

Quick Release Mags - useful for Operators who have long reload times for their weapon systems (you can shave off a second or 2 if you dont empty your magazine when reloading). (e.g. Odin with quick release mag skill as well as shoulder to shoulder skill should make you put rounds down range faster).

Armor Piercing Rounds - Get kills faster

Bolt Assembly Modernization - Very useful for snipers/marksmen. Increases rate of fire by .2rps and allows you to shoot bolt action rifles without exiting the scope.

Spare syringes - useful for medics who just want to be on the safe side. Also useful for other operators if the team medic is down or if the team medic runs out of syringes.
*I usually like to have my marksmen/snipers have this skill, reason being snipers/marksmen are damage dealers from afar and they don't get hit often, and you can have extra +3 syringes if ever your team's medic is down or if other operators are down. I've had a lot of Spec Ops mission wins because of this one skill.

Counterattack - useful for support operators considering they're the tanks of the team. If you receive a certain number of hits from the enemy, your damage is increased up to 15% for 8 seconds, allowing you to kill enemies faster.

Vengeance - useful if you're confident on your skills to kill the enemy who just shot you. Vengeance restores your health (up to 15hp) as long as you kill the enemy who shot you within 3 seconds.

Shoulder to shoulder - in spec ops you'll most likely be sticking and moving together with your team. If there is a team mate within a certain meter from you, your operator reloads 20% faster and receive 10% less damage from firearms and explosions, increasing your survivability on the mission.
AL RABAD

Good Skills to have or use on this mission
Self Treatment
R&R
Anti Shrapnel Layer (have armor plates as reserve)
Quick Release Mags
Armor Piercing Rounds
Spare Syringe
Vengeance
Shoulder to Shoulder

Operator Tips
- Good to bring operators who are immune to gas/poison as there will be chemists on this map.
- Operators who are immune to stun will also be useful here as enemies will throw stun grenades (Additionally you can use the R&R skill so that your operator will be immune to being stunned, provided that your stamina pool is up to a certain amount)
- Operators who has mines, claymores and/or C4s can also be very useful here, place mines/c4s on pathways leading to the house in the final phase. More preferrable to have mines and claymores though as c4s need to be manually triggered.
- Anti Shrapnel Layer Skill increases your survivability here and is useful because there are enemy RPG's that can one shot you, as well as enemy sergeants who deploy recon/kamikaze drones that explode on contact.

Mission Tips
- After going through the wall, take out the enemy sergeant the moment he spawns or as soon as possible, his recon/kamikaze drones are a big problem and he will keep deploying them until he is killed.
- 2 Objectives in the final phase - protecting the server as well as protecting the overhead drone from 3 AA guns by marking them (Locations below) - You'll then have to mark the Antenna/telco tower for the level to end.
- Ever since the update which gave us a lot of cover outside the house in the final phase, you can position yourselves on choke points. Care should be given since RPGs can still wipe out a team or give problems to the team if not dealt with as soon as they spawn. Otherwise, you can stay inside the house to defend.
- The team should know have a general idea where the AA guns are, and mark it if they have the chance to do so. Do not leave the job to one operator or the sniper, there are 4 possible locations and the sniper or the operator tasked to mark the guns, cannot cover all or will have problems doing so.
- An operator should stay by the staircase inside the house to defend from enemies coming in from the entrance below
**There were a lot of games where I told the team to please mark the AA guns, as I will be covering the stairs inside the house (I usually play Almaz in this map, and my ability is almost always active, making me the slowest of all the operators in the teams) yet, I had to abandon my position a lot of times, come up and mark all 3 AA guns because guys outside were concentrated on getting kills. I usually ignore and outright cancel player requests and invites to their fireteams.


4 possible locations for the 3 AA guns that the team will have to mark


After your team destroys all 3 AA guns, you'll have the mark the Antenna/Telco Tower.


I think there are 2 locations, this one, and the other one being farther on the right side. They're found on top of the buildings/structures.

EASTER EGG

Your team will be coming across a shooting range used by the enemy. The operators will remark how the enemy uses bottles and cans for target practice.

Shoot all of the bottles and cans, including the bottle on top of the building.

Check this area after
PALM ROAD
**The Info I posted here needs to be updated as Palm Road got a revamped map and set mission objectives.
SHOPPING MALL


Good Skills to have or use on this mission
Tech Calibration - For Operator Shaowei
Self Treatment
R&R
Anti Shrapnel Layer (have armor plates as reserve)
Quick Release Mags
Armor Piercing Rounds
Spare Syringe
Vengeance
Shoulder to Shoulder

Mission Objectives
- You will either be given one of the 2 tasks
a. Defuse bomb and then the final phase which is to defend an area from attacks, then moving inside to defend and wait for reinforcements to arrive.
B. Find and defend pilot, then the final phase which is to defend an area from attacks, then moving inside to defend and wait for reinforcements to arrive.

Operator tips
- Operators who are immune to stun will be useful here as enemies will throw stun grenades during pilot defense and final phase (Additionally you can use the R&R skill so that your operator will be immune to being stunned, provided that your stamina pool is up to a certain amount)
- Good to bring operators who are immune to gas/poison as there will be chemists on this map.
- I made some sort of technique when using operator Shaowei, he can shine here using his drone (I will explain with pictures below)
- Operator Canglong can also be very useful here for his invisibility
- Bring operators with equipment that can stop grenades/RPGs (Buggy, Bones with drone that can stop grenades/RPGs)
- Nesher Operators Aphela and Hagana can be useful because of their incendiary launchers/grenades.
- GROM Operators can also be useful because of their Poison gas ability and equipment.
- Marksmen/snipers with semi auto weapon systems are useful here. If that operator has an option to change optics to mid range, that would be better.
- Good to bring operators who has mines, claymores and/or C4s for final defense phase.

Mission Tips


- try to clear the 2 hallways with ammo caches before starting the final phase, When you enter the hallway, an enemy will come out. Better to take care of them early in the game so that all you will have to worry about is getting ammo during the final phase.

- If using Shao Wei, you can place your drone in the back before activating the pilot defense phase, I noticed that the drone is usually ignored, while the drone does its thing (Sometimes it gets attacked though and can be destroyed, but most of the time, they're ignored).


- if you're defending the pilot, make sure to still go with him after the defense ends, an enemy can still show up while the pilot is running for the exit.


- Plant mines, claymores along the entrance before the final defense phase, enemies will be passing through here later on.


- During the final Phase, some teams or operators will hold on the left and/or right kiosks, and I have seen that they are somewhat effective. This is because the enemies can swarm you if you're not prepared, difficult but not impossible. If you're confident take the risk.

PHSFBlackAces' Shao Wei Drone technique
- This is kind of a technique/hack I made/formulated in this map, make sure your drone is durable to withstand a bit of punishment just in case.
- Play the mission as usual and in the final defense phase, you will be attacked from 3 different areas.
- They updated it, so you'll have to deploy the drone once the gate opens in the final phase.
- During the third defense phase, have your drone go up to the second floor, the reason why you have to do this in the third enemy attack is that your drone can get destroyed if you send them up earlier.


- When you receive the signal to go inside to defend the area, command your drone to guard this area on the second floor, just opposite of where you placed the drone before.. and it has to be like the edge, it looks like a railing with no glass or something, or just place it in the middle. So Ideally, the drone will be looking inwards to your team and area of defense


- Leaving your drone there will help the team, enemies will (most of the time) just pass by it or ignore your drone while your drone lays down the hate, helping you with assist/kills. Your team can also have some sort of breathing room since you can hide, reload, while the drone does its thing. Sometimes we just hide, or kill the enemies that gets too close to us, until reinforcements arrive.
EMIR RESIDENCE


Good Skills to have or use on this mission
Self Treatment
R&R
Anti Shrapnel Layer (have armor plates as reserve)
Quick Release Mags
Armor Piercing Rounds
Spare Syringe
Vengeance
Shoulder to Shoulder

Mission Objectives
- You will either be given one of the 2 tasks
a. Defuse the bomb in the palace and move to final phase which is to prevent the enemy from escaping in the helicopter.
b. Capture the palace, and move to final phase which is to prevent the enemy from escaping in the helicopter.

Operator tips
- Operators who are immune to stun will be useful here as enemies will throw stun grenades during palace hold/capture phase(Additionally you can use the R&R skill so that your operator will be immune to being stunned, provided that your stamina pool is up to a certain amount)
- Good to bring operators who are immune to gas/poison as there will be chemists on this map.
- Operators with smoke grenades or smoke ability are useful here especially when defusing the bomb (Almaz, Prorok, most medics etc)
- Bring operators with equipment that can stop grenades/RPGs (Buggy, Bones with drone that can stop grenades/RPGs)
- Marksmen/snipers with semi auto weapon systems are useful here.
- Operator Hagana and Shao Wei can be useful in bomb defusal phase.
- Ammo as reserve, yu'll need them especially during the final phase.

Mission Tips
A. Defuse the bomb in the palace
- if your operator has smoke grenades, you can throw them at the bomb site to cover you or your ally who is defusing.
- After you or your team mates have defused the bomb, try to go back up, much easier to defend from higher ground.
- Position Shao Wei drone and/or Hagana's stationary gun on this part, enemies tend to ignore them while they rain down fire. (There's a chance though that they will be damaged or will be taking damage)


B. Capture the palace
- if using Shao Wei, command drone at same spot from up top.


- Going to the final phase, your team will be tasked to attack either the right side or the left side, after successfully attacking the side, try to go upstairs by the balcony on the right, and attack the enemy escaping from there.
**Note you still have to trigger the event if the enemy attacking force is on left. If you go to the right balcony directly when the game is telling you to attack the left side, nothing will happen (most of the time)
- Once up on balcony, Buggy and Bones can deploy their iron dome defense and heal drone, to help against enemy RPGs.
- Be careful of the stairs to your left or have someone guard the stairway, enemies can go up and wreak havoc to your team.
HOSPITAL


Good Skills to have or use on this mission
Self Treatment
Anti Shrapnel Layer (have armor plates as reserve)
Quick Release Mags
Armor Piercing Rounds
Bolt Assembly Modernization
Spare Syringe
Vengeance
Shoulder to Shoulder

Mission Objectives
- get explosive charges, destroy gates leading to hospital, and protect evacuating hostages

Operator tips
- Operators with smoke grenades or smoke ability are useful here especially when evacuating hostages (Almaz, Prorok, most medics etc)
- Operators with equipment that can stop grenades/RPGs (Buggy, Bones with drone that can stop grenades/RPGs)
- Marksmen/snipers with semi auto weapon systems or bolt-action weapon systems (with bolt assembly modernization for faster firing), are useful here to kill enemy RPGs in the final phase.

Mission Tips
- The mission is easy enough, but what you need to be careful of, are the RPGs in the final phase. They can end the mission right away with an RPG round straight to the hostages.


be careful on the enemies that will spawn on the right side in the final phase, you can place mines/claymores on the pathway to eliminate enemies, or if not killed then at least you'll be notified that enemies are in the area.

- make sure to throw smoke where the ambulance stops
- Dont throw the smoke grenades the moment the ambulance stops, instead wait until the hostages are nearing their stop point (behind the ambulance). If you throw too early, the smoke is likely to run out, and the hostages might get shot and killed.


Throw smoke to cover hostages evacuating

- A tip for snipers hunting RPGs/enemy snipers in the final phase - when an enemy appears in the one of the 2 buildings - Left or Right (most likely a rifleman), it is already sure that the next enemy that will pop out will be the RPG or a sniper. Also, they will spawn very near to each other on the same building (e.g. an Enemy rifleman spawns on the left building, RPG/Sniper will spawn on same building, maybe different doors) (Other cases, if an enemy rifleman spawns on right building on 2nd floor, there may be times when RPGs/sniper will spawn on 3rd floor and vice versa)


Rifleman appears first


Followed by either a sniper or an RPG (priority on RPGs)
Al-MALIK HOTEL


Good Skills to have or use on this mission
Self Treatment
Quick Release Mags
Armor Piercing Rounds
Spare Syringe
Vengeance
Shoulder to Shoulder

Mission Objectives
- Find and defend allied informer, defend the (3) generators, get to penthouse (Disable 3 transmitters), kill enemy commander

Operator tips
- Good to bring operators who are immune to gas/poison as there will be chemists on this map.
- Operator Canglong can shine here especially on allied informer defense as well as mines for generator defense.
- Operators with equipment that can stop grenades/RPGs (Buggy, Bones with drone that can stop grenades/RPGs)
- Good to bring operators who has mines, claymores and/or C4s for generator defense.

Mission Tips
- Marksman Canglong can position himself on top of the shipping container during the allied informant defense phase, this way he can put his invisibility to good use, and have full 360 view of what is happenening.


*Positioning Canglong here enables him to prioritize who to eliminate.

- Medic Buggy's iron curtain system is used at the allied informant defense.


*Medic Buggy can place an iron curtain defense system here, helps with allied informant survivability because the enemy will be forced to throw grenades when near instead of just shooting at the escape vehicle of the allied informant.

- During the Generator Defense phase, operators with mines, claymore should place them along the entry points as well as in front of the generators. Recommended to place mines, claymores on left and right generators.


*Left Generator


*Right Generator

- Make sure to mark where the enemy is attacking so that the team will know.
- although difficult, try not to have everyone guarding the same generator, best defense will be assault looking at left/right generator, Support looking at the other generator the assault is not looking at, sniper and medic on center - this is because while an enemy is attacking the left or right generator, chemists and rifleman can appear on the second floor of the center generator area. If no one is watching, the chemists can take out your team if the operators are not immune to poison.
- Medic Buggy's iron curtain def system or Bones drone (with anti explosives/grenades) can help with the gas/poison problem on generator defense.

- When you get to the penthouse, the team will be attacked by a heavy machine gun officer protected by a wall of steel.
- The officer will attack 3 areas, but will only attack one area at a time depending on where your team is positioned. To counter this, you can destroy 3 transmitters with which will lower the steel wall to cover the officers firing point, rendering the officer's machine gun ineffective.

4 possible locations of the 3 transmitters


- Great care, team work and timing is necessary for this, advance when you have cleared the area and dont overstretch the advance. Clear the enemy one area at a time.

- After taking care of the 3 transmitters, and getting the key to the next room, stock up on ammunition but beware of 2 assault bots that will come at you the moment you get off from the room. Better to take them out before you stock up on ammunition.


- Have your sniper, or operator who does the most damage (But preferably sniper) on the line between the room and the walkway, better to do crouch shot so that the enemy machine gunners cannot shoot you right away.


- Canglong is useful here as he can just use invisibility and take out the officer.

- Advance to the commanders room, carefully taking out enemy assault bots, and finish the mission by getting the key and opening the commanders room.
AMAL HARBOR


Very challenging map because of its mission sets. The team will need to be quick in order to win especially during the final phase - The team has to fight the enemy as well as try to defuse the bomb before it goes off.

Good Skills to have or use on this mission
Self Treatment
Fresh Forces (For medics to lower healing cooldown)
Sealed Materials
Quick Release Mags
Bolt Assembly Modernization (for snipers)
Spare Syringe
Counterattack
Shoulder to shoulder
Emergency Aid (To revive teammates faster)

Mission Objectives
- Sweep area and investigate hangar
- Defend the 2 control terminals inside the hangar
- fight your way inside the hangar and defuse the bomb
- Look for clues

Operator tips
- Good to bring operators who are immune to gas/poison as there will be chemists on this map.
-If you do not have operators who are immune to gas, try to have Sealed Materials Skill to lessen gas damage.
- Speed is the name of the game in this map, you need to move fast, kill enemies fast,and if you're a medic, then you will need to heal your teammates fast and/or revive your teammates fast especially in the final bomb defusal phase.
- Medics will have to weigh if they need to equip the fresh forces skill. Having this skill will enable them to heal teammates faster, but the drawback to that is lower health. Medics will have to hang back and let the team do the killing for him.
- Operator Almaz (Support) is incredibly useful here for his ability and equipment, technique on how to use him is explained below.
- Although I havent tried it yet, I have seen people using Operator Sly (assault) during the final bomb defusal phase. She was able to disguise and defuse the bomb and then finish the mission while the enemies were focusing on us. This method is a bit risky though as some enemies can see through her disguise and can shoot her or put her down. In my opinion, this method should be a last resort.
- Medic Freyr is useful here because he can heal everyone regardless of where they are in the map (You can increase his usefullness by equipping him with Fresh Forces skill - this will effectively cut down his heal cooldown alowing you to heal team mates faster, only drawback is that his health will be lower, so it's something to keep in mind)


- If you are confident on your sniping skills, then sniper Sultan is also incredibly useful here for his team healing ability (He has to have the upgrade where he heals himself and anyone around 10m whenever he does headshots). If you also put bolt assembly modernization skill on him then that will increase his ability to put rounds downrange, and if you're able to land headshots fast, then you can heal yourself and team mates around you faster.

- Good to bring operators who has mines, claymores and/or C4s for control terminal defense phase.
- Operators with incendiary grenades or poison grenades can also be a big help during the final phase (Just hope that the enemy inside isnt a medic, if the enemy is a medic then he should be taken out asap)

Mission Tips
- In the control terminal defense phase inside the hangar, the team will have to protect 2 control terminals, the enemies will also try and trigger the gas inside hence why it is important for the operators inside to be immune from gas. 2 operators should be in position inside, while the other 2 operators will be positioning outside in order to start/trigger the phase).
- place mines/claymores before triggering phase
- The usual set up before triggering the phase, is to have Assault and Support inside the hangar, while Sniper and Medic helps the team from outside. (The team can go about it any way they want, just experiment on what works best - if the medic heals from close range or needs to be close, then they probably should be inside the hangar etc)


- The Control Terminals


- If using Bones you can set up your drone/dog here, helps with healing especially if she's fully upgraded. Your team mates inside can hang back to be healed while inside the hangar. You can also place Medic Buggys Iron curtain defense on the same spot to give your team mates a good defense against enemy RPG's (if they spawn) and enemy chemists gas attacks.
- You can also deploy Medic Buggy's heal on that same spot (Up top) for pass through healing of team mates inside the hangar.

- If you're immune to gas and if you're inside the hangar, you can position yourself on the catwalks


The catwalks

- Additional tip if using medic Buggy (especially if your team mates are immune to gas) you can place your iron curtain defense systems on each end of the catwalk, some teams do this because an enemy RPG can spawn on the upper left catwalk during the control terminal defense phase.
- I find it better and a lot easier for the team to have the enemies trigger the gas on the left and right side (Not the middle, unless your team mates are immune to gas), this is because the gas will also damage and/or kill the enemies that will spawn on the left and right side. leaving you to deal with just the enemies on the catwalks.
- The next phase is the bomb defusal phase, this particular phase is a bit difficult/troublesome because as soon as you open the hangar doors, the bomb starts its countdown while you and your team will be fighting through the enemies. Everyone has to work together and eliminate the enemies fast. Medic also has to heal fast or revive teammates fast.
- I find that it's easier to kill enemies if you go through the right path in the hangar


- Going through the right path also leads you to a ramp which will give you a good spot to take out the enemy medic/commander that will spawn.

**Almaz smoke technique
- The team should try and do their best to clear the final phase hangar as fast as they can but do not execute the enemy medic/support yet


- Almaz should set himself behind to the door where the enemies will come out and have his smoke gear/equipment ready with a full 3 rounds in it just to be safe.

- Now to go about the technique you can deploy smoke first and then have the enemy medic/support executed. Or you can deploy after they have executed the enemy medic/support. It depends on you.

- When ready (and depending if you have already deployed your smoke or not), have your team mates execute the enemy medic/support to trigger the enemies to go out of the room.


- Immediately when they go out, Almaz should then lay smoke another smoke shot while going inside the room, and fire off another smoke shot just for good measure while inside before defusing the bomb (last smoke shot is not really needed if you're confident)

- Almaz ability (which continuously gives him armor) paired with his smoke shots makes him a prized operator in this particular map. You can further increase his survivability if you have him equipped with the sealed materials skill (For the gas)
OBJECT 903


Good Skills to have or use on this mission
Self Treatment
Sealed Materials - lessens gas and fire damage
Quick Release Mags
Bolt Assembly Modernization - for snipers
Armor Piercing Rounds
Spare Syringe
Vengeance
Shoulder to Shoulder

Important thing to remember in this mission
- Do not activate or trigger the control room until your team mates are in position
- Do not activate or trigger the until everyone is ready or in position, or has already restocked their ammo

Mission Objectives
- go to control room and transfer data
- activate switch to open the gates leading to the WIG craft
- push the generator to the WIG craft
- activate for final defense phase.

Operator tips
- Good to bring operators who are immune to gas/poison as there will be chemists on this map.
-If you do not have operators who are immune to gas, try to have Sealed Materials Skill to lessen gas and fire damage.
- Have Sealed Materials Skill to lessen gas and fire damage as enemies will throw incendiary grenades.
- Medics that can remove fire/burning damage (Karavai, Acai)
- Good to bring operators who has mines, claymores and/or C4s for control room defense phase as well as final defense phase.

Mission Tips
- Before triggering the control room defense phase, it's a good idea to place claymores and mines along the paths leading to the control room.
- Activate the control room once everyone is ready and is in position.
- Place claymores and mines along the pathways leading to the control room


- In the control room defense phase, try your best to finish the data upload, once finished your priority should be to eliminate the snipers, and the chemists in the area.
- A priority should also be on the enemy below who throws incendiary grenades. taking him out should make the defense easier
- As Medics Acai and Karavai, try to put out the burning damage right away if you can.
- I recommend snipers to be far from the team, and with spare syringe skill just in case the team in the control room is wiped out. . here are some locations/positions that are good for snipers


-This is the walkway in the beginning of the map, I usually take position here, I can see the enemies coming up from the right, and the enemies crossing the walkway to the control room.

A con here though is that your sights are limited, as you can only engage enemies from an angle.


- Ive seen some snipers particularly ones who use Marksman Canglong, to take position here and they have used it very effectively, gives a wider view of the battle, just be mindful if you're invisible, as enemies who will go through the walkway will fire on you if you're close.

- After the control room defense phase, your team will be tasked to activate the switch to open the gates towards the WIG craft.
- When attacking the room that has the switch, take out the enemies directly to your top left (They throw incendiary grenades which can be pretty damaging to your team that's taking cover.
- When you're about to approach the room, 2 assault bots will appear on the door to the right. a team mate should be outside to take them out.

- After turning on the switch that opens the gates, your team will be tasked to push or "deliver" the generator to the WIG craft.


The generator

-Once you start pushing the generator, enemies will spawn. In order for the team not to be overwhelmed, it is recommended to only push the generator once you've cleared the area of enemies. . Push again, enemies show up, clear enemies, push again. . etc.


- Be careful of an enemy RPG directly on the top right walkway after passing the gate.


enemy RPGs, snipers, or chemists will show up at the top floor of the building, so someone should have eyes on the area and take them out as soon as the enemy spawns.

- Once finished pushing the generator. stock up on ammunition first. DO NOT TRIGGER THE FINAL PHASE RIGHT AWAY. let the team prep first or get into position. You can also deploy or plant your unused claymores and mines near the generator, as enemies will try to disarm/defuse it.

- If your team is ready. Activate the generator, clear the enemy bots that will spawn while defending the generator. If the enemy manages to deactivate the countdown, better to clear the enemies first before reactivating it. wait for the countdown and win.
DAM


Probably the easiest Special Operation Map, provided everyone knows what they're supposed to do.

Good Skills to have or use on this mission
Self Treatment
Sealed Materials
Quick Release Mags
Armor Piercing Rounds
Spare Syringe
Vengeance
Shoulder to Shoulder

Important thing to remember during this mission
- Before hitting/activating any controls make sure everyone is ready, the phase will start when someone activates the controls.

Mission Objectives
- activate the controls to the bridge
- Mark enemy mortars in towers for CAS
- Defend engineer until repairs of (3) turbines are complete.

Operator tips
- Medics that can remove the "burning" damage as enemies use incendiary RPG rounds and incendiary grenades (Karavai, Acai etc)
- Sealed Materials Skill for added protection from flame/burning damage
- Operator Canglong can also be very useful here for his invisibility
- Bring operators with equipment that can stop grenades/RPGs (Buggy, Bones with drone that can stop grenades/RPGs)
- Operators with claymores, mines or that web thingy to slow enemies, place them along the pathways leading to the bridge control.

Mission Tips
- While any operator can activate the bridge control, it is recommended for marksmen/snipers to be there as their high damage output can take out enemy RPGs from the top of buildings.
- Place mines, claymores along the pathways leading to bridge control, once bridge control defense phase is activated, enemies will try to regain control of bridge controls.
- Also after the bridge control phase, destroy or get any mines/claymores along the pathway of the engineers truck. If you dont the mines will damage the truck once it passes over them, making the level that much difficult to complete.


**Before activating controls, make sure everyone is ready
**Sniper (Recommended) should be the one to activate the bridge controls

- Sniper Canglong can be on bridge control without the need for Buggys/Bones special equipment since he can just turn invisible.
- If using Operator Buggy or Bones, deploy their special equipment that can destroy explosives and RPGs by bridge control to help snipers/marksmen.
- Be careful of enemy assault bots coming up to the bridge control
- before activating the mortar tower phase, if you have leftover mines, and/or claymores you can set them up around but (Do not place mines or claymores near the engineers truck, if enemies pass by and if it explodes, you can also damage the truck)
- During the mortar tower phase, be sure to mark the correct tower for CAS (Default Press C) if you dont mark it, the tower will continue to bombard the engineer's vehicle.


**Before activating controls in the Final Phase, make sure everyone is ready (Sniper in the control room. Assault, medic and support downstairs)
- In the Final Phase where the engineer will repair the Dam's turbines, it is recommended that the sniper/marksman will be the one to take control of the lift that blocks the enemy machine gunners view as he can still engage the enemy from a distance.
- Assault, Medic and Support should be go down and mop up the enemies that will show up.

Hot to use the controls in the Final Phase
- So ideally the sniper should be the one in the control room
- The engineer will fix 3 turbine machines but while he is fixing, an enemy machine gunner will pop out from the viewpoint and will try and kill the engineer. To help the engineer the sniper will activate the controls, which will send the lift outside to cover the view of the machine gunner.

- Now in the control room there are 3 Controls, which controls the lift outside of the room.


**1st control (Left), is for the nearest enemy machine gun viewpoint
**2nd control (Middle), is for the middle enemy machine gun viewpoint
**3rd control (Right), is for the farthest enemy machine gun viewpoint.

- Sniper has to activate the control where the engineer is fixing, so for example, if the engineer is going to fix the farthest, sniper has to activate the 3rd, or the right controls. . if the engineer is fixing the nearest, then sniper activates the 1st or the left controls.

**After the engineer fixes a turbine dont activate the switch to the next one right away, if you activate another switch while the engineer is still running for cover, he can getshot and killed by the machine gunner.
FOREST


Definitely one of the hardest missions in Spec Ops. This mission has a lot of phases and if your team isn't ready or not really coordinated, then this mission will definitely be punishing and frustrating.

Good Skills to have or use on this mission
Self Treatment
Sealed Materials - for gas and flame damage mitigation
Quick Release Mags
Armor Piercing Rounds
Spare Syringe
Vengeance
Shoulder to Shoulder

Mission Objectives
- Get inside facility
- Find Delgado, leader of the PMC forces
- eliminate Delgado

Operator tips
- Medics that can remove the "burning" damage as enemies use incendiary grenades (Karavai, Acai etc)
- Sealed Materials Skill for added protection from gas and flame damage especially in the gas room
- Medics should definitely have Spare Syringe skill if the medic thinks that the team composition isn't that good. Should anticipate in advance.
- Medics should definitely have a good understanding of his/her skills in this map and function as "leaders" here since a lot will be riding on them and their healing abilities.
- Operators who are immune to gas are useful here especially in the gas room, if you don't have then at least have sealed materials skill - you'll receive less gas damage (Problem with this is that you should have armor as your reserve)

Mission Tips
- Watch out for the enemy sniper in the beginning of the mission. He can be found on the right side, taking cover inside the bunker. Taking him out is a priority.
- When inside the facility you and your team will either be going through one of the 2 rooms.

1. Gas Room


- Objective here is to clear the area and deactivate the gas.
- Primary goal of the team is to kill all the enemies first before deactivating gas. Reason being, if you try to go for the gas first, you'll likely be put down - not having all guns up is a very big problem especially with the gas slowly killing the team. Kill the enemies first. Gas second.


2. Bridge control room


- objective is to work on 2 controls, to lower both bridges so that you can pass through to the final phase.
- There are many ways to go about this: some teams would like to have 2 operators working on the controls at the same time, they both stop when enemies show up, when the enemies are dealt with, both operators will work on the controls again. Some teams would like to go to the safer way, which is one of the team members will work on controls, stop when the enemy shows up, team kills the enemies, then operator goes back to working on controls
- An additional tip would be to throw smoke on the control being worked on, allowing the operator working on the controls to finish it on one go while being "invisible to enemy bots due to smoke cover.

- Last/final area will be your team against the leader of the PMC forces in the area. He will be immune from small arms fire as well as explosives as he has some kind of portable shield with him.
The only way to damage him is to activate an "Impulse neutralizer" dropped by enemies.


The Impulse Neutralizer

- Operators should position themselves the best they can on opposite ends and kill the enemy, until one of them drops an impulse neutralizer, once activated you can damage Delgado now. Do this 3x times and Delgado should go down.

- Once Delgado is down, the place will be rigged to blow up. A countdown timer will show, and everyone should run and head back to the elevator to finish the mission.


CARAVANSERAI


Good Skills to have or use on this mission
Self Treatment
Anti Shrapnel Layer (have armor plates as reserve)
Quick Release Mags
Bolt Assembly Modernization
Armor Piercing Rounds
Spare Syringe
Vengeance
Shoulder to Shoulder

Important thing to remember in this mission
- Do not activate or trigger anything until your team mates are in position

Mission Objectives
- get info from informant
- Get the laptop (from 3 possible locations)
- Defend the Antenna from enemy attacks until reinforcements arrive and until the download of data is finished

Operator tips
- Good to bring operators who are immune to gas/poison as there will be chemists on this map.
-If you do not have operators who are immune to gas, try to have Sealed Materials Skill to lessen gas damage.
- Anti shrapnel layer Skill is also very useful here against enemy RPGs. Receive less damage from explosives.
- Bring operators with equipment that can stop grenades/RPGs (Buggy, Bones with drone that can stop grenades/RPGs)
- Operator Shaowei (Assault) and Hagana (Support) are useful here because of their drone/stationary gun emplacement which will continue to kill enemies while you reload or get ammo.
- Operator Fortress (Support) is also useful here because of her fire ammo equipment
- Good to bring operators who has mines, claymores and/or C4s for Final Phase Antenna defense.
- Operators with incendiary grenades or poison grenades can be a big help during the final phase
- If you're support and if you have ammo box reserve try and bring it. I find that using Bishop (Support) in the right position can deliver unending fire especially in the final Phase

Mission Tips
- Before triggering the Laptop retrieval phase, it is recommended for the other team members to be in position.
- During the laptop retrieval phase, the laptop will spawn in one of 3 possible locations:


**left side by the fountain


**Middle right side, operators should set up here so they can kill the enemy laptop defuser


**Rightmost area beyond the gate. Operators can position themselves behind the cover on the right - gives the operator a clear view of the enemy laptop defuser.

- Mark the area of where the laptop is so that the team will know where.
- No need to rush to get the laptop since you cannot get the laptop right away (at least that's what I experienced during my last playthrough) it would be better to kill the enemies first (Priority given to the enemy laptop defuser)

- Before activating the final antenna defense phase, make sure everyone is ready and in position, if the team has mines/claymores this will be a good time to set up your defense. Try to position them where the enemy stops near the antenna.


** The Antenna

- Kill the enemy RPGs on top of the buildings as soon as they spawn, they can take out a group with one shot if the team isnt careful.


**I find Hagana's stationary gun to be extrememly useful when placed in this area and vantage point - enemies tend to ignore the gun. There might be other places where it's effective so go out and try to experiment as well.


**While ShaoWei's drone is useful when placed here, do take note though that his drone still might get damaged, but most of the time, the drone is ignored.


- An operator should be on the right side stairwell (Where I am at on picture), there the operator has a very good line of sight to the enemy RPGs as opposed to an operator positioned behind the antenna (the sandbags on the top of the building hinders line of sight to enemy RPGs)
- I find that operator Bishop (Support) with AMMO BOX as reserve is super useful in this position, near unlimited fire support and can rack up assists too when his ability is placed on strategic positions.

- Medic Buggy and Bones can place one of his iron curtain defense system/Drone near the antenna. Although this doesnt save it from an RPG round - don't know why, this does however make the enemy switch to grenades when they're near. This saves the antenna from a lot more abuse from small arms fire.
- Operator Fortress' fire ammo equipment is incredibly useful here because they do 2 things
1. Give fire ammo as additional ammo
2. Immediately reloads to a full mag when you get fire ammo - so technically if you have an operator with a slow reload time and a full ammo reload, just get Fortess' fire ammo, it will give you fire ammo, and it will fully reload your weapon instead of waiting for reload time.
- Try to draw the enemies attention away from the antenna, you can do this by aiming or shooting at an enemy, their focus will switch to you and gives the antenna less chances of getting damaged or destroyed
- A good time to get ammo from the cache would be when the reinforcements arrive.
10 Comments
76561197988918266 3 Dec, 2023 @ 3:25pm 
@ansomnia onslaught veteran, winning one is more exp than losing SO at the end, both around 10min.
ansomnia 3 Dec, 2023 @ 8:04am 
Just curious, are there modes that can level up operators faster or more easily? I'm trying to upgrade the skills unlocked at level 12 for my main operators :')f
76561197988918266 30 Nov, 2023 @ 2:11pm 
Support specialist and such tends to have more armor so AP would usually improve shot-to-kill there, but that's just one enemy type(and it could also be a medic spawn instead).
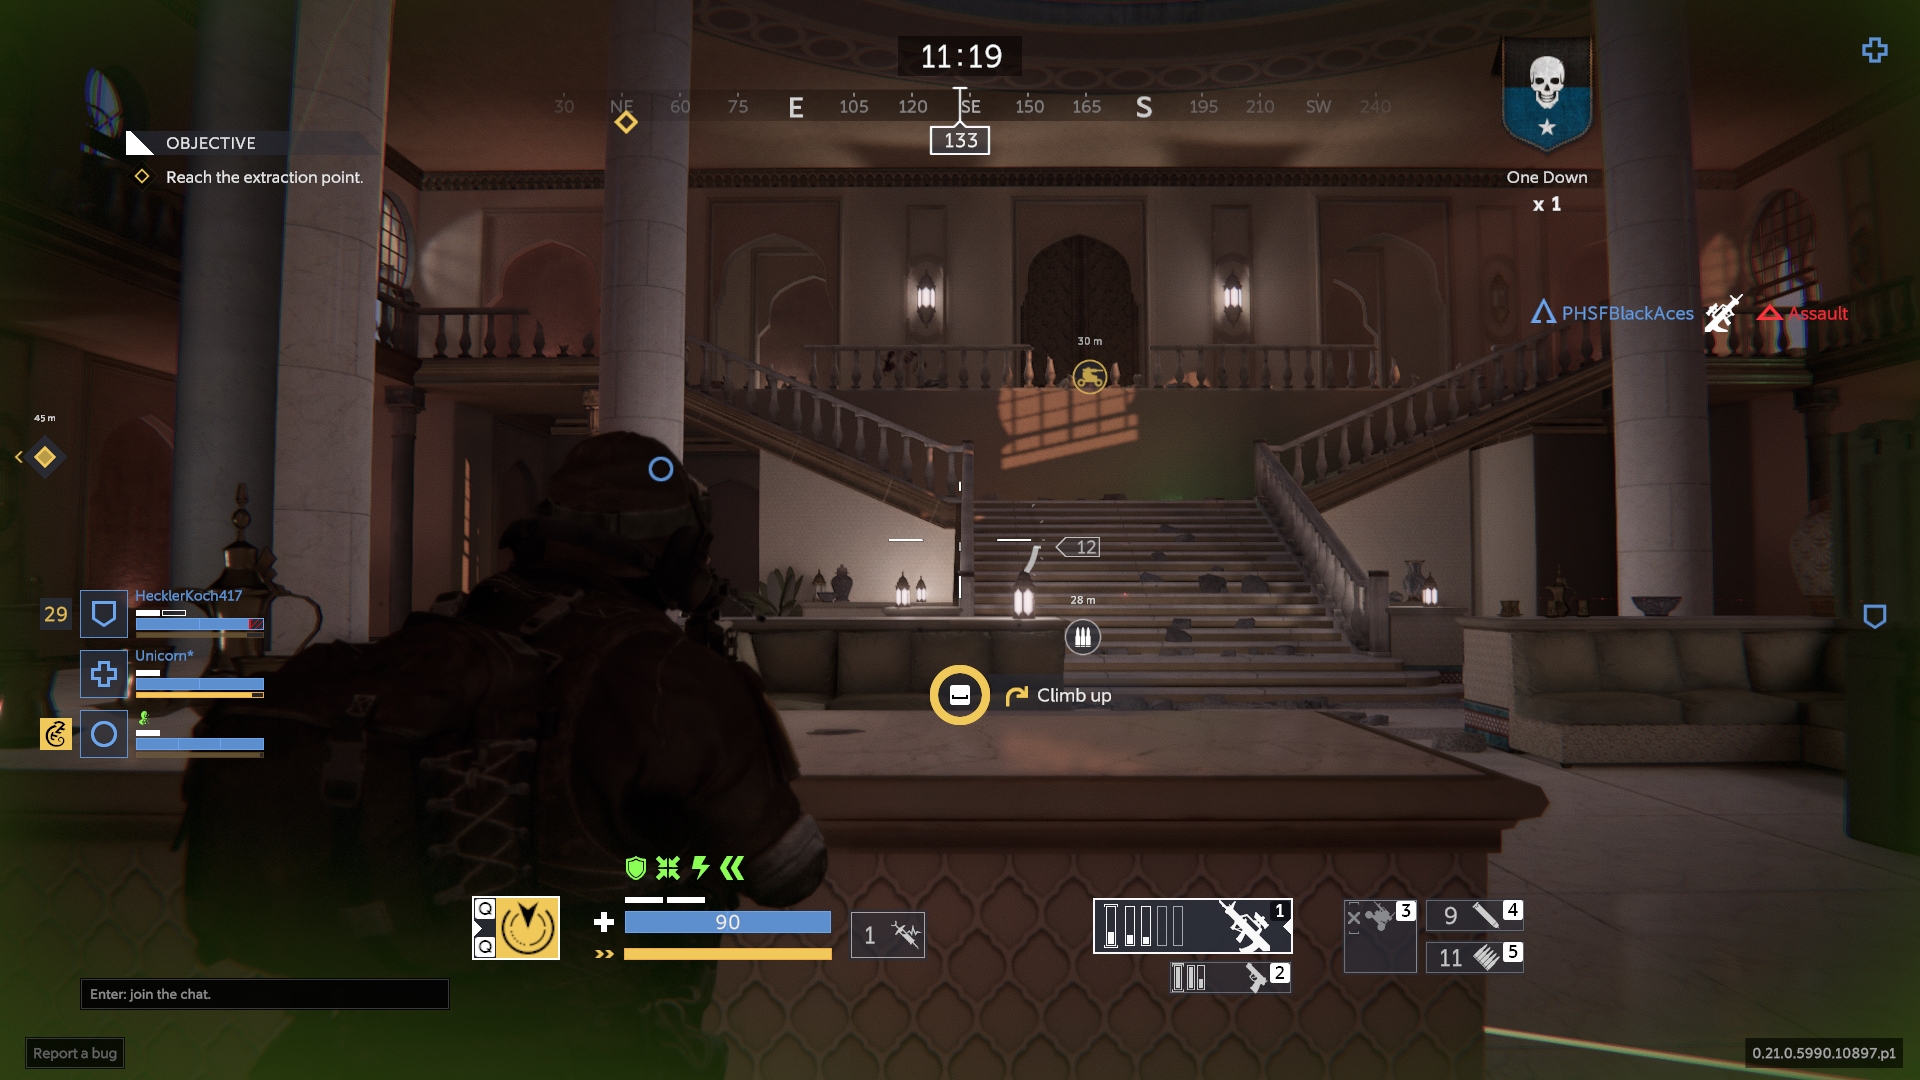
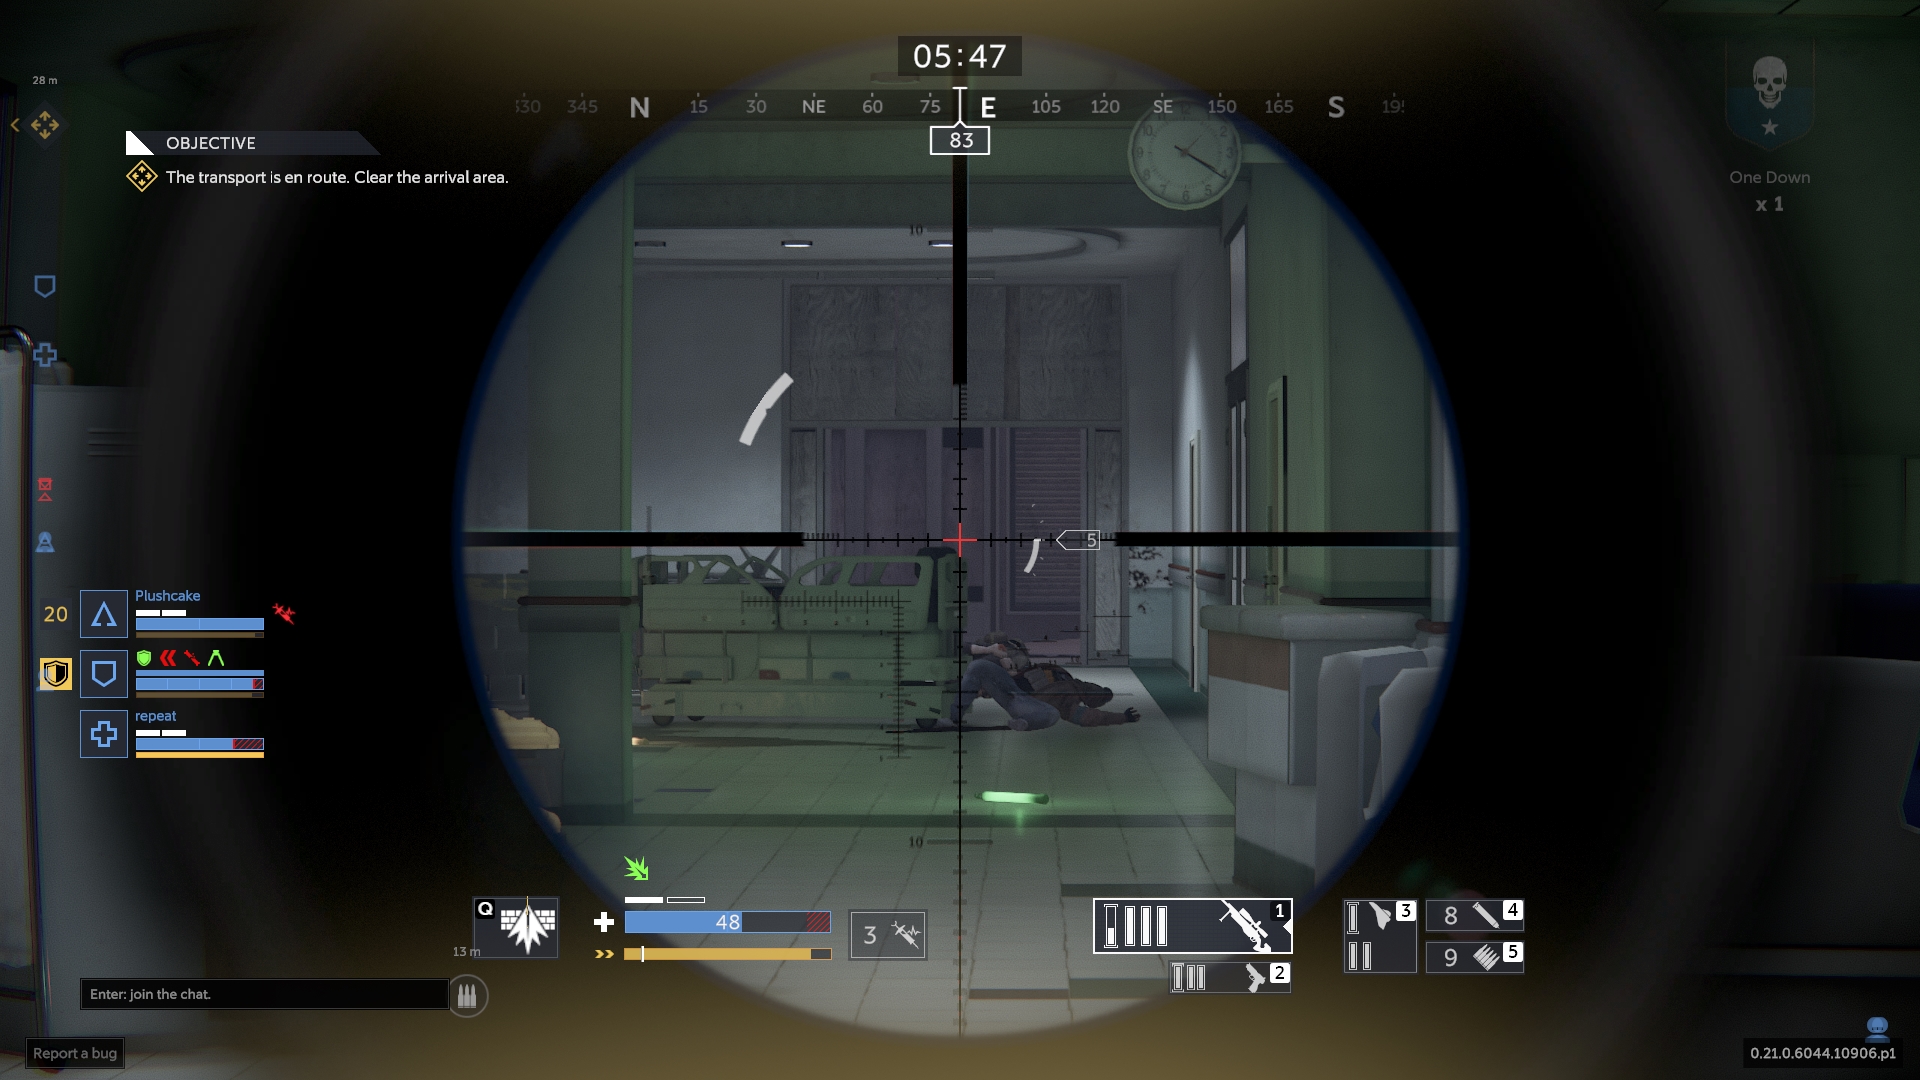
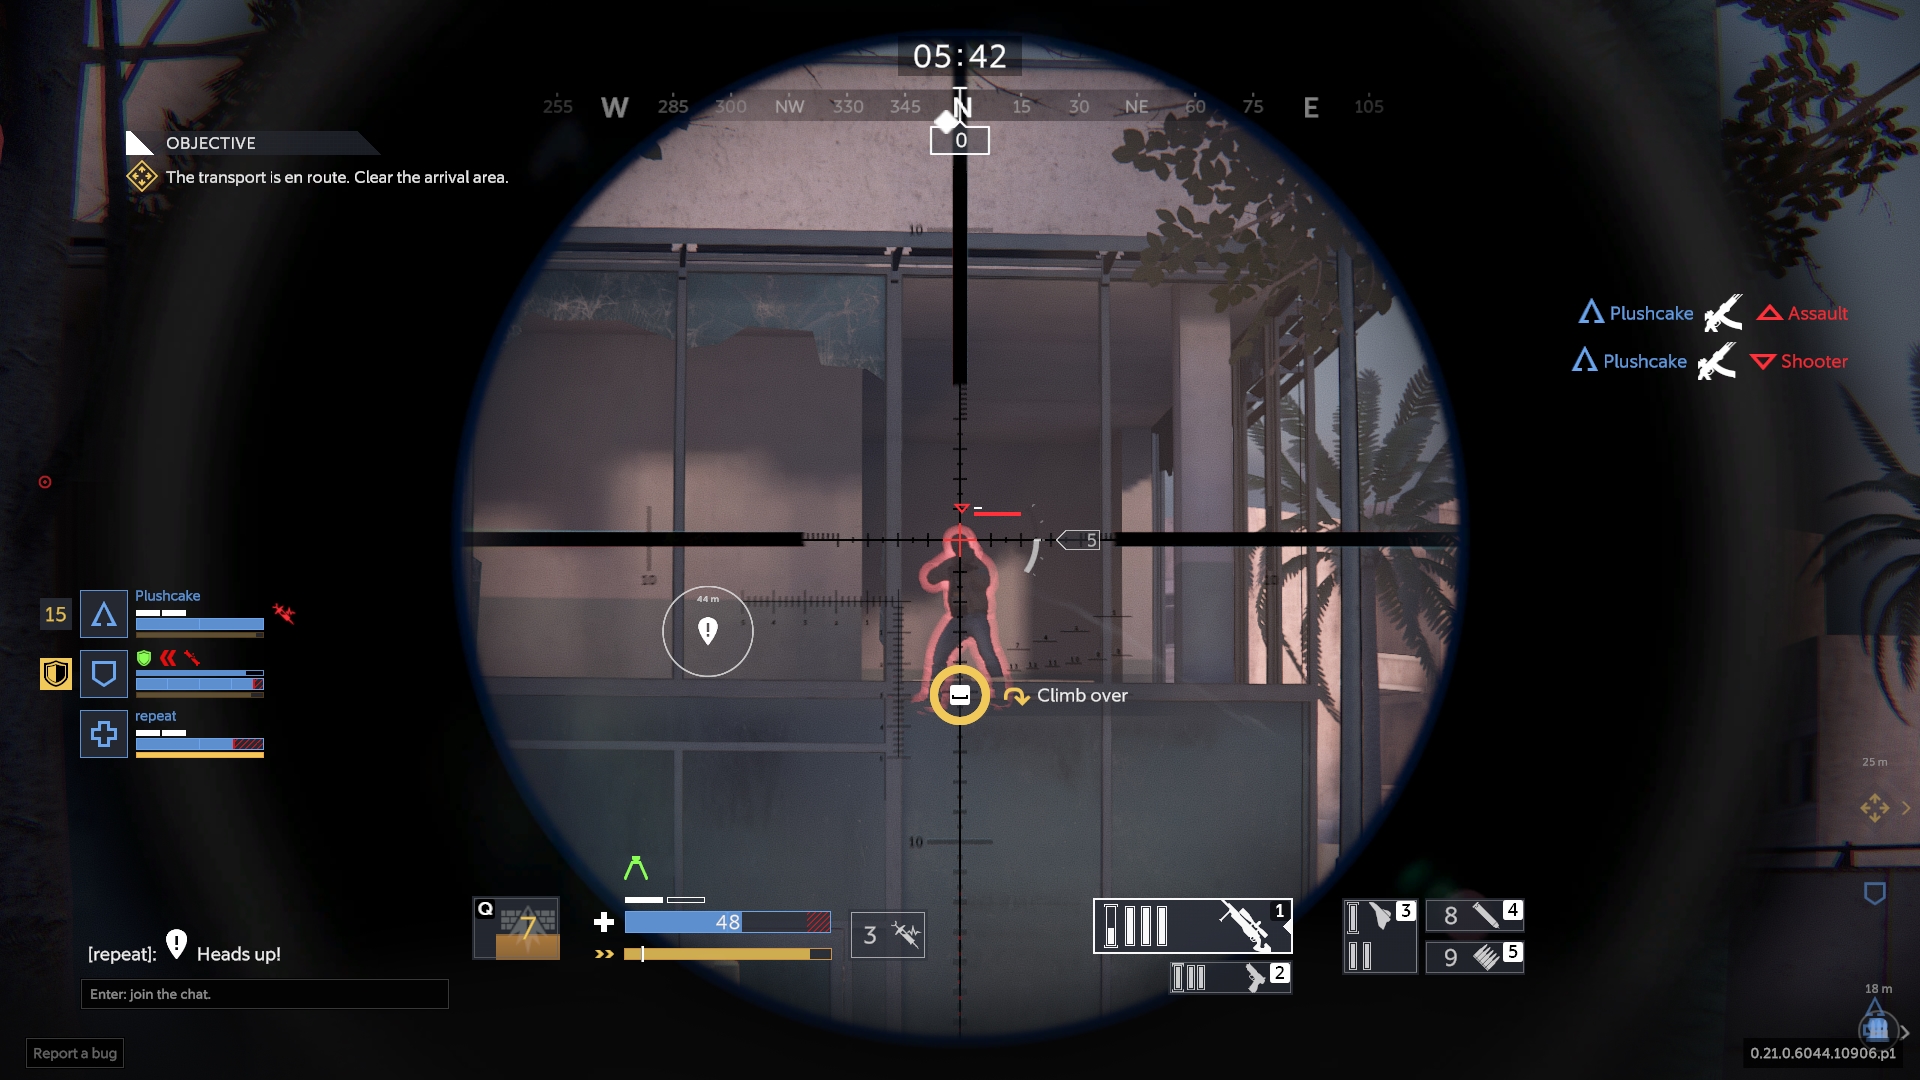
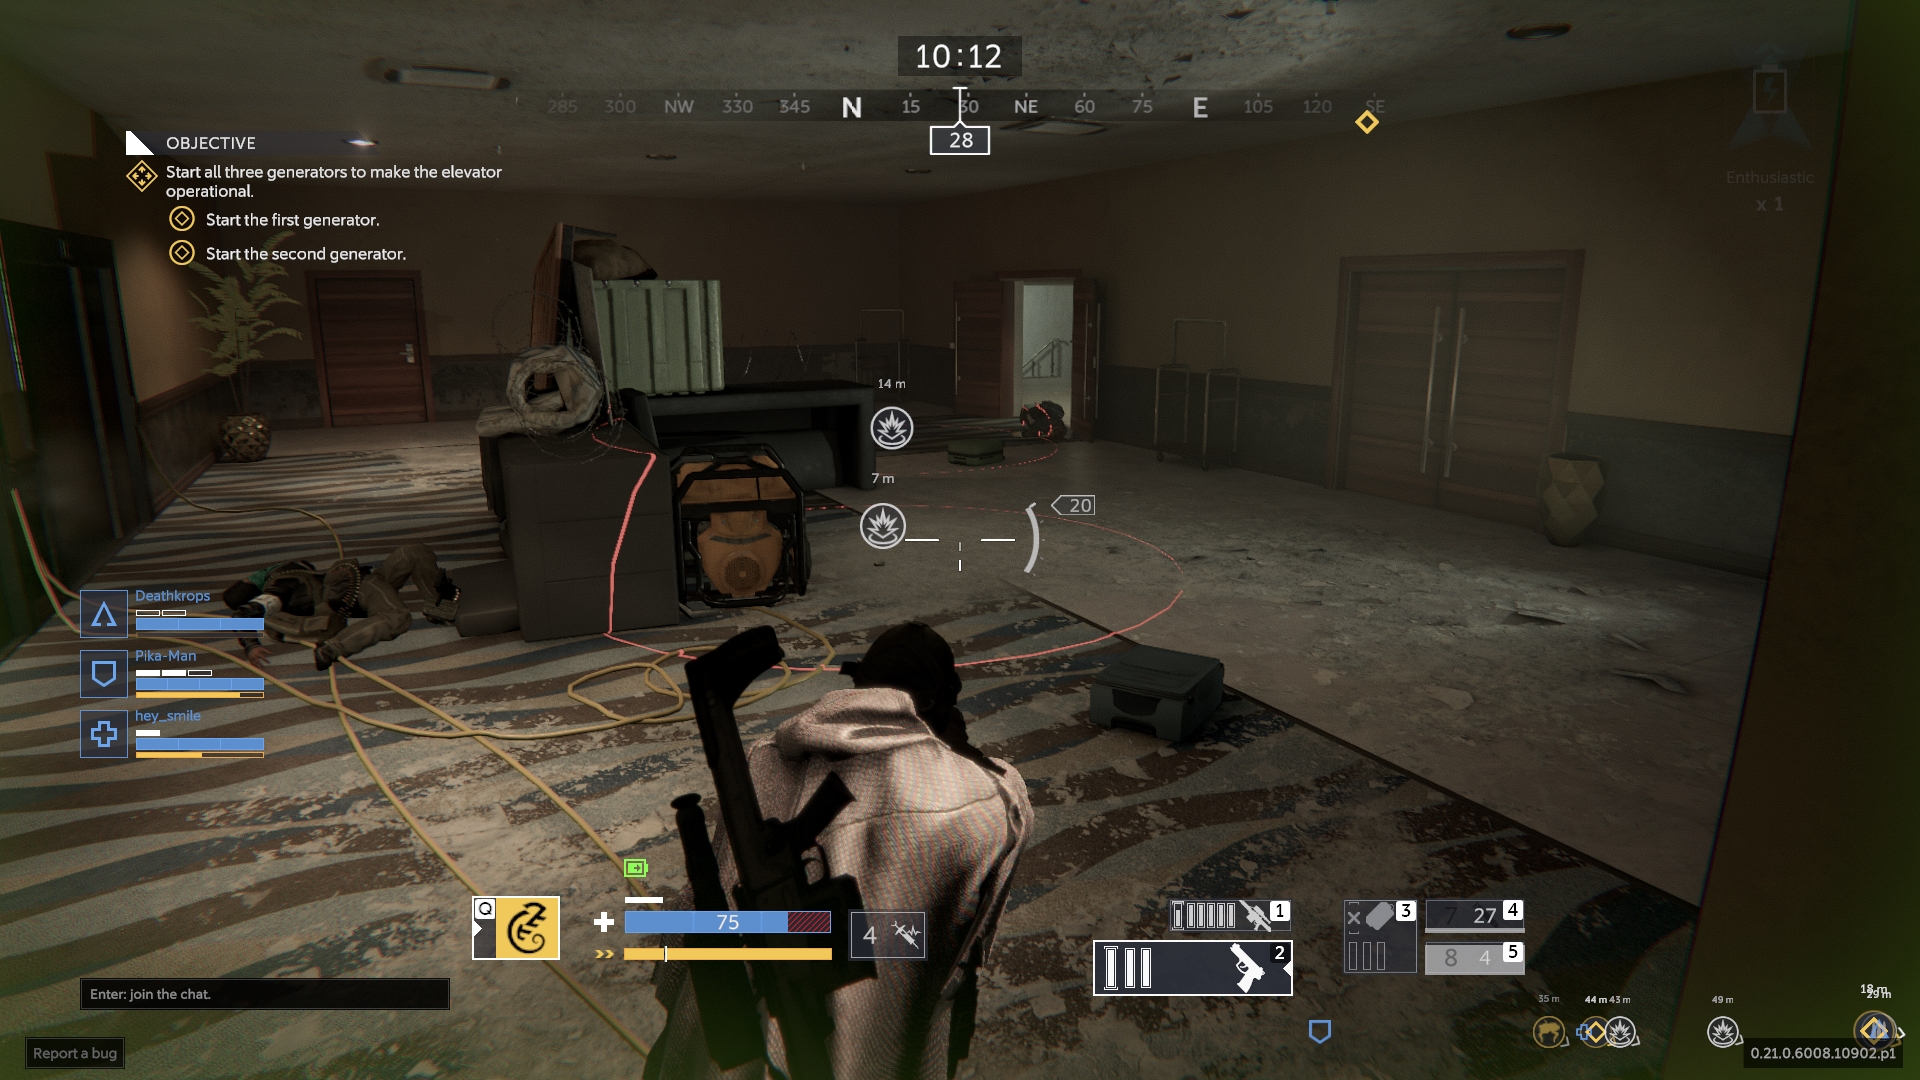
A general rule of thumb is any op with around 6-70 armor piercing value already, and doesn't have massive spread, is decent candidate for AP rounds.

AP has no real downside beside taking up another slot(which most people will have 3 of, 4th slot being the most expensive at lv15) that you might want to use for something else, it's a very low priority skill (and very, very tedius to acquire; since Archer feels like **** to play especially for new players) on most ops except for maybe canglong(AP to fully ignore armor and oneshot bodyshot Assault bot on SO).
76561197988918266 30 Nov, 2023 @ 2:09pm 
The thing about AP is that its usefulness depends on weapon's base armor piercing % and how much hp/armor enemy has. IIRC standard Fighter bots on SO are 80hp 40armor, armor is roughly 33.33% of total effective health(hp+armor which is 120), so the armor piercing round needs to be able to take piercing value above 66.66% to make a difference(so your shots don't have to deplete armor completely to kill the enemy), and even then - it may not change shot to kill.
For example Voron 47 headshot damage 60 armor piercing, 47x3 is 141, which already exceeds a shooter's total 120 effective health, which means he can have ap value of 0 and still kill in 3 headshots. Increasing that to 75% with AP rounds just means he deals 35.25 hp damage and 11.75 armor damage per headshot, it's still a 3 headshots to kill. Only thing you got was that you reduced the effective hp by 1/3 (since you no longer care about armor) while your damage is decreased by 1/4.
76561197988918266 30 Nov, 2023 @ 2:09pm 
+15hp, +2stamina regen, and -20% spread are also good skills to have and are from free/cheap ops.

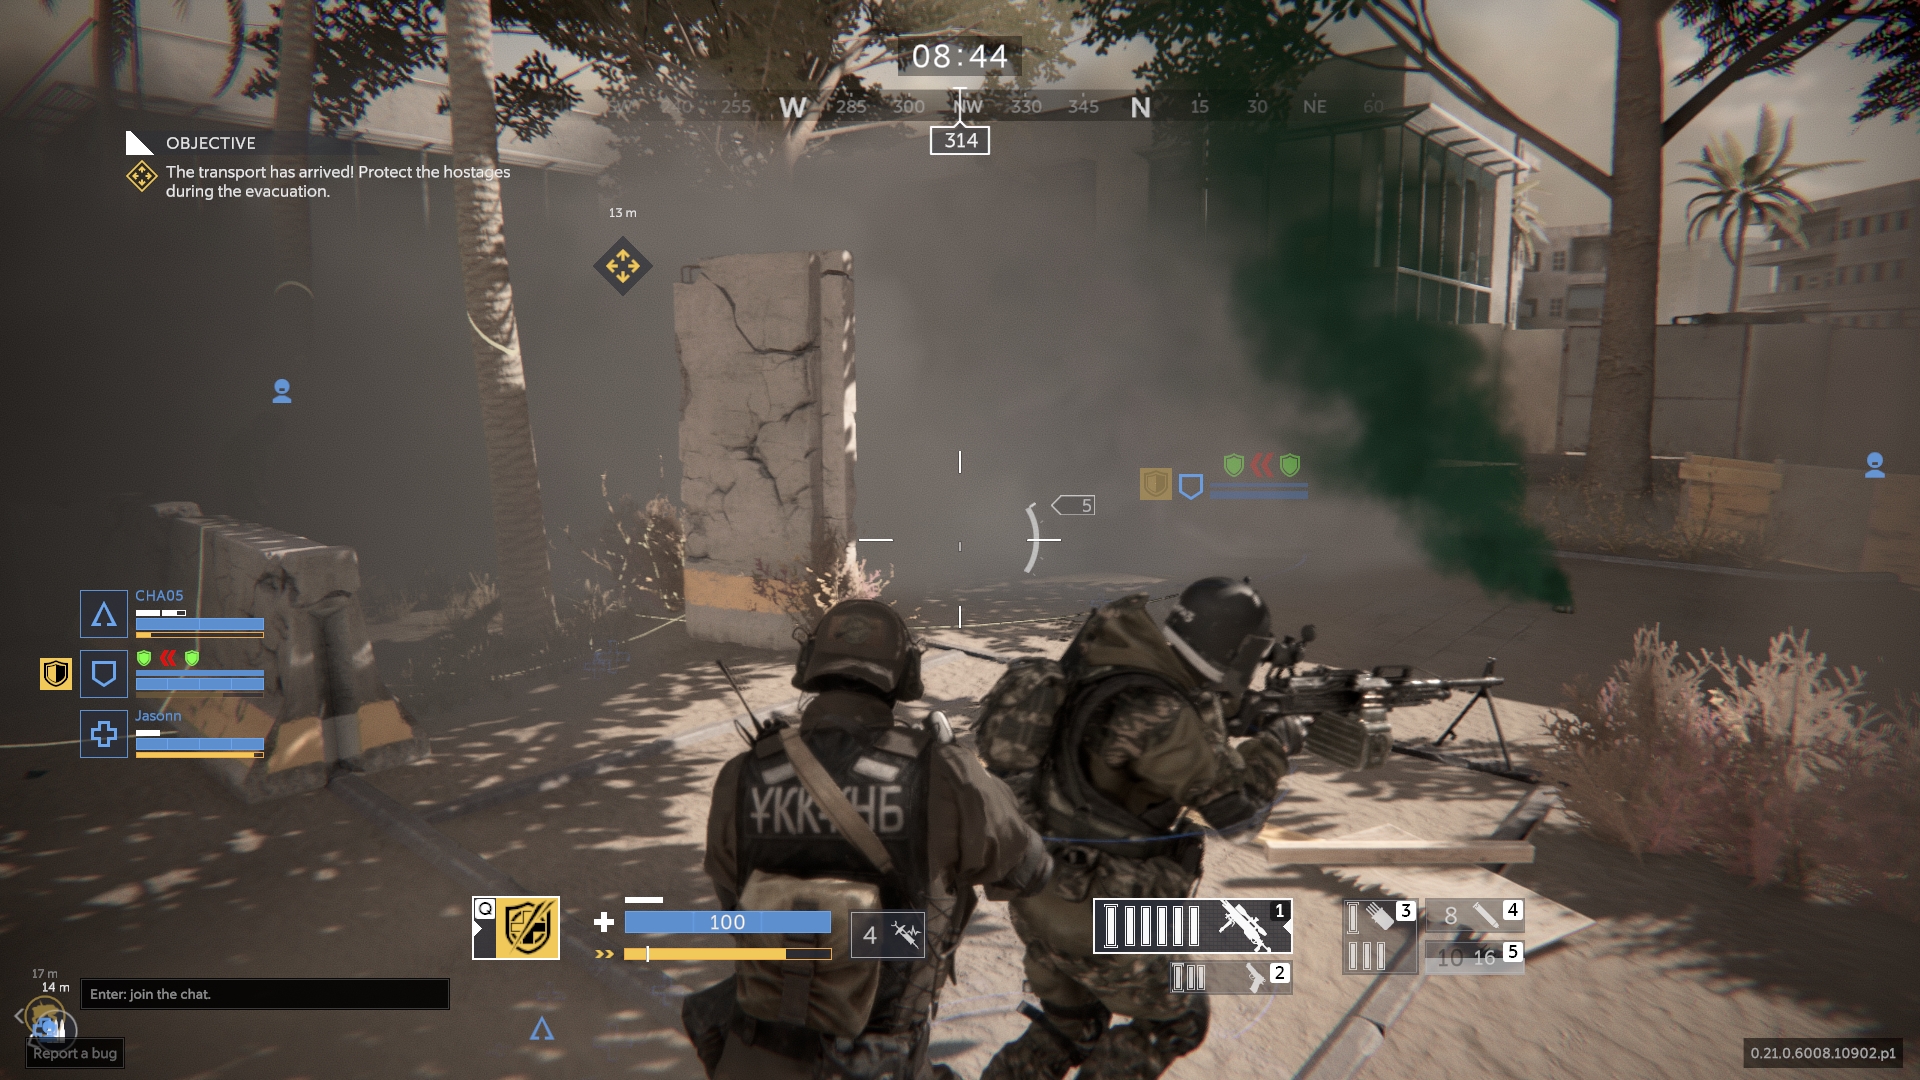
Self-treatment is decent in theory unless people straight up die from damage, which people who first read guides would, and +15 might at least let them survive. That or canglong's 15% damage resist while aiming(after 0.5s) which can make armor last longer too. (damage resist from equipped skills can't stack afaik)

+2 stamina regen will take care of stamina needs for most ops(Almaz with shield on being most obvious exception) in SO and allow usage of medkit for those ops.

-20% spread doesn't seem like a lot but it reduces hipfire spread and shotgun spread too, anything to help people hit the headshot(which staggers the enemy). AP and HB do not improve shot to kill against all enemies all the time.
okattako 11 Nov, 2023 @ 6:02pm 
Update where?
SSO Predator  [author] 16 Aug, 2023 @ 6:54pm 
Thanks man =) hope it helps with your Spec Ops games
JOHN HALO FROM FORTNITE 16 Aug, 2023 @ 12:05am 
a really helpful guide, great work!
SSO Predator  [author] 12 Aug, 2023 @ 9:14am 
Thanks man, glad you found it helpful. . It isn't complete though. still missing Amal Harbor, but will be updating that within the week. =)
typhoon328 12 Aug, 2023 @ 12:42am 
NICE!!