Isonzo
156 ratings
General Guido's General Guide
By Meep
General Giuseppe Guido the Great's great guide aims to teach both new players and veterans to the WW1 franchise strategies, tips, tricks, and other techniques to become a better player.
14
10
3
10
9
5
4
2
   
Award
Favorite
Favorited
Unfavorite
Introduction


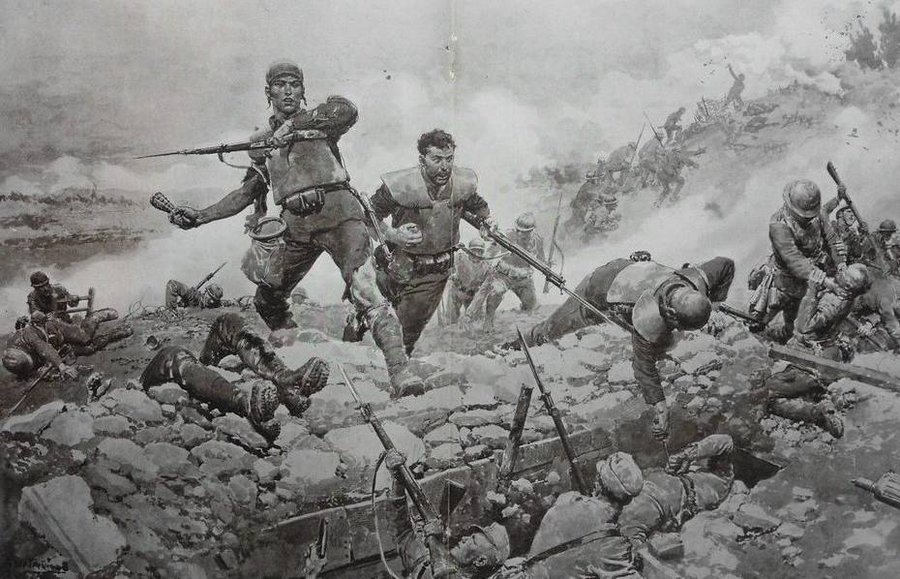
Ciao amico, and welcome to Isonzo! The third installment of the WW1 video game franchise has finally brought the glorious and ever-victorious Regno d'Italia into the fray. Before you go off and die a horrific death repel the Germanic barbarians away from our immortal country, you should know a few things!


Compagno, come and gather around, have some of our trench rat calzone, Papa Giuseppe has much to teach you...

The Basics of Isonzo, Introduction


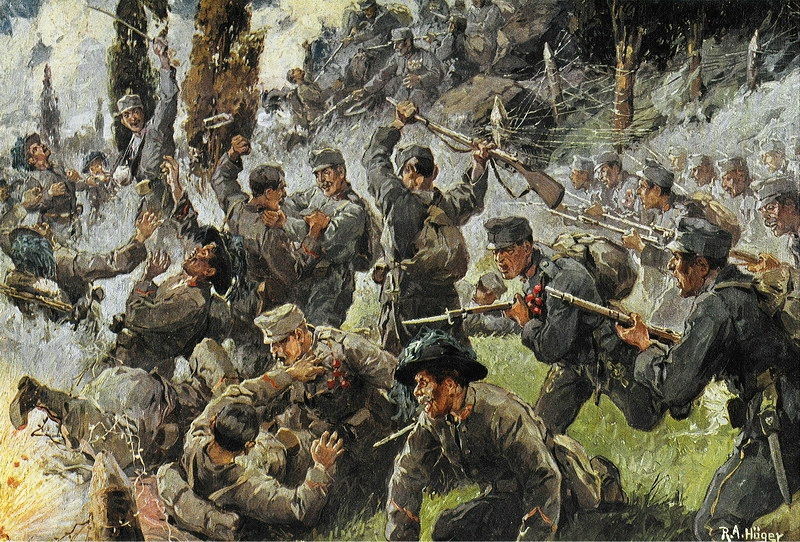
There are many ways to die in Isonzo. God willing, you can be shot, stabbed, smacked, bombed, gassed, fall off a cliff, get cut by barbed wire... you can even die in all of these ways at the vile hands of the Austrians! Believe me, in this game you will die a lot.
This isn't a game where maintaining a succulently high kill-deaths ratio matter. There are no beautiful Venetian maidens to impress here: this is the Great War, you are going to die!
While some deaths are entirely unavoidable, unforeseen, or generally unfair — our dear Roman ancestral goddess Fortuna works in capricious ways — there are many deaths which can be mitigated with the use of forward, quick thinking.


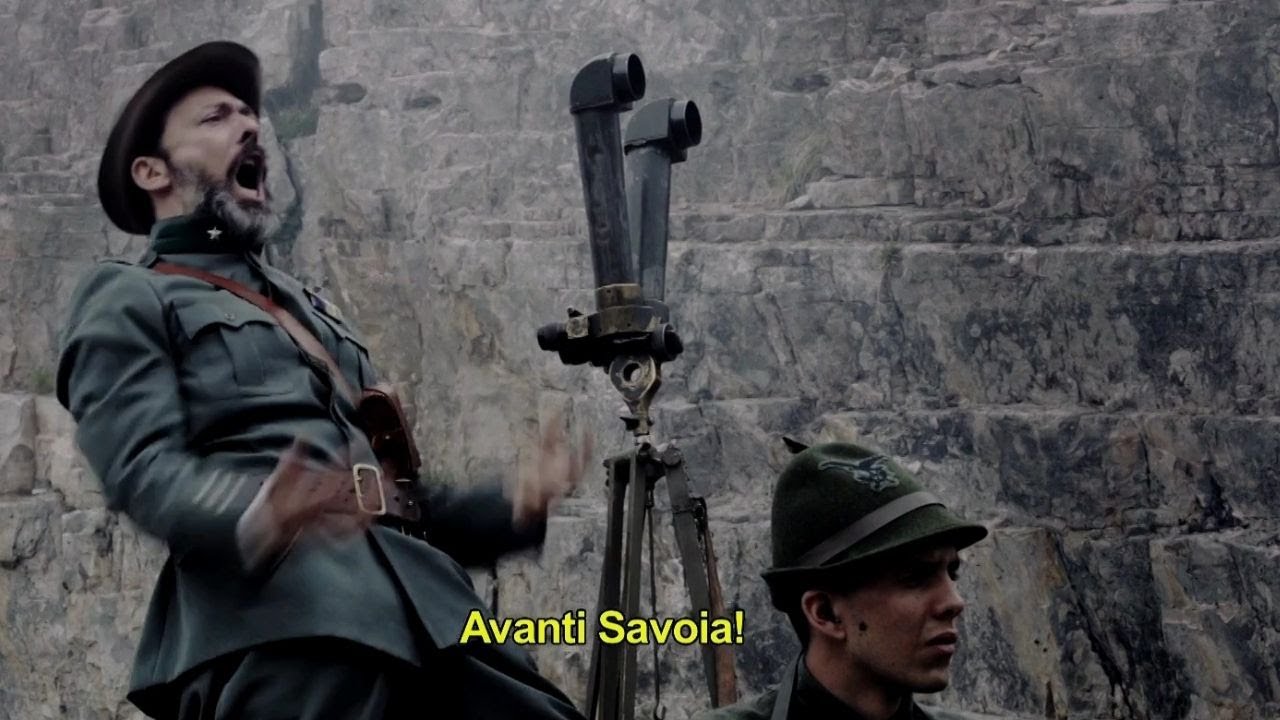
Avanti Savoia!

You have many important factors at your disposal that you can use to determine your next course of action. The most important of these factors are:
  • Your Map
  • Your Weapons
  • Your Class

Don't worry about becoming a masterful warrior with impeccable aim and positioning, all that matters for the victory of immortal Italy over the barbarian alpine horde is using your abilities and clever mind to turn the situation in your favour.

The Basics of Isonzo, The Map


In Isonzo, your objective is simple: kill the disgusting smelly barbarian who threatens to despoil our liberty with ideas such as monarchy... I mean, with their vile Catholic faith... I mean with their systemic internal instability... I mean, with their notoriously incompetent army with bafflingly awful leadershi-

In Isonzo, your objective is simple: kill the enemy and to maintain or gain control over different objectives throughout the map. There are two teams, attackers and defenders.
  • Attackers have a limited amount of tickets, but unlike in other uncivilized games for non-virtuous, non-Roman non-gamers, once you run out of tickets you don't stop respawning. By this design decision alone, one can infer that the attacking team must always coordinate and pressure the enemy's objective to win.
  • Defenders have no such tickets to speak of. They must simply hold the objective as best as possible and to destroy the attacking team's points through fighting them. The defending team will usually be tasked with holding two separate objectives, sometimes just one on certain maps or points.

So, how do you and the other 23 people on your team know what points to attack? Unlike in certain tactical first person shooters, most coordination in Isonzo is expressed through a gestalt hivemind of peasants shuffling their way towards the slaughter. While coordinated pushes are possible and encouraged by Papi Giuseppe! when attacking, you should always follow your team to help emphasize your pushes.


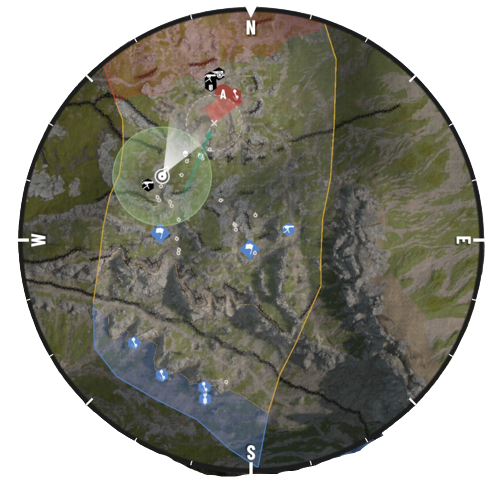
While in game, you may wonder what that pizza-shaped thing is on the bottom left of your screen. Believe me, I tried to bite my monitor when I saw it! This is what foreigners call a "compass," and it tracks your location with your position centered at all times. By pressing the M key (by default), you can open up a mini-map to survey all sorts of information.

From this screenshot alone, the following can be inferred
  • The enemy lacks any forward spawns, my team has won the initial fight over no man's land.
  • We are progressing in a large group towards A.
  • A lot of my glorious Italian brethren are being mercilessly slaughtered by the cowardly Habsburg menace in the gaps between the barbed wire.
  • There is an aura around me. More on that in the Mountaineer section.
  • I am being trailed by a lot of teammates; there are no teammates attacking the right side.

From this information alone, I know I should be cautious when exposing myself near where all my allies have been killed, and wait for the teammates behind me to help pick off the enemy in my path.

When defending, the map can also be a useful asset. Look for gaps in your defensive line, or for teammates to die in clusters. That indicates where the enemy is either most likely to attack, or attacking themselves. Always aim to be the first to reinforce, Italian women love heroes!

The Basics of Isonzo, The Weapons


Long ago, in the land of Cina (that tiny and irrelevant country Marco Polo visited centuries ago to spread the light of pasta), a few clever monks discovered that mixing sulfur, charcoal, and bird merda would create a powder-like substance that burned with great ferocity. When pressurized, this mixture could be used to propel a projectile at great, lethal speeds.
Fast forward to the year 1914 in the year of our prefect, Pontius Pilate, and collectively as a species, Italians have made great advances in this science. The rifles of Italian manufacture, and even the crude objects of war wielded by the brutes from the north, are all powerful weapons in the right hands.

RIFLES

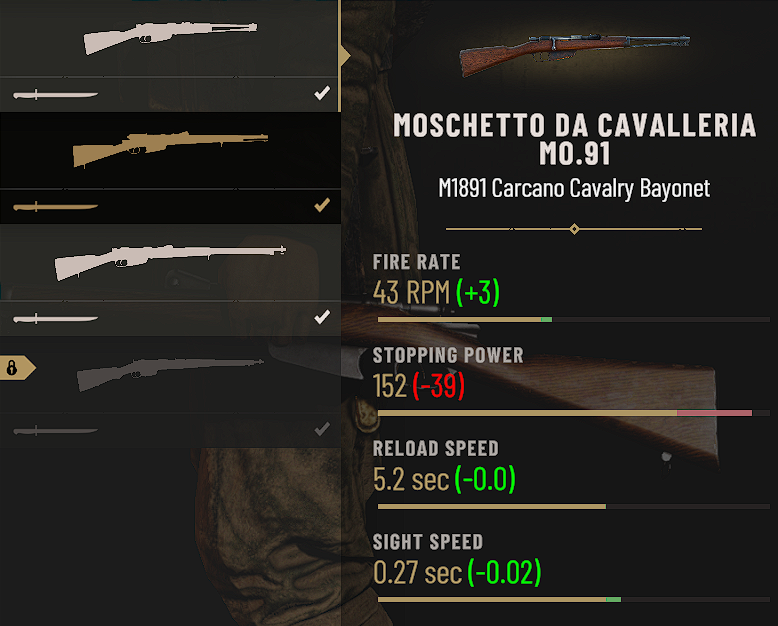
Firearms have five key stats, four of which are shown in the spawn menu and one is hidden. To knock out 90% of your weapons in one go, here are the stats you should look for in rifles and pistols, as well as the preference I have and why it's so:


The fine selection of armaments available to the Mountaineer.

Fire-Rate: This is the most important stat for rifles by far. The ability to cycle a round as fast as possible very often be the deciding matter between glorious life and state-sponsored Oktoberfests in Venezia. The ability to take out one target, swiftly kill another, or to recover from a missed shot is something that can never go overlooked.

Stopping-Power: As long as it's above 150 it's always going to kill on a shot to the torso or head. Anything above is generally overkill. Despite what you may think about these barbarians, a single bullet can decommission even the mightiest of their stock... just look at their Archduke!

Reload Speed: Because Italians are a loving and sensual people, we don't ever slam the bolt back and forth to cycle it. The reload speed of Carcano rifles is longer than it is for our Austrian nemesis' equivalent, but it is for a noble reason!

Sight Speed: It's generally fast enough, but you'd want to sight before you acquire your target anyways. Certain classes gain perks or bonuses to their Sight Speed. Least important stat.

Ammunition Count: The hidden last stat, and this is where the glory of Italy truly shines! Carcano rifles, and even the modern Vetterli rifles so generously donated to our cause by the Helvetii carry six rounds of ammunition, while our adversaries only carry five rounds!

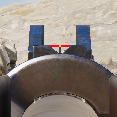
When aiming, align the post of the front sight with an imaginary line going horizontally across from where the smaller notches of the rear sight are located.
Fire when your sights align onto the target. Always reduce the silhouette you give when aiming: you should never stand to shoot unless you must, always crouch or prone if you can.


PISTOLS

Pistols, by virtue of being chambered in much smaller caliber rounds than rifles, deal less damage. But let this not fool you! A well aimed pistol shot can kill an enemy just as speedily as a rifle could, but not as consistently. Certain pistols have different functions depending on your playstyle.


Our terrible Illyrian foes, the Bosnians...

BODEO / RAST & GASSER M1898: Perfect if you can reliably hit your targets the first time. They do significantly more damage than their automatic counterparts, but take a comparatively much longer time to reload. Use these weapons if you are either defending, or as a very reliable back up weapon.

BERETTA MODELLO 1915 / FROMMER STOP : Great for offensive actions, as they reload via a magazine. Great for spamming rounds down corridors and choke points.

GLISENTI MODELLO 1910 / STEYR-HAHN M1912: These are a bit bulkier than their other semi-automatic counterparts, but make up for it with a higher amount of damage. If you value damage consistency at the cost of an ever so slightly slower pistol, go for it.

Pistols are ideal for storming positions, repelling attacks through their fire rate, or as an emergency back up for when you are caught in a disadvantageous position. Make use of your entire arsenal of guns, and Trieste will be ours by Christmas. For real this time!

The Basics of Isonzo, Melee


The majority of deaths on the battlefield will be caused by either artillery or gunfire. The sheer volume of devastating firepower that one man, let alone a team can produce, will easily shut down any less than tactical attempts at reclaiming the Isonzo. Some cowards will look at the battlefield and wonder, out loud, "I don't want to charge the enemy! Italia is not too sacred as for me to spill my blood gallantly for her honour!" My bambinos, sometimes it is inevitable that you must close the gap between you and the enemy. And in that situation, you may often find that your weapons are out of ammunition, or you won't be able to cycle a round in time... to that end, you must embody the spirit of your ancestors!

Melee in Isonzo is janky, and much less powerful than it was in Verdun and especially Tannenberg. For melee to work in Isonzo, you must catch your enemy off guard or unprepared and strike with the indomitable spirit — that of an apex predator — which every Italian's heart is born with!

Nearly every single item in the game has a melee function associated with it. You can gut or smack some poor Hun with your rifle, pistol whip, smack with a shovel, and even punch with bandages, but the best way to fight in melee combat is with a dedicated melee weapon.
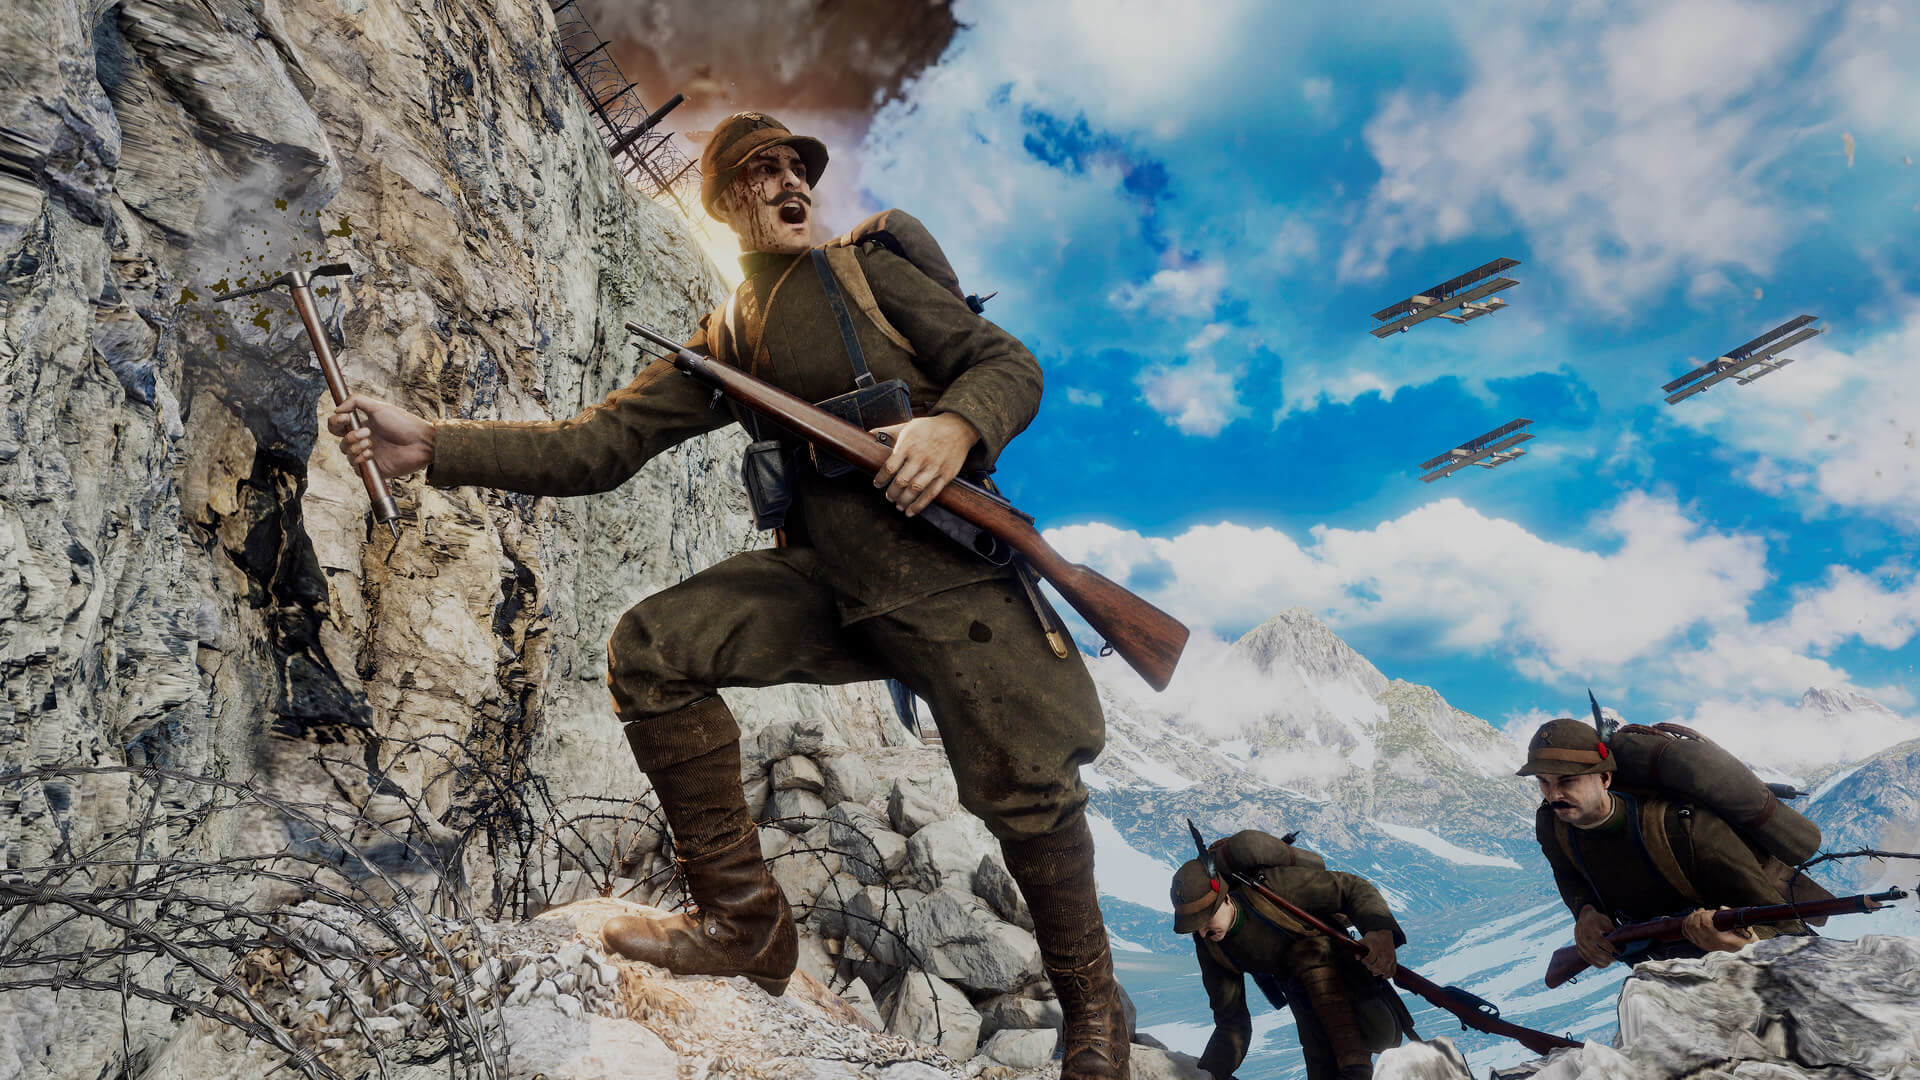
Somebody touched-a his spaghet.

There are numerous dedicated melee weapons in Isonzo. The Italian Assault class gets the Arditi Dagger, while his Austrian counterpart, expectedly for barbarian, uses a Trench Mace. Mountaineers, regardless of allegiance, are united by the iconic Ice Pick. All but one of these weapons have a Melee Speed of 0.7 seconds, and a range of 1.8 meters.
The sole exception is the Arditi Dagger, which has a Melee Speed of 0.5 seconds and a range of 1.7 meters. Yet another glorious win for Italy!

MELEE TECHNIQUE

Despite what you may think, simply going up to somebody and hitting the melee key (F by default) is not the best approach! With timing and experience, you can press the melee key right before you engage in melee with somebody. This will remove the locking-on animation, but deliver a very swift and deadly blow to the poor fool who dared crossed paths with you!


You can also chain attack with melee, but this is a last resort option. You will usually not survive this, but if you can take out multiple enemies in one go and disrupt their plans, Italy will honour you forever!

The Basics of Isonzo, Emplacements

In Isonzo, different emplacements can be built around the map or constructed by the Engineer. These emplacements, which act as power multipliers, can be used to dramatic effect to cause an immense amount of casualties in a very short amount of time. There are three types of emplacement weapons in the game:
  • The Mortar
  • The Cannon
  • The Heavy Machine Gun
Each have their unique quirks on how to get the most out of them.

The Mortar can be built by an Engineer and comes with ten rounds stock. Anyone can crew the Mortar, making it a useful asset to have nearby to help dislodge fortified enemy positions with. The Italians get the Bettica mortar, the barbarians get the M14 mortar. Mortar accuracy increases when two flares are fired by a Mountaineer in quick succession, dramatically tightening the spread and effectiveness of the mortar against enemy hard points.


The barbarians and their M14 mortar are a formidable foe!

The Cannon is a rarer sight, being a piece of direct-fire artillery that can only be built in a pre-fixed location on certain maps. It provides devastating firepower, but it is a large priority target for the enemy team to take out. Doubled with the fact that there's no shield to protect the gunner, and that it's slow to aim, the Cannon becomes an extremely risky piece of equipment to operate.

The Heavy Machine Gun is the most common emplacement you'll find. The Italian FIAT Modello 1914 and the Austro-Hungarian Schwarzloze M.7 are incredibly powerful when positioned correctly, being able of suppressing or outright killing a large amount of enemies if they are unlucky. You only need to play the first points of Cengio to see what I mean!

To attack an emplacement position, one should first understand their weaknesses.

Heavy Machine Guns:
  • Have a limited horizontal traverse.
  • Must reload, giving you several seconds to take shots at the gunner, or move up.
  • Expose their gunner at all times, making him an easy target for anyone brave enough to take the shot.
Mortars
  • Must rely on Mountaineers or Officers to spot for them.
  • Usually have limited ammo, as it is rare for Riflemen to restock a Mortar.
  • Are tucked away in supposedly safe positions, making ambushing their gunner extra surprising.
Cannons
  • Have a slow reload animation, making it easy to disrupt by shooting the gunner.
  • Are extremely exposed, having no cover to speak of for the gunner.
  • Are rare, making them an unlikely opponent to come across on the battlefield.

The ultimate objective of each of these emplacements is to provide decisive support to the infantry, thus taking them out can hinder a team's ability to fight. They should be the second targets you prioritize destroying, behind forward points. Destroy the gun, destroy the Hun!

I. The Rifleman


The humble Italian Rifleman, the backbone of our army and the greatest companion our humble olive-skinned compagne could dream of. He — unique among the nations of the world — embodies great superhuman strength and a great love for his comrades in our holy battle against the Austrian horde with unparalleled Roman stoicism and charity. Learn from the Rifleman, and you will never be a better friend.

I. The Rifleman is first and foremost a support class. This may seem counterintuitive to what you may assume, but rest assured bambinos: the Rifleman is a bastion of camaraderie in the aid he can provide for Italia's legionaries, as they are able to distribute the sweet and heavenly gift of ammunition.

II. The Rifleman gains access to a magical crate capable of endlessly resupplying all of your ally's small arms and emplacements. To this end, it is imperative for Riflemen to cooperate with teammates and resupply them whenever possible; particularly Marksmen armed with scoped rifles, Assault troops armed with light machine guns, mortars, and heavy machine gun emplacements. The Rifleman stoically lives to supply his more combat-capable friends. As a Rifleman, your selfless actions will help turn the scale of the Great War in favour of heroic Italy!

III. Riflemen also gain access to a unique offensive weapon: the rifle grenade. This useful gadget can help in a pinch when facing a pack of wild bloodmongering Habsburgs, doubly so with the Rifle-Grenadier perk! However, Papa Giuseppe highly recommends you stick to using the ammo crate perk instead. The team utility of being able to maximize your friends' ammunition and replenish it on the go can be the deciding factor in an aggressive battle of attrition!


The best way to take advantage of your resupplying superpowers is to shadow around where the majority of your teammates are. A good soldato would be doing this already. Prioritize Marksman and Assault troops first, mortars second, and everyone else last. If your life is in jeopardy, such as when you are assaulting the objective, prioritize defending yourself first.

PERKS

AMMO CARRIER: You can place an ammo box down on the ground that allies can replenish from. Place these ammo boxes near spawn points and team weapons for maximum effect.


POINT-MAN: For every Rifleman attempting to capture an objective, a 1.1x capture weight multiplier is added. When stacked, this means an objective can be seized for the glory and honour of our King at breakneck speeds.


RIFLE-GRENADIER: Your unlockable rifle grenades have twice the ammunition and are two times more accurate.


MARKSMAN: Your weapon sway when aiming is half as strong. Let your aim be true!


CHAPLAIN: Your bandages take half the usual amount of time to heal. Your grace and speed, endowed by the holy powers of the Pope, mean you will save a great deal of lives by selecting this perk!


CLOSING THOUGHTS


More often than not, you won't see many Riflemen being played among your team. This is mostly due to the incorrect assumption that Rifleman doesn't provide anything unique compared to other classes: but for the reasons I have taught you, never overlook the humble, but mighty Rifleman.

II. The Engineer


Hey look compagno, I'm an Engineer. That means I solve problemi. Not problems like "how to use the Villar Perosa," because that'd fall within the purview of your conundrums of filosofia.


I. The Engineer is a class whose primary purpose is to support his teammates by building powerful assets that lock down areas of the map, either to dislodge enemies from their positions or to fortify a choke point.

II. The Engineer can build machine guns and mortars, which can be universally useful on both offensive and defensive fights.

III. The Engineer can build barbed wire to fortify positions, or deny enemy reinforcements a passage to the objective your team is working on.

IV. Engineers can engage in combat effectively with their carbine, and selection of handgun or grenades, but you should focus on building team assets first.

PERKS

WIRE COMPANY: You cut and build barbed wire twice as fast. When you're on the Attacking team, you can permanently destroy barbed wire.


SAPPER COMPANY: You can mine and defuse bombs on destruction objectives 33% faster. This is for more combat-minded Engineers in clutch situations, such as overtime. Otherwise, Papa Giuseppe recommends to use another perk.


SUPPORT COMPANY: You build HMGs and Mortars twice as fast, their handling is also twice as fast. This is phenomenal if you are going to hold down a choke point with an HMG, or operate a mortar with a Rifleman feeding you ammo.


DEATH COMPANY: You gain access to a suit of armour that substantially reduces incoming damage and suppression from explosions. There are better alternative perks: you are still going to die from being shot.


ENGINEER COMPANY: You build and sabotage construction objects twice as fast. This is one of the more generally useful perks that you can have, allowing you to always maintain pressure on the enemy by being able to quickly build, and sabotage, forward spawns.


Become a hero of the Company of Death!

CLOSING THOUGHTS
The Engineer is all around one of the most viable and powerful support classes in the game. The ability to construct all sorts of power multipliers, such as Mortars and HMGs, as well as barbed wire that can help lock down an approach to the sector, is one of the most physical and noticeable impacts anyone can have on the battlefield. Italian engineering is the best in the world, don't pass up this class!
III. The Assault


The most overplayed class. The most overrated class. Also, in a way, an extremely powerful class in the right hands. Assault is the definition of high risk, high reward. Your high impact weaponry and assortment of grenades turns you into a battlefield menace capable of insane amounts of damage, but a degree of finesse is required to truly excel.


Become the hero of the objective!

The archetypal combat class, Assault is all about utilizing your specialized weaponry to kill as much of the enemy as possible in a short to medium range. Contrary to the name, this class also excels at close range defense for two very special, very powerful reasons that will be explained in a bit.

I. Assault is a combat oriented class, and one of two classes in the game that do not provide a direct team buff. You cannot build, you cannot spot, you cannot call in anything special. You are the weapon, and you must think like it.

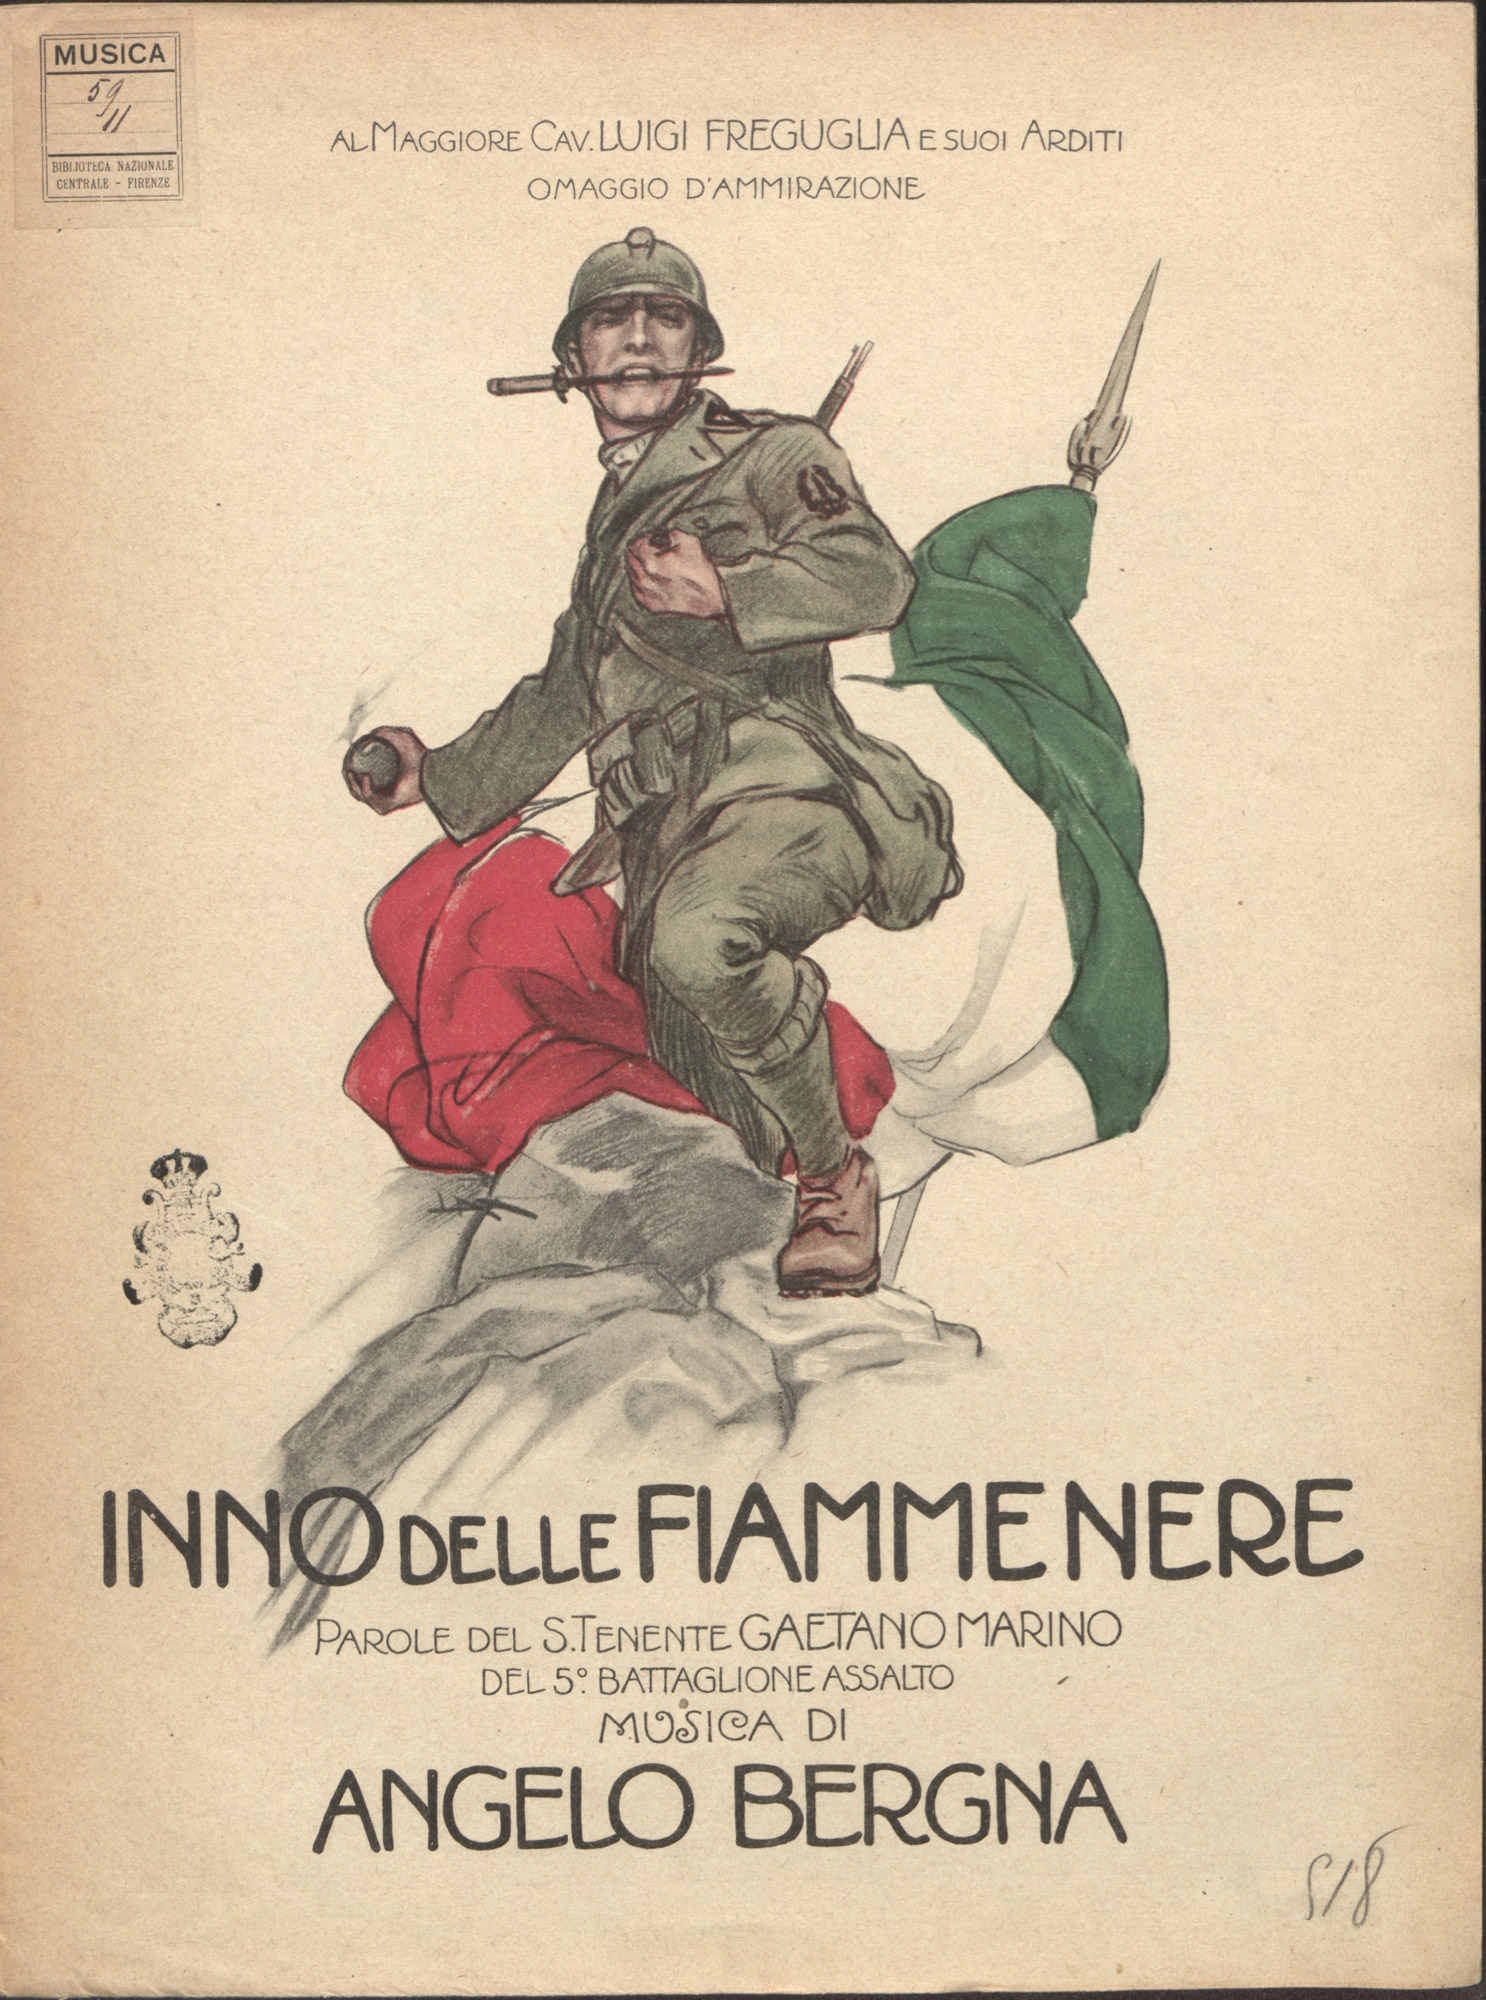
II. Assault players should not be afraid of dying. You are a brave Arditi warrior! With a dagger in your mouth, you jump into the fray and seek to cause havoc with your high impact arsenal. Utilize your specialized equipment to deal the most amount of casualties in the least amount of time around objectives or choke points to clear them out for your team. As aforementioned, high risk and high reward: aim for the highest reward!

III. Assault players should aim to spawn with grenades whenever possible. While other classes have grenades, you can carry two... or if you are on the wrong side, three. As a rule of thumb, you should never die with spare grenades on you. God, in all of his Roman form, gave you multiple grenades when you spawned: use them or lose them! They are incredibly powerful at clearing areas and forcing enemies to reposition from tactically advantageous areas.

IV. Assault is the only class in the game that can spawn with and use an automatic weapon at a whim. These Light Machine Guns can be borderline overpowered with good positioning. The Italians gain access to the Villar Perosa, a double barreled submachine gun that can fire one barrel while on the move, and both when deployed. The Austrians gain access to the Madsen of Verdun fame. The Villar Perosa should be used in close range, deployed, covering choke points. The Madsen can be used at long range to snipe, or as a weapon that can be fired from the hip during a charge. When using LMGs, ensure that you find cover from as many possible angles. Find a spot that serves as the best possible balance between cover or concealment and being able to observe the enemy's approach, and you should be nigh indestructible from flanks.


V. If you like getting close and personal, such as when attacking a claustrophobic objective (like Dolomites, Cengio last, etc) then don't be afraid to use a melee weapon. If you play your cards and ambush players correctly, you can cause a lot of damage in a very short amount of time!

PERKS

SABOTEUR: You sabotage objectives twice as fast. This is functionally identical to the Engineer Company perk for Engineer. I highly recommend this perk if you like to get behind enemy lines and play stealthily, causing chaos in small pockets.


GRENADIER: You can build a grenade crate to resupply you and your teammate's Baldari grenades. Pretty useful, but only one per team should be necessary. If nobody is using them, then it can't hurt to spawn one life with this perk to build a crate and then change back to another perk when you inevitably die for the glory of General Cadorna.

VETERAN: You bleed out at a quarter of the speed it would take otherwise. Pretty useless, bleeding out is something that can be fixed rather easily with a bandage. The one that every class already has. Ignore that this perk even exists.

SUPPORT GUNNER: When you use HMGs or LMGs, you deal four times more suppression than normal. This is a must-have perk if you are using a light machine gun or if your Engineer comrade has built a very well positioned heavy machine gun. Suppression reduces the enemy's ability to fight back accurately. Spray and pray!

QUICKSHOT: If you are like me and you predominantly use carbines, then this perk is phenomenal at close range. By being able to aim faster than your enemy, you will be able to get a first shot off much faster than they would. This perk can save your life!

CLOSING THOUGHTS

The Assault class is for your archetypal extreme Italian gamer who wishes to kill as many enemies as possible without worrying about things like "spotting," "building," "girlfriends," or anything similar. Papa Giuseppe recommends you to play Assault if all you want to do is to relax, destroy the invaders, their spawn points, and die with a smile in your caved-in face... for the glory of Italy, of course.

IV. The Mountaineer


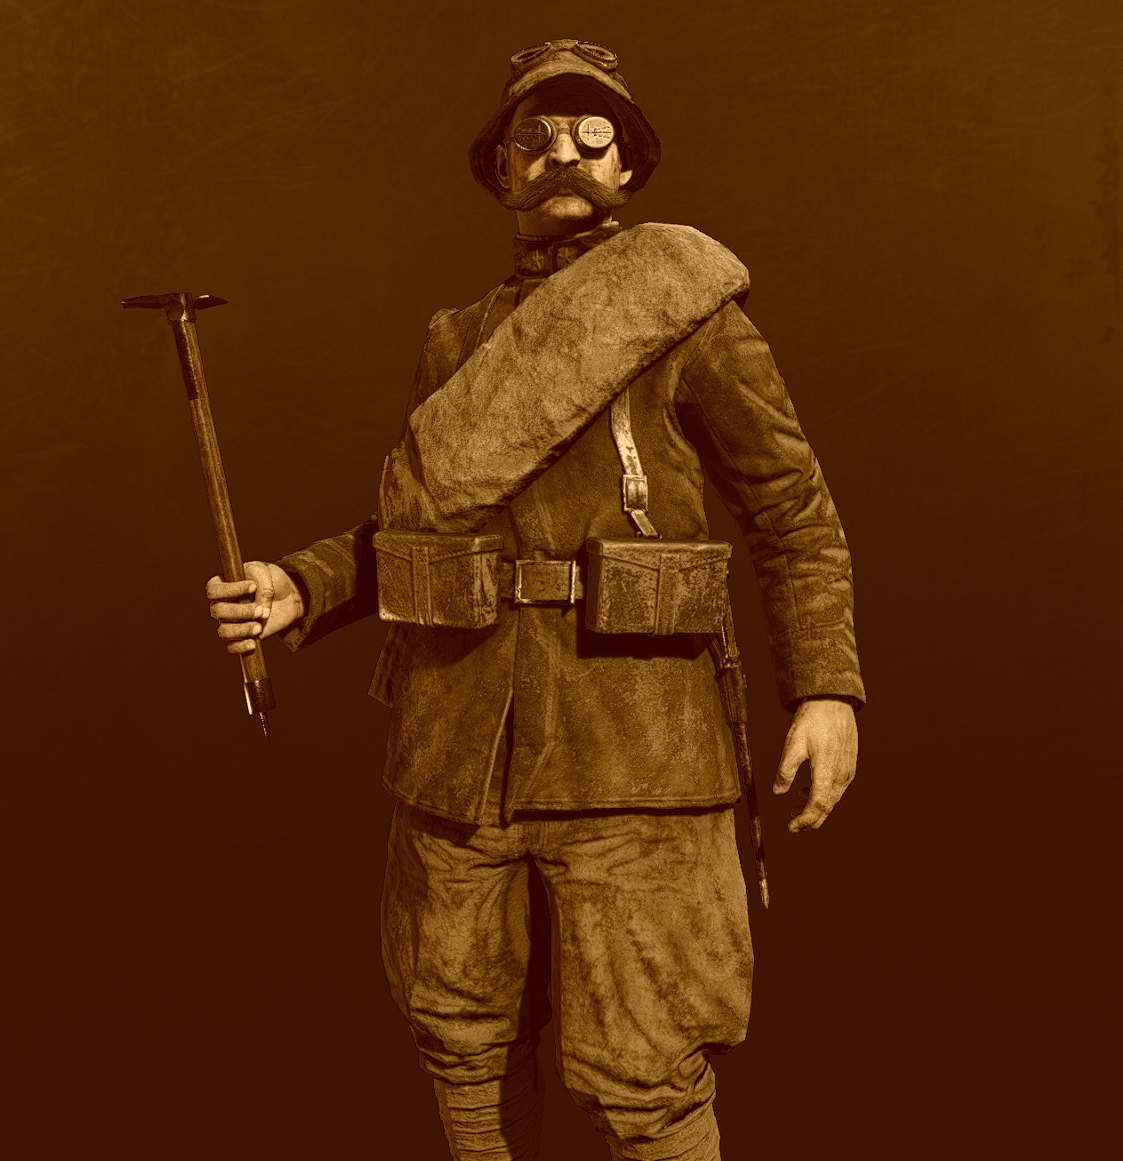
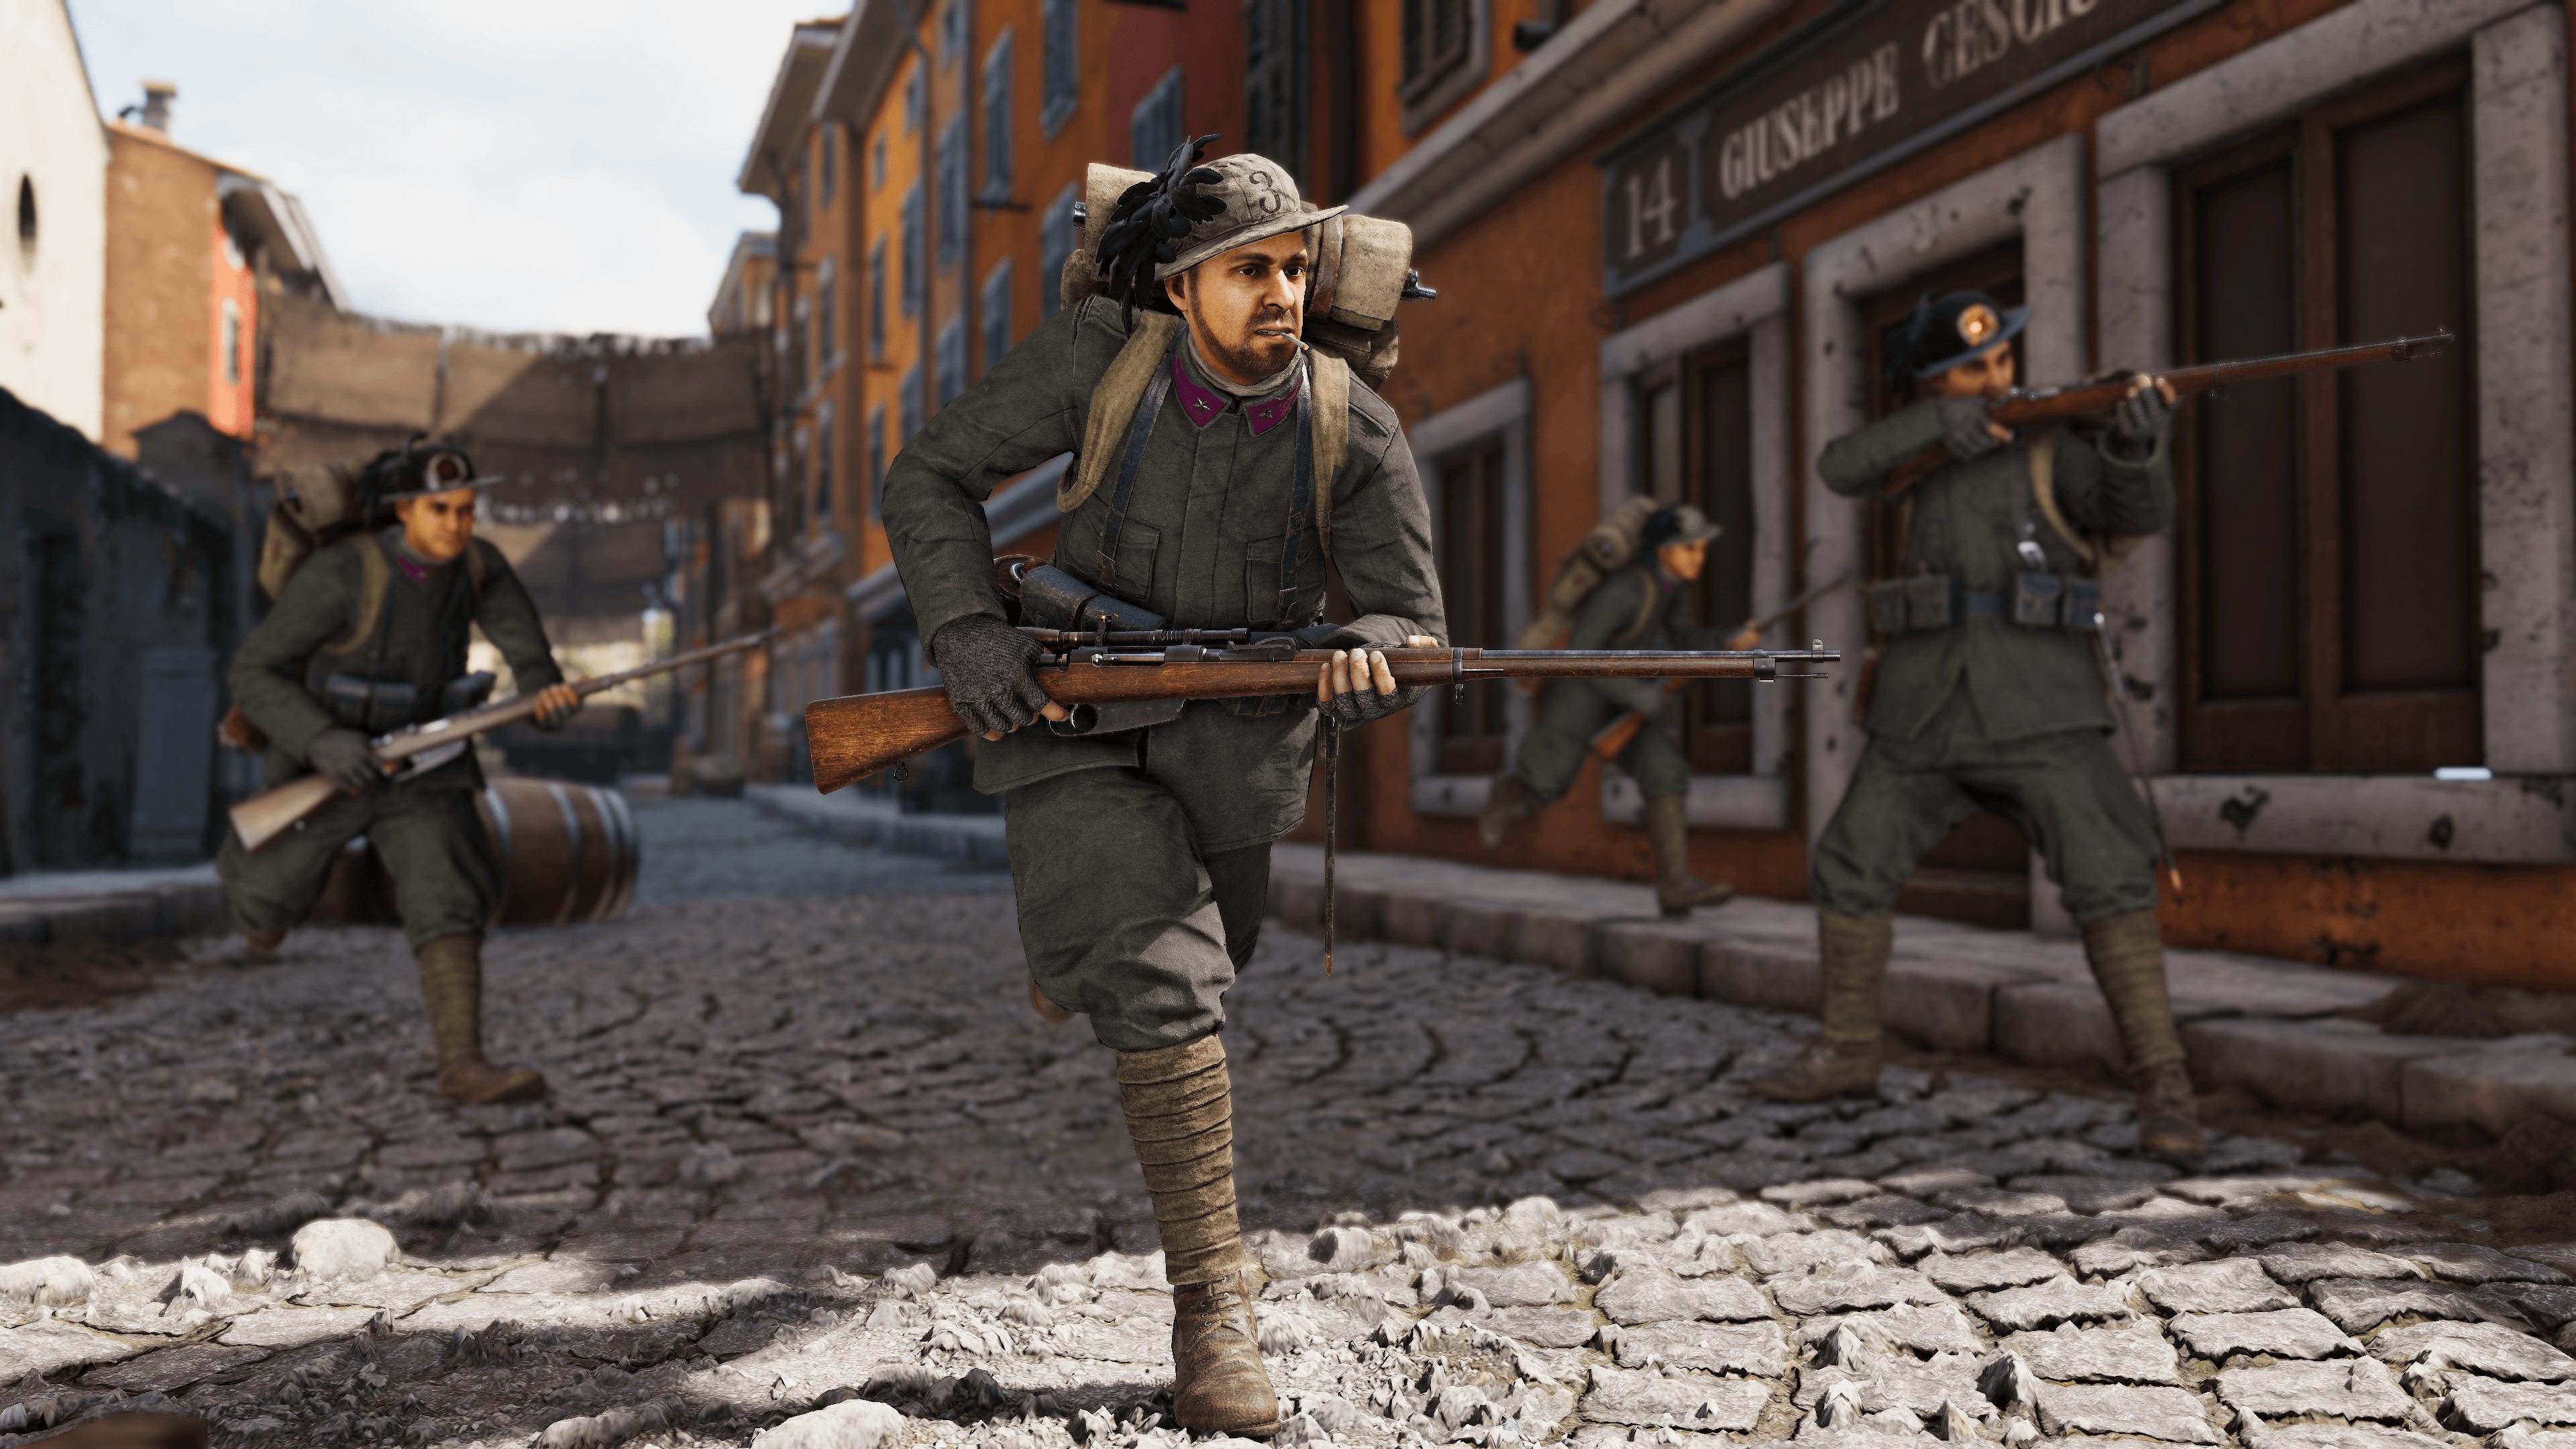
The Italian Front of the Great War was defined by its terrain. Some of the tallest mountains in Europe divided the light of Roman civilization from the unflinchingly evil armies of the Kaisers. Where there are mountains, there are, naturally mountaineers who exist to prove Italy's domination over the world God had created for us! The Mountaineer class embodies this. He is fast, he is nimble, and he is an extremely useful component of any team!


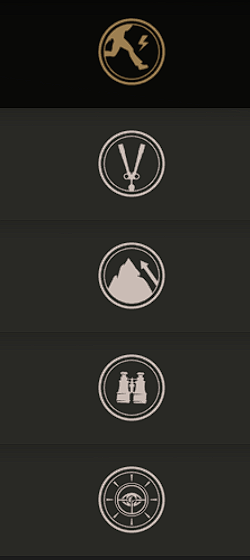
The Mountaineer class is one of the most versatile in the entire game. You can spend time spotting the enemy for your team, accumulating vast swaths of points in the process, or you can engage in high speed warfare that would make even the Assault jealous! The Mountaineer by virtue of his starting perk is the fastest class in the game, and with a special unlock he receives, he and those who follow him into battle can sprint at breakneck speeds to victory.

I. The Mountaineer is fast. Very fast. He can outpace his teammates and is usually the first to arrive to the front when the match has started. He can get into position, and with the help of his last secondary unlock, his friends too.

II. The primary team utility of the Mountaineer is to spot. To this end you have three utilities: your binoculars, a buildable periscope, and a flare gun. I highly suggest using the flare gun when you receive it for spotting if you wish to take advantage of the Mountaineer's mobility as a means of aggression, or if you want to help your team's mortars hit their targets more accurately.

III. You can unlock a bugle. This is the biggest thing to happen in gaming. The bugle is an infinitely reusable item that, when played, gives your teammates the rifle cycling speed of the Marksman and the speed of the Mountaineer. It is incredibly powerful and useful, and probably the thing you want to unlock the most when playing this class.


Prooooot!

PERKS

LIGHT INFANTRY: You move much faster than anyone else. This is the perk you start with, and more often than not the one you want to use the most if you're keen on fighting more than you are on spotting.


OBSERVER: You can build a periscope with your shovel. The periscope is extremely valuable when set up in a good location, as it allows you to consistently and rapidly spot any vile barbarian and their constructs for your team to eliminate!

ALPINIST: You vault and climb over objects twice as fast. Compared to the utility of the other perks this perk should be overlooked.


SPOTTER: Enemies you spot appear for four times as longer for your teammates. If you're spotting without the periscope this is a must-have. Information is half the battle, and you are the only class in your team who can consistently and reliably always give away the enemy's location

SNIPER: 33% more zoom when breathing in. This can be useful, but this provides no team utility and the zoom boost is negligible. Ignore this perk in favour of something much more useful.

CLOSING THOUGHTS
The Mountaineer is an extremely effective, versatile class that can be used in almost any situation to help give a decisive advantage to your team. Whether that be via spotting or the bugle, you can lead the charge against the enemy's weakest points with decisive speed and aggression!

V. The Marksman


In Isonzo, you can live out your wildest dreams of becoming the second greatest crack shot to wield a Carcano rifle. The Marksman is a versatile combat class with no team utility behind his combat skill; much like the Assault. You, however, have much more room to breathe and fight than the Assault class does. You are a jack of all trades with your armament, and much like any regular Italian, a master of everything!


Deadly and accurate!

I. There are two sniper rifles available per team. These are scoped rifles that can be used for extremely effective long range target elimination, but more often than not you won't be able to use these, as they are perhaps the most sought-after weapon to use. To unlock the second scoped rifle you must complete the challenge once you reach class level 20.

II. The Marksman's default perk allows him to cycle his rifle very fast, allowing for quick shooting. This is phenomenal for the reasons I touched on in the section about weapons. Fire rate is king for rifles in Isonzo, and being able to rapidly punish enemies with follow up shots can't be overlooked.

III. The Marksman can equip a rifle and pistol of his choosing. Unlike the Engineer, the Marksman can take a semi-automatic pistol into battle along with his bolt action rifle. However, I advise sticking with the revolvers if you are confident in your aim. This trait alone makes the Marksman very powerful and versatile in close range situations.


How it feels to play as a rifle / pistol Marksman in the objective.

PERKS

SCOUT: You reload and bolt your rifle much faster. This is the #1 perk I suggest having at all times when playing Marksman.


SENTRY: You gain a suit of body armour that, unlike the Engineer's Death Company perk, reduces suppression from bullets. You take less damage from explosives as well. Apart from completing the necessary challenges that require this perk, just stick with Scout.

STALKER:You move faster when prone or crouching. This can actually be reasonably useful if you're a very cautious player who likes navigating from cover to cover. This perk requires experimentation to make work as well as Scout though, go forth in the name of Italian science and report to me in the comments your findings.

SPECIALIST: Your weapon sway is significantly reduced. If you're lucky enough to be using a sniper rifle, then this perk can replace Scout if you're firing from a long range.

ELITE MARKSMAN: You can hold your breath for twice as long. This isn't that great, as it doesn't take much time to recharge your breath as is already. It can be useful in certain situations, but it's not as usefully applicable as Scout.

CLOSING THOUGHTS
Marksman is a class that excels at versatile combat at any range. While you may be inclined to think that he can only fight at long range, his pistols and Scout perk enable an aggressive playstyle on par with Mountaineer and Assault.
VI. The Officer


The Officer is your god. He is the living embodiment of not just Italian values, but Italia herself. He and his co-consul alone decide who wins and who loses based on their competency alone. Italy is renowned for her competent and able officers, capable of resolving wars in just one battle! Playing Officer is the most daunting task in the game to play because it is the most important. The Officer possesses the most impactful abilities in the game, abilities that when timed well and used with reason dramatically influence the course of the match.


The typical Officer in all of his beauty and glory.

I. The Officer gains access to a whistle with two powerful abilities that can help determine both the flow and direction of the match.
II. The Officer can go to a command post to order unique abilities of varying power at different time intervals.
III. The Officer should seek to lead his team through using the whistle, coordinate via chat, and call in abilities when possible.

OFFICER CALL-IN ABILITIES


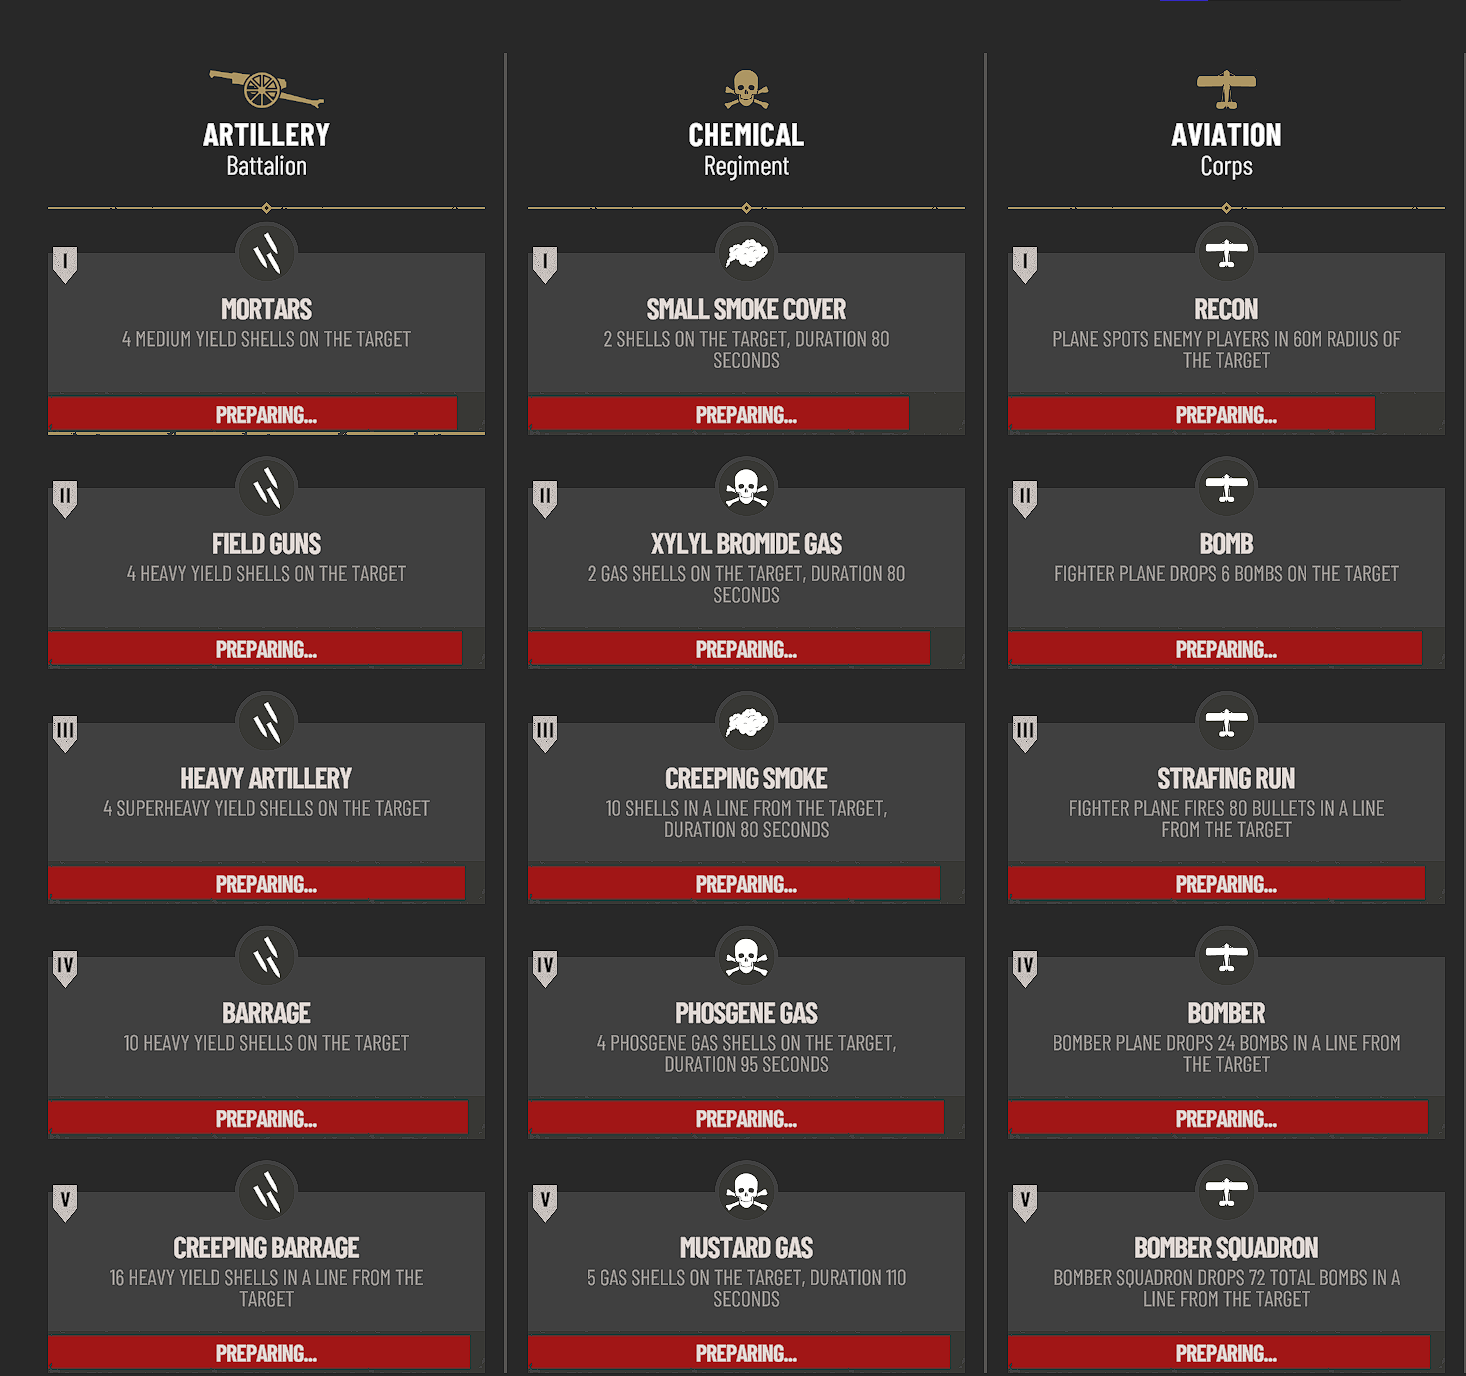
The call-in abilities the officer possesses are extremely powerful. However, some should be prioritized over others in different situations.
  • Don't use light artillery call-ins, like Mortars and Field Guns unless you have nothing left and you're fighting overtime. They aren't exceptionally powerful, essentially acting as orbital grenade spam. In most situations you should save for the much heavier barrages for their more devastating payload.
  • Smoke is often all you need for major pushes. When attacking, place smoke in front of the objective to cover your advance into it, thus minimizing the risk your men are seen as they assault the enemy's position. When defending, use smoke to cover the route from your spawn to the point to prevent enemy interdiction of your reinforcements, in other words, use smoke as you would a shield.
  • Gas has its uses. Don't use Xylyl Bromide unless you have no other options, as it does extremely trivial damage. Save for Mustard Gas, as its duration is both longer and its effects are much more noticeable. Phosgene Gas is mediocre but can be useful in very small objectives to reduce line of sight and gain aggressive local superiority over your enemy.
  • Recon is useful if you aren't receiving much information on the enemy's location via your team's Mountaineers. Otherwise, save for the Bomber or, if you're feeling especially devious, the Bomber Squadron call-in. The latter serves as a tactical nuke that takes five minutes to recharge, but it can be the second most effective officer ability when done right.

OFFICER WHISTLE ABILITIES


The unassuming whistle contains the Officer's greatest, most powerful ability: Charge.
Charge, with the starting Officer perk, is an ability that instantly respawns all teammates and temporarily removes the respawn timer, allowing for a sea of reinforcements to flood an objective. Your greatest strength as an Officer is your team, and being able to push them to the frontline extremely rapidly is the most influential tactical decision one can make in Isonzo.

To check when you should Charge, be mindful of the reinforcement bar at the bottom left of your screen.


As you can see:
  • There are three teammates currently dead and waiting to respawn.
  • The timer has just refreshed, meaning these casualties are very recent and more are likely to follow.
  • However, this isn't enough dead teammates to justify calling Charge right now. In a team of 24 people, it's advisable to call a Charge when a quarter of your team, or at least 6 people, are dead.

The second officer whistle ability is a simple instruction that you can give over points. Aim at an area you want your teammates to attack / defend and use that ability there. It has, by default, a ten second cool-down; you can accumulate a lot of points by updating these orders to where most of your troops are fighting!

PERKS

ASSAULT OFFICER: You can use your whistle abilities twice as fast. This is your best perk, as it allows you to spam Charges and you should seldom ever replace it.


ENGINEER OFFICER: All nearby teammates can build and sabotage twice as fast. This is a useful perk if you're attacking from a flank with Assault or Engineer troops with their own perks that allow them to sabotage areas speedily.


FRONTLINE OFFICER: Allows you to spawn on all squad leaders, and vice versa. This isn't very useful. You want to be hovering around your command post to use call-ins, and to survey the battlefield to make the appropriate adjustments to your whistle commands. Papa Giuseppe doesn't recommend this perk!

ALPINE OFFICER: Allows you to spawn on all players who are near objectives. Not very useful, spawning in the back is often the best place for an officer to be. There you can operate your command post and use your whistle with impunity, as getting personal kills isn't high on your agenda, and in most circumstances you don't give off an aura that benefits your teammates... except...

INSPIRATIONAL OFFICER: This perk gives all nearby players twice as much stamina and half the weapon sway, essentially making everyone near you capable of being extremely mobile. Couple this with the Mountaineer bugle and you can form a massive charging blob with extremely powerful combat buffs!

CLOSING THOUGHTS
The Officer is a role that requires a great deal of finesse, strategic thinking, and cooperation with your teammates to pull off. However, a team with a good officer will prove to be an insurmountable tide that takes immense effort to quell. The Officer's ability to Charge makes him extremely useful for his entire team, and coupled with his call-in abilities the undisputed god of battlefield support.

Closing Thoughts


Now that you have indulged yourself on the filling warmth of Papa's authentic trench rat calzone, you are ready to meet all challenges that face you in the fields of Isonzo. Armed with the knowledge of what each class does, how their weapons work, how their abilities and perks benefit different playstyles, and how to best benefit your team, Italia alone shall drive these hordes back to the dark hell from whence they came!

With you on our side, my bambino, the war will be over by Christmas. This time, I promise.

Arrivederci.


14 Comments
AttilaLaDank 26 Jan @ 6:23am 
I've found frontline officer useful for pushes as you can hide and keep spawning squads on top of objective. Is it better then whistle spam? Never but if you have a co-officer that isn't really doing much this helps.
𝕱𝖗𝖆𝖓𝖟𝖔 𝕴 31 Oct, 2023 @ 8:22am 
Ciao, io posso scrivere quanto mi pare in italiano perchè sono italiano.

Oh my god bruh oh hell nah man
Midnight Sun Highlander 1 Jun, 2023 @ 10:16pm 
Masterful implementation of Normal Memetics and v thorough guide excellento jobino mi camarado SI SI SI SI SI
Serfrex 27 Dec, 2022 @ 11:10am 
Excellent guide!
:steamthumbsup:
Gordon_ 17 Nov, 2022 @ 10:24am 
Now let's see Franz Joseph's guide...
Fr tho, amazing shit, good job!
I have one thing to add tho:
The bonus offered by the marksman "scout" perk is roughly x1.3, so you basically fire faster or has fast has the carcano TS with a long rifle, so yeah it's basically a no brainer
Vinny Chops 5 Oct, 2022 @ 12:42am 
Bravissimo e ottimo lavoro! No longer will our soldiers of supreme Roman prestige suffer beneath the hands of the Hun and the terrible tribulations of attrition, surely not with the likes of this guide!
PJ 27 Sep, 2022 @ 1:33pm 
Excellent guide, fratello!
Medic_Sussurro 27 Sep, 2022 @ 11:22am 
0/10 not enough Italian
Haudegen 27 Sep, 2022 @ 5:18am 
0/10 too much Italian
Pompadour Nautice 26 Sep, 2022 @ 6:03pm 
Fantastic stuff right here, though I must say the main advantage us brutes have over ye' alfredo folks is having access to sky blue uniforms and almost half a century out-of-date black powder rifles. If only I could use that and spam the ammo box on people.