PowerWash Simulator

PowerWash Simulator

750 ratings
100% Achievement Guide for Base Game & All DLC | PowerWash Simulator
By Choolio123
This is a comprehensive guide that walks through how to unlock all 100 achievements in PowerWash Simulator.
Screenshots and detailed descriptions are included for:

**Updated for Patch 1.11.0 on May 29, 2025.**
18
5
37
2
5
4
4
3
2
2
   
Award
Favorite
Favorited
Unfavorite
Introduction
Thanks for checking out my guide! I've tried to be as comprehensive as possible but it's always possible I've missed something. If there is missing, incorrect, or unclear information, please let me know in the comments and I will correct it.


I will also be updating this with any additional achievements added in the future.

Be sure to use Ctrl + F to quickly find the achievement you're looking.


For other languages, please see the guides below.

Russian guide made by RuZZn. https://sp.zhabite.com/sharedfiles/filedetails/?id=2835829069

French guide made by PCS Grim.
https://sp.zhabite.com/sharedfiles/filedetails/?id=2836078811

Spanish guide made by →Gusa.
https://sp.zhabite.com/sharedfiles/filedetails/?id=3035346566

Simplified Chinese guide made by Glitch.
https://sp.zhabite.com/sharedfiles/filedetails/?id=2919925195

For more detailed information, please see the PowerWash Simulator Wiki[powerwash-simulator.fandom.com] for in-depth information on mechanics, items, etc.
Career Only Achievements
All of the following achievements are based on completing a certain number of jobs. Below are a few tips that apply generally to all achievements in this section.
  • All of the star-based achievement calculations are assuming you fully complete every job to 100%. You would be a monster if you didn't.
  • If you met any of the star-based requirements before achievements were added, you may have to load into a job to get them. It can take a few minutes, or until you earn 1 additional star on a new Career job, for the achievements to pop, but they will eventually.


Starting Out
Earn 5 Stars in Career Mode


100% complete 1 job


Raking It In
Earn 50 Stars Career in Mode


100% complete 10 jobs


Big Business
Earn 100 Stars Career in Mode


100% complete 20 jobs


Super Star
Earn 150 Stars Career in Mode


100% complete 30 jobs


As It Was Foretold...
Complete Career Mode


Complete all levels in the "Career" section. This includes most of the Special jobs as well. The last job that is unlocked is Lost City Palace and there are a total of 190 stars available at this time.


Side Hustle
Complete a Bonus Job


Complete a Bonus Job. The quickest and easiest job is the Mars Rover job.


Challenge Based Achievements
All of the following achievements must be completed from the Challenge section in your tablet. Below are a few tips that apply generally to all achievements in this section.
  • You can get a Gold Medal in either category, the Water Challenges or Time Challenges. Time Challenges are generally considered faster since the pass/fail state is known quicker (thanks to @Nithia09 for the tip!)
  • Each Gold Medal you obtain must be unique. You cannot obtain the Gold Medal in the same challenge over and over.


Going for Gold
Get one gold medal in Challenge Mode


Obtain 1 gold medal from either the Time or Water Challenges.


Gold Standard
Get five gold medals in Challenge Mode


Obtain 5 gold medals from either the Time or Water Challenges.


Purchase Based Achievements
All of the following achievements require items to be purchased via the Shop section of the in-game tablet. Money is earned from cleaning individual objects in a level. Below are a few tips that apply generally to all achievements in this section.
  • While you must buy all pieces of equipment, it is generally better to save up for the Prime Vista PRO under the Professional category. It by far the most powerful and will speed up your jobs dramatically, especially considering many of the early jobs were balanced around the weaker pressure washers.
  • Money can be earned in Career or Freeplay, so you can replay the same level over and over again to earn more money.
  • Some of the achievements will not pop until you load into a level, especially if you had the requirements met before the achievements were added.


Fully Equipped
Own the Prime Vista 1500 and three of its attachments


You will own the Prime Vista 1500 at the beginning of the game. You will need to own 3 of the following attachments. The *asterisked and italicized rows contain the attachments required for the cheapest total shown in the last row.

Attachment
Cost
*Prime Vista 1500
$0.00
*Prime Vista 1500 Extra Long Extension
$0.00
*Prime Vista 1500 Turbo Nozzle
$15.00
*Prime Vista 1500 Short Extension
$25.00
Prime Vista 1500 Long Extension
$50.00
Prime Vista 1500 Soap Nozzle
$75.00
Cheapest Total
$40.00


Urban Xpert
Own the UrbanX U2 and four of its attachments


You will need to own 4 of the following attachments below as well as the pressure washer itself. The *asterisked and italicized rows contain the attachments required for the cheapest total shown in the last row.

Attachment
Cost
*Urban X U2
$900.00
*Urban X U2 Turbo Nozzle
$75.00
*Urban X U2 Short Extension
$125.00
*Urban X U2 Long Extension
$250.00
*Urban X U2 Soap Nozzle
$375.00
Urban X U2 Extra Long Extension
$500.00
Cheapest Total
$1,725.00


Heavy Hitter
Own the Prime Vista 3000 and five of its attachments


You will need to own all 5 of the following attachments below as well as the pressure washer itself. The *asterisked and italicized rows contain the attachments required for the cheapest total shown in the last row.

Attachment
Cost
*Prime Vista 3000
$2,000.00
*Prime Vista 3000 Turbo Nozzle
$120.00
*Prime Vista 3000 Short Extension
$200.00
*Prime Vista 3000 Long Extension
$400.00
*Prime Vista 3000 Soap Nozzle
$600.00
*Prime Vista 3000 Extra Long Extension
$800.00
Cheapest Total
$4,120.00


Unlimited Powerwash
Own the Prime Vista PRO and six of its attachments


You will need to own all 6 of the following attachments below as well as the pressure washer itself. The *asterisked and italicized rows contain the attachments required for the cheapest total shown in the last row.

Attachment
Cost
*Prime Vista PRO
$5,000.00
*Prime Vista PRO Turbo Nozzle
$180.00
*Prime Vista PRO Short Extension
$300.00
*Prime Vista PRO Long Extension
$600.00
*Prime Vista PRO Soap Nozzle
$900.00
*Prime Vista PRO Extra Long Extension
$1,200.00
*Prime Vista PRO Triple Tip Nozzle (unlocked at 165 stars)
$2,400.00
Cheapest Total
$10,580.00


Soap Connoisseur
Own all cleaning liquids at the same time


You will need to own at least 1 of each of the following 6 types of cleaning liquids. They cost $10 each for a total of $60 minimum to get this achievement.
  • Glass Cleaner 1L
  • Metal Cleaner 1L
  • Plastic Cleaner 1L
  • Stone Cleaner 1L
  • Multi-Purpose Cleaner 1L
  • Wood Cleaner 1L


Fashionista
Equip a new outfit, gloves and washer modification at the same time


You will need to purchase at least one outfit, glove and washer modification and have the equipped in a level. If you already have all of them equipped before the achievements were added, you may need to swap out to a default skin and then back to the purchased one for the achievement to trigger.

Be sure to also change the skin on your pressure washer by hitting "E" to open the Loadout screen and clicking the theme icon in the bottom right of the Power Washer selection and choosing the purchased color. See the image below for the location. (Thanks to @lyeuhm and @Nithia09 for the reminder to include this)


Below are the cheapest prices you can pay to get this achievement.


Customization
Cost
Outfit
$50.00
Gloves
$50.00
Washer Modification
$25.00
Cheapest Total
$125.00
Cleaning First Achievements
All of the following achievements can be completed in either the Career or Freeplay versions of the jobs and required specific objects to be cleaned first. Below are a few tips that apply generally to all cleaning achievements.
  • Something only counts as "cleaned" if it is cleaned to 100% and you hear the DING sound.
  • For the "clean this first" achievements, you can ONLY clean the listed items to completion first. If you fully clean any other objects, you must restart the level.
  • For the "clean this last" achievements, you MUST clean all other items to completion before fully cleaning the listed items. If you fully clean any of the listed objects, you must restart the level. You do still need to clean the final elements and complete the level to unlock the achievement.


All Hands on Deck
Complete the Fishing Boat decks and steps first


Completely clean the following objects before any others. See the images for the highlighted specific areas.

  • Bow (x1)
  • Main Deck (x1)
  • Steps (x2)

Be sure not to complete either the Bridge Deck or Roof Deck as they are not needed for the achievement. (thanks to Flare Sword for the tip!)


Blast from the Past
In the Subway Platform, complete the advertising boards first


Completely clean all 8 Advertising Boards before any others. There are 4 on each side of the subway mounted on the walls. See the images for the highlighted specific areas.

  • Advertising Boards (x8)


First Steps
In the Backyard, complete all 12 stepping stones first


Completely clean all 12 stepping stones before any others. See the images for the highlighted specific areas.

  • Stepping Stones (x12)


Head First
Complete the Drill head and tip first


Completely clean all the Drill Head and Drill Tip objects. See the images for the highlighted specific areas.

  • Drill Head (x1)
  • Drill Tip (x1)


I Can See Clearly Now
Complete the Fire Truck windows, windscreen and wing mirrors first


Completely clean all the Wind Screens, Wing Mirrors, and Windows. Be careful not to clean the 2 Windscreen Wipers as they are small and easy to fully clean. See the images for the highlighted specific areas.

  • Wind Screen (x1)
  • Wing Mirror (x2)
  • Window (x6)


Lantern Hunter
In the Treehouse, complete all of the lanterns first


Completely clean all 12 Lanterns. See the images for the highlighted specific areas.

  • Lantern (x12)

There are 2 lanterns on the posts at the entrance to the main stairwell.

If you head up the main stairs to the second landing, the 3rd lantern is handing from the tree above the research table.

There are 8 lanterns hanging from the roof of the house.

If you head down the spiral staircase, the 12th and final lantern is on a post at the bottom.


Live by the Blade
Complete the Fire Helicopter blades first


Completely clean all the Rotor Blades and Tail Rotor Blades. See the images for the highlighted specific areas.

  • Rotor Blades (x6)
  • Tail Rotor Blades (x4)


Pave the Way
In the Detached House, complete the Pathway, Driveway and Driveway Edges first


Completely clean the Pathway, Driveway and Driveway Edges. See the images for the highlighted specific areas.

  • Pathway (x1)
  • Driveway (x1)
  • Driveway Edges (x2)


Shine Bright
On the Helter Skelter, complete the objects that have lightbulbs before anything else


Completely clean the Sign, Top Ring Frame, and the Channel Lights. The entire object must be cleaned, not just the light bulbs. See the images for the highlighted specific areas.

  • Sign (x1)
  • Top Ring Frame (x1)
  • Channel Lights (x16)


Suspicious Modifications
Complete the Private Jet laser and anti-gravity parts first


Completely clean the Laser, Anti-Gravity Boosters, and Anti-Gravity Panel. Be sure to only clean the object labeled "Laser", not the "Laser Mount". See the images for the highlighted specific areas.

  • Laser (x1)
  • Anti-Gravity Boosters (x2)
  • Anti-Gravity Panel (x2)


Tyresome
Complete the Monster Truck tyres first


Completely clean the 4 Tyre objects. Be sure to only clean the Tyre objects, not the Wheel Outer or Wheel Inner objects. See the images for the highlighted specific areas.

  • Tyre (x4)


Cleaning Last Achievements
All of the following achievements can be completed in either the Career or Freeplay versions of the jobs and require specific objects to be cleaned last before completing the job. Completion of the job is required for the achievement to trigger.


Delaying the Inevitable
In the Washroom, complete the toilets last


Completely clean all the objects listed below before cleaning the following objects. See the images for the highlighted specific areas. (thanks to AJChimaera and alicewalice for help verifying the specific objects to be cleaned last!)

  • Toilet Lid (x4)
  • Toilet Seat (x4)
  • Toilet (x4)


Gnome Sweet Gnome
In the Temple, ensure the gnome is on the tower roof once the job is complete


Complete the Temple level while having the gnome on the very top of the temple before the last object is fully cleaned. You can pickup and move the gnome anywhere as long as it gets back to the top of the highest roof before the completing the level.

If you accidentally knock it off, you can load into another level (if you're in Freeplay, make sure to use a Special job to not reset your progress) and then load back into the Temple job and the gnome will respawn in it's default location. (Thanks to @downcat for the tip)

See the images for the highlighted specific areas.


Gutted
Complete the Bungalow gutters last


Completely clean all the objects listed below before cleaning the following objects. See the images for the highlighted specific areas.

  • Gutters (x4)


Sole Task
Complete the sole of the Shoe House last


Completely clean all the objects listed below before cleaning the following objects. See the images for the highlighted specific areas.

  • Sole (x1)


Cleaning Style Achievements
All of the following achievements can be completed in either the Career or Freeplay versions of the jobs and require the levels to be completed with specific restraints.


Delicate Excavation
Completely clean the Ancient Monument using only the white nozzle


This one is pretty straightforward. Simply clean the the entire Ancient Monument (hand, not statue) using only the white nozzle. I would never switch off of it just to be sure. Using the best pressure washer, the Prime Vista PRO, will speed up the job considerably.


Good Dings to Come
Clean 95% of any job without completing any tasks


This one is also pretty straightforward. I personally did this on the first level, cleaning the Van. I did this at the same time as the "Powerful Pressure Purist" achievement for using the red nozzle only, although it can be done on any level. I cleaned most of the body and then carefully cleaned other parts until I hit the 95% completion. As long as you don't fully clean individual object, the achievement will pop.


Merrily Go Round
Completely clean the Carousel without turning it off


This one is pretty easy, albeit a bit annoying. Simply complete the entire level without ever touching the controls to turn off the carousel.


Powerful Pressure Purist
Completely clean the Van using only the red nozzle


This one is also fairly easy, just tedious. This can be done on any level so if you're just going for this one, I would do something like either the Van to do it at the same time as the "Good Dings to Come" achievement, or pick something small like the Penny Farthing. You MUST use a 0° red tip. The Triple Tip Nozzle (unlocked at 165 stars) on the Prime Vista PRO will not count.


Tall Order
Completely clean the Fire Station job without standing on the scaffolding


This achievement is also fairly easy, although it is quite tedious. I never even got close to the scaffolding just to be sure. You can use both the ladder and step stool to get to the roof, which you cannot easily reach otherwise. The Prime Vista PRO with the Extra Long Extension and Triple Tip Nozzle (unlocked at 165 stars) will be your best friend on this level.


Miscellaneous In-Job Achievements
All of the following achievements can be completed in either the Career or Freeplay versions of the jobs. Below are a few tips that apply generally to all achievements in this section.
  • The red 0° nozzle is the best for moving objects around.
  • "Knock Over" achievements mean simple hitting the object with any amount of contact. As long as it moves at all, it will count.


Best Buds
Ride around the Big Wheel with a gnome


On the Ferris Wheel level, take the gnome around the Ferris Wheel. The gnome can be found at the top of the Helter Skelter slide seen in the image below.


You can grab any movable object from very far distances, including the gnome. This means you can grab the gnome without walking all the way up Helter Skelter. Thanks to Arm-chair Logic for the tip. You can also drop the gnome off the top of the slide and jump down after it, which is way faster than walking all the way back down the slide. Climb in any of the cars on the Ferris Wheel while holding the gnome inside the car and wait until the achievement pops.


Bucket List
At the Ancient Statue, knock over four buckets


Move all 4 blue buckets on the map Ancient Statue. Only the blue buckets can move. See the locations below.

The first bucket is under the second tent on the left near the start of the level.


The second bucket is further up on the left under the farther tent next to a red bucket near the movable scaffolding.


The third bucket is up the hill behind the statue sitting on a box under a tent.


The fourth and final bucket is on the top of the scaffolding behind the statue's head.


Coconut Dodge
At the Fairground, knock over all of the coconuts


Knock over the 5 coconuts in the shooting gallery on Fairground. They are located behind the Ferris Wheel in a shooting gallery seen on the right in the screenshot below. Simply hit them with you pressure washer and the achievement will pop.


Impeccable Balance
Stand on the Penny Farthing for 10 seconds


On the level Penny Farthing (Vehicles > Ground), simply jump on top of the bicycle and stand still for 10 seconds and the achievement will pop.


StegoScore
In the Playground, roll the football up the stegoslide


You will need to roll the football (or soccer ball for the North American folks) up the tail side of the Stegosaurus slide. Once it crests the top, the achievement will pop. If you are struggling with this, you can use the stepstool to act as a blocker while pushing the ball up the slide.


Watermelon Shot
In the Skatepark, push the ball out of the bowl


On the Skakepark level, simply use the red nozzle to push the ball out of the bowl in the middle of the level. Once the ball crests the top lip of the bowl, the achievement will pop.


SpongeBob SquarePants Special Pack DLC Achievements
This section contains all of the achievements added in the SpongeBob SquarePants Special Pack DLC released on June 29, 2023, which can be found in the Special section.


Naughty Nautical Neighbors
Complete the Conch Street job


Simply complete the special mission with the Spongebob Squarepants DLC titled "Conch Street".


Bus is here!
Complete the Bikini Bottom Bus job


Simply complete the special mission with the Spongebob Squarepants DLC titled "Bikini Bottom Bus".


Employee of the Month
Complete the Krusty Krab job


Simply complete the special mission with the Spongebob Squarepants DLC titled "Krusty Krab".


Feast Your Eyes…
Complete the Patty Wagon job


Simply complete the special mission with the Spongebob Squarepants DLC titled "Patty Wagon".


It's Supposed to be Invisible!
Complete the Invisible Boatmobile job


Simply complete the special mission with the Spongebob Squarepants DLC titled "Invisible Boatmobile".


Mermaidman and Barnacleboy Unite!
Complete the Mermalair job


Simply complete the special mission with the Spongebob Squarepants DLC titled "Mermalair".


It's not a Boulder, It's a Rock!
In the Conch Street job, complete Patrick's Rock, Rock Hinge and Rock Underside last


Completely clean the following objects after all others. See the image below for the highlighted specific areas.

  • Patrick's House - Rock
  • Patrick's House - Rock Underside
  • Patrick's House - Rock Hinge


Note: You can wash Patrick's House - Weathervane before the other items listed above and still get the achievement.


Bucket Sweet Bucket
In the Krusty Krab job, complete the Chum Bucket first


Completely clean all objects with the name "Chum Bucket" in them before all others. See the image below for the highlighted specific areas.

  • Chum Bucket - Doors (2)
  • Chum Bucket - Door Handles (2)
  • Chum Bucket - Door Windows (2)
  • Chum Bucket - Floor
  • Chum Bucket - Glove
  • Chum Bucket - Handles (2)
  • Chum Bucket - Handle Pins (2)
  • Chum Bucket - Letters (10)
  • Chum Bucket - Lower Rim
  • Chum Bucket - Upper Rim
  • Chum Bucket - Roof
  • Chum Bucket - Walls (2)


I've Come for Your Pickle
In the Patty Wagon job, complete the Pickles first


Completely clean the following objects before all others. See the image below for the highlighted specific areas.

  • Pickles (4)

Note: The axle connecting the pickle wheels to the Patty Wagon is part of the "Pickles" object.


It's Not My Wallet
In the Mermalair job, complete Patrick's Identity Card firstIn the Mermalair job, complete Patrick's Identity Card first

Completely clean the following objects before all others. See the image below for the highlighted specific areas.

  • Patrick's Identity Card

Note: The card can be found on the right half of the Chemistry Lab Table.


Back to the Future Special Pack DLC Achievements
This section contains all of the achievements added in the Back to the Future Special Pack DLC released on November 16, 2023, which can be found in the Special section.


Great Scott!
Complete the Doc Brown's Van job


Simply complete the special mission with the Back to the Future Special Pack DLC titled "Doc Brown's Van".


OUTAGRIME
Complete the Time Machine job


Simply complete the special mission with the Back to the Future Special Pack DLC titled "Time Machine".


Save the Clocktower!
Complete the Clocktower job


Simply complete the special mission with the Back to the Future Special Pack DLC titled "Clocktower".


2015? You Mean We're in the Future?
Complete the Holomax Theater job


Simply complete the special mission with the Back to the Future Special Pack DLC titled "Holomax Theater".


Your Future is Whatever You Make it
Complete the Doc's Time Train job


Simply complete the special mission with the Back to the Future Special Pack DLC titled "Doc's Time Train".


88 Miles Per Hour!
Watch the Time Machine reappear


After completing the "Time Machine" job, wait ~1 minute after the cleaned DeLorean returns to the parking lot.

Shoutout to Sou1Ace for first pointing this out!


May it Stand for All Time!
In the Clocktower job, ring the bell


On the "Save the Clocktower!" job, you need to ring the Clocktower Bell by interacting with the Clock Hammer at the top of the Clocktower. Enter the building and head up the stairs to the right of the front door. See the image below for the yellow highlight Clock Hammer to interact with.

Note: You do not have to clean anything to get this achievement. I simply cleaned them for clarity.


Shark Still Looks Fake
In the Holomax Theater Job, activate the holographic shark


In the "Holomax Theater" job, walk over to the Red "X" on the ground in front of the theater, stand on it, and watch the entire animation for the Shark Hologram. See the images below for the Red "X" and the Shark Hologram.

Note: No cleaning is require for this job. Shoutout to Sou1Ace and whitetigerdragon for nailing down the requirements.


Back to the Theater
In the Holomax Theater job, clean the Grid Wall first


In the "Holomax Theater" job, completely clean the following objects before all others. See the images below for the highlighted specific areas.

  • Grid Wall (1)


This is What Makes Time Travel Possible

In the Doc's Time Train job, clean the Flux Capacitor and its Particle Colliders first


In the "Doc's Time Train" job, completely clean the following objects before all others. See the images below for the highlighted (in blue this time for contrast) specific areas.

Note: These 4 items to clean are located at the first front of the first train car (the engine car)

Note: Do NOT clean the Flux Capacitor Housing as this will invalidate the achievement and you will need to start over. Only clean the items below.


  • Flux Capacitor (1)
  • Flux Capacitor Particle Colliders (3)


Warhammer 40,000 Special Pack DLC Achievements
This section contains all of the achievements added in the Warhammer 40,000 Special Pack released on February 27, 2024, which can be found in the Special section.


Courage and Honor!
Complete the Land Raider job


Simply complete the special mission within the Warhammer 40,000 Special Pack titled "Land Raider".


Eternal Service
Complete the Redemptor Dreadnought job


Simply complete the special mission within the Warhammer 40,000 Special Pack titled "Redemptor Dreadnought".


Cadia Stands!
Complete the Rogal Dorn Battle Tank job


Simply complete the special mission within the Warhammer 40,000 Special Pack titled "Rogal Dorn Battle Tank".


Sacristan's Duty
Complete the Imperial Knight Paladin job


Simply complete the special mission within the Warhammer 40,000 Special Pack titled "Imperial Knight Paladin".


Sanguinius Would Be Proud
Complete the Thunderhawk job


Simply complete the special mission within the Warhammer 40,000 Special Pack titled "Thunderhawk".


We March for Macragge!
In the Land Raider job, complete the "Ultramarines II" Plaque first


In the "Land Raider" job, completely clean the following object before all others. See the images below for the highlighted specific areas.

  • Ultramarines II Plaque (1)


The Emperor Protects
In the Imperial Knight Paladin job, complete the Tilt Shield and Tilt Shield Purity Seals first


In the "Imperial Knight Paladin" job, completely clean the following objects before all others. See the images below for the highlighted specific areas.

Note: The Tilt Shield Purity Seals are on the front of the shield.


  • Tilt Shield (1)
  • Tilt Shield Purity Seals (3)


Astra Militarum's Secret Weapon
In the Rogal Dorn Battle Tank job, complete the Stowed Shovel first


In the "Rogal Dorn Battle Tank" job, completely clean the following object before all others. See the images below for the highlighted specific areas.

Note: Because the Small Stowed Cloth Roll is so close to the Stowed Shovel and is a unique item, it is recommended to use the red nozzle for the precision to make sure you get the shovel first.


  • Stowed Shovel (1)


Descend into Shadow, Rise into Light
In the Thunderhawk Job, complete the Retro Thrusters first


In the "Thunderhawk" job, completely clean the following objects before all others. See the images below for the highlighted specific areas.

There are 16 Retro Thrusters. On each side, there are 2 in the front, 3 in the middle, and 2 in the back.


  • Retro Thrusters (16)


Degrees of Redemption
Completely clean the Redemptor Dreadnought using only the yellow nozzle


On the special mission with the Warhammer 40,000 Special Pack titled "Redemptor Dreadnought", only use the yellow nozzle to complete the entire job. As long as you don't remove any dirt with anything but the Yellow nozzle, you should be okay.
Alice’s Adventures Special Pack DLC Achievements
This section contains all of the achievements added in the Alice’s Adventures Special Pack released on July 2, 2024, which can be found in the Special section.


I Really Must be Getting Home
In the Wonderland Entrance Hall, attempt to climb out of the rabbit hole using a ladder


In the "Wonderland Entrance Hall" job, you start by falling into a pit. Right when you land, pick up the ladder and place it on the wall spit in the pit. Climb to the top of the ladder (you may need to jump) and you will get the achievement.


Like a Tea Tray in the Sky
In the Mad Tea Party, balance on the Strawberry on the topmost cake on the Cake Stand for 10 seconds


In the "Mad Tea Party" job, parkour to the highest platform that has a piece of chocolate cake on it with a giant strawberry on top. Simply stand on the strawberry (highlighted below) for 10 seconds.

Note: You do NOT need to clean it first, I just did that for clarity in the image.


Metamorphosis
In the Caterpillar's Mushroom, clean the Caterpillar's Cocoon last


In the "Caterpillar's Mushroom" job, completely clean all the other objects before cleaning the following object. See the images below for the highlighted specific areas.

  • Caterpillar Cocoon (1)


Oh My Ears and Whiskers!
In the White Rabbit's House, complete all Clocks on the Clocks Wall first


In the "White Rabbit's House" job, completely clean the following objects before all others. See the images below for the highlighted specific areas.

  • Clocks (24)


The Rabbit Sends in a Little Bill
Complete the White Rabbit's House job


Simply complete the special mission within the Alice’s Adventures Special Pack DLC titled "White Rabbit's House".


Who Stole the Tarts?
Complete the Queen of Hearts' Court job


Simply complete the special mission within the Alice’s Adventures Special Pack DLC titled "Queen of Hearts' Court".


A Mad Tea-Party
Complete the Mad Tea Party job


Simply complete the special mission within the Alice’s Adventures Special Pack DLC titled "Mad Tea Party".


Advice from a Caterpillar
Complete the Caterpillar's Mushroom job


Simply complete the special mission within the Alice’s Adventures Special Pack DLC titled "Caterpillar's Mushroom".


Down the Rabbit-Hole
Complete the Wonderland Entrance Hall job


Simply complete the special mission within the Alice’s Adventures Special Pack DLC titled "Wonderland Entrance Hall".


Such a Curious Croquet-Ground
In the Queen of Hearts' Court, roll the pink Croquet Ball onto the Croquet Finish Heart


In the "Queen of Hearts' Court" job, take the pink croquet ball on the right from the starting location and drop it in the heart-shaped hole (the object named "Croquet Finish Heart").

See the images below for the pink croquet ball, the heart-shaped hole, and finally the path from the pink croquet ball to the heart-shaped hole.

Shoutout to KristjanKa for the specific tip!


Shrek Special Pack DLC Achievements
This section contains all of the achievements added in the Shrek Special Pack released on October 10, 2024, which can be found in the Special section.


A Sacrifice I am Willing to Make
Complete the Duloc job


Simply complete the special mission within the Shrek Special Pack DLC titled "Duloc".


Honeymoon!? With Whom?
Complete the Hansel's Honeymoon Hideaway job


Simply complete the special mission within the Shrek Special Pack DLC titled "Hansel's Honeymoon Hideaway".


Get Out Of My Swamp!
Complete the Shrek's Swamp job


Simply complete the special mission within the Shrek Special Pack DLC titled "Shrek's Swamp".


Working Hard or Hardly Working?
Complete the Fairy Godmother's Potion Factory job


Simply complete the special mission within the Shrek Special Pack DLC titled "Fairy Godmother's Potion Factory".


That'll do, Donkey
Complete the Dragon's Lair job


Simply complete the special mission within the Shrek Special Pack DLC titled "JOBNAME".


Somebody Once Told Me…
In the Shrek's Swamp job, clean the Outhouse Door and Outhouse Door Handle first


In the job titled "Shrek's Swamp", completely the objects listed below before any others. See the image for the highlighted objects.

  • Outhouse Door
  • Outhouse Door Handle


Welcome to Duloc...
In the Duloc job, interact with the Information Stand Lever


In the job titled "Welcome to Duloc...", interact with the Information Stand Lever on the Information Stand. It is just to the right of main walkway as pictured below. I have cleaned and highlighted the lever for clarify, but it only needs to be interacted, not cleaned.


Are We There Yet?
In the Hansel's Honeymoon Hideaway job, wait in the Onion Carriage for 30 seconds


In the job titled "Are We There Yet?", climb up into and stand still inside the Onion Carriage for 30 seconds without moving. I have cleaned the Onion Carriage for clarity, but cleaning is not required for this achievement.


Look At Me Shrek, I'm Trotting
In the Fairy Godmother's Potion Factory job, run on the Running Wheel for 20 seconds


In the job titled "Fairy Godmother's Potion Factory", simply enter and stay within the Running Wheel for 20 seconds. You can be moving or stationary for the 20 seconds. I have cleaned the Running Wheel for clarity, but cleaning is not required for this achievement.


Like That's Ever Gonna Happen…
In the Dragon's Lair job, clean the Gallery Tapestries last


In the job titled "Dragon's Lair", clean the following items LAST after cleaning all other objects. See the image highlighted below for the specific locations.

Note: These are the six tapestries on the walkway. This does not include the 2 Lair Wall Banners.

  • Gallery Tapestries (6)

Wallace & Gromit Special Pack
The information in this section is complete, and images will be added soon.

This section contains all of the achievements added in the Wallace & Gromit Special Pack released on March 4, 2025, which can be found in the Special section.


All aboard!
In the Wallace & Gromit's Dining Room & Kitchen job, activate the Toy Train


In the job titled "Wallace & Gromit's Dining Room & Kitchen", simply interact with the train in the kitchen at any time before finishing the entire level.


Home Sweet Home
Complete the Wallace & Gromit's Dining Room & Kitchen job


Simply complete the special mission within the Wallace & Gromit Special Pack DLC titled "Wallace & Gromit's Dining Room & Kitchen".


Right house proud
Complete the Wallace & Gromit's House job


Simply complete the special mission within the Wallace & Gromit Special Pack titled "Wallace & Gromit's House".


Pond possession!
In the Wallace & Gromit's House job, roll the football under the pond


In the job titled "Wallace & Gromit's House", roll the ball over to the pond across the yard. Once the ball is on top, interact with the pond to flip it over. As long as the ball falls into the hole beneath the pond, the achievement will pop.

The best way to get it over there is to roll it up towards the house, past the small gap in the Garden Walkway Runners and over to the pond.

Thanks to @Lucky Luxray for the tip!


Baaath time!
In the Knit-O-Matic job, activate the Auto-Wash


In the job titled "Knit-O-Matic", simply interact with the Auto-Wash at any time before finishing the entire level.


All knitted up!
Complete the Knit-O-Matic job


Simply complete the special mission within the Wallace & Gromit Special Pack DLC titled "Knit-O-Matic".


Now we’re motoring!
Complete the Wallace & Gromit's Vehicles job


Simply complete the special mission within the Wallace & Gromit Special Pack DLC titled "Wallace & Gromit's Vehicles".


Squeaky-clean strides!
In the Wallace & Gromit's Vehicles job, clean the Techno Trousers first


In the job titled "Wallace & Gromit's Vehicles", clean the following items FIRST after cleaning all other objects. See the image highlighted below for the specific locations.

  • Techno Trousers Body (1)
  • Techno Trousers Boots (2)
  • Techno Trousers Braces Holders (3)
  • Techno Trousers Operator Controls (1)
  • Techno Trousers Interior Padding (1)
  • Techno Trousers Leg Hydraulics (2)
  • Techno Trousers Loading Hooks (2)
  • Techno Trousers Panel (1)
  • Techno Trousers Rubberised Ankles (2)
  • Techno Trousers Rubberised Legs (2)
  • Techno Trousers Socket Cover (1)


We have touchdown!
Complete the Moon Rocket job


Simply complete the special mission within the Wallace & Gromit Special Pack DLC titled "Moon Rocket".


The Art of Cleaning
In the Moon Rocket job, clean the paintings inside the rocket first


In the job titled "Moon Rocket", clean the following items FIRST before cleaning all other objects. See the image highlighted below for the specific locations.

  • Rocket Interior Paintings (5)
168 Comments
Choolio123  [author] 16 Mar @ 7:08am 
@XHL Thanks for catching that! I fixed it!
XHL 14 Mar @ 4:27am 
In the last achievement "The Art of Cleaning" you have a typo:

"[...] clean the following items FIRST after cleaning [...]"

it should be:

"[...] clean the following items FIRST before cleaning [...]"
chococake2024 5 Mar @ 7:44am 
yes you might have to flip it a few times so it doesnt keep getting caught by the pond but maybe my game had slow gravity because im on laptop XDD
Choolio123  [author] 5 Mar @ 7:05am 
@Lucky Luxray Thanks for the tip! I've updated the guide and credited you for the find. :winkycat:
Lucky Luxray 4 Mar @ 8:15pm 
For the Pond Possession goal, in the Wallace & Gromit's House job, roll the Football/Soccer Ball over to the pond on the opposite side of the yard from where it spawns.

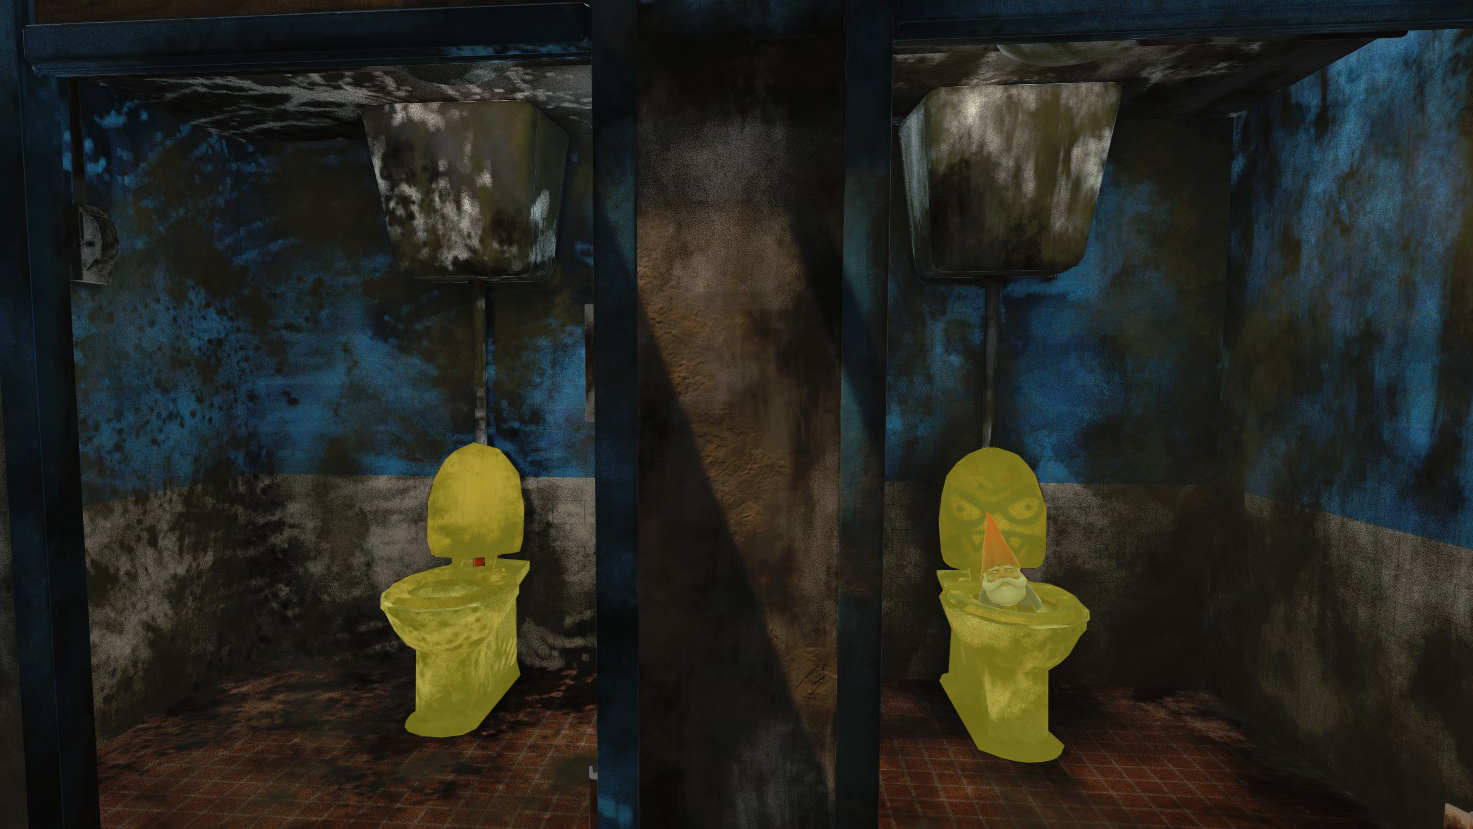
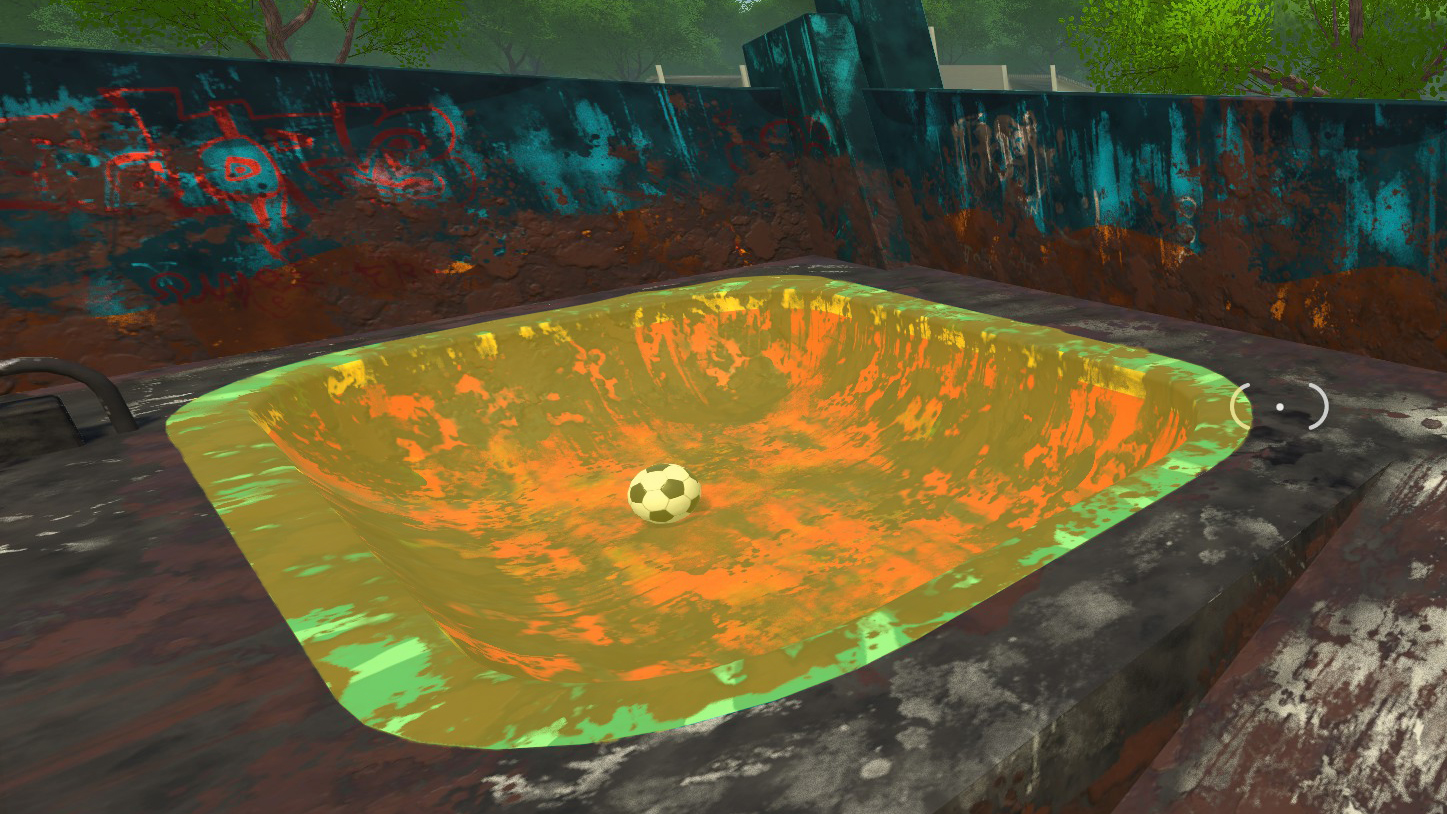
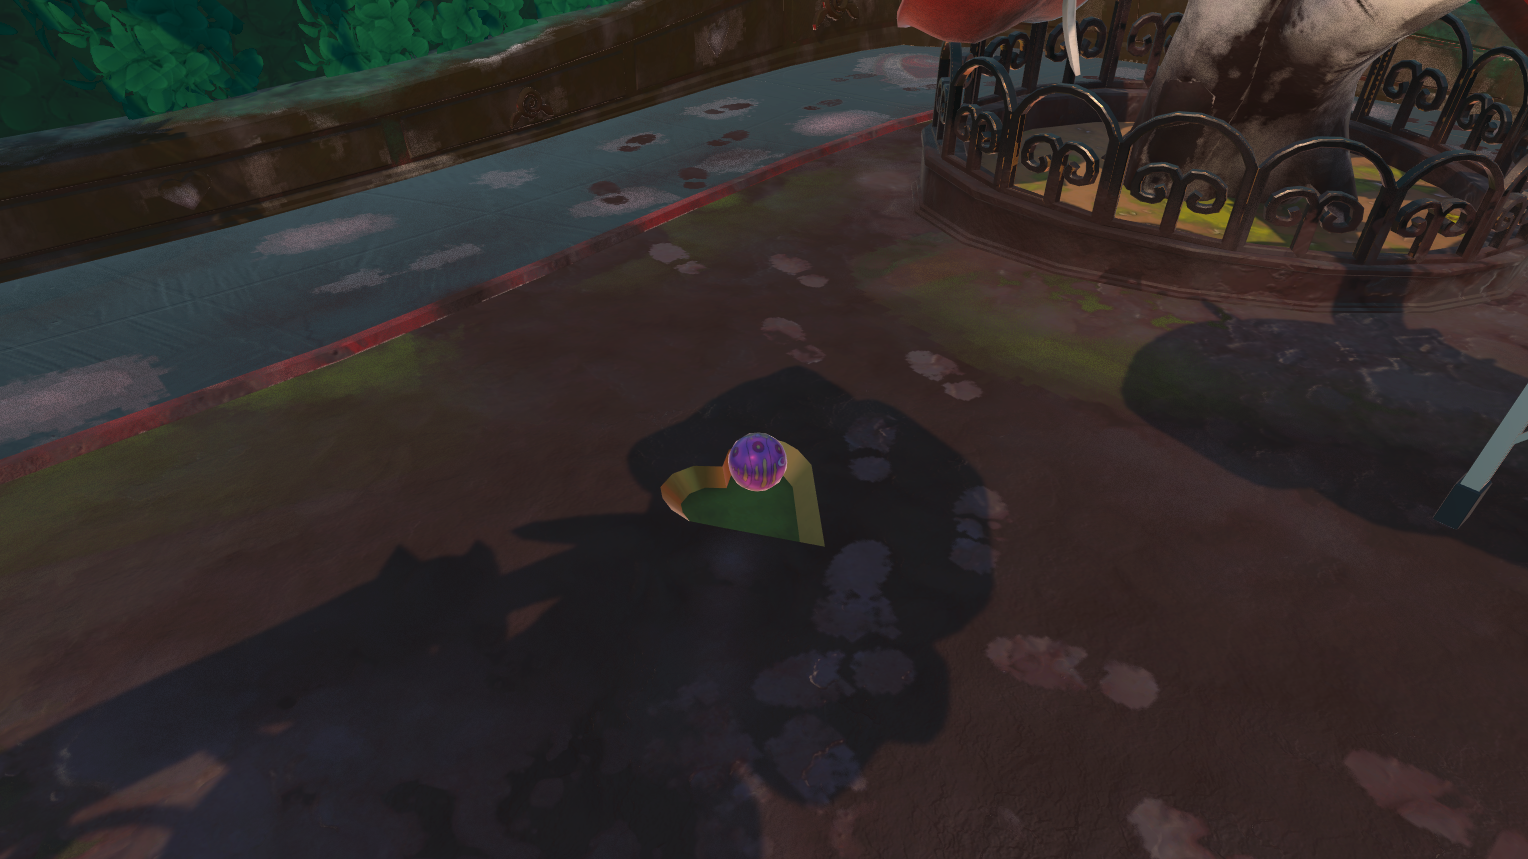
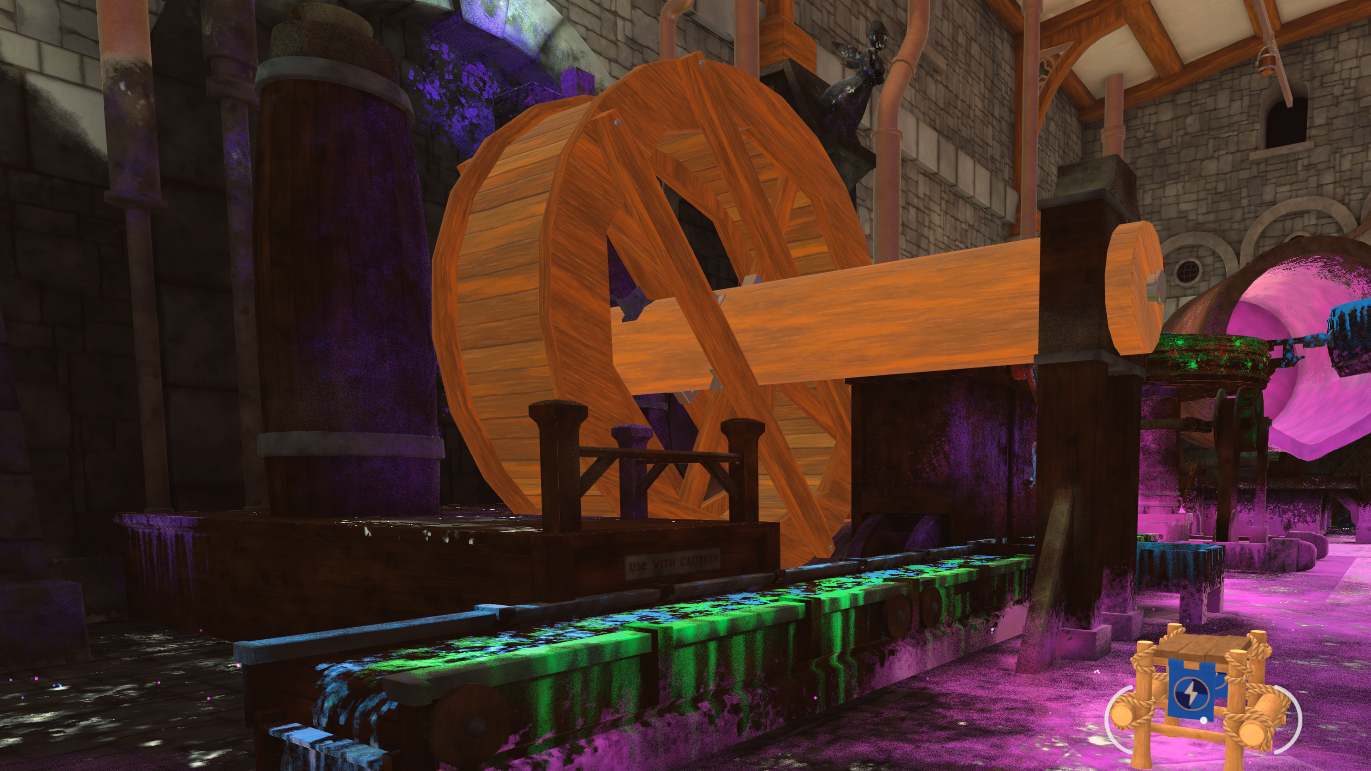
Once you get the ball on top of the pond, interact with the pond to flip it over. The ball will fall underneath and the goal should pop :)
Lucky Luxray 2 Mar @ 2:41pm 
For anyone struggling with the Challenge Mode achievements (as I was for a very long time), I strongly suggest doing the water ones. I did the motorbike as a timed one and it took me like 6 tries to get a gold medal. I just did the first 4 vehicles as water challenges, got them all first try within an hour.

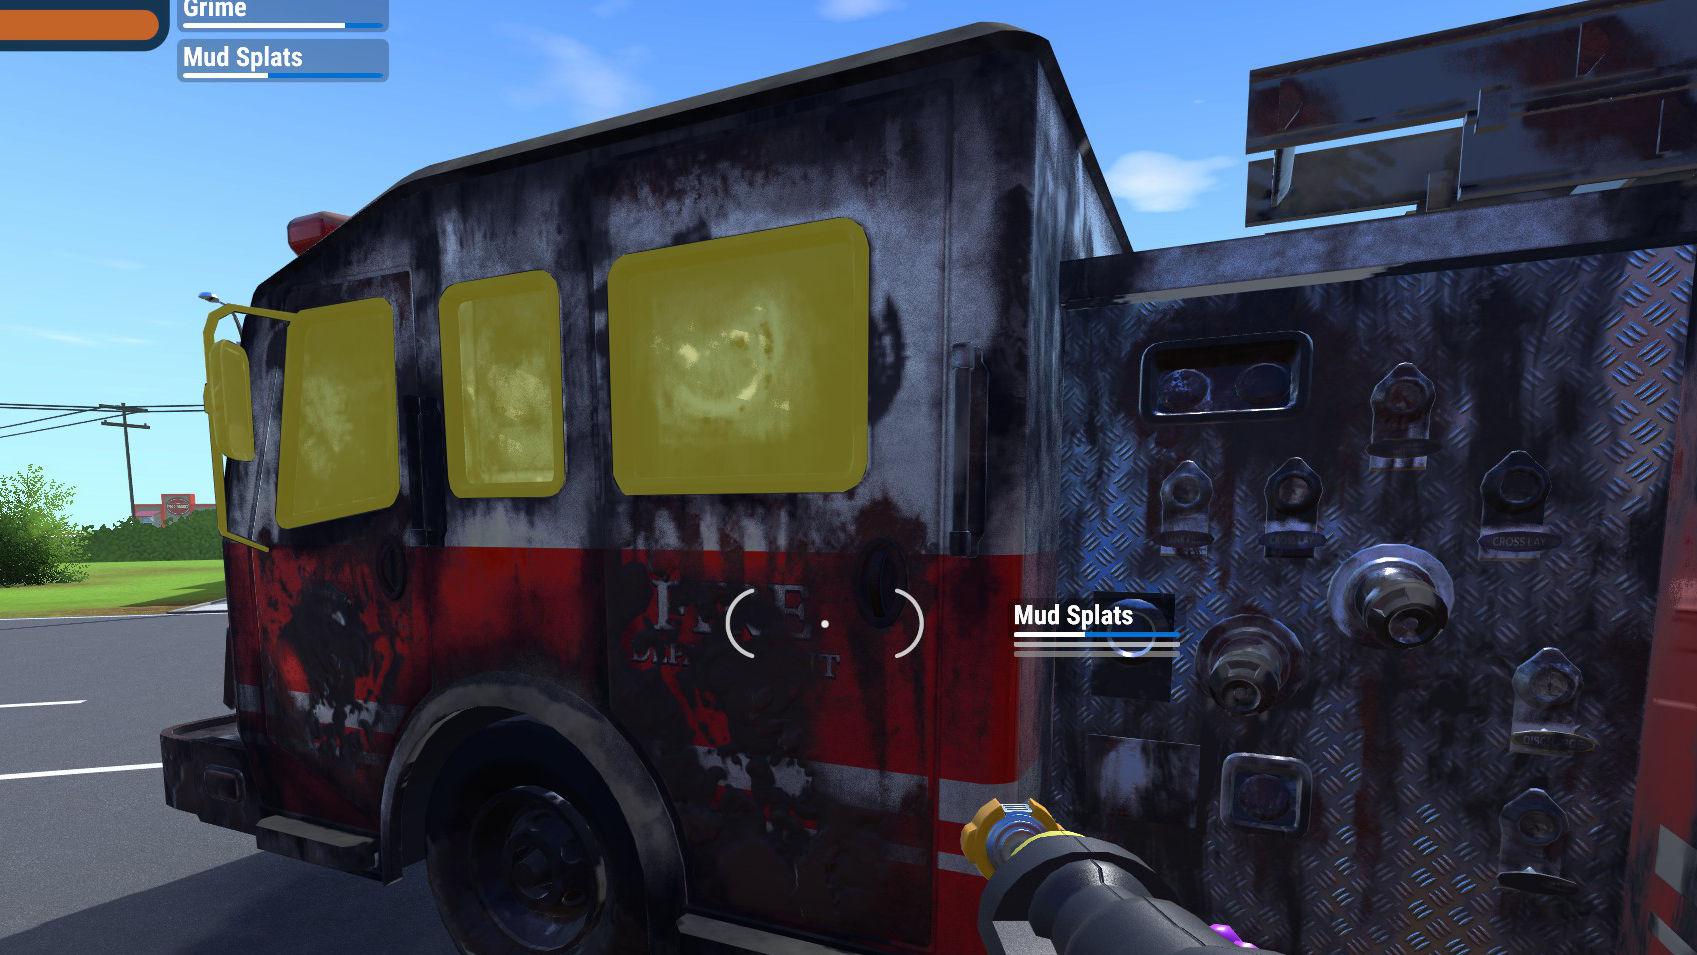
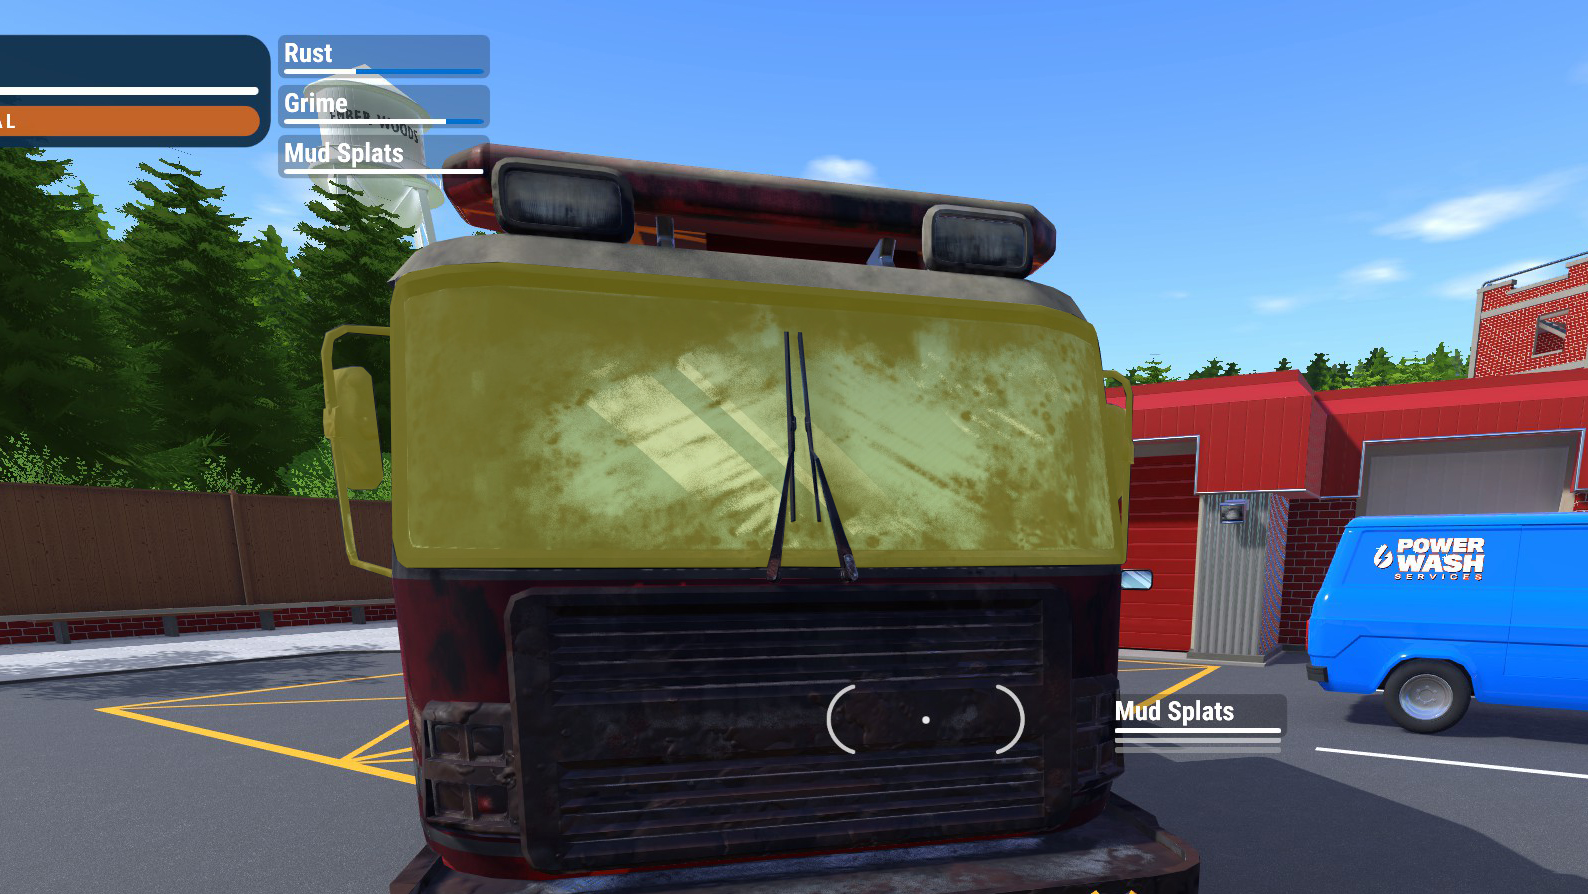
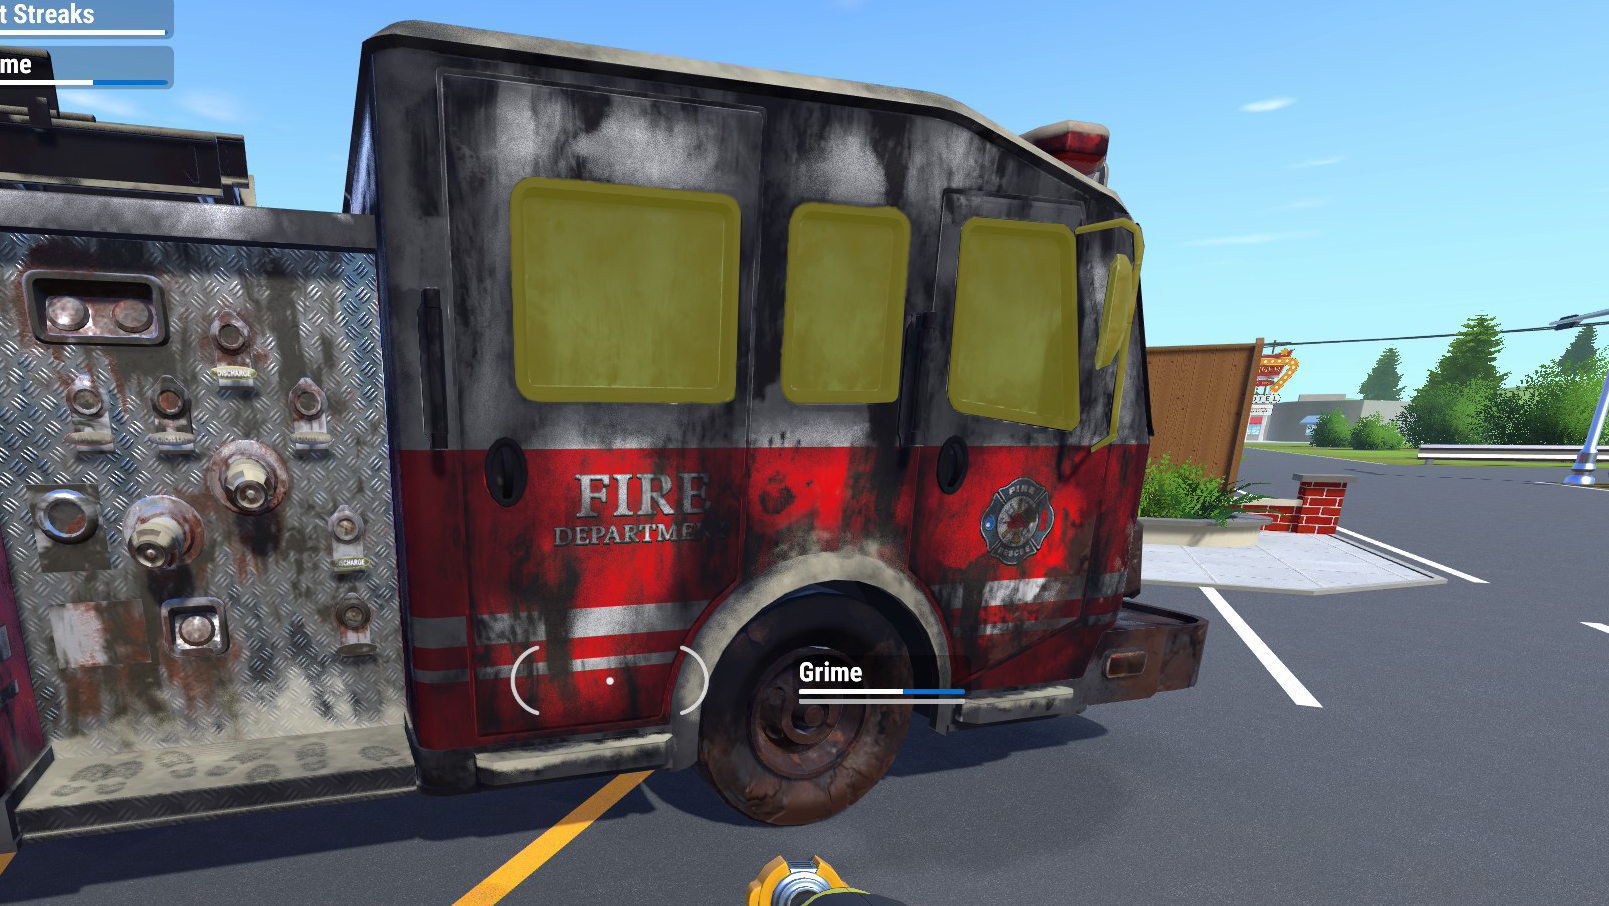
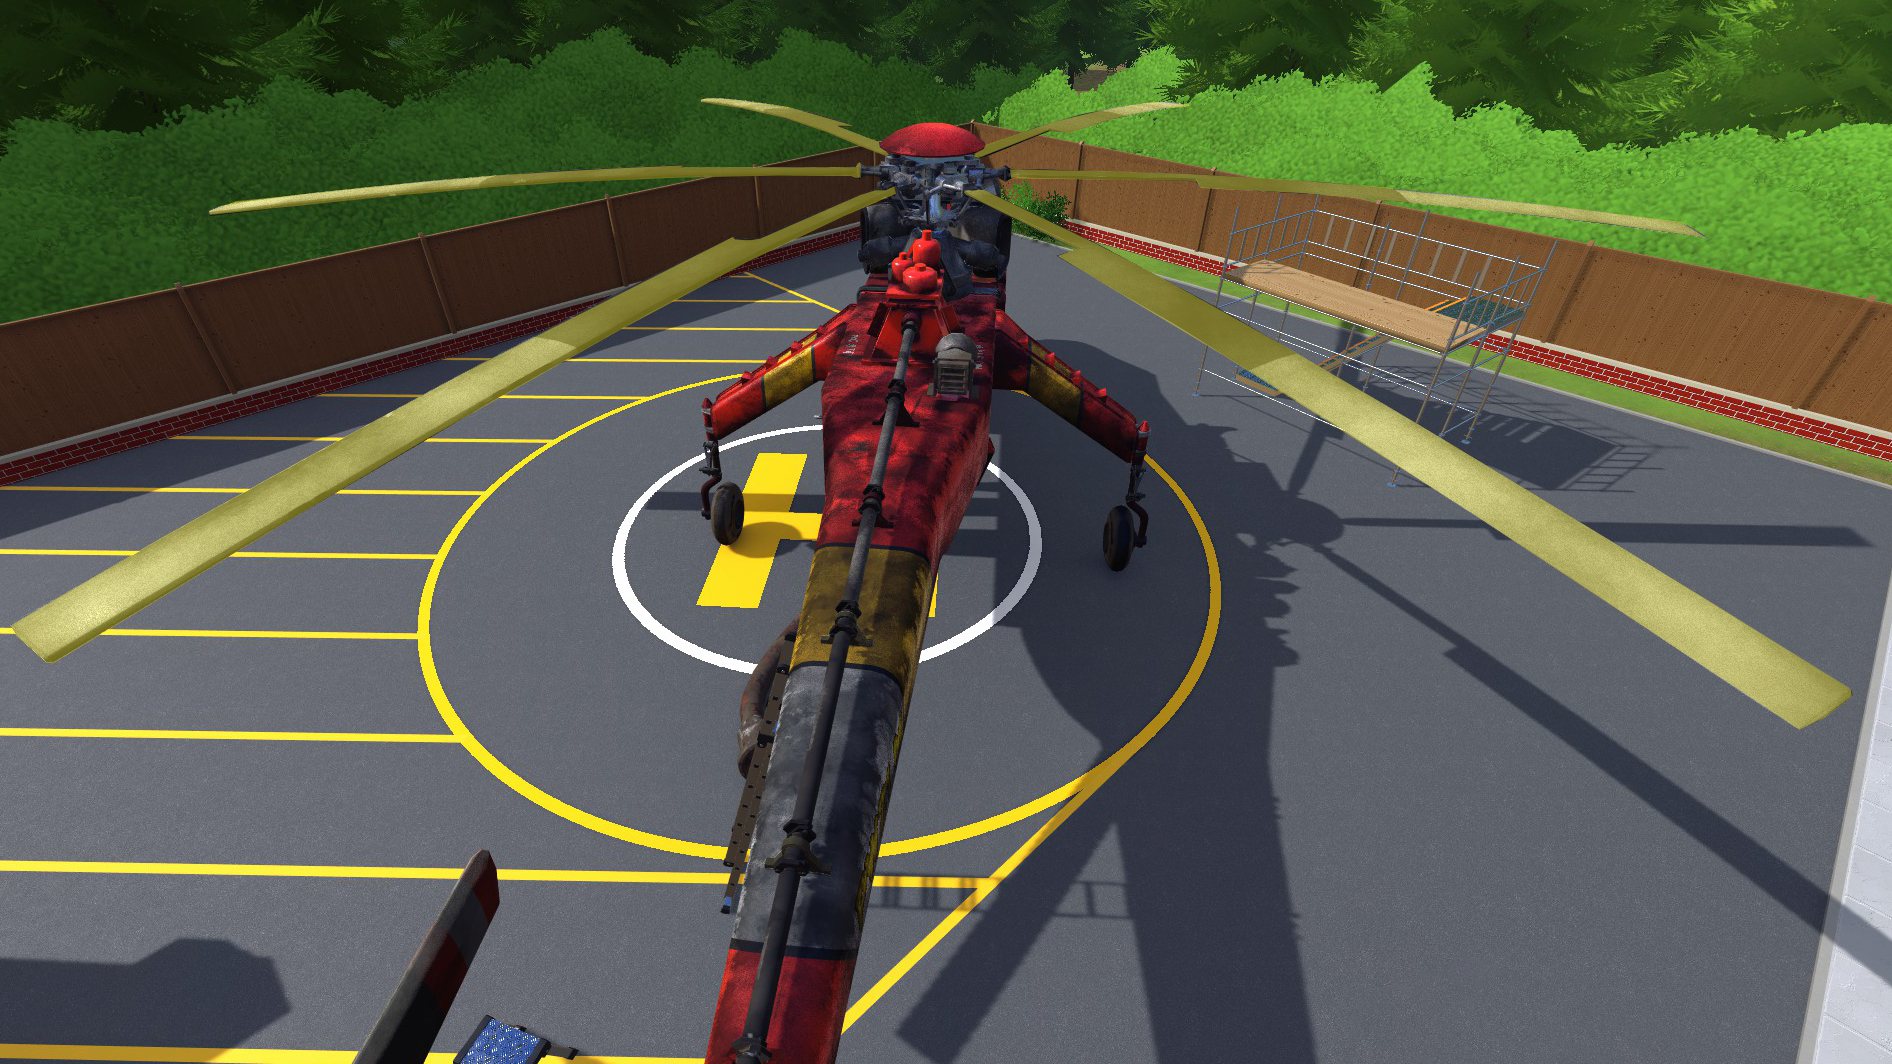
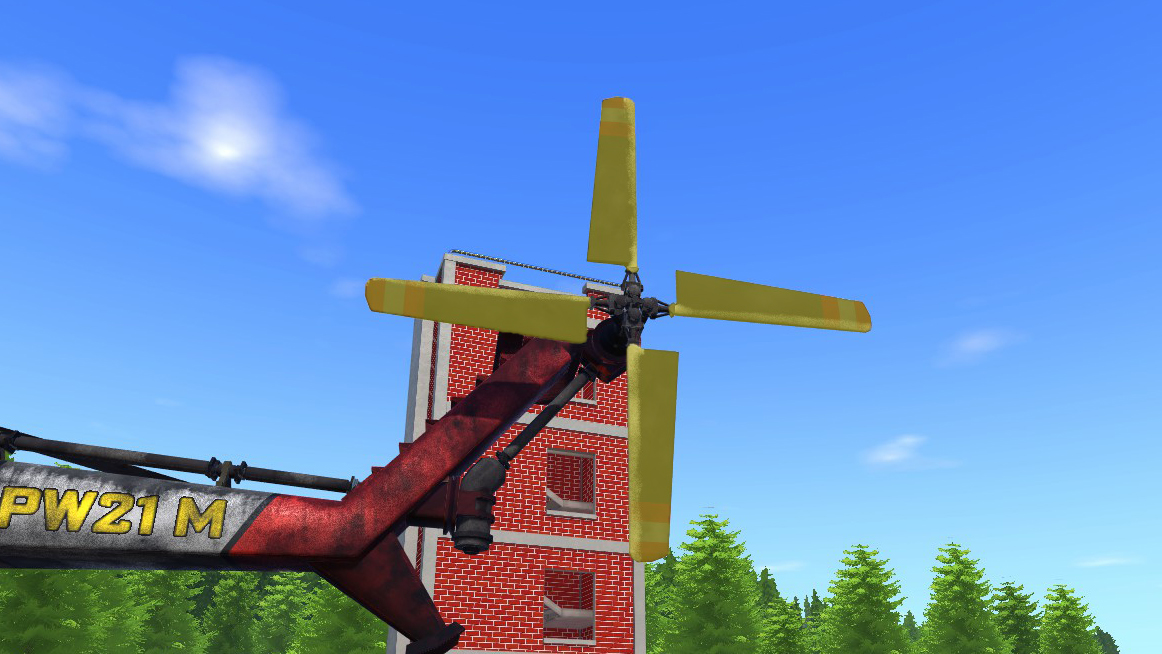
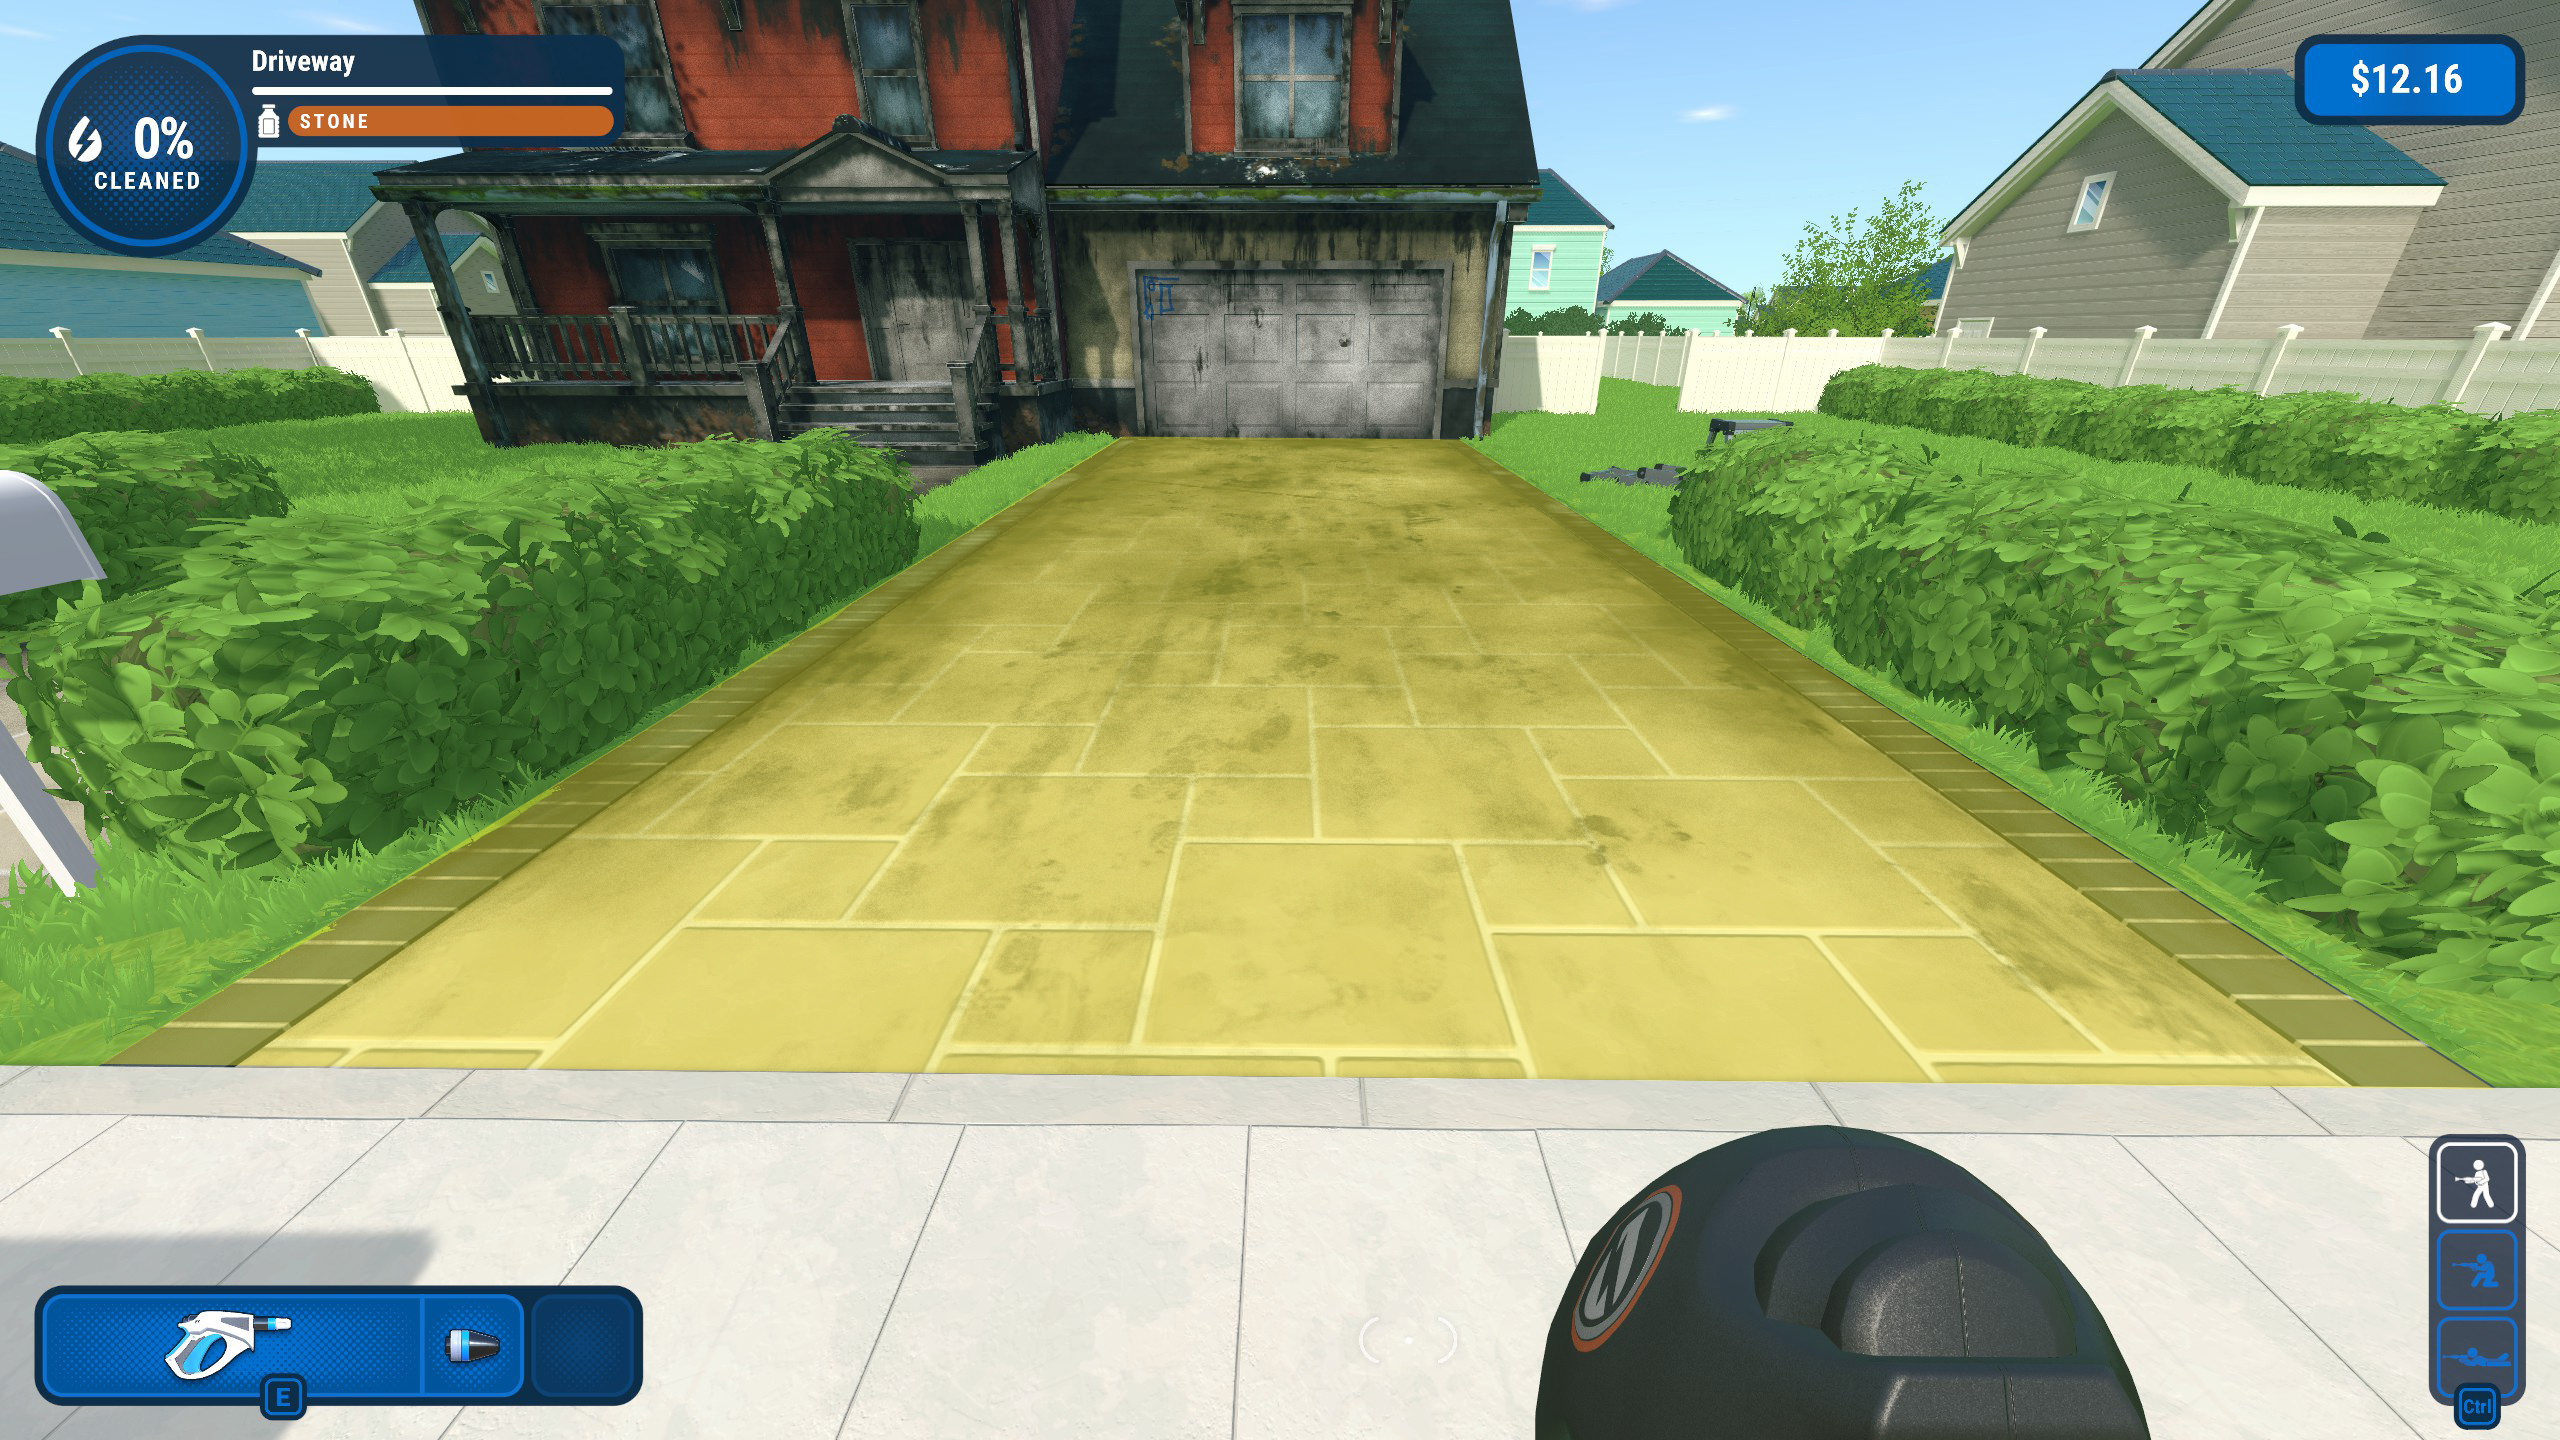
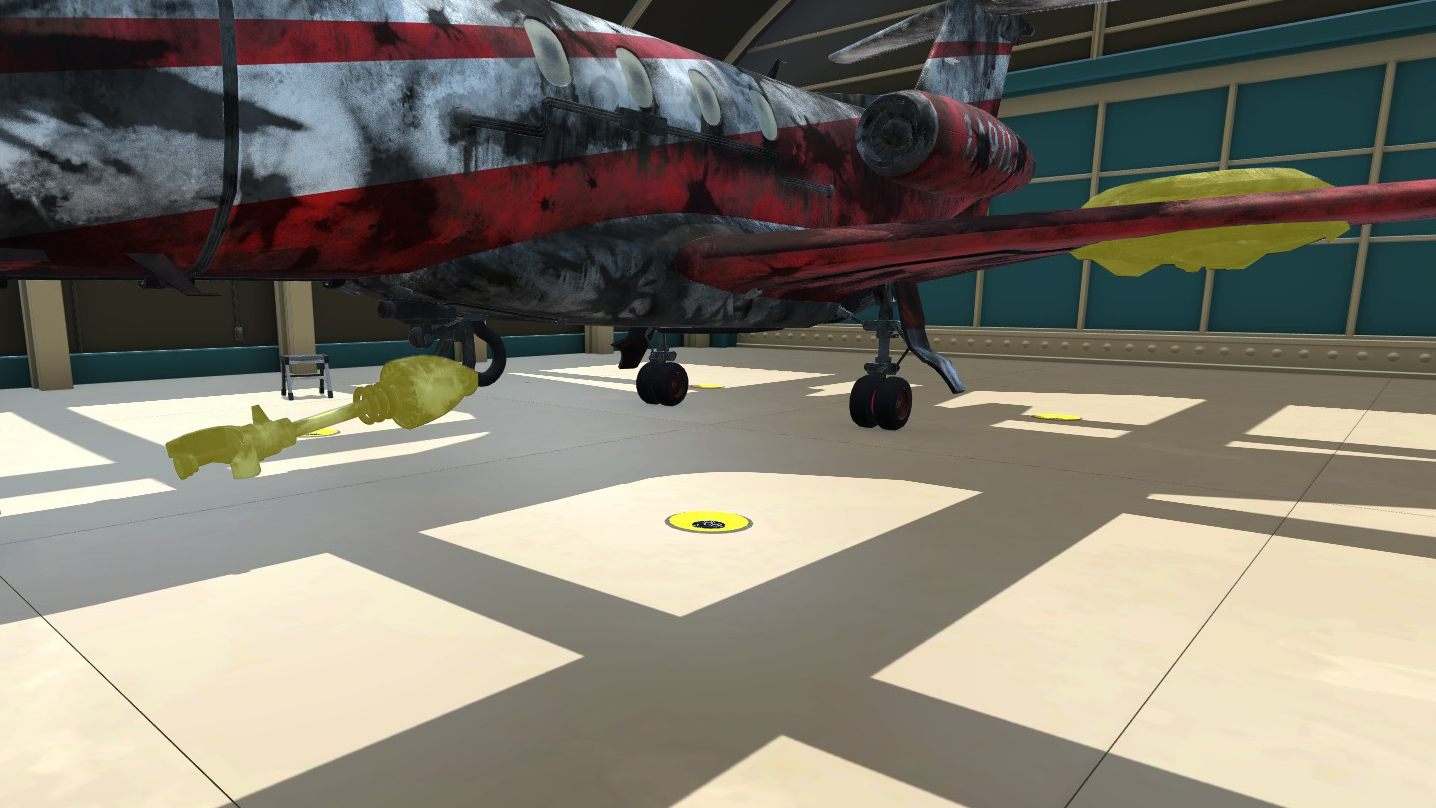
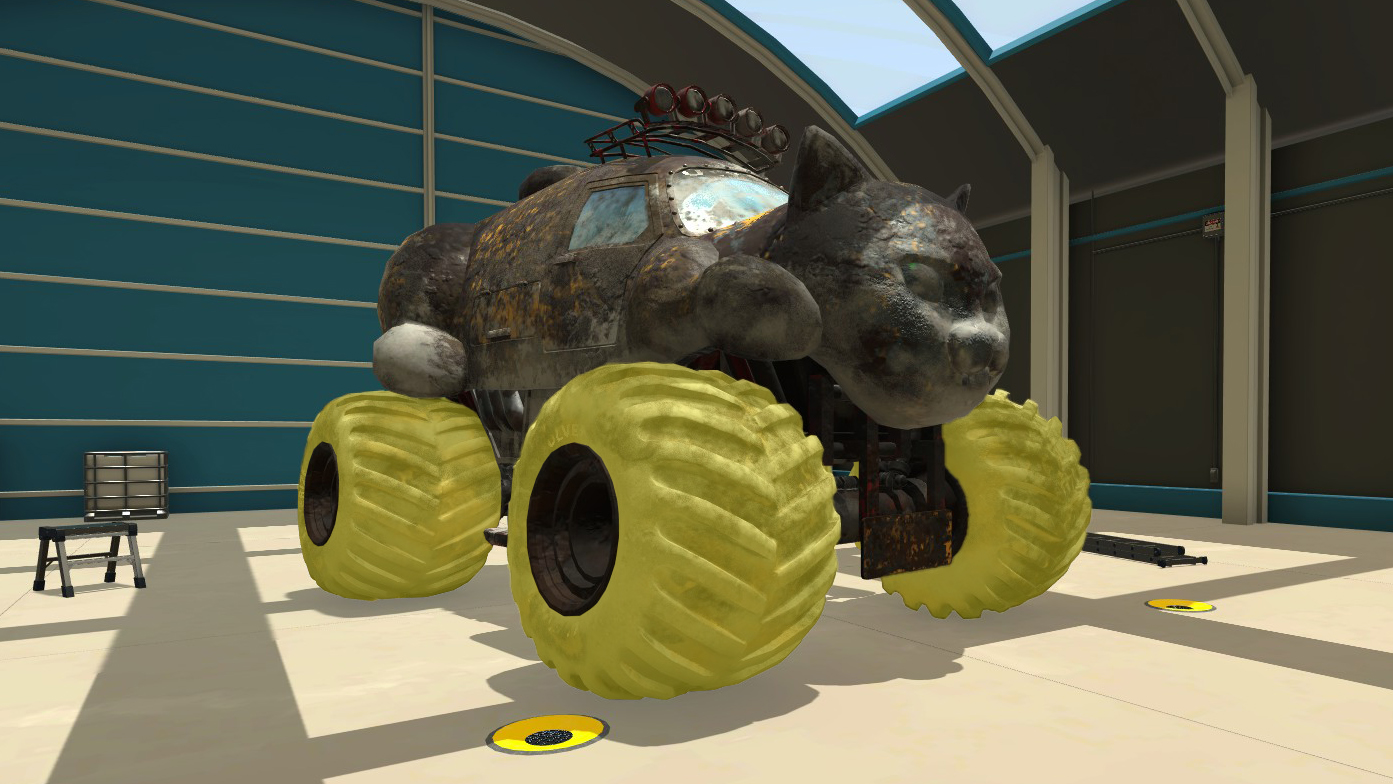
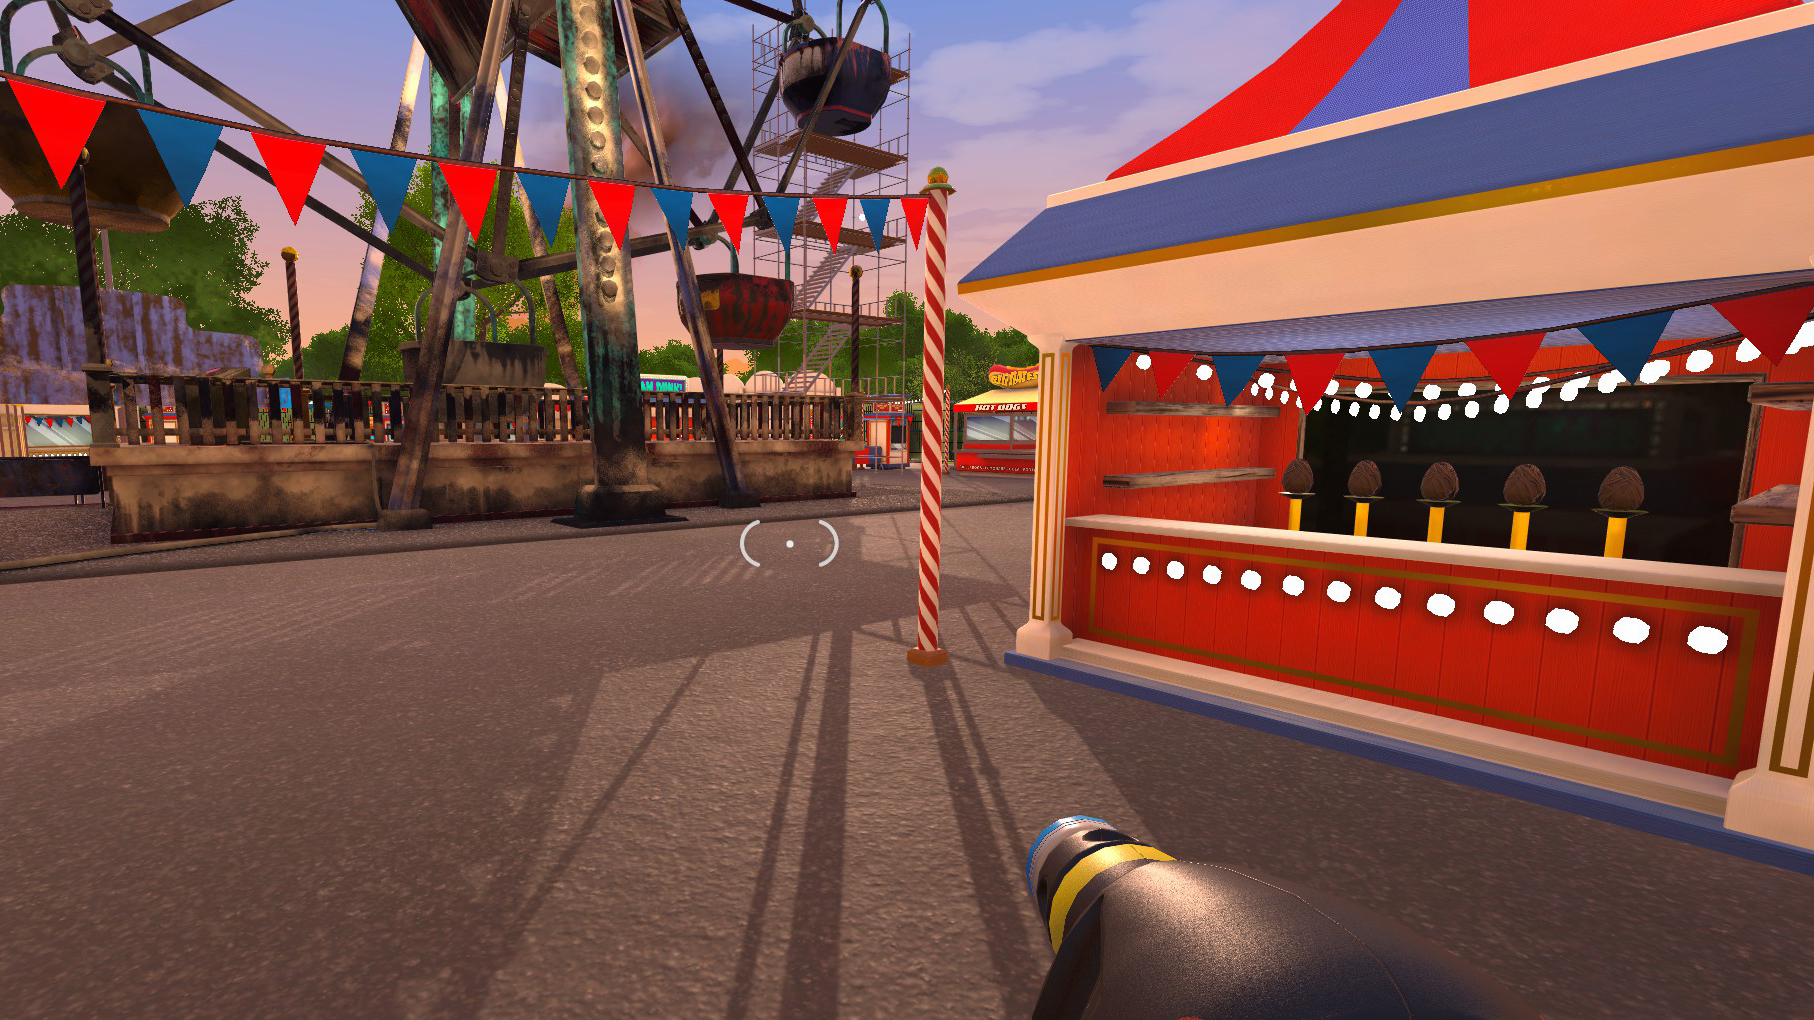
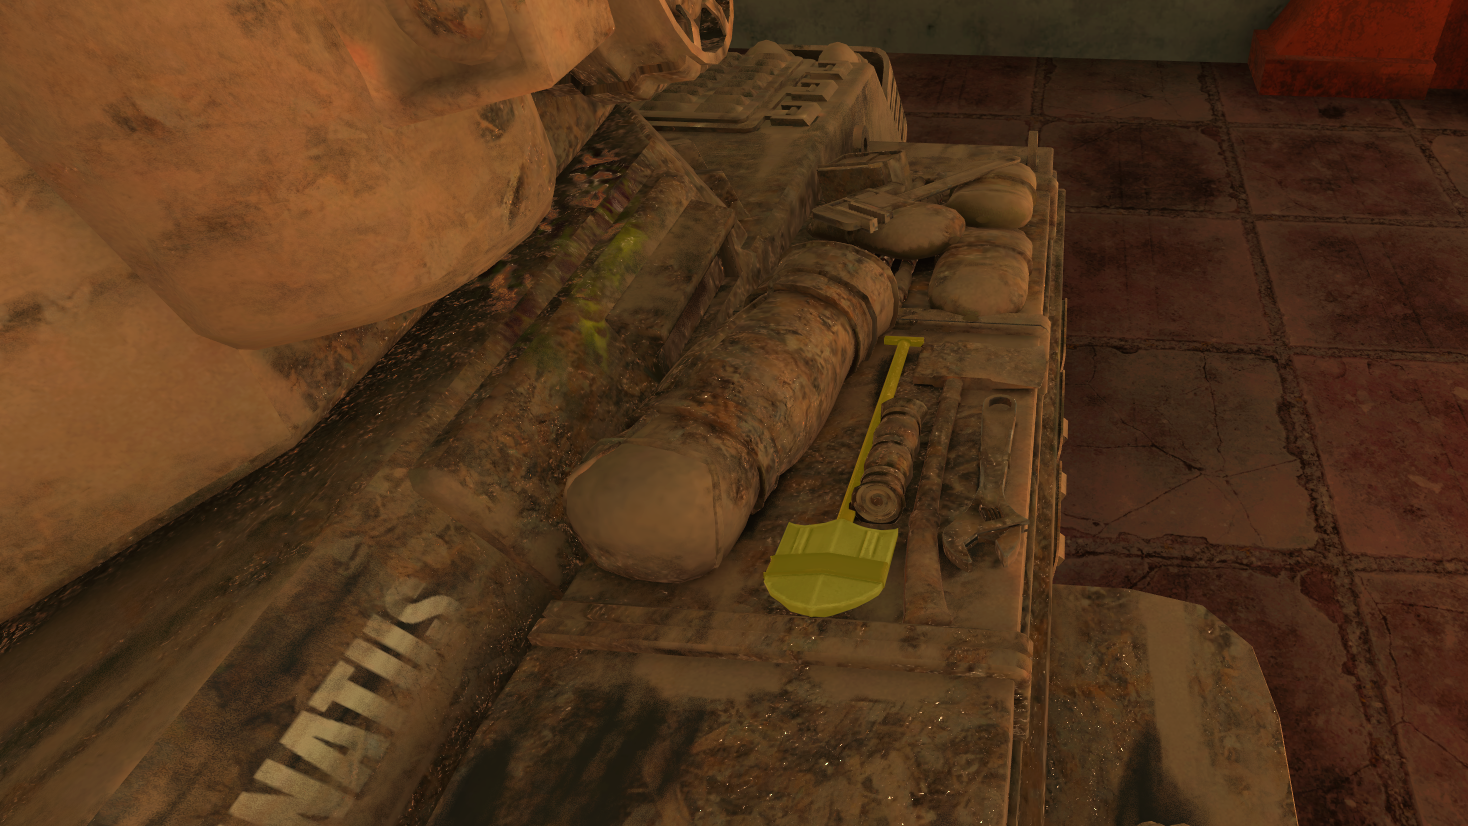
For strategy, start with the green nozzle in vertical position and the short extension. Do quick horizontal sweeps over the whole vehicle, from different angles until you get most of the dirt off (for the motorbike and sidecar, use the yellow nozzle for this instead).

Then switch over to the red nozzle and get the remaining bits of dirt. I press tab over and over to highlight the dirt, and target it with short bursts, often clicking but not holding, as this conserves water. I repeat this and check the list of parts on the tablet until I'm done.
chococake2024 11 Feb @ 8:33am 
i did gold standard thanks for help :DDD i did van time, golf cart time+water and antique car time+water (i heard fire engine is quite generous as well like antique car)

a good tip is to jack up your camera sensitivity in settings so you can fling water everywhere:powie_yowie:
JustAnotherFurryNerd 23 Sep, 2024 @ 9:42pm 
the helter skelter achievement isn't popping for me despite doing the correct thing
any idea what could do?
Choolio123  [author] 2 Sep, 2024 @ 7:34am 
@Jay Thorn good catch on that! I fixed those icons and a few misspellings I found at the same time. :)

The Steam Guide editor isn't a wysiwyg editor so it's hard to do formatting sometimes. I really hope they update it in the future.
Jay Thorn 29 Aug, 2024 @ 10:29am 
The achievement icons for "Feast Your Eyes..." and "It's Supposed to be Invisible!" are swapped. "Feast Your Eyes..." should be the vehicle icon, and "It's Supposed to be Invisible!" should be the jellyfish.