
Install Steam
login
|
language
简体中文 (Simplified Chinese)
繁體中文 (Traditional Chinese)
日本語 (Japanese)
한국어 (Korean)
ไทย (Thai)
Български (Bulgarian)
Čeština (Czech)
Dansk (Danish)
Deutsch (German)
Español - España (Spanish - Spain)
Español - Latinoamérica (Spanish - Latin America)
Ελληνικά (Greek)
Français (French)
Italiano (Italian)
Bahasa Indonesia (Indonesian)
Magyar (Hungarian)
Nederlands (Dutch)
Norsk (Norwegian)
Polski (Polish)
Português (Portuguese - Portugal)
Português - Brasil (Portuguese - Brazil)
Română (Romanian)
Русский (Russian)
Suomi (Finnish)
Svenska (Swedish)
Türkçe (Turkish)
Tiếng Việt (Vietnamese)
Українська (Ukrainian)
Report a translation problem


You need the experimental version of FSD
You can find it here:
https://sp.zhabite.com/sharedfiles/filedetails/?id=2801918566
And here:
https://sp.zhabite.com/sharedfiles/filedetails/?id=2801930962
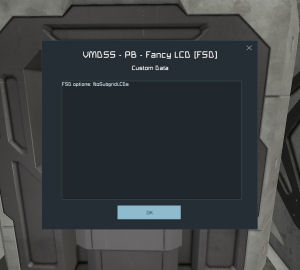
command:
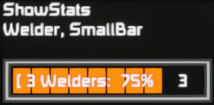
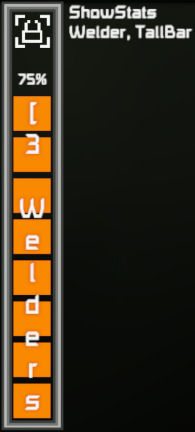
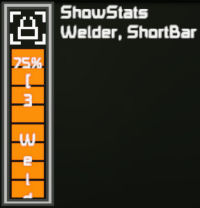
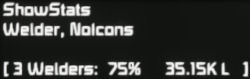
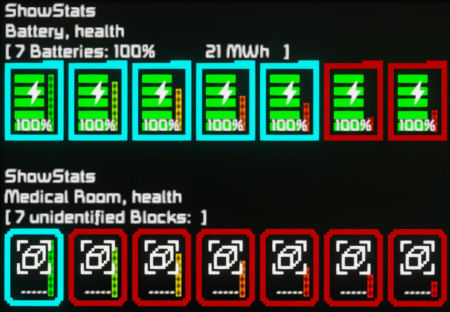
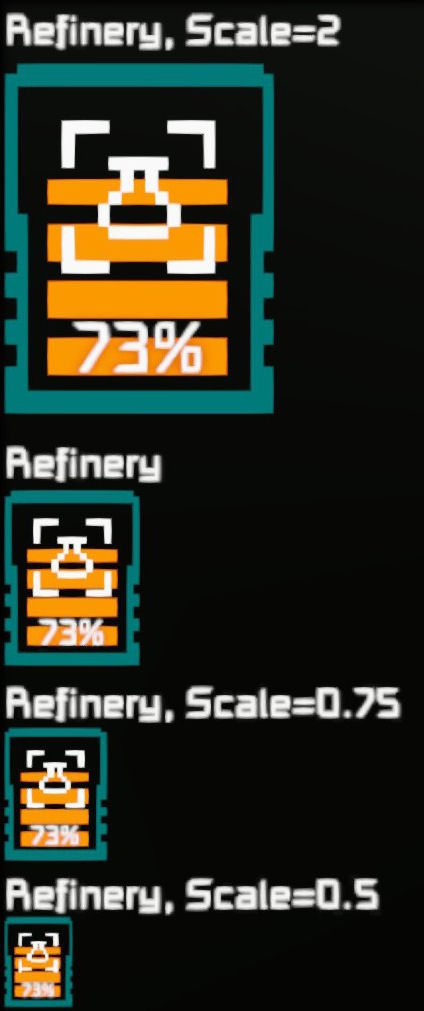
ShowStats
Railgunname, optional
The experimental version of FSD is not openly published because
I was just never motivated enough to write a guide for all the new features.
Have fun
Looks like it was an user mistakse.
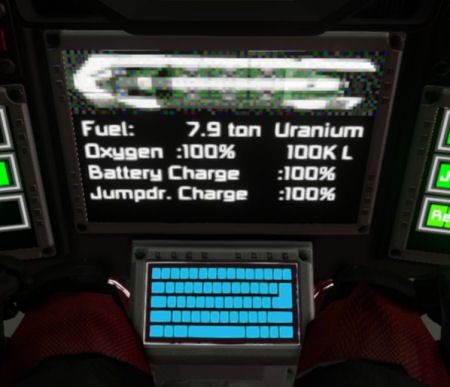
Here is a screenshot of the problem I had:
https://i.imgur.com/W6wBeR4.jpeg
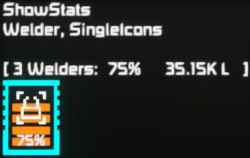
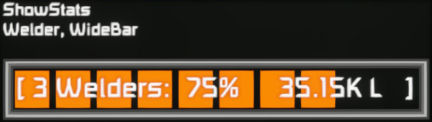
Both LCDs' items that are circled were displaying the same group of blocks but on LCD slope they were on separate lines and on corner LCD they were on the same line, I wanted the LCD slope items to be on the same line same as in corner LCD but now that I looked I just forgot to add "SingleIcon" to the slope LCD's first item. All good now :) Sorry for the confusion. Epic script, thanks for the creation!!
Im not sure if I'm understanding your request.
Can you give a visual example?
Perhaps you could feed the code to ChatGPT and let it write the documentation for you haha.
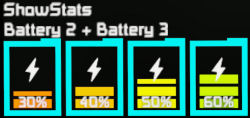
Also I have a question. Is there any way to display multiple groups of blocks grouped by group in one line?
Currently when I try to look reactors and thrusters ON/OFF state in a single line I only have the option to either:
A) combine the reactors and thrusters into one graphic/tile (not good)
B) display them in separate lines (not ideal)
C) use tallbar, shortbar etc (doesn't fit, am using corner LCD)
You're a champion. I'll be trying it out tn. Thanks.
The last Public update of FSD2 predates railguns.
That is why it doesn't distinguish between railguns or rockets.
But there is new version of FSD that does.
I was just never motivated enough to write a guide for all the new features.
So I never published it publicly. (if that makes sense)
You can find it here:
https://sp.zhabite.com/sharedfiles/filedetails/?id=2801918566
And here:
https://sp.zhabite.com/sharedfiles/filedetails/?id=2801930962
Have fun
(Says rockets, should monitor railguns. Also IS monitoring RGs, just not under that name. No rockets on vessel.)
https://sp.zhabite.com/sharedfiles/filedetails/?id=3458151942
https://sp.zhabite.com/sharedfiles/filedetails/?id=3458152043